Putting together a vanity mirror can feel overwhelming, especially when faced with unlabeled panels, tiny screws, and a thick instruction manual. But with the right approach, you can assemble your vanity mirror efficiently, safely, and correctly in under 90 minutes. This guide walks you through every essential step, from unpacking to final testing, so you can transform parts into a polished, functional centerpiece for your bedroom or bathroom.
Whether your model includes LED lighting, soft-close drawers, or a tilting mirror, you’ll learn how to avoid common mistakes, secure fragile components, and ensure a level, stable setup. Follow this clear process to get professional results without professional help.
How to Unpack and Organize Your Vanity Mirror Parts
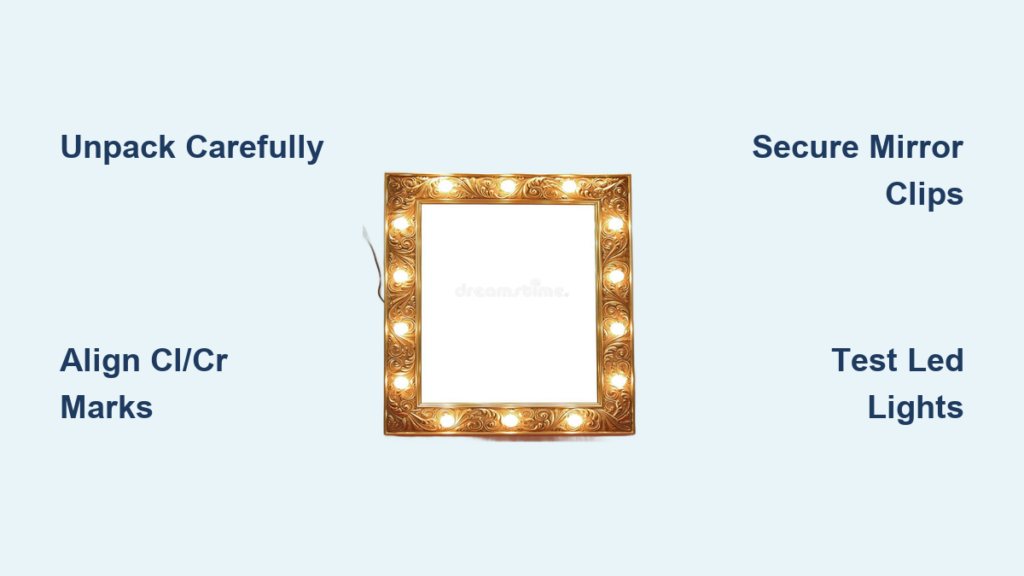
Start by opening the packaging on a clean, flat surface large enough to hold all pieces. Use a soft blanket or foam mat underneath to protect the mirror, cabinet panels, and flooring from scratches. Gently remove each item and place them in open space, never stacking heavy boards on top of glass or delicate parts.
Sort Components by Label and Shape
Most kits label panels with letters like A, B, C or numbers. Group parts accordingly. If labels are missing, refer to the assembly diagram and match each piece by size, hole pattern, and edge markings like CL (Center Left) or CR (Center Right). The correct fit will slide into place naturally, so never force a part.
Verify Your Hardware Inventory
Cross-check all included items with the parts list in the manual. Confirm you have the mirror panel, cabinet side panels, back panel, top panel, D screws and S screws, cam locks, washers, drawer slides, LED strip and power adapter if your model is lit, an Allen wrench, white circular stickers, and alignment guides. Missing a part? Stop and contact customer support before proceeding.
How to Attach Side Panels to the Cabinet Frame
Position the left and right side panels against the back panel. Match the CL and CR notations precisely, as these alignment guides ensure structural accuracy. Misaligned joints lead to wobbling or drawer issues later.
Secure Panels With D Screws
Insert D screws into pre-drilled holes using the included Allen wrench. Tighten firmly but do not overtighten, especially in MDF or particleboard, which strips easily. Start by hand-tightening, then finish with the wrench for a snug fit.
Check for a Square Structure
Once fastened, inspect the frame. It should form a rigid, square box with no gaps or warping. Gently press on corners; if there is flex, loosen and realign before continuing. This step prevents long-term stability issues.
How to Install Drawer Slides for Smooth Operation

If your vanity includes drawers, attach the ball-bearing, soft-close slides inside the cabinet frame. Follow the manual’s height specifications precisely. Use a bubble level to ensure both left and right tracks are perfectly parallel.
Fasten Slides With Provided Screws
Secure each slide with the included screws. Double-check that both sides are at the same height, tracks extend and retract smoothly, and no screws protrude into the drawer path. Misaligned slides cause binding, so adjust now before inserting drawers.
How to Test Drawer Function After Installation
Carefully place each drawer into its paired glide. Push fully until it clicks or seats at the back. Pull out slowly; movement should be smooth and resistance-free.
Fix Sticking or Wobbling Drawers
If the drawer drags or jams, loosen slide screws slightly, realign the track, and re-tighten while the drawer is closed. Test the open and close cycle 3 to 5 times. Soft-close mechanisms should engage quietly at the end of closure.
How to Mount the Top Panel Safely
Do not drop or tilt the top panel. Start by aligning one long edge with the cabinet frame. Gradually lower or slide the rest into place, ensuring all pegs or connectors engage.
Press Down to Seat Fully
Once aligned, gently press down across the surface, especially at corners. This ensures full contact with support points. Avoid stepping on or leaning over the top during or after assembly to prevent damage.
How to Install the Mirror Support Bracket
Locate the mirror frame or support bracket. This holds the mirror in place and may allow tilting. Align it with pre-drilled holes on the upper back of the cabinet.
Secure the Bracket Properly
Use the provided screws to fasten the bracket. For hinged models, confirm the pivot moves freely. Do not skip this step, as this bracket prevents mirror slippage and ensures safe operation.
How to Insert and Secure the Mirror Panel
Always hold the mirror panel by its edges with both hands. Never grip only one side or lift by the corners. Wear protective gloves to prevent slips and protect against sharp edges.
Align Correctly Before Inserting
Check for labels or a beveled edge indicating the top. The front side should face outward. Insert slowly into the frame or slot, with no force needed. A snug, gap-free fit means it is seated properly.
Lock With Retaining Clips
Use U-shaped metal brackets, plastic retainers, or edge clips to secure the mirror. Fasten clips along the top and sides to prevent movement. Never rely on friction alone, as the mirror could shift over time.
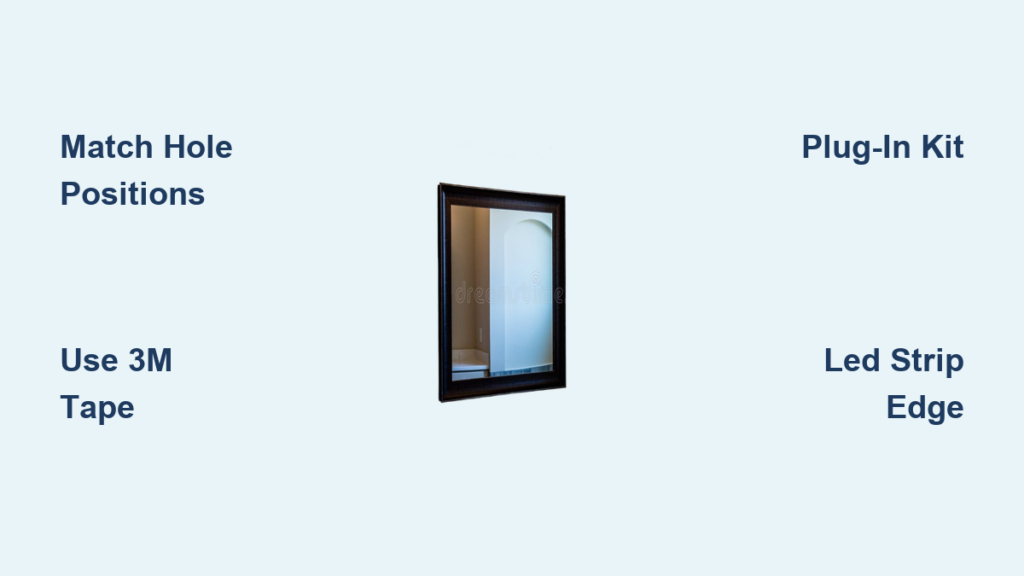
How to Install LED Lighting on Your Vanity Mirror
Peel the backing from the LED strip and press it firmly along the inner edge of the mirror frame. Ensure even spacing and no kinks. Avoid overlapping or bending the strip sharply, as this damages the lights.
Route Wires Neatly
Feed the power cable through designated grooves or channels in the cabinet. This keeps wires hidden and prevents pinching. Never staple or compress wiring, as this creates fire hazards and connection issues.
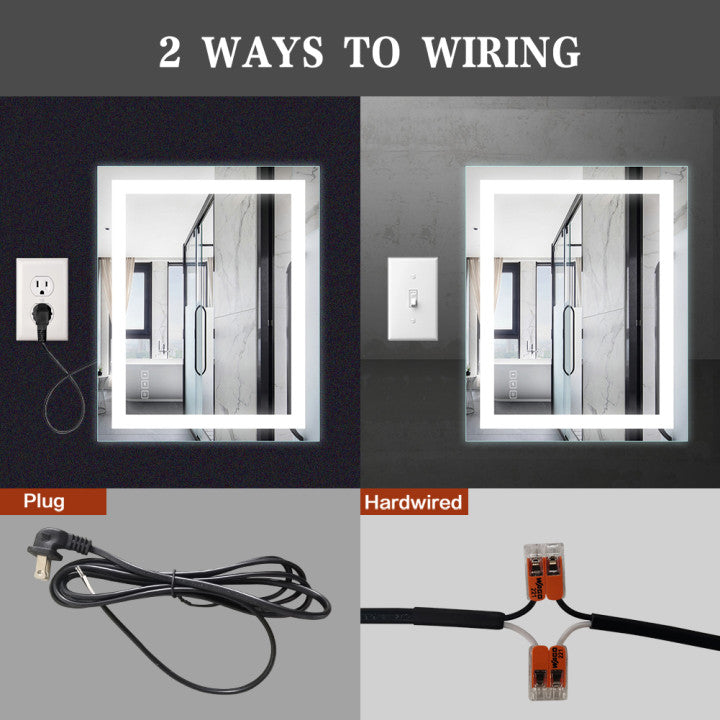
How to Connect Power and Test LED Lights
Connect the LED strip to the internal transformer or power adapter. Plug the adapter into a standard wall outlet. Some models support hardwiring, but only attempt this if you are qualified.
Test All Controls Immediately
Turn on the lights and verify full illumination, touch sensor response if equipped, and dimmer or color temperature controls. Flickering or dark sections indicate connection problems; recheck connections and strip alignment before proceeding.
How to Attach and Level Vanity Legs
Turn the unit upright. Attach legs or base feet into threaded inserts on the cabinet’s underside. Use the Allen wrench to tighten securely at all corners.
Adjust for Stability
Rock the vanity gently. If it wobbles, use adjustable legs to level it or place shims under shorter legs on uneven floors. Confirm with a bubble level placed on top and front. An unlevel vanity stresses joints and affects drawer function.
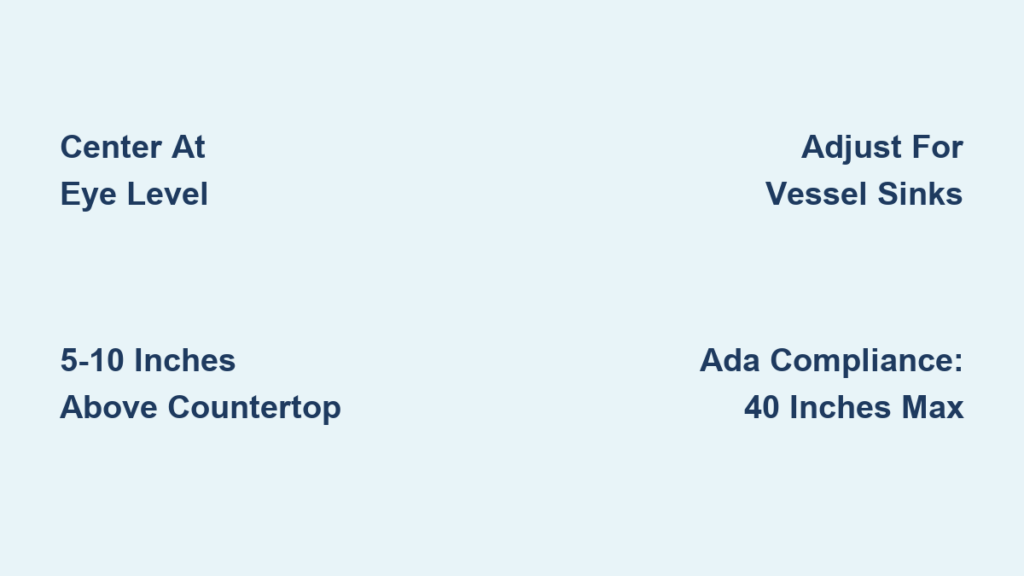
How to Anchor Your Vanity Mirror to the Wall
Locate the included metal bracket. Attach it to the back upper panel of the vanity using screws. Then secure the wall side into studs or drywall anchors.
Why Wall Anchoring Matters
This bracket prevents tipping, which is critical in homes with children or pets. It also supports magnetic catch systems and reduces stress on cabinet joints. Never skip wall anchoring in high-traffic areas.
How to Apply Finishing Touches
Use the white circular stickers to conceal visible screw heads or unused pilot holes. These blend with laminated MDF or engineered wood finishes for a clean look.
Remove Temporary Stickers
After drawer installation, peel off stickers labeled 31 and 32. These were alignment aids; leaving them on may interfere with drawer closure or aesthetics.
Clean All Surfaces
Wipe the cabinet with a dry, lint-free cloth. For the mirror, use a non-abrasive glass cleaner and microfiber cloth. Avoid ammonia-based cleaners, as they damage anti-reflective or anti-fog coatings.
How to Perform Final Inspection
Verify every critical point: all parts matched to diagram, CL/CR markings aligned, D and S screws tightened but not stripped, top panel fully seated, drawer slides level and smooth, drawers open and close fully, mirror secure with no wobble, LED lights and controls working, magnetic catch engaging if present, stickers 31 and 32 removed, screw holes covered, unit stable and level, and wall anchor installed.
Test Stability and Function
Gently shake the unit. Any looseness indicates you need to re-tighten screws and recheck bracket mounts. Re-inspect after 48 hours, as materials may settle slightly during initial use.
How to Maintain Your Vanity Mirror Long-Term
Every 3 to 6 months, inspect screws and connections, clean mirror and frame, test LED brightness and wiring, and re-tighten loose legs or brackets. Humidity and frequent use can loosen joints over time.
Replace Failing Components
If LED strips dim or flicker, replace with manufacturer-approved parts. Do not modify internal wiring. Keep the original receipt and packaging for warranty claims, as most brands offer 1 to 5 years of coverage.
Frequently Asked Questions About Assembling a Vanity Mirror
How long does it take to assemble a vanity mirror?
Most vanity mirrors take 60 to 90 minutes to assemble. First-time assemblers may need up to 2 hours. Models with pre-assembled drawers or pre-installed LED strips reduce assembly time significantly.
Do I need special tools to assemble a vanity mirror?
Most vanity mirrors include an Allen wrench, typically 4mm or 5mm. You may need a screwdriver for initial screw placement. A bubble level is recommended for ensuring proper alignment. A second person is highly recommended for handling large panels and the mirror safely.
What should I do if parts are unlabeled?
If parts lack labels, refer to the assembly diagram. Match pieces by shape, size, hole configuration, and edge notations like CL or CR. The correct part will align seamlessly without forcing it into place.
Can I assemble a vanity mirror alone?
Solo assembly is possible but not recommended for large or heavy units. A second person helps hold large panels steady, align edges during top panel installation, and handle the mirror safely. Working alone increases the risk of injury and damage.
Why is my drawer sticking after installation?
Sticking drawers usually result from misaligned slides. Loosen the slide screws, reposition the track so it is parallel to the other side, and re-tighten while the drawer is closed. Test the drawer multiple times to ensure smooth operation.
How do I clean the mirror without damaging it?
Use a non-abrasive glass cleaner and a microfiber cloth. Avoid ammonia-based or abrasive cleaners, as they can damage anti-fog or anti-reflective coatings. Wipe gently in circular motions to prevent streaks.
Key Takeaways for Assembling Your Vanity Mirror
Assembling a vanity mirror does not require professional skills, but it does demand patience, the right tools, and attention to detail. By following these steps, you ensure a safe, sturdy, and beautiful result that enhances your daily routine. Take time to verify alignment at each stage, handle the mirror with extreme care, and secure all hardware without overtightening.
Remember to anchor the unit to the wall for safety, test all functions before regular use, and perform routine maintenance every 3 to 6 months. Whether you are upgrading your bedroom or setting up a new bathroom, a correctly assembled vanity mirror delivers lasting function and modern style for years to come.