Putting together a full-length mirror with a stand can feel intimidating, especially when you’re staring at a pile of parts and a confusing instruction manual. But with the right approach, tools, and a few pro tips, assembling a mirror with stand becomes a quick, safe, and satisfying DIY task that takes most people under an hour. Whether you have just unboxed a new floor mirror or are building a custom design, this guide walks you through every step from unpacking to final stability checks.
You will learn how to avoid common mistakes, ensure long-term durability, and get a perfectly level, wobble-free mirror that stands strong for years. We will cover workspace preparation, part inventory, step-by-step assembly procedures, troubleshooting common issues, and expert maintenance tips.
Prepare Your Workspace Before Assembly
A clean, properly set up workspace is the foundation of successful mirror assembly. This step is non-negotiable for safety and accurate alignment.
Choose the Right Surface
Select a hard flooring area like hardwood, tile, or concrete for your assembly space. Avoid carpet entirely because it traps dust, hides small parts, and makes alignment significantly more difficult. Lay down a soft towel, foam pad, or cardboard to protect the mirror surface during handling. Work in daylight or under bright overhead lighting to ensure clear visibility of alignment marks and small hardware.
Clear the Area
Remove all obstacles surrounding your workspace to allow full movement during assembly. Ensure you have enough room to lay the mirror flat completely without needing to reposition mid-assembly. Keep children and pets away from the workspace to prevent accidents with glass or small hardware parts.
Inventory All Parts Before Starting
Missing or misplaced hardware is the number one cause of failed assembly. Take five minutes to organize everything and verify all components are present.
Check Your Components
Gather and verify these common mirror components: the mirror panel with protective film on both sides, backboard or frame, legs or base supports in your chosen configuration, bottom ledge and C-bracket if applicable, various screws, bolts, washers, and nuts, and the Allen wrench typically included. Spread all parts on a clean surface and group screws by size using labeled bowls or folded paper. Match each piece to the parts list in your manual.
What to Do If Parts Are Missing
Contact the manufacturer immediately if any hardware is missing. Brands like IKEA, Walker Edison, and SimpliHome typically offer free replacements with photo proof and model number. Take photos of all components laid out flat after unpacking as documentation for any warranty claims.
Attach Frame to Backboard

Some mirrors arrive with the frame already fixed to the backboard. If your components are separate, this becomes your first structural step.
Step-by-Step Frame Attachment
Align the frame with the backboard using pre-drilled holes as your guide. Insert screws and tighten them gradually in a crisscross pattern to distribute pressure evenly across the entire surface. For plastic or MDF backboards, torque to 0.5 to 1.0 Nm to avoid stripping threads. Never over-tighten screws because this can crack composite materials or strip threading.
Connect Legs to Backboard
This step creates the stand foundation and accuracy here directly prevents wobbling later.
For A-Frame or U-Base Legs
Align legs with mounting holes on the backboard and insert bolts through washers, then into nuts or threaded inserts. Tighten with an Allen wrench until snug, but do not force the connection. For added durability in frequently moved mirrors, apply thread-locking compound like Loctite 222 to bolts. A-frame legs offer the most stability while X-stands look sleek but require proximity to a wall for safety.
Install Bottom Ledge for Custom Builds
In DIY models, the bottom ledge supports the mirror base and prevents forward tipping.
How to Fit the Ledge
Cut a wooden or metal bar to span between the legs and position it near the front edge of the base. Secure with wood screws driven through the legs into the ledge ends. Ensure the ledge is level and flush with both sides. Use removable screws instead of glue if you plan to disassemble the mirror later.
Cut Lap Joints for C-Bracket

The C-bracket holds the top of the mirror. In custom builds, lap joints ensure it sits flush and secure.
Making the Joint
Measure and mark the top inner face of each leg where the C-bracket will sit. Clamp legs securely and use a table saw or router with a tenon jig to cut a horizontal notch matching the C-bracket thickness. Test the fit and adjust for a snug, flush connection. Adding a felt pad between the bracket and leg reduces vibration and noise.
Mount the C-Bracket Securely
The C-bracket is your mirror top anchor and must be screwed in, not just resting on gravity.
Installation Steps
Place the C-bracket into the lap joints or on top of legs if no joint exists. Pre-drill holes in wooden legs to prevent splitting, then drive two wood screws through the back of each leg into the bracket vertical flanges. Confirm the bracket is centered and level before final tightening. Never rely on gravity alone because this creates a serious tip hazard.
Install Back Support or Kickstand
Many mirrors include a folding tension rod or prop leg for rear stability.
How to Attach the Support
Connect one end of the back support to the lower frame and the other to a pivot point near the top rear of the backboard. Test the hinge to ensure it locks securely at the correct angle, typically 60 to 75 degrees for optimal rear support. If the support will not lock, check for bent pins or debris in the hinge mechanism.
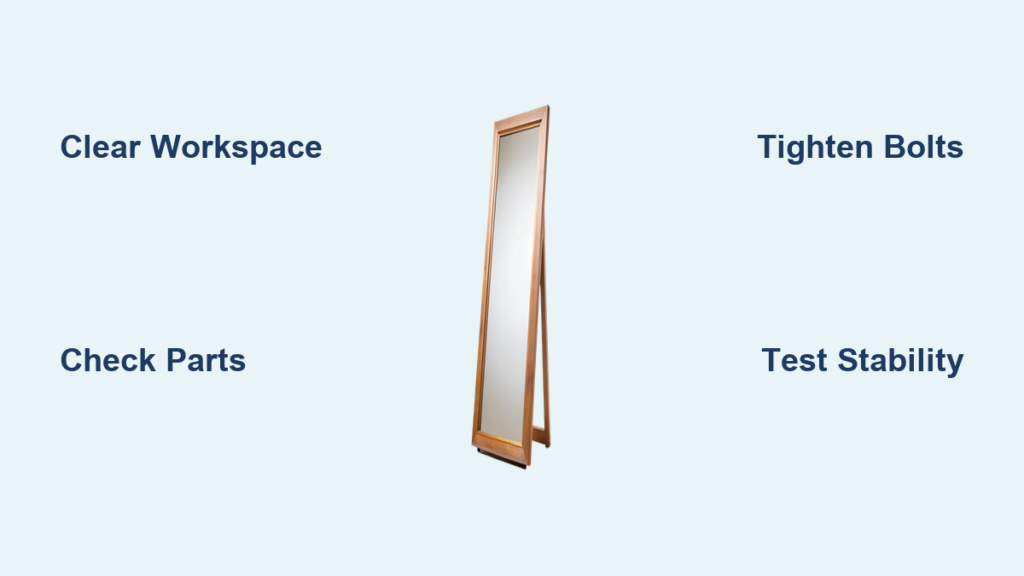
Final Stability Test
Before standing the mirror upright, verify every connection thoroughly.
The Wiggle Test
Gently push the top of the mirror side-to-side and front-to-back. Acceptable movement is minimal, less than one centimeter, with no squeaks. Unacceptable results include rocking, creaking, or visible gaps between components. Fix wobble by tightening all bolts and screws, adding rubber feet or felt pads under leg ends, or placing thin shims under legs if the floor is uneven. Use a spirit level to confirm vertical alignment.
Position and Level the Mirror
Now move your mirror to its final spot safely.
Placement Tips
Avoid high-traffic zones where the mirror can be bumped and keep it away from direct sunlight and high humidity areas like bathrooms. Use floor protectors to prevent scratches on hardwood or tile surfaces. Place a bubble level vertically on the mirror surface and adjust leg positions or add shims as needed. Enlist a helper for mirrors over 160 centimeters because they are top-heavy and awkward to handle alone.
Remove Protective Film
Only remove the protective film after the mirror is securely in place and positioned.
How to Peel Safely
Start at a corner and pull the film slowly at a 45-degree angle. Use a soft cloth to wipe off adhesive residue, then clean the glass with a vinegar-water solution and a microfiber cloth. Never use ammonia-based cleaners unless the manufacturer specifically approves them.
Common Assembly Problems and Fixes
Even with clear instructions, issues can arise. Here is how to fix the most frequent problems.
Mirror Wobbles
A loose joint or uneven floor causes wobbling. Tighten all hardware and add rubber feet or shims under the legs.
Screws Will Not Thread
A stripped hole or wrong screw type causes this issue. Switch to the correct screw or insert a toothpick with wood glue into the hole and let it dry before reinserting the screw.
Back Support Will Not Lock
Misaligned hinges or bent pins cause this problem. Realign the parts and inspect for debris or damage.
Mirror Leans Forward
An insecure C-bracket or too shallow back leg angle causes forward leaning. Reinforce the bracket or adjust the kickstand angle.
Frequently Asked Questions About Assembling a Mirror with Stand
How long does it take to assemble a mirror with a stand?
Most mirrors take 15 to 45 minutes to assemble, depending on complexity and your experience level. Simple models with pre-attached frames require less time while custom builds with lap joints and bottom ledges take longer.
What tools do I need to assemble a mirror with stand?
Most kits include an Allen wrench, typically 4mm or 5mm, and possibly a screwdriver. Recommended additional tools include an adjustable wrench, rubber mallet, spirit level, and soft cloth for protection.
Why does my mirror wobble after assembly?
Wobbling usually results from loose joints, uneven floor surfaces, or incorrect leg alignment. Tighten all hardware, add rubber feet or felt pads under the legs, or place thin shims under legs to stabilize the mirror.
Can I assemble a mirror standing upright?
Never assemble a mirror while it is standing upright. Always lay the mirror flat on a protected surface during assembly for safety and accurate alignment. Only stand it up after all supports are fully secured.
What should I do if hardware is missing from my mirror kit?
Contact the manufacturer immediately with your model number and a photo of the parts list. Most major brands like IKEA, Walker Edison, and SimpliHome offer free replacements within 24 to 48 hours.
Key Takeaways for Assembling Your Mirror with Stand
Successful mirror assembly requires patience, preparation, and attention to detail. Always inventory all parts before starting and work on a clean, flat, protected surface. Follow the crisscross pattern when tightening screws to ensure even pressure and avoid over-tightening, which can strip threads or crack materials.
Test stability thoroughly using the wiggle test before positioning your mirror in its final location. Use a spirit level to confirm vertical alignment and make necessary adjustments with shims or rubber feet. Remove the protective film only after the mirror is securely in place.
For long-term durability, re-tighten key joints like the C-bracket and leg bolts every three to six months, especially in high-traffic homes. With proper assembly and maintenance, your freestanding mirror will provide years of reliable use without wall mounting.