You’re merging onto the highway, check your mirrors, and suddenly a car horns aggressively from your blind spot. That terrifying moment is completely avoidable. How to adjust mirrors properly is one of the most critical driving skills you can master, yet nearly every driver gets it wrong. Proper mirror setup eliminates dangerous blind zones, reduces the need for head turning, and gives you complete awareness of surrounding traffic. In this guide, you’ll learn the exact SAE method developed in 1995 that virtually eliminates blind spots, plus how to adapt your mirrors for highway, city, and night driving.
Why Mirror Adjustment Matters for Safety
Proper mirror alignment does more than help you back up. It creates a continuous field of view that lets you track vehicles from behind without turning your head. The goal is eliminating the gap between what your rearview mirror shows and what your side mirrors capture. When mirrors are set incorrectly, a vehicle can disappear behind your C-pillar exactly where another car might be traveling. This creates a dangerous perception gap that leads to accidents during lane changes and merges. Even with Blind Spot Monitoring technology, improperly adjusted mirrors leave you vulnerable because BSM systems can fail to detect motorcycles, have delayed responses, or miss vehicles on curves. Your mirrors are your first line of defense.
Set Your Driving Position First
Mirror alignment only works when your seat is locked in your correct driving position. Even a slight shift forward or changes in your head height completely alters the mirror angles and renders your setup inaccurate.
Lock In Your Driving Position
Before touching any mirror, adjust your seat so your back rests flat against the seatback. Your hands should rest naturally at 9 and 3 positions on the steering wheel. You must be able to press all pedals fully without stretching. Once your seat is set, do not move it until all mirrors are adjusted. If another driver uses the vehicle, both seat and mirrors need resetting before you drive.
Why Seat Position Affects Mirror Accuracy
Your mirrors reflect what is behind you based on exactly where your eyes are positioned. If you sit too far back or lean forward unexpectedly, the viewing angle changes dramatically. A vehicle could vanish completely behind your C-pillar even with supposedly perfect mirror settings. A fixed seat position ensures every adjustment stays accurate and repeatable, especially valuable if your vehicle has memory presets for multiple drivers.
The Correct Mirror Adjustment Order
Always adjust mirrors in this specific sequence to build a continuous visual path from center to sides. Start with the rearview mirror to establish your central reference point. Next adjust the driver side mirror. Finally adjust the passenger side mirror. Skipping or reordering this process leads to gaps in coverage that defeat the purpose of proper setup.
How to Adjust Your Rearview Mirror
The rearview mirror provides your main view of traffic directly behind your vehicle and should show the entire rear window without obstruction.
Center the Rear Window
Sit in your normal driving position and tilt the rearview mirror until it shows the full rear window. You should not see headrests, interior structure, or roof in the mirror. The goal is seeing everything behind you without moving your head. If you drive an SUV or minivan with poor rear visibility, slightly angle the mirror to include more of the cabin, but only when necessary.
Use Night Mode When Needed
Flip the lever at the bottom of your rearview mirror to activate anti-glare night mode when headlights behind you are blinding. Modern vehicles often have auto-dimming mirrors that adjust automatically based on ambient light conditions.
Keep Mirrors Clean
Smudges, dust, and water spots distort vision and amplify glare significantly at night. Wipe mirror surfaces weekly with glass cleaner and a microfiber cloth to maintain clear visibility.
Adjusting the Driver’s Side Mirror Using the SAE Method
The left mirror should extend visibility into your left blind zone without showing your own vehicle. The SAE method, developed by the Society of Automotive Engineers in 1995, is the gold standard for this adjustment.
Step-by-Step SAE Procedure
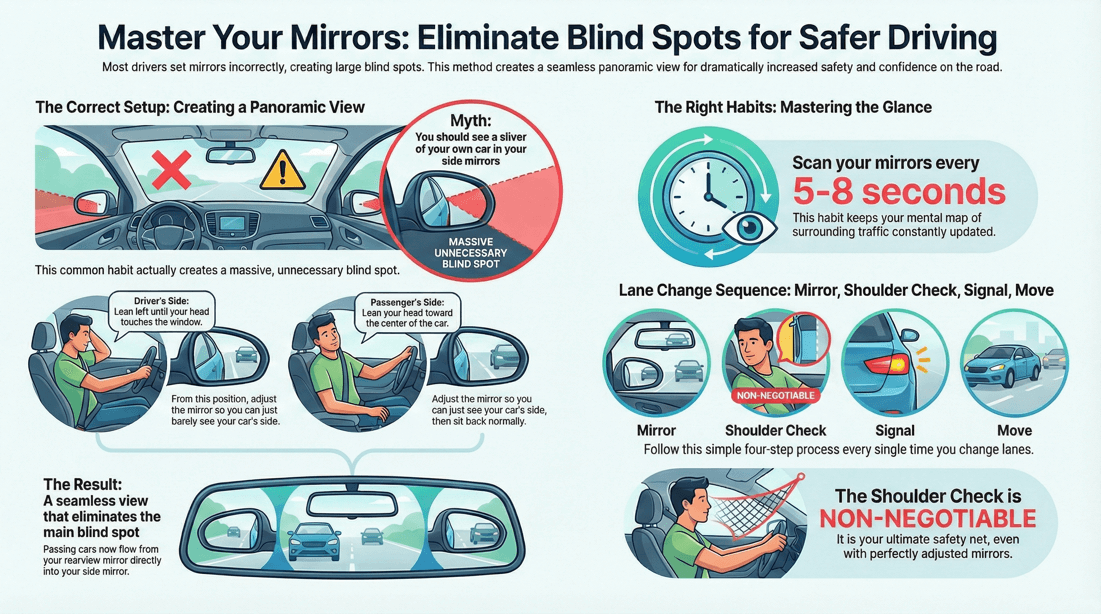
Lean your head to the left until it touches the driver side window. From this position, adjust the left mirror outward until you just barely see the side of your car at the mirror right edge. Return to your normal driving position. Your vehicle should now be completely out of view in the side mirror. This eliminates overlap with your rearview mirror and extends coverage into the adjacent lane.
Alternative Sliver-of-Car Method
If the SAE method feels disorienting, sit normally and adjust the mirror outward until only a thin sliver of your car appears on the right side. Most of the mirror should show traffic beside and behind you. This compromise keeps a reference point while still reducing blind spots significantly.
What You Should See
In your normal driving position, no part of your car should be visible in either side mirror. A vehicle passing should move smoothly from rearview mirror into side mirror and then into your peripheral vision without ever disappearing. There should be no gap where it vanishes behind the C-pillar.
Adjusting the Passenger-Side Mirror
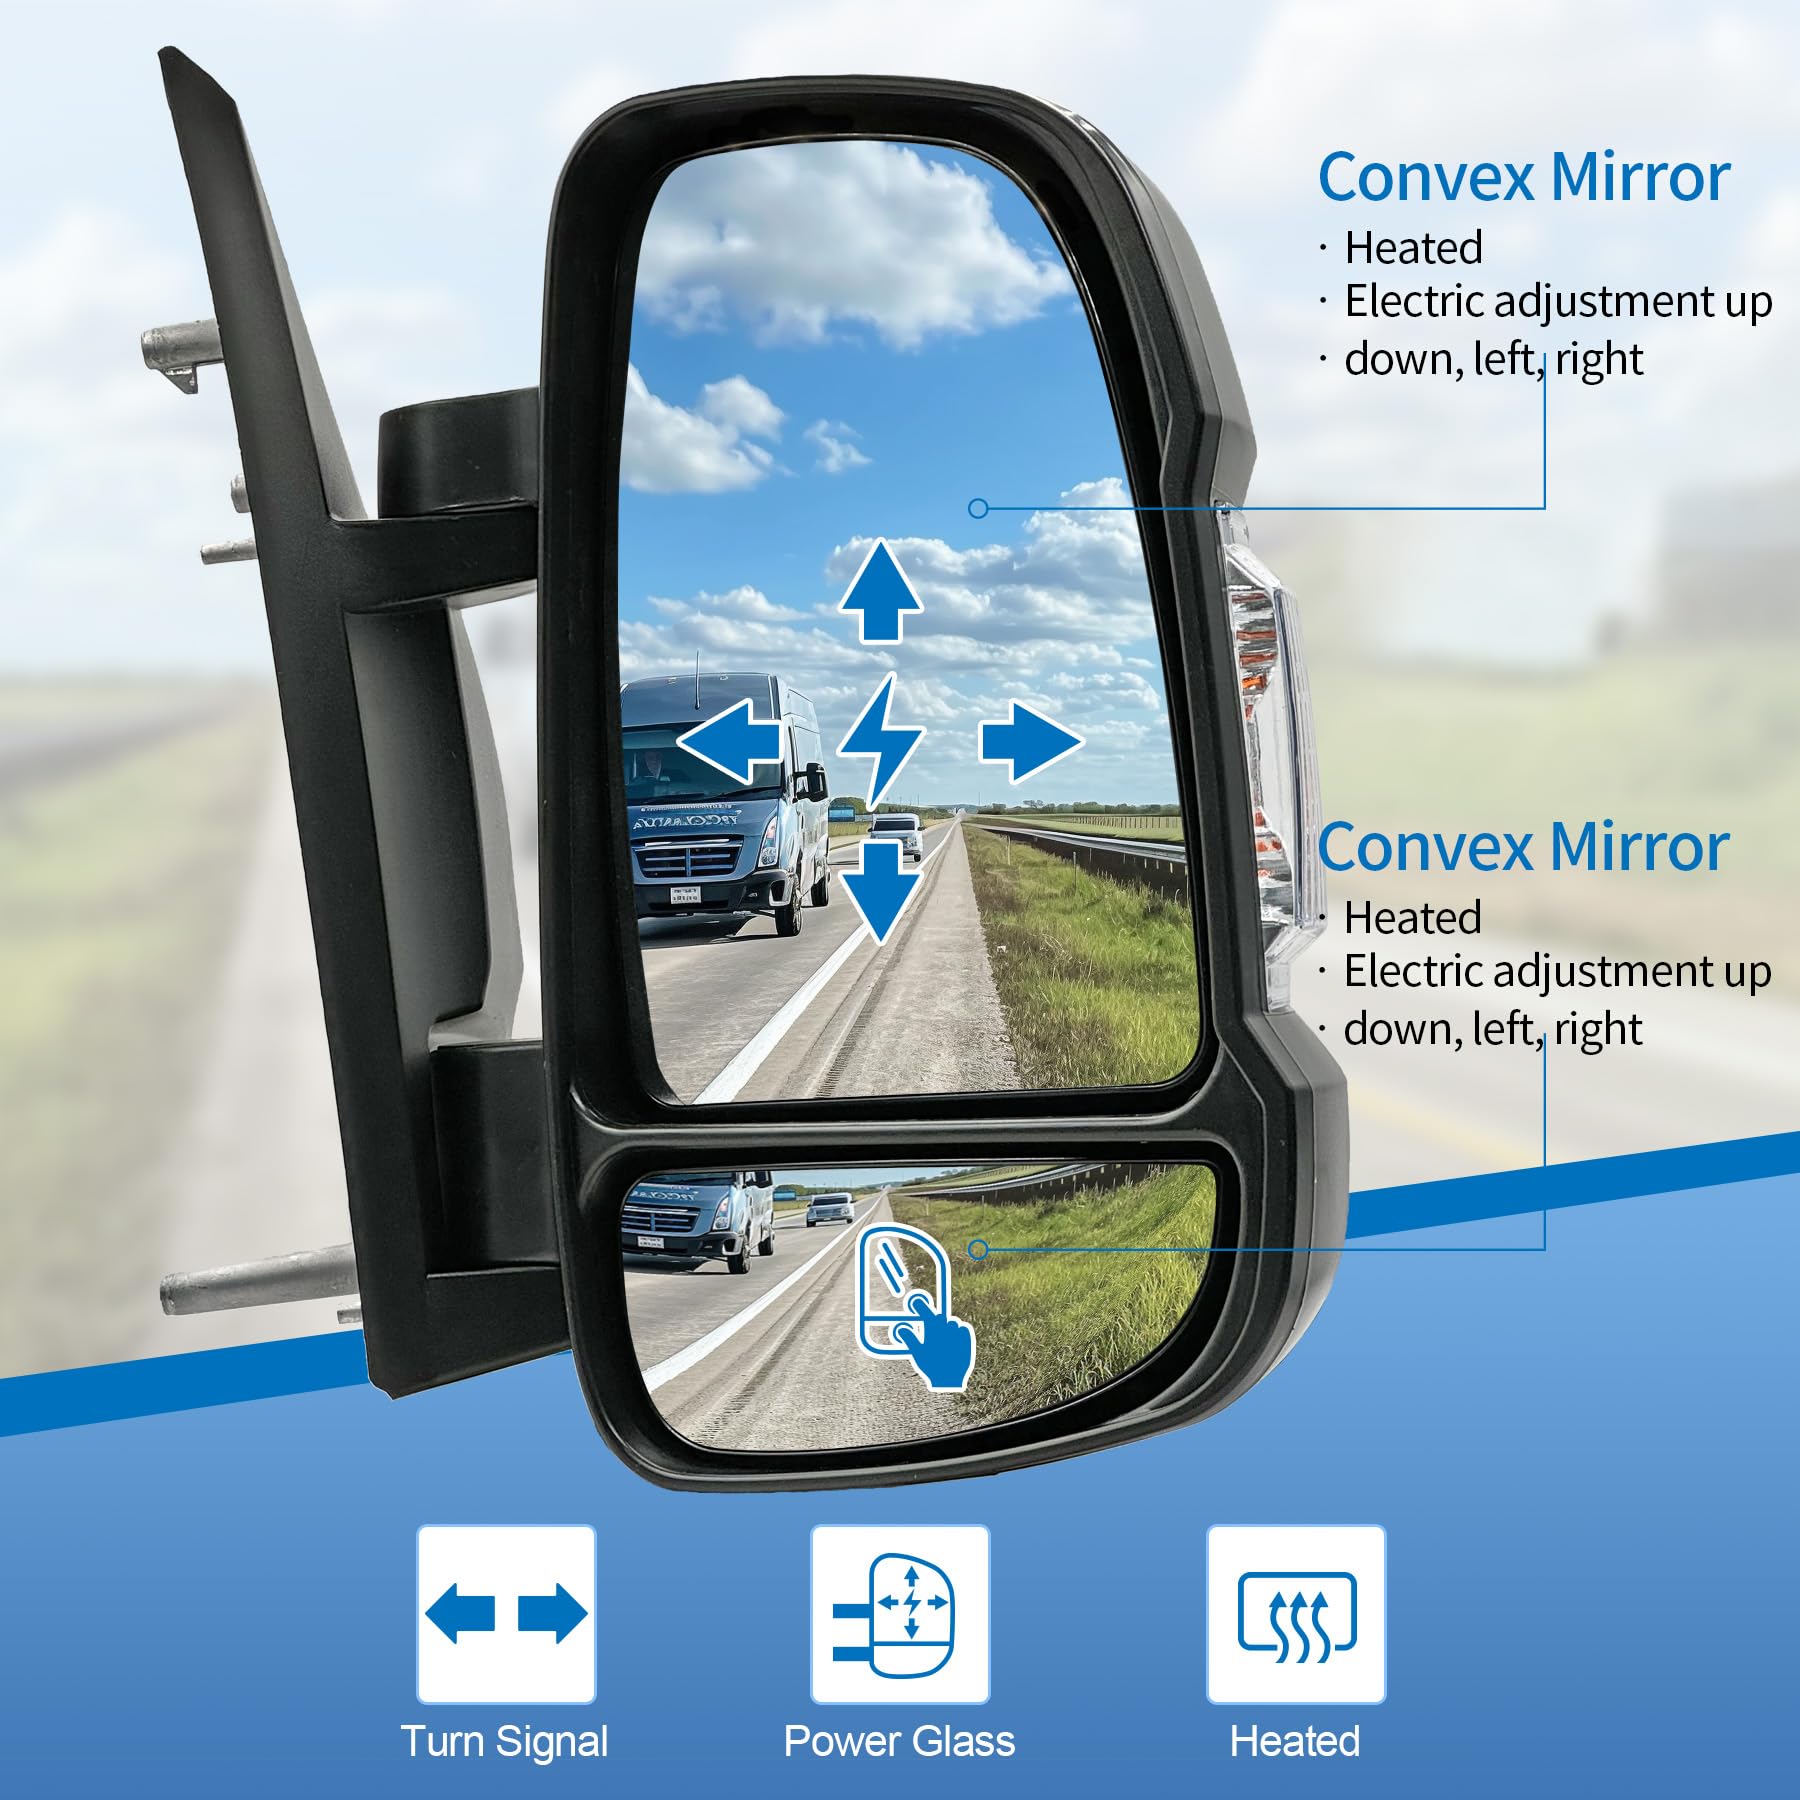
The right mirror is typically convex, giving a wider field of view but making objects appear farther away than they actually are.
Apply the SAE Method to the Right Side
Lean your head to the right toward the center console. Adjust the right mirror outward until you just barely see the side of your car at the mirror left edge. Sit back in your normal position. Your car should no longer be visible. From your normal driving position, the mirror should show the right lane and beyond.
Standard Adjustment Option
If you prefer having a visual reference, sit normally and adjust the mirror so the back bumper appears in the bottom-left corner. The rest of the mirror should capture the lane to the right. This method is common but allows more overlap with the rearview mirror.
Convex Mirror Reality Check
Because the passenger-side mirror is curved, it shows a wider field of view than the driver side but objects are closer than they appear. Always verify actual distance before changing lanes. Proper adjustment ensures vehicles transition smoothly from rearview to side mirror without disappearing.
Why the SAE Method Eliminates Blind Spots
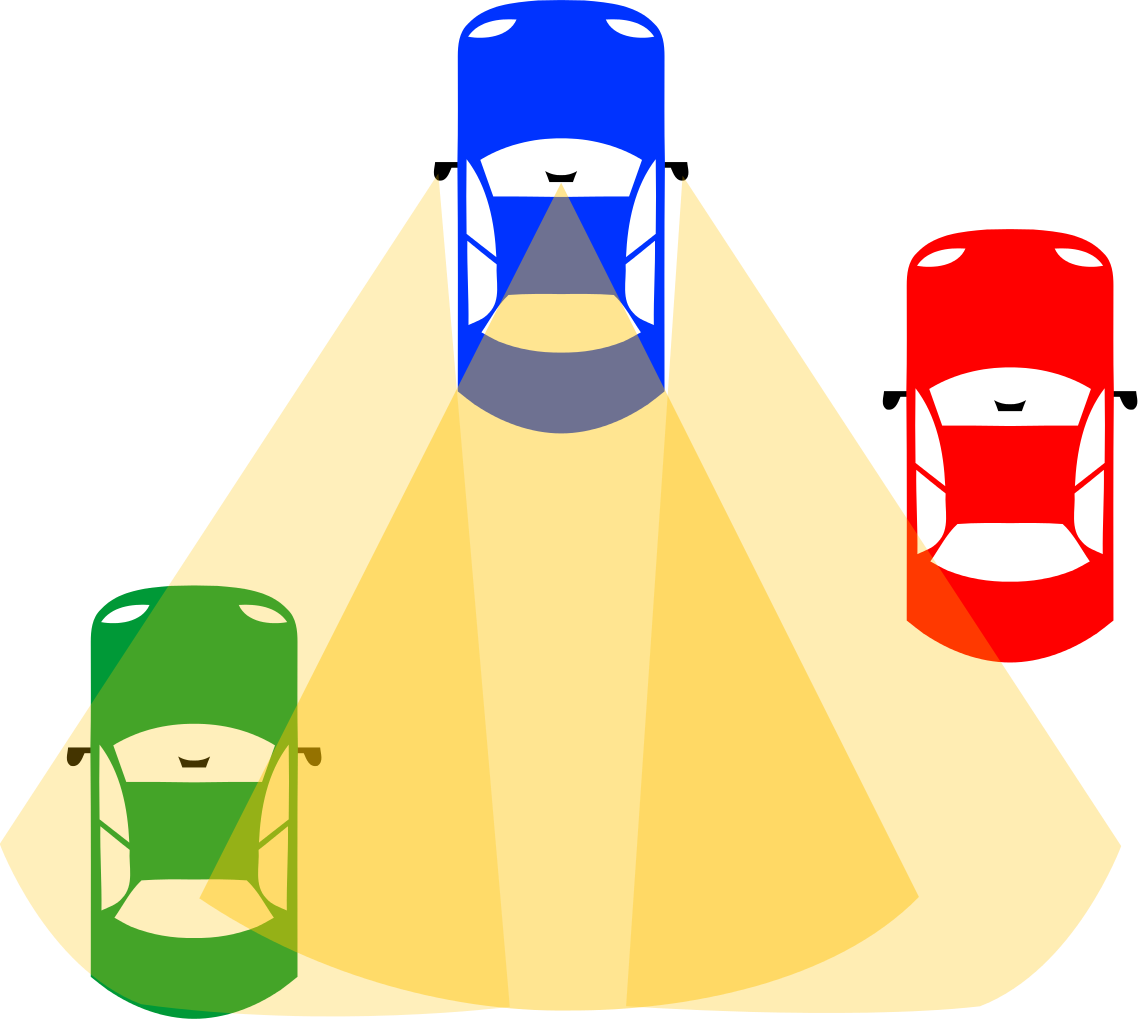
The Society of Automotive Engineers proved in 1995 that blind spots can be nearly eliminated with correct mirror alignment. This method removes the visual overlap between rearview and side mirrors that wastes coverage and leaves dangerous gaps behind the C-pillar.
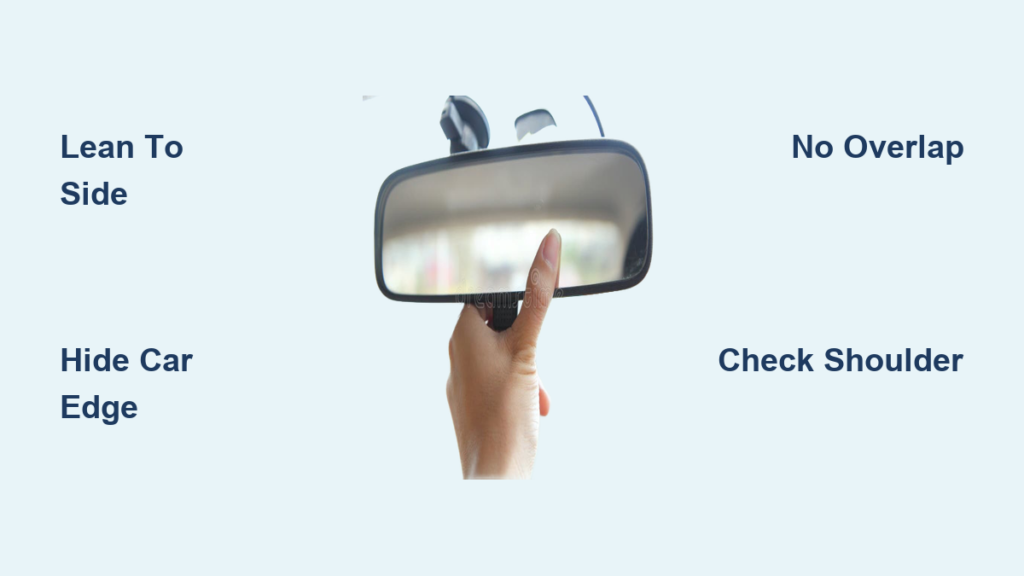
No Overlap, No Gaps
Traditional mirror settings create visual overlap between rearview and side mirrors. This wastes valuable mirror space and leaves a dangerous gap behind your C-pillar where vehicles can hide. The SAE method uses the edge of the mirror as the vehicle boundary and creates a seamless sweep of vision from rear to side to periphery.
Real-World Proof
In tests using an Audi RS3, a vehicle remained visible in the side mirror the entire time it passed. It never disappeared behind the C-pillar. The driver could react instantly when the car reached lane position. When mirrors are set correctly, you will see a car move from rearview mirror to side mirror to peripheral vision without ever losing sight of it.
Adapting Mirror Settings for Different Driving Conditions
Mirror angles should change based on where you are driving and what conditions you face.
Highway Driving
Widen mirror angles slightly outward to monitor fast-moving traffic in adjacent lanes. Scan every five to eight seconds between mirrors to maintain awareness of lane changes behind you. Keep a consistent rhythm of left mirror, rearview, right mirror, repeat.
City Driving
Angle mirrors slightly downward to see curbs, cyclists, and pedestrians at intersections. Watch for sudden stops and keep your rearview mirror clear and centered. Be extra cautious at intersections and when turning right.
Night Driving
Activate night mode on your rearview mirror. Tilt side mirrors slightly down to avoid headlight glare from vehicles behind you. Clean mirrors thoroughly because dirt and smudges worsen glare significantly under artificial lighting.
Bad Weather
Use heated mirrors to prevent fogging and ice buildup if your vehicle has them. Adjust mirrors upward if water pools at the bottom. Apply hydrophobic coatings to repel rain and maintain visibility.
When to Still Check Over Your Shoulder
Even with perfect mirror alignment, you must check over your shoulder before changing lanes. BSM systems can fail, especially with motorcycles or fast-approaching vehicles. Weather, curves, and ramps can create temporary blind spots that mirrors cannot see. No mirror setup is 100 percent foolproof. Use mirrors to reduce head movement, but always verify with a quick glance when it matters.
Common Mirror Myths Debunked
Myth: I Need to See My Car in the Mirror
Many drivers insist on seeing their own vehicle in side mirrors. The reality is you already know where your car is. What matters is seeing other vehicles next to you. Seeing your car wastes valuable mirror space that should show traffic in your blind zone. Keep a minimal sliver of your car visible if you frequently switch between vehicles, but aim to eliminate it over time.
Troubleshooting Mirror Problems
| Issue | Solution |
|---|---|
| Mirror will not move | Check fuses, test door electronics, inspect motor for failure |
| Mirror shakes or vibrates | Tighten mounting screws or replace the housing assembly |
| Poor visibility despite correct adjustment | Clean with glass cleaner and microfiber cloth |
| Memory recall fails | Reset settings or visit a service center |
Clean mirrors weekly and inspect for cracks or condensation in heated models. Lubricate folding mechanisms annually if your vehicle has them.
Key Takeaways for Perfect Mirror Setup
The SAE 1995 method is the gold standard for eliminating blind spots. It requires a mental shift away from seeing your own car in the mirror. Instead, use the mirror edge as your vehicle boundary. With practice, you will see vehicles move smoothly from mirror to mirror without disappearing. Combine this method with shoulder checks, and you will drive safer than most road users. Adjust your mirrors like your life depends on it because it might.
Frequently Asked Questions About Adjusting Mirrors
What is the SAE mirror adjustment method?
The SAE method, developed by the Society of Automotive Engineers in 1995, involves leaning your head to each side and adjusting mirrors until your car just disappears from view. This eliminates overlap between mirrors and removes blind spots.
Why can I not see my car in the side mirrors?
You should not see your car in properly adjusted side mirrors because that space is wasted. The mirror should show traffic in adjacent lanes and your blind zones instead. Knowing where your car is does not require seeing it in the mirror.
How often should I check my mirrors while driving?
Safety experts recommend scanning all mirrors every five to eight seconds while driving. Maintain a consistent pattern of checking left mirror, rearview, right mirror, then repeat.
Do I still need to check over my shoulder if I have Blind Spot Monitoring?
Yes. BSM is a backup system, not a replacement for mirrors or shoulder checks. BSM may miss motorcycles, have delayed responses, or fail on curves and ramps. Always perform shoulder checks before lane changes.
Should mirrors be adjusted differently for highway versus city driving?
Yes. Highway driving calls for wider mirror angles to monitor fast traffic. City driving benefits from mirrors angled slightly downward to see curbs, pedestrians, and cyclists. Adjust accordingly based on your current driving environment.