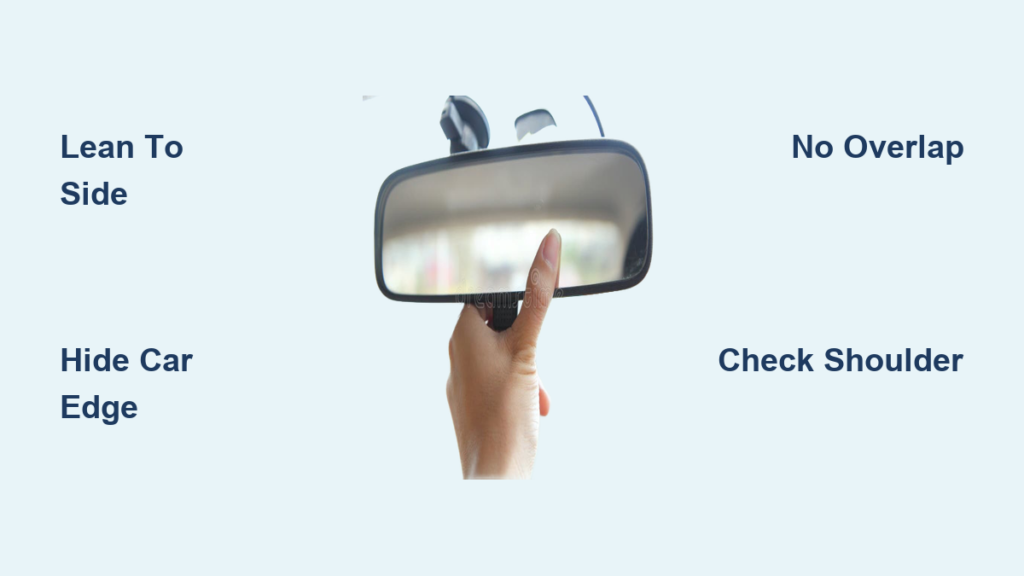
Removing a mirror cover becomes necessary when painting, upgrading to LED turn signals, or replacing a damaged component. This DIY auto task takes most people 5 to 15 minutes once they understand their vehicle’s specific fastening system. The process involves identifying whether your cover uses plastic clips, adhesive tape, screws, or internal tabs, then applying the correct removal technique. Using improper tools or rushing through the job leads to broken clips, cracked plastic, or shattered mirror glass. This guide covers every method, tool, and vehicle-specific trick so you can complete the removal safely and efficiently.
Identify Your Mirror Cover Fastening Type First
Before applying any force, determine how your mirror cover is secured. This single step prevents damage and saves significant time during the removal process.
Check for Adhesive vs. Clips
- Aftermarket mirror caps made from carbon fiber, painted metal, or vinyl wrap typically use 3M double-sided tape for adhesion
- OEM factory covers rely on plastic snap-in clips as the primary fastening method
- Some vehicles combine both systems, using clips plus adhesive for added security
Pro Tip: Shine a flashlight around the mirror cover edges. If you see no visible gaps or seams, the cover is likely adhesive-bonded. Visible seams indicate clip-in installation.
Look for Hidden Screws
- Inspect under weather stripping, felt lining, or behind the mirror glass itself
- Vehicles like the Mazda6, RAM 1500, and certain Honda models use Torx or Phillips screws inside the housing
- Never assume screws do not exist without checking first
Essential Tools for Mirror Cover Removal
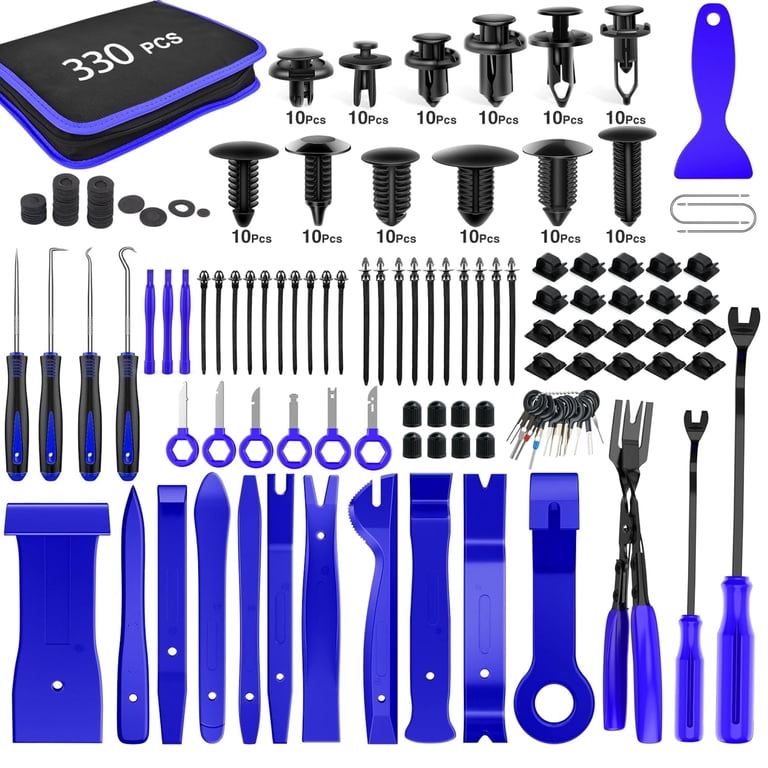
Using the right tools prevents scratches, cracks, and electrical damage during the removal process.
Required Tools List
- Plastic trim removal tools designed for automotive prying work
- Flat-head screwdriver with tape wrapped around the tip to prevent marring plastic
- Suction cup dent puller available for about $5 at hardware stores
- Heat source such as a hairdryer or heat gun for adhesive-backed caps
- Torx screwdriver set ranging from T10 to T40 for internal screws
- Pick tool or needle-nose pliers for accessing internal tabs behind glass
- Painter’s tape to limit mirror extension and protect wiring
Warning: Never use bare metal tools directly on plastic surfaces. Sudden temperature changes from heat guns can cause mirror glass to shatter.
How to Remove Adhesive-Backed Mirror Caps
Aftermarket stick-on caps installed with 3M tape require a different approach than OEM clip-in covers.
Apply Heat to Release the Bond
- Heat the cap evenly using a hairdryer or heat gun for 2 to 3 minutes
- Focus on edges while avoiding overheating any single spot
- Insert a plastic trim tool at the bottom edge and gently lift
- Peel slowly while maintaining heat on the remaining adhesive
Alternative Method: Pour boiling water over the cap to warm the adhesive. Avoid sudden temperature shifts that could crack the glass.
Clean Residue After Removal
- Wipe leftover adhesive with isopropyl alcohol
- Use commercial adhesive remover for stubborn residue
- Avoid abrasive pads that scratch the mirror housing finish
How to Remove Clip-In OEM Mirror Covers
Factory-style covers held by plastic snap clips appear on Toyota, Ford, Subaru, and many other manufacturers.
Adjust Mirror Position for Better Access
- Use power controls to tilt the mirror outward
- This exposes the inner edge where clips are easiest to release
- Never force the mirror manually to avoid damaging internal gears
Pry from the Rear Edge
- Insert a plastic trim tool at the inner or outer bottom edge
- Start at the rear where clips are often less tight
- Apply steady pressure rather than yanking suddenly
- Work around the cover releasing 5 clips located at top, bottom, and three sides
Stubborn Clip Fix: Push the clip inward slightly before pulling the cap free. This creates better leverage without breaking the plastic.
Removing Mirror Covers That Require Glass Removal

Some vehicles including the Honda Odyssey, Mazda6, RAM 1500, and Honda Civic FK8 require mirror glass removal first to access internal retention mechanisms.
Step 1: Remove Mirror Glass Safely
- Tilt the mirror inward fully
- Apply painter’s tape diagonally across the glass to limit extension
- Place fingers behind the mirror near the center
- Pull outward steadily until the adhesive releases
- Use a suction cup for additional grip if needed
User Experience: One community member reported using heat on the mirror glass followed by a suction cup dent puller, achieving successful removal on the first try.
Step 2: Access Internal Tabs
- Remove the plastic blocking piece behind the glass using a pick tool
- Locate internal tabs including side tabs with slots, center or rear-facing tabs, and square tabs with holes
- Press all tabs down simultaneously using a flat tool
- Slide the cover straight off without twisting
Critical Warning: All tabs must be released at once. Partial release causes stress fractures and broken plastic pieces.
Understanding Internal Tab Mechanisms
Different vehicles use various tab designs that must be depressed simultaneously for successful removal.
Common Tab Types
- Side tabs with engagement slots that lock during installation
- Center or rear-facing tabs requiring inward pressure
- Square tabs with holes that are particularly fragile and break easily
Important: Even one broken tab compromises the cover’s security during driving. Replace broken clips before reinstalling.
Reinstalling Mirror Glass Properly
If you removed the mirror glass during the process, correct reinstallation ensures safety and proper function.
Align and Snap Back In
- Engage top hooks first by aligning with support bars
- Insert at a slight angle if needed for initial positioning
- Apply firm pressure to the bottom edge until it clicks into place
- Use fingers from behind to guide the snapping action
- Reconnect all electrical connectors for heated mirrors, blind spot monitors, and auto-dimming features
Final Check: Gently wiggle the glass to ensure no movement occurs. Looseness indicates improper seating.
Installing Your New Mirror Cover
Whether you are painting, wrapping, or upgrading to an LED unit, proper installation prevents future problems.
Align Before Snapping
- Inspect the new cover ensuring all clips and tabs remain intact
- Begin with the top or hardest-to-reach side first
- For internal-tab systems, align side tabs before pressing other areas
- Press firmly around the entire perimeter until all clips snap securely
Pro Tip: Test fit multiple times before the final snap. Misalignment causes stress and eventual breakage.
Common Mistakes and How to Avoid Them
Understanding potential errors helps you complete the job without costly repairs.
Mirror Glass Breaks
- Cause: Cold weather, sudden heat application, or excessive force
- Fix: Work in a warm environment and apply heat gradually
Clips or Tabs Break
- Cause: Over-prying or using the wrong angle
- Fix: Use the inward-push technique and replace broken clips immediately
Wiring Damaged
- Cause: Pulling the mirror too far from the vehicle
- Fix: Apply painter’s tape to limit extension and protect electrical connections
Cover Won’t Reattach
- Cause: Misaligned clips or added thickness from wraps
- Fix: Test fit thoroughly and sand edges slightly if necessary
Vehicle-Specific Quick Reference
| Model | Removal Method | Key Notes |
|---|---|---|
| Honda Odyssey | Glass removal first | 4 Phillips screws; internal tabs; pull from bottom |
| Toyota Corolla Hatchback | Varies by year | Some require glass removal; high breakage risk |
| Ford Explorer ST | Exterior prying | Plastic clips only; no glass removal needed |
| Subaru WRX STI | Clip-only | Start at outer edge; avoid metal tools |
| Mazda6 | Full disassembly | Door panel removal required; Torx screws; fragile tabs |
| RAM 1500 2022 | Pop glass, remove screw | Push tabs after Torx screw removal |
| Honda Civic FK8 | Pop mirror first | 4 internal clips; common for aftermarket caps |
Pro Tips for Successful Mirror Cover Removal
- Use a $5 suction cup from Harbor Freight for easy glass removal
- Apply painter’s tape to prevent over-extension during work
- Move slowly and deliberately to avoid breaking clips
- Keep all screws and small parts organized in labeled bags
- Take photos during each disassembly step for reference
- Have a second person available to help with alignment
- Test all mirror functions after reassembly including folding, heating, and turn signals
User Wisdom: Keeping a spare cover on hand allows you to study clip locations without time pressure.
Final Best Practices for Mirror Cover Removal
Start with exterior prying techniques before assuming glass removal is necessary for your specific vehicle. Verify your exact model since hatchback and sedan versions often differ significantly. Preserve all tabs and clips since even one broken piece risks the cover detaching at highway speeds. Document every step during disassembly especially wire positions and screw locations. Test fit multiple times before final installation to ensure proper alignment. Keep replacement clips or a spare cover available for emergencies or future repairs.
Frequently Asked Questions About Removing Mirror Covers
Can I remove a mirror cover without removing the mirror glass?
Many vehicles allow exterior-only removal using plastic trim tools on clip-in covers. However, models like the Honda Odyssey, Mazda6, and RAM 1500 require glass removal to access internal tabs or screws.
What tools do I need to remove an adhesive-backed mirror cover?
You need a heat source such as a hairdryer or heat gun to soften the adhesive, a plastic trim tool for prying, and adhesive remover for cleanup after removal.
How do I prevent breaking clips when removing mirror covers?
Apply steady inward pressure rather than yanking outward. Start at the rear edge where clips are looser, and work around the perimeter gradually releasing all clips before attempting to remove the cover.
Can I reuse my mirror cover after removing it?
Yes, if the clips and tabs remain intact. Broken clips can be replaced with OEM spares or secured temporarily with clear silicone adhesive.
How long does mirror cover removal take?
With proper preparation and the right tools, most mirror cover removals complete in 5 to 15 minutes. Models requiring glass removal or door panel disassembly take longer, typically 20 to 30 minutes.
Key Takeaways for Removing Mirror Cover Successfully
Identifying your fastening type before starting prevents the most common mistakes during mirror cover removal. Plastic clip systems allow exterior prying while adhesive and internal tab systems require additional steps. Using proper tools including plastic trim tools, heat sources, and suction cups dramatically reduces damage risk. Patience remains the most important factor since rushing leads to broken clips, cracked plastic, and shattered glass. Following vehicle-specific procedures ensures successful removal across different makes and models.