If you have ever tried cutting your own hair only to end up with uneven sides or an accidental mullet, you are not alone. The biggest challenge is seeing the back of your head. That is where a three-way mirror comes in. This tri-fold grooming tool gives you a full 360-degree view of your scalp, letting you see your front, sides, and back all at once without needing a second person or a shaky handheld mirror. Whether you are trimming a fade, cleaning up your neckline, or shaping sideburns, learning how to use a three-way mirror can transform your DIY haircut from guesswork into precision.
In this guide, you will learn the exact setup process, viewing techniques, and pro tips to get salon-quality results at home. We will also cover common pitfalls that trip up beginners and help you decide if this tool is right for your grooming routine.
Set Up Your Three-Way Mirror Correctly

Proper setup is the foundation for effective three-way mirror use. Without the right positioning, you will struggle to see clearly and risk making mistakes during your cut.
Choose the Right Mounting Spot
The most common and stable option is over-the-door mounting. Pick a flat, sturdy interior door in your bathroom or bedroom. Make sure the door is free of obstructions. Avoid hollow-core doors or sliding doors, as they may not support the mirror securely. If you do not have a suitable door, place the mirror against a shower caddy or countertop stand, ensuring it will not wobble during use. The key is stability. Any movement during cutting disrupts your visual alignment and risks uneven results.
Hang at Eye Level for Accurate Viewing
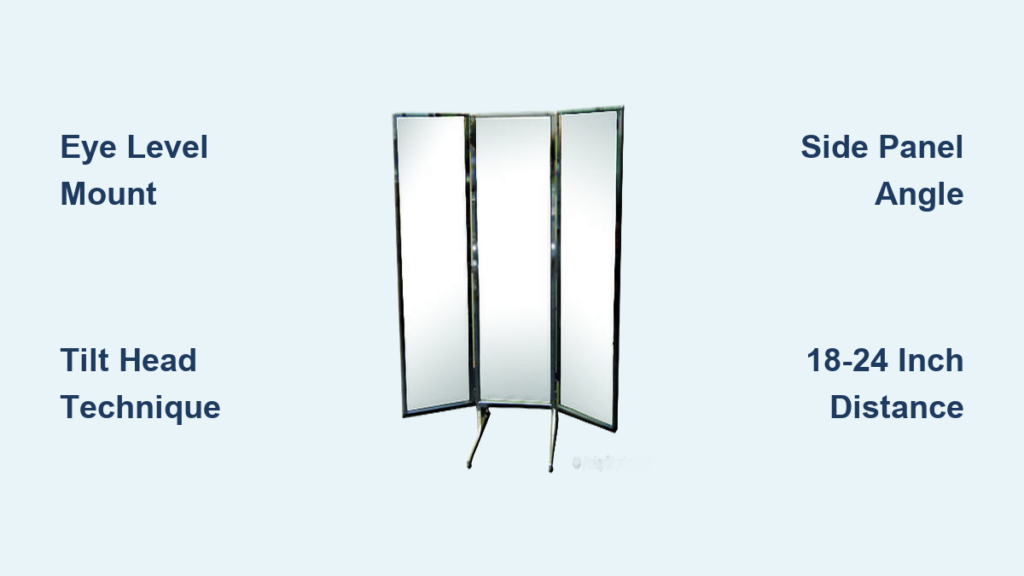
Once positioned, hang the mirror so the center panel aligns with your eye level. This prevents distorted perspective and maintains accurate depth perception. Stand about 18 to 24 inches away, close enough to see detail but far enough to view your full head in all three panels. Use a tape measure if needed to ensure symmetry. If the mirror slips, tighten the tension hangers or add rubber grips. Some users remount the panels on a camera or tripod stand for maximum flexibility and full height control.
Adjust Side Panels for Optimal View
The side mirrors should be angled between 30 and 45 degrees inward to capture your sides and back. Start with a 45-degree angle for general shaping, then narrow it for detailed work like fade lines or neckline cleanup. The goal is to see your entire crown and nape when looking into both side mirrors simultaneously. Test the angle by turning your head slightly. Each side mirror should reflect the opposite side of your head clearly. Over time, you will learn the ideal setting for your face shape and haircut style.
Master the Viewing Techniques
Understanding how to move your head and position yourself is just as important as setting up the mirror. These techniques will help you see every angle clearly.
Tilt Your Head to See the Opposite Side
One of the most powerful techniques is head tilting. To check the right side of your head, tilt your head slightly to the right. Your left-side mirror will now reflect the right side clearly. The same applies in reverse. Tilt left to inspect the left side in the right mirror. This technique is essential for trimming sideburns, checking fade symmetry, and refining temple lines. Avoid jerky movements. Slow, controlled tilts give you a stable image and prevent misalignment.
Use Both Side Mirrors to See the Back
You do not need to turn around to see the back of your head. Instead, look straight ahead and focus on both side mirrors at once. With practice, your brain will merge the two reflections into a single panoramic view of your crown and nape. This is the secret to executing clean fades and smooth blends without assistance. To improve visibility, tilt your head slightly forward. This exposes the lower nape, making it easier to define and clean up the neckline.
Maintain Proper Distance and Posture
Standing too close distorts the image and reduces your field of view. Too far, and fine details like fade lines become blurry. The sweet spot is 18 to 24 inches from the mirror. Keep your posture upright and centered so all three panels remain balanced in your vision. Avoid leaning in. Use your tools, not your body, to reach tight areas. If the reflection looks skewed, recheck your mirror height and distance. Most distortion issues stem from incorrect setup, not the mirror itself.
Integrate the Mirror Into Your Haircut Workflow
Now that you can see clearly, it is time to put that visibility to work. Following a logical sequence helps you stay organized and ensures nothing gets missed.
Start With Back and Sides
Begin your cut by focusing on the back and sides using the dual-side mirror view. This is where beginners make the most mistakes, guessing fade levels without visual feedback. Use your clippers with no guard, lever open, to establish the lowest fade point at the nape. Then gradually close the lever to soften the edge. Move upward with a 1-inch guard, blending half an inch above the previous cut. Use the mirror to ensure the transition is smooth and symmetrical on both sides.
Create and Refine Fade Guidelines

To build a burst or temple fade, use your trimmer to carve a square-shaped guideline. First, make a horizontal cut at your desired fade termination line. Second, extend vertical lines down from the top corners. Third, connect them with a curved arc to form the burst shape. Use the side mirrors to check alignment from multiple angles. Adjust as needed before blending with clippers. The three-way mirror lets you see how the fade wraps around the head, preventing flat or one-dimensional results.
Trim Top, Front, and Edges
Switch to the center mirror for cutting bangs, fringe, and sideburns. Hold your head straight and use short, controlled strokes. For line-ups and edging, use the side mirrors to ensure symmetry along the hairline and temples. A slight head tilt helps you match one side to the other. Always double-check your work from all three angles before finishing.
Clean Up the Neckline
For a crisp neckline, tilt your head forward and use the side mirrors to view the nape. Use a shaver or trimmer to bald or trim the lower section. Make a clean horizontal line, then blend upward to avoid harsh edges. Check both sides in the mirrors to ensure evenness. This is where the three-way mirror shines. No more guessing if one side is longer than the other.
Optimize Lighting and Clarity
Even the best mirror is useless in poor light. Proper lighting reveals fine details and true hair color, making your cut more accurate.
Use Built-In or External Lights
Many three-way mirrors come with LED lighting, typically 5000K to 6500K daylight balance, which helps reveal fine details and true hair color. Activate the lights with the side button if your bathroom is dim. However, built-in LEDs are often criticized for being too dim or uneven. Pro users frequently replace them or add an external ring light or desk lamp for consistent, shadow-free illumination.
Prevent Fogging and Hair Buildup
After a shower, mirrors can fog up. To avoid this, wipe the surface with a dry microfiber cloth before use. If cutting post-shower, let the mirror air-dry first. During the cut, hair clippings will fall onto the panels, obscuring your view. Pause every few minutes to wipe the mirrors with a paper towel. This removes 95 percent of debris. Finish by rinsing the mirror under the shower or wiping with glass cleaner to remove oils and residue.
Avoid Common Mistakes
Knowing what not to do is just as important as knowing the right techniques. These mistakes can derail even the best-planned haircut.
Do Not Rely on the Mirror Alone
While the three-way mirror provides excellent visibility, it can create visual distortions, especially for beginners. The tri-fold reflection may make your head appear tilted or stretched, leading to overcorrection. Always cross-check with tactile feedback and muscle memory. If something looks off, step back, reset your posture, and re-evaluate.
Do Not Skip the Learning Curve
Many negative reviews stem from users expecting perfection on the first try. The three-way mirror has a learning curve. Spend your first few sessions practicing head movements and tool control without cutting. Get comfortable with how the reflections work before attempting a full haircut. Over time, your brain will adapt, and the process will feel natural.
Do Not Overspend on Premium Models
Three-way mirrors range from about 7 dollars at Walmart to over 100 dollars online. While higher-end models offer better lighting and larger panels, they are not always worth the cost. Beginners can start with a budget tri-fold mirror and upgrade later. Some experienced users build custom setups using separate mirrors and adjustable stands for under 50 dollars, offering greater flexibility than off-the-shelf options.
Compare Mirror Options
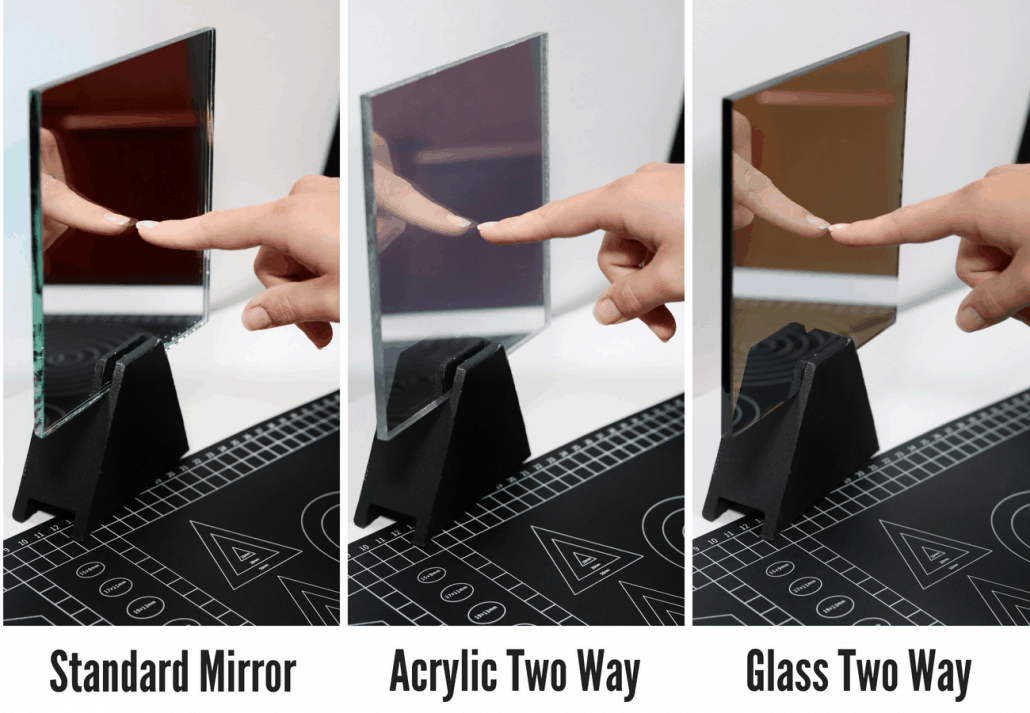
Understanding your alternatives helps you make the right choice for your needs and budget.
Three-Way vs. Handheld Mirror
| Feature | Three-Way Mirror | Handheld Mirror |
|---|---|---|
| Hands-Free Use | Yes | No |
| Back-of-Head Visibility | Panoramic view | Direct reflection |
| Setup Time | 1 to 2 minutes | Instant |
| Cost | 25 to 100 dollars | 5 to 15 dollars |
| Best For | Beginners, detailed fades | Experts, travel |
While the three-way mirror frees up both hands, some veteran self-cutters prefer a handheld mirror opposite a fixed one for its simplicity and accuracy. If you already have muscle memory, this method may feel more natural. But for beginners, the three-way mirror reduces guesswork and builds confidence faster.
Maintain and Store Your Mirror Properly
Regular maintenance keeps your mirror clear and functional for years to come.
Clean After Every Use
Immediately after cutting, wipe all mirror surfaces with a paper towel to remove hair. Follow up with a microfiber cloth and glass cleaner for smudges. Rinse under water if needed. Most models are water-resistant. Dry thoroughly before folding to prevent fogging or streaks.
Tighten Hinges and Check Lights
Over time, hinges may loosen, causing wobbling. Tighten screws regularly to keep the mirror stable. If LED lights dim or fail, replace batteries or upgrade to USB-powered bulbs. For consistent performance, consider plugging into a wall adapter instead of relying on batteries.
Store Upright and Folded
When not in use, fold the mirror flat. It is about as thin as a laptop. Store it upright in a closet, behind a door, or under the sink to prevent scratches. Avoid stacking heavy items on top, which can crack the glass or misalign the panels.
Frequently Asked Questions About Using a Three-Way Mirror
What is the ideal distance between the mirror and my face?
The ideal distance is 18 to 24 inches. This range provides enough detail for fade lines while giving you a full view of your head in all three panels. Standing closer distorts the image, while standing farther reduces clarity on fine details.
Can I use a three-way mirror without mounting it over a door?
Yes. You can place the mirror on a countertop, lean it against a shower caddy, or mount it on a wall. Some users remount the panels on camera or tripod stands for better angle control. The key is ensuring the mirror is stable and will not wobble during use.
Why does my reflection look distorted in a three-way mirror?
Distortion usually comes from incorrect mirror height or distance. If the center panel is not at eye level, the reflection appears skewed. Reposition the mirror so the main panel aligns with your eyes, then step back to the recommended 18 to 24 inch distance.
Do I need a three-way mirror if I already have clippers and trimmers?
If you struggle to see the back of your head during haircuts, a three-way mirror significantly improves your results. Beginners benefit most because it eliminates guesswork. Experienced users with strong muscle memory may find a simple handheld mirror works just as well.
How do I see the back of my head with a three-way mirror?
Look straight ahead and focus on both side mirrors simultaneously. Your brain merges the two reflections into a panoramic view of your crown and nape. Tilting your head slightly forward improves visibility of the lower nape for neckline cleanup.
Are expensive three-way mirrors worth the cost?
Not necessarily. Budget models around 7 to 15 dollars work well for basic needs. Higher-end options offer better lighting and larger panels, but many users find that adding an external light source to a cheaper model delivers equal results for less money.
Key Takeaways for Using a Three-Way Mirror Effectively
The three-way mirror is a powerful tool that amplifies your skills when used correctly. Setting it up at eye level with side panels angled between 30 and 45 degrees gives you the best visibility. Practice the head-tilting technique to see opposite sides clearly, and use both side mirrors together to view the back of your head without turning around.
Maintain an 18 to 24 inch distance and keep your posture upright to avoid distortion. Start your haircut with the back and sides, then move to the top and front, finishing with neckline cleanup. Good lighting is essential, so use built-in LEDs or add an external light source if needed.
Remember that the mirror is a tool, not a magic solution. Technique, practice, and consistent lighting matter more than the mirror itself. Start with an affordable model, master the viewing angles, and focus on building your skills. Over time, you will achieve cleaner fades, sharper lines, and better symmetry, saving both time and money on salon visits.