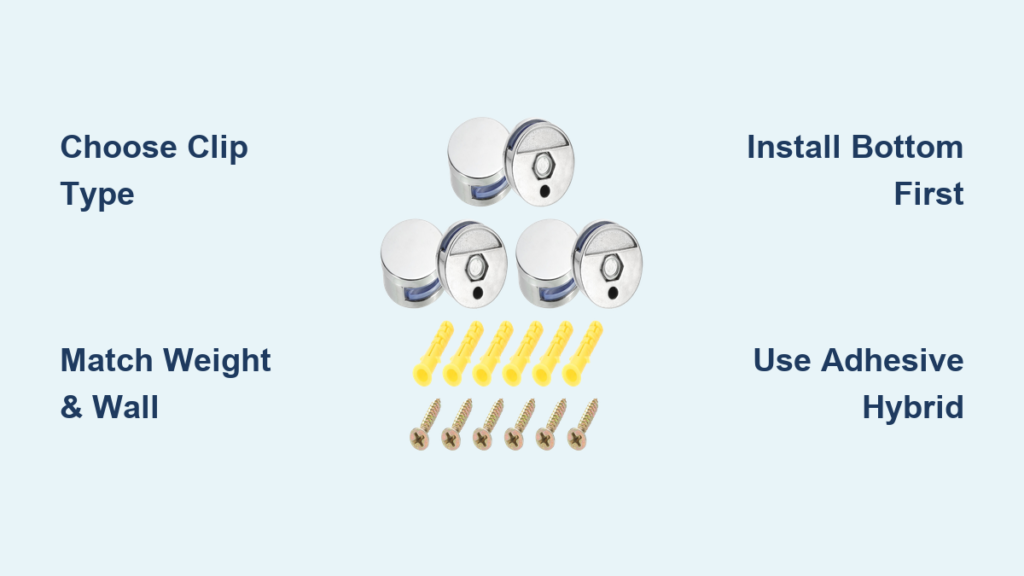
Mounting a mirror without a frame or visible support can transform a space, creating a sleek, modern “floating” look that enhances light and depth. But achieving this clean aesthetic safely requires the right hardware. That’s where mirror holders, also known as mirror clips, come in. These small but critical mounting brackets securely fasten frameless, curved, or thin-framed mirrors to walls while maintaining a minimalist appearance.
Whether you’re installing a bathroom vanity mirror, a decorative wall piece, or a full-length entryway reflection, knowing how to use mirror holders correctly is essential for both safety and visual appeal. This guide walks you through every step: choosing the right type, precise installation techniques, troubleshooting common issues, and ensuring long-term durability.
Choose the Right Mirror Holder Type
Selecting the correct mirror clip ensures both stability and aesthetics. Different designs serve different installation needs.
Spring-Loaded Clips for Easy Mounting
Ideal for DIYers, spring-loaded clips use a built-in vertical spring to allow the mirror to be lifted into place. The spring compresses as the mirror is seated, then locks it flush against the wall. No top screws are visible after installation.
Best for: 1/4″ thick mirrors
Tools needed: Drill, screwdriver, level
Pro tip: These eliminate the need for precise top marking since the mirror engages mechanically.
Two-Part (Separable) Clips for Hidden Fasteners
These consist of a base mounted to the wall and a removable cap that slides over the mirror’s top edge and secures with a screw. Once installed, the screw is hidden behind the glass.
Best for: Frameless mirrors where clean lines matter
Requires: Accurate height measurement
Expert note: Offers a professional finish but demands careful alignment.
Wide-Channel or Slotted Clips for Adjustable Fit
Featuring a vertical slot, these clips can be slid down over the mirror’s top edge after it’s seated. A side or top-set screw tightens against the glass to lock it in place.
Best for: DIYers who want post-installation adjustment
Advantage: No pre-marking required
Visual cue: Look for a U-shaped or open-top design.
Clear Plastic Clips for Thin-Framed Mirrors
Nearly invisible, plastic clips are designed for mirrors with approximately 1/4″ frames. They grip the edge discreetly without metal hardware showing.
Best for: Modern, minimalist spaces
Limitation: Less durable; may become brittle over time
Warning: Avoid overtightening; use hand tools only.
Match Clips to Mirror Weight and Wall Type
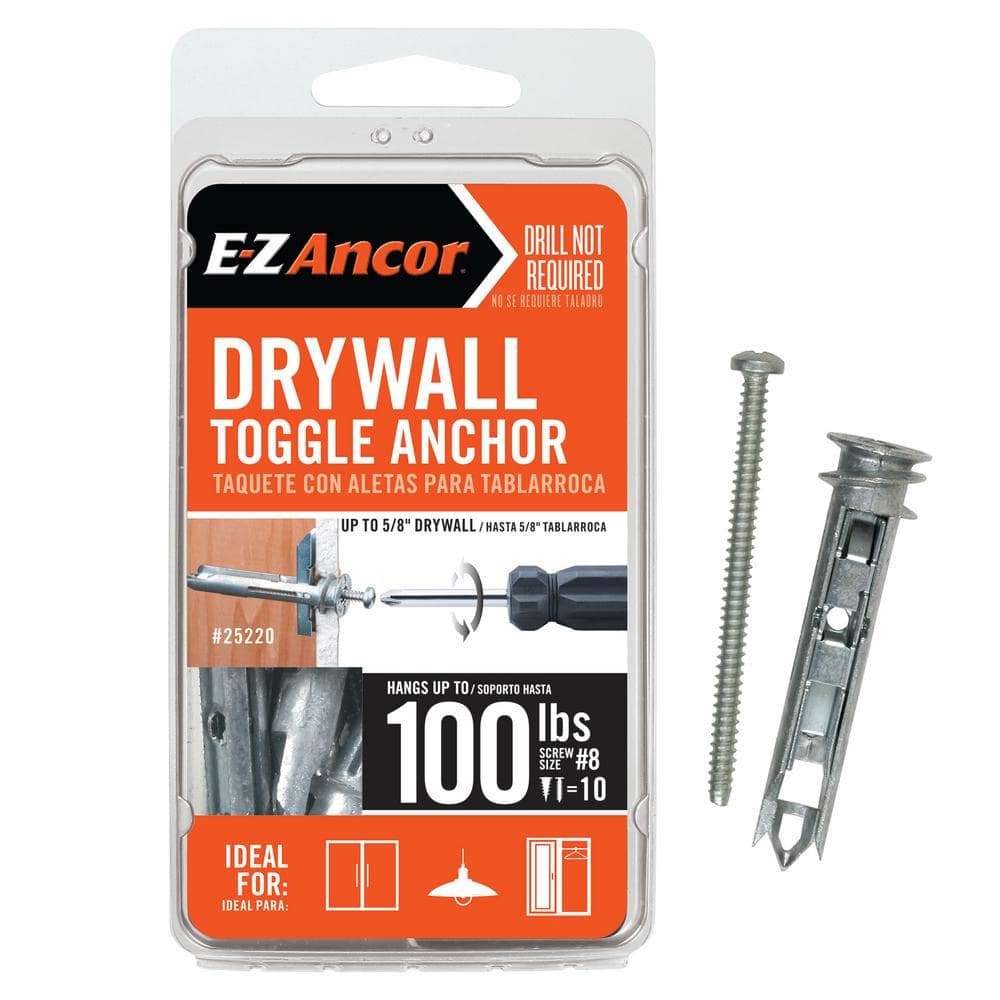
The success of your installation depends more on anchoring strength than clip material. Choose hardware based on load and wall structure.
Light Mirrors (Under 20 lbs): Plastic Anchors Work
For small decorative mirrors, use plastic wall anchors with metal or plastic clips. Suitable for drywall with proper spacing. This includes mirrors such as a 16″x20″ framed mirror in a bedroom.
Acceptable: Plastic anchors
Avoid: Standard drywall toggles unless over 15 lbs
Medium Mirrors (20-30 lbs): Toggle Bolts Required
Bathroom vanity mirrors often fall in this range. Use snap-toggle or toggle bolts in hollow walls. Mount at least one clip set into a wall stud if possible. This includes mirrors such as a 24″x30″ frameless bathroom mirror.
Required: Heavy-duty hollow-wall anchors
Bonus: Combine with mirror mastic adhesive
Heavy Mirrors (Over 30 lbs): Stud Mounting Essential
Large or full-length mirrors demand maximum support. Anchor bottom clips directly into wood studs. Use multiple clip sets (two top, two bottom, or add side clips). Consider the hybrid method: clips plus mirror mastic.
Critical: Never rely on drywall anchors alone
Pro move: Use stud finder with wire detection to avoid electrical hazards
Prepare Tools and Materials
Having the right tools ensures precision and safety during installation.
Essential Tools List
Spirit level (4-foot): Ensures clips are perfectly horizontal
Tape measure: Measures mirror dimensions and clip spacing
Pencil: Marks drill points and reference lines
Power drill: Drills pilot holes
3/16″ drill bit: Standard size for most anchors
Screwdriver (manual): Prevents over-tightening, especially with plastic
Hammer or mallet: Seats wall anchors flush
Recommended Add-Ons
Painter’s tape: Protects wall finish and marks adhesive zones
Wooden brace or sponge block: Temporarily supports mirror during setup
Cardboard template: Full-scale mock-up to transfer clip locations
Stud finder with scanning mode: Detects wires and pipes behind walls
Position Mirror and Mark Clip Locations
Proper placement ensures symmetry, balance, and aesthetic harmony.
For Bathroom Vanity Mirrors
Center the mirror over the sink. Measure 16 inches left and right from the faucet center, then move 2.5 inches inward on each side to position clips. For a 32-inch-wide mirror, this centers it perfectly.
Tip: Align clips with wall studs when possible for extra strength
For General Wall Mirrors
Mark desired bottom edge height (typically 48-60″ from floor). Measure mirror height and mark top edge location. Plan clip positions: bottom clips 2-4 inches from bottom corners, top clips 2-4 inches from top corners. Use a level to draw horizontal reference lines at top and bottom. Add a vertical centerline for symmetry.
Pro tip: Create a cardboard cutout of the mirror to test placement and mark clip spots before drilling
Install Bottom Clips First
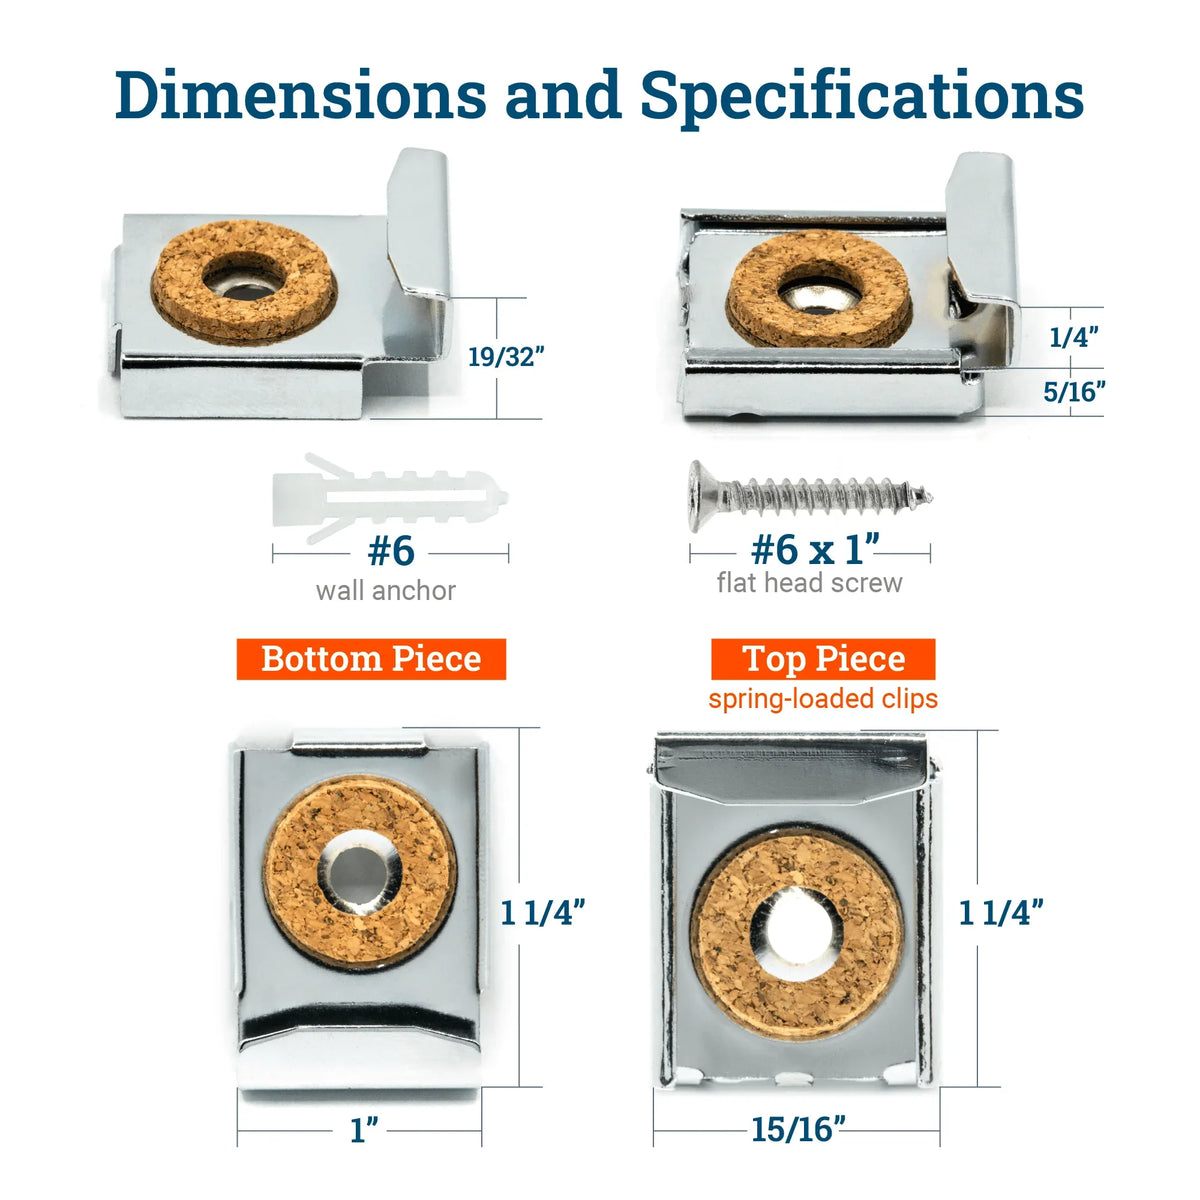
Bottom clips carry the entire weight of the mirror, so precision matters.
Step-by-Step Installation
Drill pilot holes at marked locations using a 3/16″ bit
Insert wall anchors (toggle bolts for heavy mirrors)
Tap anchors flush with a hammer or mallet
Attach fixed bottom clips with screws
Use a spirit level to confirm they are perfectly horizontal
Hand-tighten screws; do not use power tools with plastic components
Warning: Bottom clips must be level. Uneven support causes stress and potential cracking.
Mark and Install Top Clips
Top clips prevent tipping but require indirect marking since screws are hidden.
Method A: Direct Edge Marking (Most Reliable)
Place mirror into bottom clips. Lift mirror slightly and insert temporary support (sponge or wood block). Position top clip base on mirror edge. Pencil a horizontal line where clip meets the wall. Remove mirror. Install clip so screw hole is 1/16″ below the line (allows spring expansion).
Best for: Spring-loaded and two-part clips
Method B: Measurement Transfer
Measure distance from wall to top edge of seated mirror. Transfer this measurement above bottom clips. Install top clips at that height, facing downward.
Best for: Repeat installations or identical mirrors
Method C: Slot-Based Clips (No Marking Needed)
Use wide-channel clips that slide down over the top edge. Seat mirror in bottom clips. Slide top clip down over edge. Tighten side or top screw to lock.
Best for: DIYers avoiding pre-marking errors
Final Mounting: Lock the Mirror in Place
Now secure the mirror fully.
Engage Spring-Loaded Clips
Reinsert mirror into bottom clips. Lift upward 1/8″ to 1/4″ to compress the spring. Release; mirror snaps flush against the wall.
Visual cue: Mirror sits flat with no gap at top
Secure Two-Part or Slotted Clips
Slide cap or cover over top edge. Insert and tighten screw (usually from side or top). Do not overtighten; glass can crack under pressure.
Final check: Gently push top and sides; no movement should occur
Boost Security: Use Clips + Adhesive Hybrid

For heavy mirrors or high-traffic areas, combine mechanical and chemical support.
How to Apply Mirror Mastic
Install all clips first. Apply high-grade mirror mastic (such as Loctite PL Premium) in dots or beads. Keep adhesive at least 2 inches from all edges. Insert mirror into clips. Press firmly and wait 24 hours to cure. Do not hang items on mirror during curing.
Code compliant: Some jurisdictions require adhesive plus clips in public spaces
Long-term benefit: Reduces vibration and stress on clips
Handle Special Mirror Types
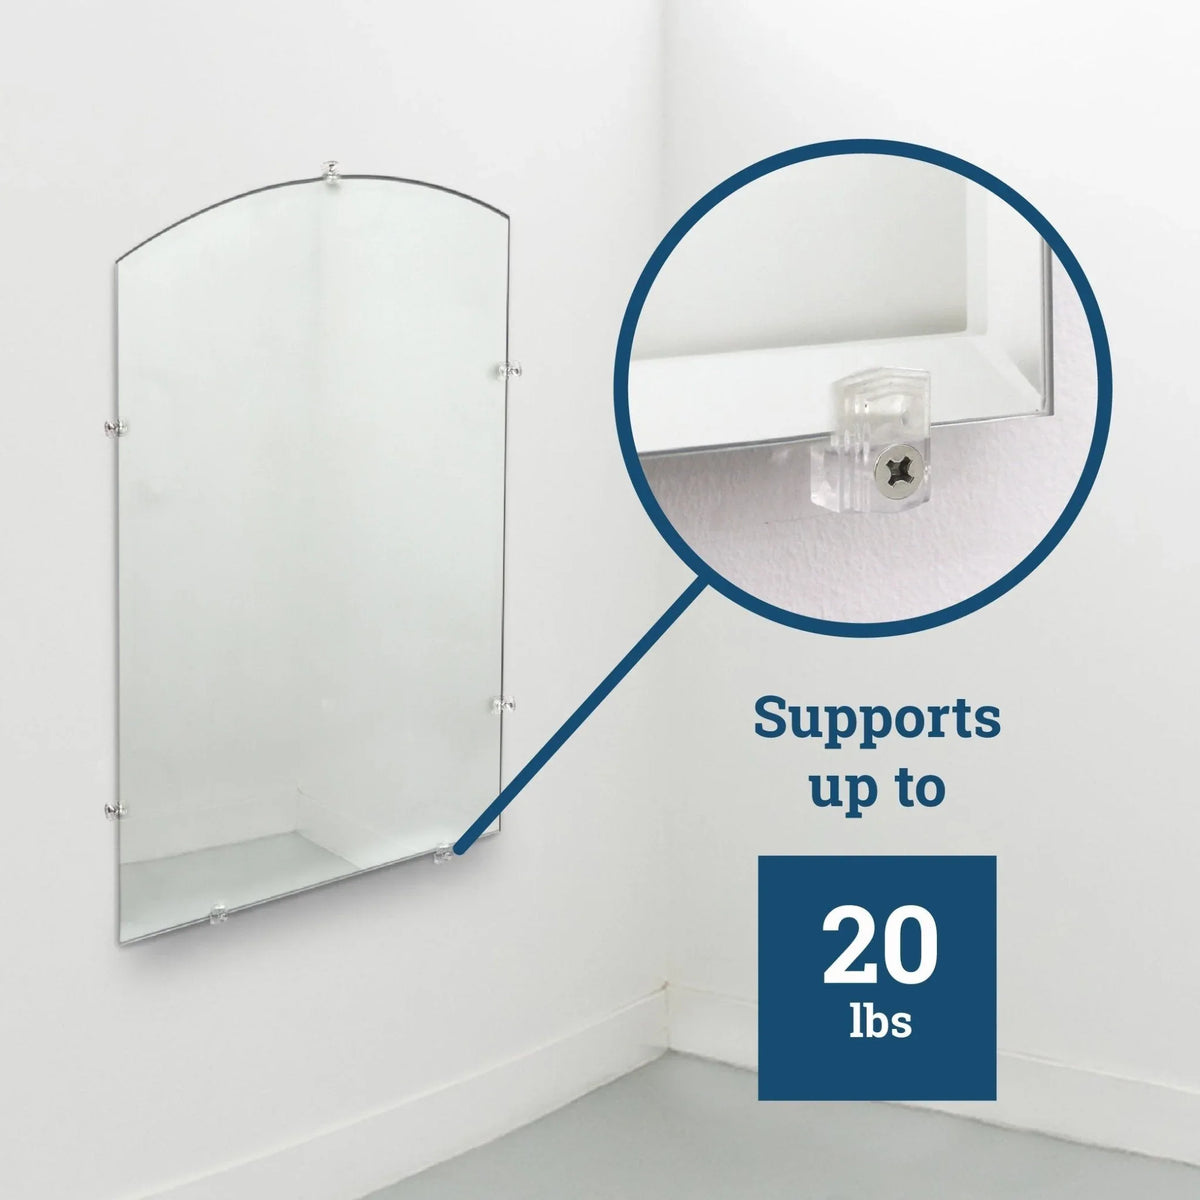
Different shapes and frames require tailored approaches.
Frameless Mirrors
Most common use case for clips. Use metal clips (brushed nickel, chrome, stainless steel). Ensure full contact with polished edge. For large mirrors over 24″, consider Z-clips or track hybrid systems.
Thin-Framed Mirrors (Approximately 1/4″)
Use clear plastic clips. Confirm frame thickness matches clip specs. Some tolerance exists; slightly thicker frames may still fit. Avoid metal clips unless frame allows clearance.
Curved or Shaped Mirrors (Round, Oval, Arched)
Only clips work; tracks fail on irregular edges. Use at least four clips (two top, two bottom). Leveling is critical; no straight edges to guide alignment. Use template method for precise positioning.
Heavy Mirrors (Over 30 lbs)
Maximize safety by mounting bottom clips into wall studs. Use toggle bolts for top clips if no studs available. Add side clips for lateral stability. Combine with mirror mastic.
Troubleshoot Common Issues
Fix problems before they become hazards.
Mirror Wobbles or Rattles
Cause: Loose clips or weak anchors
Fix: Tighten screws, replace with toggle bolts, or add adhesive
Clips Won’t Fit Mirror Edge
Cause: Glass or frame too thick
Fix: Choose wider clips (such as 5/8″) or verify specs before purchase
Wall Anchors Pull Out
Cause: Overloading or poor anchor choice
Fix: Replace with snap-toggle bolts or mount into studs
Mirror Not Level
Cause: Incorrect marking or unlevel wall
Fix: Recheck with level before final tightening; use shims if needed
Top Clips Not Engaging
Cause: Installed too high or spring faulty
Fix: Reinstall 1/16″ lower; test spring function before mounting
Maintain Long-Term Durability
Even the best installation needs periodic checks.
Annual Maintenance Tips
Inspect for loose screws and re-tighten
Check for corrosion, especially in bathrooms
Replace brittle plastic clips
Clean with mild soap and water; avoid abrasives
In humid areas, use stainless steel or coated metal clips
Pro advice: Re-tighten screws every 1-2 years to prevent sagging
Recommended Products by Use Case
Need: Easy DIY install
Product: Glacier Bay Spring Loaded Clips
Why It Works: Tool-free top engagement
Need: Adjustable fit
Product: Hillman Wide Channel Clips
Why It Works: Slide-on design, no marking
Need: Professional finish
Product: C.R. Laurence MC00BN
Why It Works: Two-part, brushed nickel
Need: Thin frame
Product: OOK Clear Plastic Clips
Why It Works: Near-invisible, low profile
Price range: $5-$25 per 4-pack
Where to buy: Home Depot, Lowe’s, Amazon, glass supply stores
Frequently Asked Questions About Mirror Holders
What are mirror holders used for?
Mirror holders, also called mirror clips, are hardware brackets that securely attach frameless, curved, or thin-framed mirrors to walls without visible adhesives or bulky frames. They create a “floating” minimalist appearance while preventing mirrors from tipping or shifting.
How do I know what size mirror clips to buy?
Choose clips based on your mirror’s thickness (1/8″, 3/16″, or 1/4″ are common) and weight. Most standard clips fit 1/4″ thick mirrors. For beveled edges, look for wider clips such as 5/8″. Always check the manufacturer’s weight rating and match it to your mirror’s actual weight.
Can I install mirror holders myself?
Yes, DIY installation is straightforward for experienced homeowners. You’ll need basic tools including a drill, level, tape measure, and screwdriver. Plan for 15-30 minutes for installation. For heavy mirrors over 30 lbs or large formats, consider hiring a professional.
Do mirror holders work on all wall types?
Mirror holders work on most wall types, but anchoring methods vary. Drywall requires toggle bolts or wall studs. Plaster needs pre-drilling with care. Masonry requires drilling into grout lines with masonry anchors. Always use appropriate anchors for your wall type to ensure secure mounting.
Should I use mirror adhesive along with clips?
For mirrors over 20-30 lbs, high-humidity areas like bathrooms, or public spaces, combining clips with mirror mastic adhesive provides extra security. Some building codes actually require this hybrid method. The adhesive reduces vibration and provides backup support if clips ever loosen.
Key Takeaways for Using Mirror Holders
Mirror holders (clips) are essential for securely mounting frameless, curved, or thin-framed mirrors while maintaining a clean, floating aesthetic. Bottom clips support the entire weight of the mirror, while top clips prevent tipping and lateral movement. Proper installation requires accurate measurement, perfect leveling, and correct anchoring based on your wall type and mirror weight.
Choose your clip type based on your specific needs: spring-loaded clips for easy DIY installation, two-part clips for hidden screws and professional finish, wide-channel clips for adjustable fit, or clear plastic clips for near-invisible mounting on thin frames. Always use toggle bolts or stud mounting for heavy mirrors over 30 lbs, and consider combining mechanical clips with mirror mastic adhesive for maximum security in bathrooms or high-traffic areas.
Regular inspection and maintenance ensure long-term safety. Check for loose screws annually, replace brittle plastic clips, and re-tighten as needed. By following these guidelines, you’ll achieve a secure, level, and visually stunning mirror installation that lasts for years.