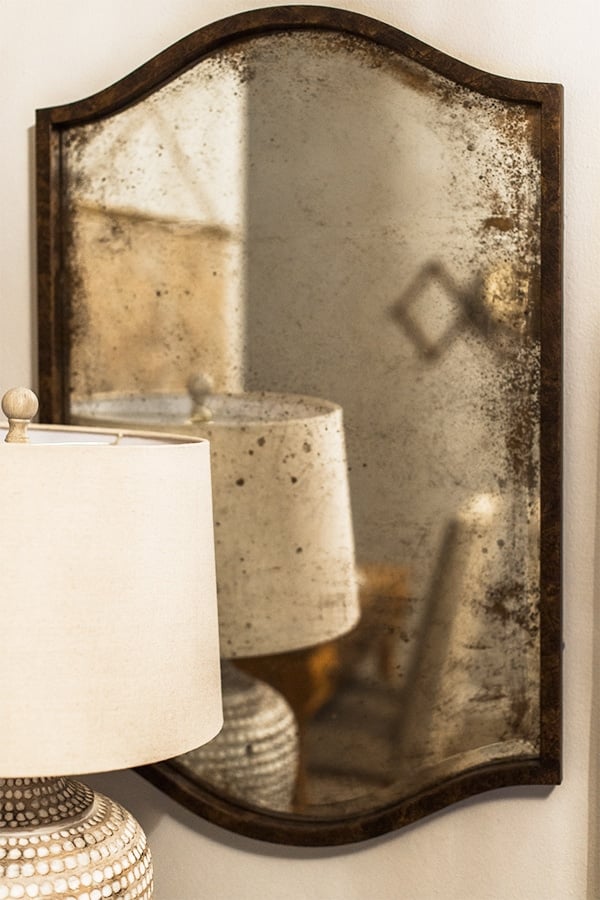
Nothing adds old-world charm to a room quite like a vintage mirror. Whether you’re decorating a farmhouse bathroom, a rustic bedroom, or a shabby-chic entryway, an aged mirror instantly elevates the space with character and depth. The good news? You don’t need to spend hundreds at an antique store. You can make a mirror look vintage using simple DIY methods that mimic decades of natural wear. From chemical aging to paint techniques, this guide walks you through every proven method, step by step, so you can create a convincingly aged mirror that looks like it’s been in the family for generations.
We’ll cover three main approaches: chemical stripping with bleach, paint-based antiquing, and professional-grade RT Antique solution. Each has its strengths regarding realism, ease, and precision, so you can pick the one that fits your skill level, tools, and desired look. Whether you want subtle clouding or dramatic mercury-glass effects, you’ll learn exactly how to achieve it safely and effectively.
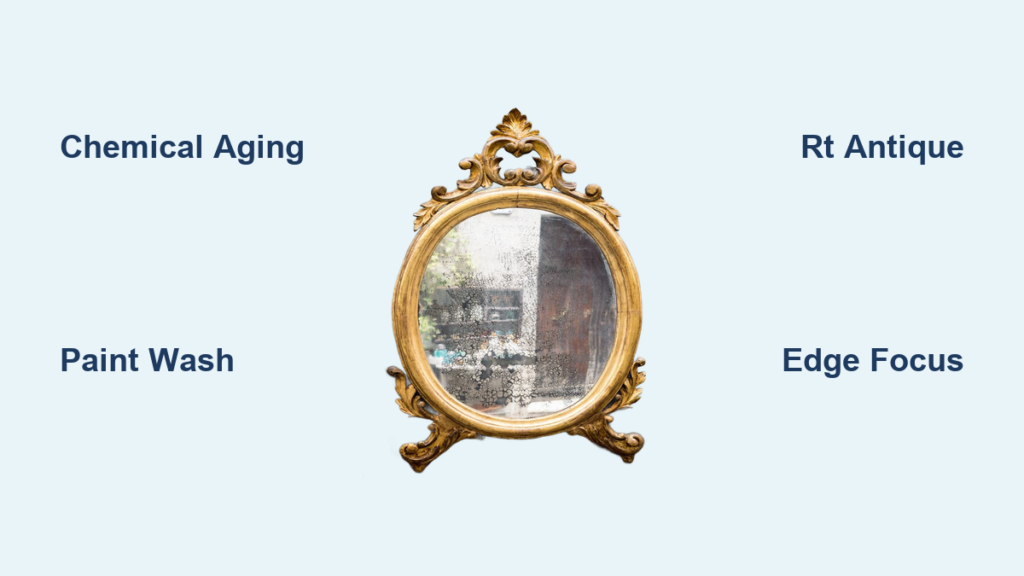
Chemical Aging with Bleach for Realistic Results

For a truly authentic vintage mirror, nothing beats chemically aging the back. This method replicates how real antique mirrors degrade over time through uneven silvering, cloudy spots, and darkened edges by removing parts of the reflective coating.
Remove the Mirror from Its Frame
Take the mirror out of its frame to access the back. Most frames have clips or screws on the sides or back. Carefully remove these, then slide the glass out. Set the frame aside. If there’s backing paper or adhesive, peel it off completely to expose the black or gray reflective layer.
Apply Citristrip to the Mirror Back
Lay the mirror face down on a protected surface. Plastic sheeting or old newspapers work well for this. Squeeze a generous amount of Citristrip onto the back. Use a foam brush to spread it evenly across the entire surface. Do not pool it. Aim for full coverage with no dry spots.
Pro Tip: Wrap the brush in plastic wrap between uses to prevent drying.
Let the Stripper Dwell
Leave the Citristrip on for 30 minutes for thin, modern mirrors like dollar store versions. For older or thicker mirrors, let it sit up to 2 hours or overnight. You’ll know it’s ready when the backing begins to bubble and lift. Avoid touching the surface during this time. Covering it with plastic wrap helps prevent drying and boosts effectiveness.
Scrape Off the Backing
Wrap a clean rag around a 4-inch plastic taping knife to protect the glass from scratches. Use the beveled edge to gently scrape off the softened black backing. Apply medium pressure and work in one direction.
Critical Step: Leave a small patch of residue on one corner. This helps you identify the back later after washing.
Wash and Dry Thoroughly
Wipe away all Citristrip and loosened material with a clean rag. Rinse the back with water and dry completely. Any leftover stripper will interfere with the next steps, so ensure the surface is clean and dry.
Mix Your Bleach Solution
In a spray bottle, combine equal parts household bleach and distilled water. For faster, more dramatic aging, use undiluted bleach, but work quickly and with caution.
Safety First: Use in a well-ventilated area. Wear an organic solvent respirator to avoid inhaling fumes. Gloves are optional since bleach affects lungs more than skin for most people.
Spray Bleach on the Mirror Back
Place the mirror on a raised platform like a Tupperware container to reduce back strain. Spray the bleach solution evenly across the back, focusing more on edges and corners since these areas age first in real antiques.
Watch as the silvering begins to darken and dissolve. Use a paper towel to blot areas where you want partial aging. Repeat the technique: watch and blot, watch and blot. This gives you full control over the final look.
Rinse and Stop the Reaction
Once satisfied with the pattern, rinse the back thoroughly with clean water to stop the chemical process. Do not let bleach sit too long because over-bleaching can create large, unnatural voids.
Clean the Back with Glass Cleaner
Use Windex or another glass cleaner to wipe the back. This removes any residue and prepares the surface for painting. You should now see a beautifully mottled, aged reflective layer.
Apply Champagne Bronze and Black Spray
Now add depth and seal the back. First, lightly mist the back with metallic champagne bronze spray paint using a sweeping motion. Just enough to add warmth without obscuring the glass. Second, fully coat the entire back with flat black spray paint.
Why Both: The bronze enhances the aged glow while the black prevents light from leaking through degraded areas and gives a clean finish.
Reinstall in Frame
Let the paint dry completely, which takes 1 to 2 hours. Clean the front with glass cleaner, then reassemble the mirror into its frame. The result is a mirror that looks like it’s been clouded by time.
Paint-Based Aging for Beginners
If you want a quick, reversible way to make a mirror look vintage, this front-surface paint method is perfect. It’s ideal for decorative mirrors, cabinets, or bars where realism is not critical.
Clean the Mirror Surface
Wipe the mirror with glass cleaner to remove fingerprints, dust, and oils. A clean surface ensures the paint adheres evenly and does not slide.
Mix Acrylic Paint Wash
In a spray bottle, combine one heavy squeeze each of black, silver, and chocolate brown acrylic paint with 4 to 5 tablespoons of water. Shake vigorously until well blended. The mixture should be thin and watery, like a wash, not a paint.
Spray and Dab with Paper Towels
Spray the mixture evenly across the mirror. Immediately dab and press with crumpled paper towels in random patterns. Lift, press, and repeat to create uneven, organic texture just like natural tarnish. Avoid wiping because the goal is imperfect absorption, not even coverage.
Drag Brush for Vertical Streaks
Wait 5 minutes for the paint to become tacky. Dip a textured brush like a drywall brush in water, then blot it on a towel. Lightly drag the brush downward to create vertical streaks mimicking water runoff and age. If the paint has dried too much, spritz with water to reactivate it.
Dab Gold on Edges
Mix chocolate brown, gold, and a touch of black paint. Use a fluffy wax brush to lightly dab the blend onto corners and edges, areas that naturally wear over time.
Avoid symmetry: Real vintage mirrors do not age evenly. Let some spots be darker and others lighter.
Seal with Mirrored Spray Paint
For durability and shine, lightly mist the entire surface with mirrored finish spray paint, not regular silver paint. This adds reflectivity and protects the acrylic layers. Apply in a fine, even mist. Too much will obscure the aging effect.
Note: This finish is not scratch-proof and is best for low-traffic areas.
Using RT Antique Solution for Professional Results
For controlled, high-end results, RT Antique is the gold standard. This concentrated liquid, available from angelgilding.com, is designed specifically for antiquing freshly silvered mirrors.
Buy and Dilute RT Antique
RT Antique comes as a concentrate. You can use it full-strength for deep, dramatic aging or diluted 1:4 with distilled water for a lighter, subtler vintage look. Always use distilled water to prevent mineral spots. Mix in a labeled bottle and never reuse it for water.
Apply to Dry Mirror
Ensure the mirror is completely dry. Spray or brush the solution evenly across the surface. The longer it sits, the more intense the effect.
Pro Tip: Apply full-strength, let dry, re-silver, then repeat for multi-layered, museum-quality aging.
Control Effect with Dwell Time
Short dwell time of 1 to 2 minutes creates light clouding. Longer dwell time of 5 to 10 minutes produces heavy distressing. Rinse to stop the process. The solution works gradually, so you can fine-tune the look.
Comparing All Three Methods

| Feature | Chemical + Bleach | Paint-Based | RT Antique |
|---|---|---|---|
| Realism | Five stars | Three stars | Four stars |
| Ease | Three stars | Five stars | Four stars |
| Permanence | Permanent | Wipe-off possible | Permanent |
| Best For | Display mirrors | Decorative use | High-end projects |
| Cost | Under $20 | Under $15 | $30+ |
Safety Tips You Cannot Ignore
Ventilate well when using bleach or spray paints. Wear an organic solvent respirator for bleach fumes. Use gloves with Citristrip and RT Antique. Work outdoors or in a garage when spraying. Keep chemicals away from children and pets.
Design Secrets for Authentic Aging
Focus on edges and corners where real vintage mirrors wear first. Concentrate aging on outer edges, bottom corners, and high-contact zones. Vary the intensity by blending light clouding with deep black patches for realism. Add warmth with bronze because cold gray mirrors look fake. Study real antiques by searching online reference images to guide your pattern and color choices.
Where to Use Vintage Mirrors
Recommended locations include entryway accent mirrors, bar or liquor cabinet backs, dresser or vanity mirrors, bedroom wall art, and rustic or farmhouse decor.
Avoid using vintage mirrors in bathrooms where humidity damages paint, kitchens with grease and moisture, high-touch areas where paint scratches easily, and outdoor spaces.
Maintenance Tips
For chemically aged mirrors, clean the front with glass cleaner. No special care is needed since the back is sealed, making it durable for decades. For painted mirrors, use a dry microfiber cloth only. Never use wet wipes or sprays. If paint lifts, gently remove and redo that section.
Common Mistakes to Avoid
Over-bleaching the back removes too much silvering, leaving large black holes. Fix this by blotting early and working in stages. Using metal scrapers can scratch glass. Always use a plastic knife wrapped in cloth. Skipping the bronze layer makes the finish look flat and dead. Always apply the champagne bronze mist first. Confusing silver paint with mirrored spray is a common error because regular silver paint is not reflective. Use mirrored finish spray for authentic shine. Forgetting which side is the back happens after washing since the glass looks identical. Leave a small paint mark to identify the back.
Frequently Asked Questions About Making Mirrors Look Vintage
Can I vintage a mirror without removing the frame?
For paint methods, no disassembly is needed. For chemical aging, you must access the back, so removal is required.
What if I hate the result?
For the paint method, wipe off with water or scrape gently. For the chemical method, it is permanent, so always test first on a cheap mirror.
Can I use vinegar or lemon juice?
No, these are ineffective for removing mirror backing. Citristrip and bleach are chemically necessary for this process.
How long should I wait between steps?
Citristrip needs 10 to 15 minutes to wipe and dry. Bleach requires rinsing and immediate drying. Paint needs 15 to 30 minutes between coats and 1 hour to cure fully.
Is RT Antique worth the investment?
For serious DIYers or high-end projects, yes. The bottle lasts a long time and produces professional, controlled results that are difficult to achieve with other methods.
Can I combine methods?
Yes, many crafters use chemical aging for the base effect and then add paint techniques for additional character and depth.
Final Thoughts on Creating Vintage Mirrors
With these methods, you can make a mirror look vintage in under two hours with no professional skills needed. Whether you choose the dramatic realism of chemical aging, the simplicity of paint, or the precision of RT Antique, the result is a one-of-a-kind piece that adds soul to your space. Start small, test first on cheap mirrors, and embrace imperfection because vintage charm comes from flaws. Work slowly since you can always add more aging but cannot undo it. Seal painted mirrors with mirrored spray for longevity. Soon you’ll be creating heirloom-quality mirrors that look like they’ve weathered time itself.