You’ve spotted those gorgeous decorated glass platters and vases at boutique shops and wondered if you could ever make them yourself. The good news is that decoupaging on glass is one of the most beginner-friendly crafts, requiring just paper, glue, and a little patience. With the right technique, you can transform a $3 thrift store find into a custom heirloom piece.
This guide covers everything you need to know about how to decoupage on glass, from prepping the surface to sealing it for long-lasting use. You’ll learn how to avoid bubbles and wrinkles, choose the best adhesive for your project, and even make dishwasher-safe glassware using the proven 28-day cure method.
Prepare the Glass Surface for Maximum Adhesion
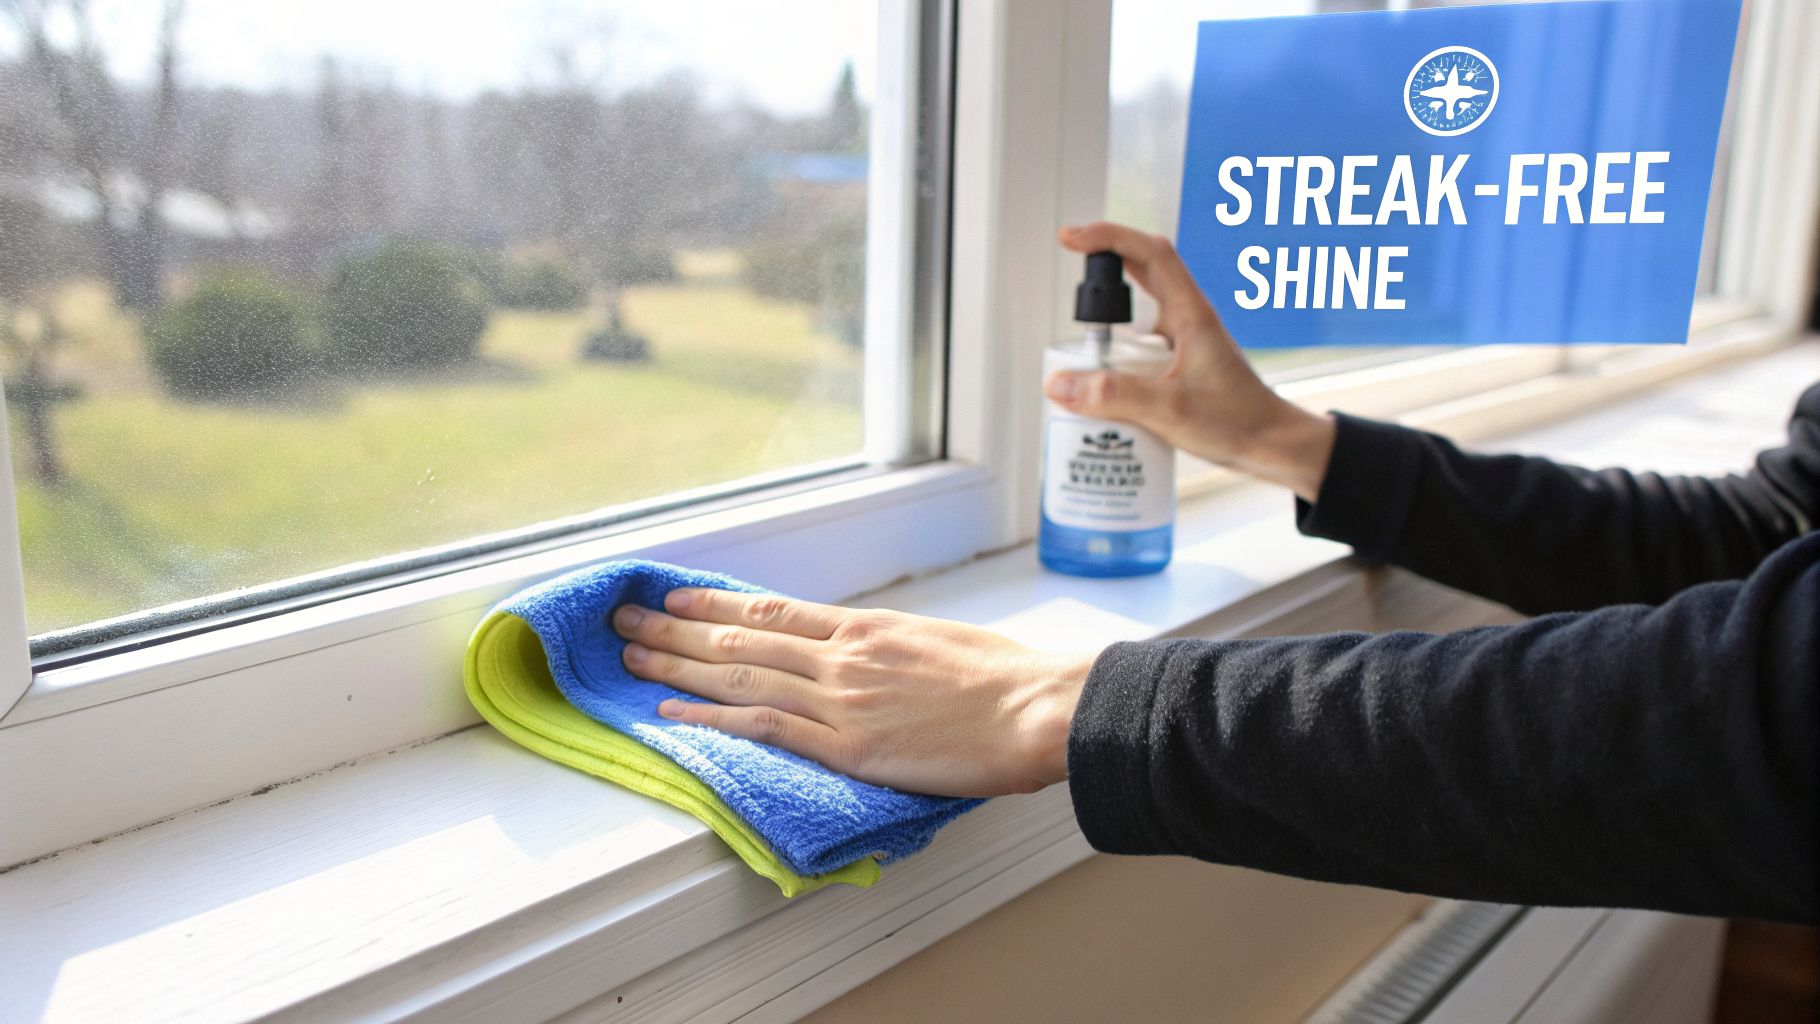
Before any paper touches your glass, thorough cleaning is essential. Any leftover residue, grease, or soap film will prevent the glue from bonding properly and cause the paper to lift later.
Remove Labels and Sticky Residue
Start by peeling off all stickers and price tags. For stubborn adhesive, gently scrape the surface with a straight-edge razor blade. Then apply Goo Gone, olive oil, vinegar, or lemon juice to dissolve any remaining sticky residue. Wipe clean with a lint-free cloth and avoid cotton balls, since they leave fibers behind.
Degrease With Rubbing Alcohol
After washing with warm soapy water and rinsing well, the final prep step is degreasing with 70% isopropyl rubbing alcohol. This removes invisible skin oils and soap film that block adhesion. Moisten a lint-free microfiber cloth and wipe the entire surface. Let the glass dry completely before moving on.
Choose Paper That Works Best on Glass

Not all paper behaves the same on glass. The best options are thin, flexible, and become translucent when glued, letting the glass show through subtly.
Use Napkins or Tissue Paper
Paper napkins are the top choice for glass decoupage. They’re ultra-thin, available in countless patterns, and conform easily to curves. Use only the top printed layer by peeling away the plain white backing. Tissue paper works just as well and can be layered for richer color depth.
Avoid Glossy or Coated Papers
Magazine pages with glossy coatings often bleed when wet. If you must use them, make a laser printer copy first to protect the original. Scrapbook paper and cardstock are usable but stiffer. Lightly dampen the back with water before applying glue to increase flexibility on curved surfaces like jars and vases.
Select the Correct Adhesive for Your Project
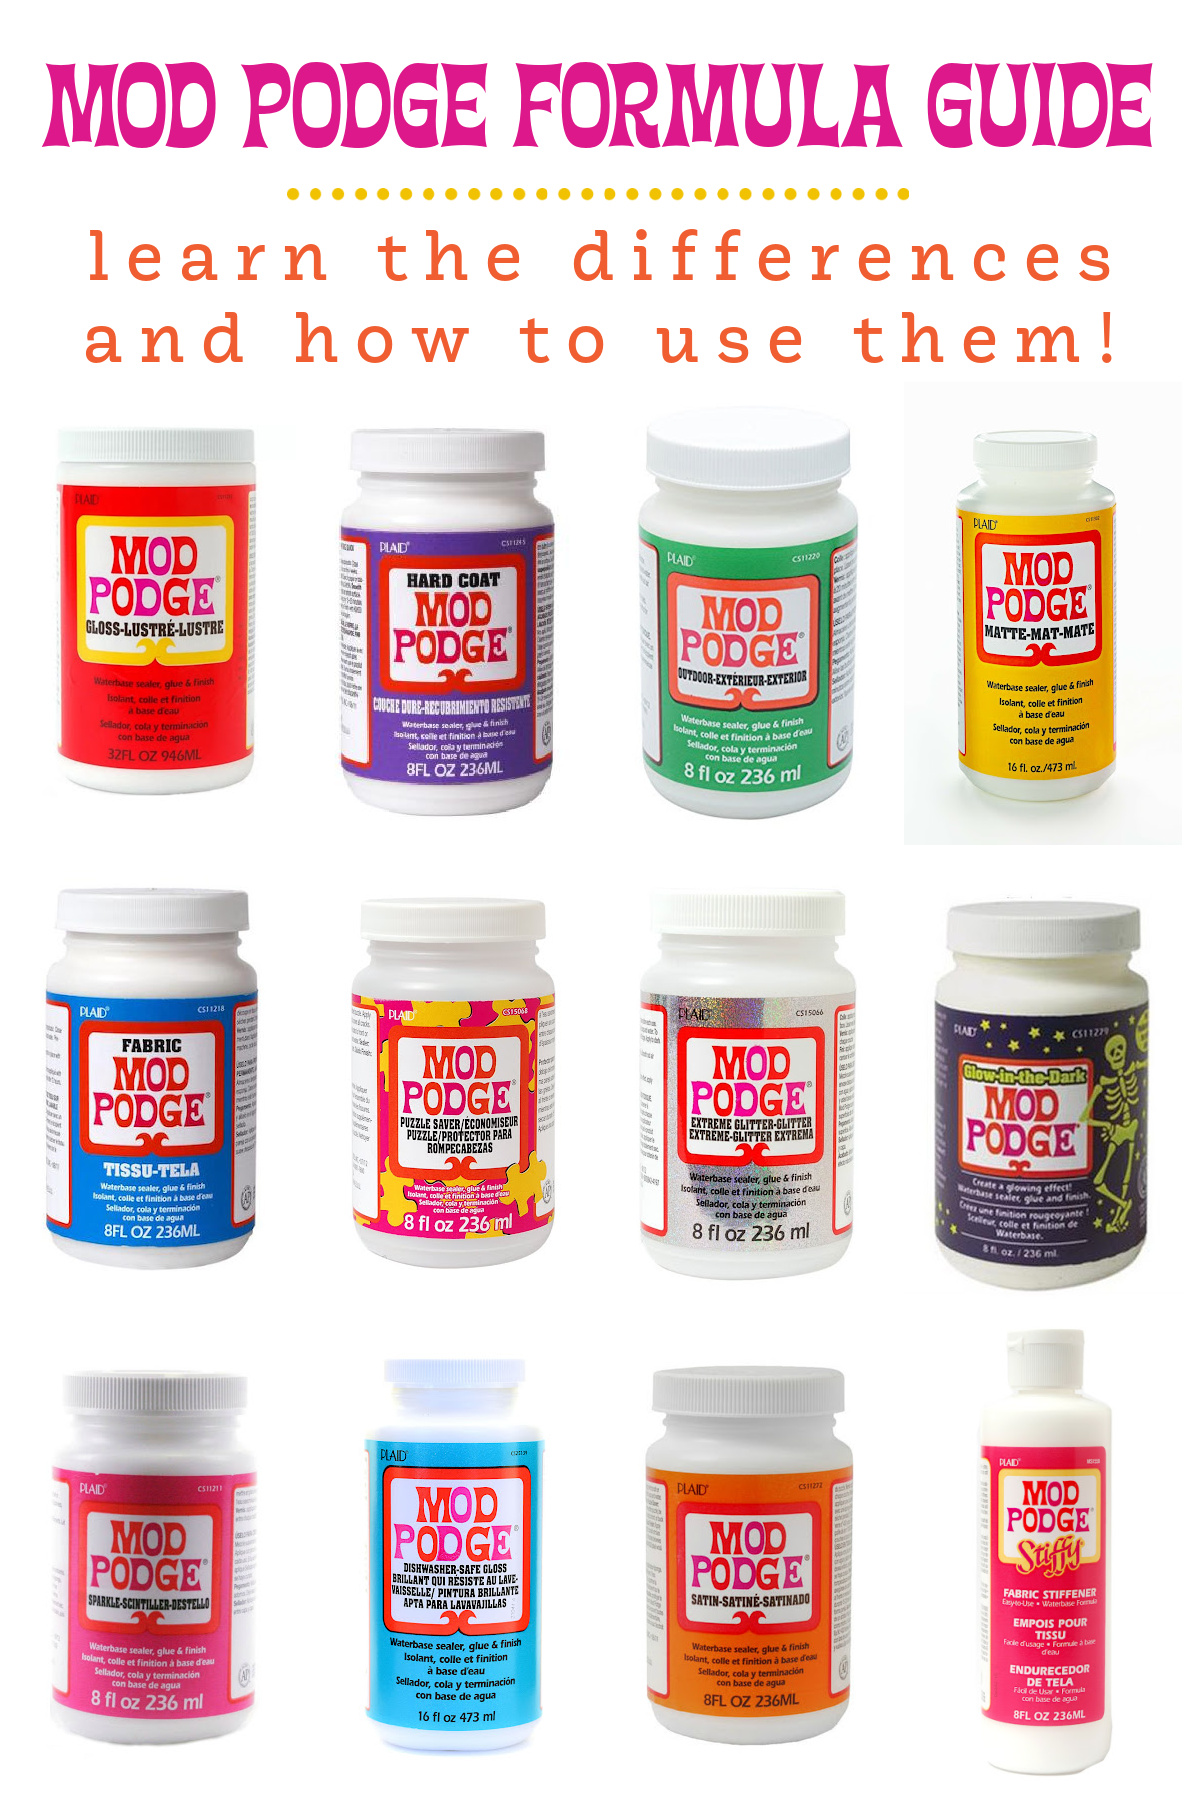
The glue you choose determines whether your finished piece stays decorative or becomes functional and washable.
Standard Mod Podge for Decorative Pieces
Available in Matte or Gloss finishes, standard Mod Podge dries clear and works well for wall art, lamp bases, or display items. It’s not waterproof, so these pieces should only be wiped with a damp cloth. Never soak or submerge them in water.
Dishwasher Safe Mod Podge for Functional Glassware
For serving platters, jars, or bowls, use Mod Podge Dishwasher Safe Formula. It dries to a hard, protective finish and, after a full 28-day cure, can go on the top rack of the dishwasher. This is the only way to make decoupaged glass truly durable and easy to clean.
Apply Paper Using the Right Technique
There are two main methods for how to decoupage on glass: reverse decoupage for food-safe serving pieces and surface decoupage for pure decoration.
Reverse Decoupage for Food-Safe Serving Platters
Place the paper face down on the bottom of the glass. The design shows through from the top, so food touches only clean glass. This makes it safe for cheese boards, charcuterie, or cookies.
- Cut your napkin design slightly larger than the platter base.
- Brush a thin layer of Mod Podge onto the back of the glass.
- Lay the paper face down so the ink touches the glass.
- Smooth from center outward using fingers or a credit card.
- Cover with waxed paper and use a squeegee to eliminate bubbles.
Surface Decoupage for Decorative Glassware
For vases, jars, or display items, apply the paper face up on the outside. This gives a bold, textured look but is only food-safe if fully cured with Dishwasher Safe Mod Podge. When wrapping jars, cut paper into strips or motifs, overlap slightly at seams, and seal edges thoroughly with extra glue. Hide seams with floral clusters or layered designs.
Seal With Multiple Top Coats for Durability
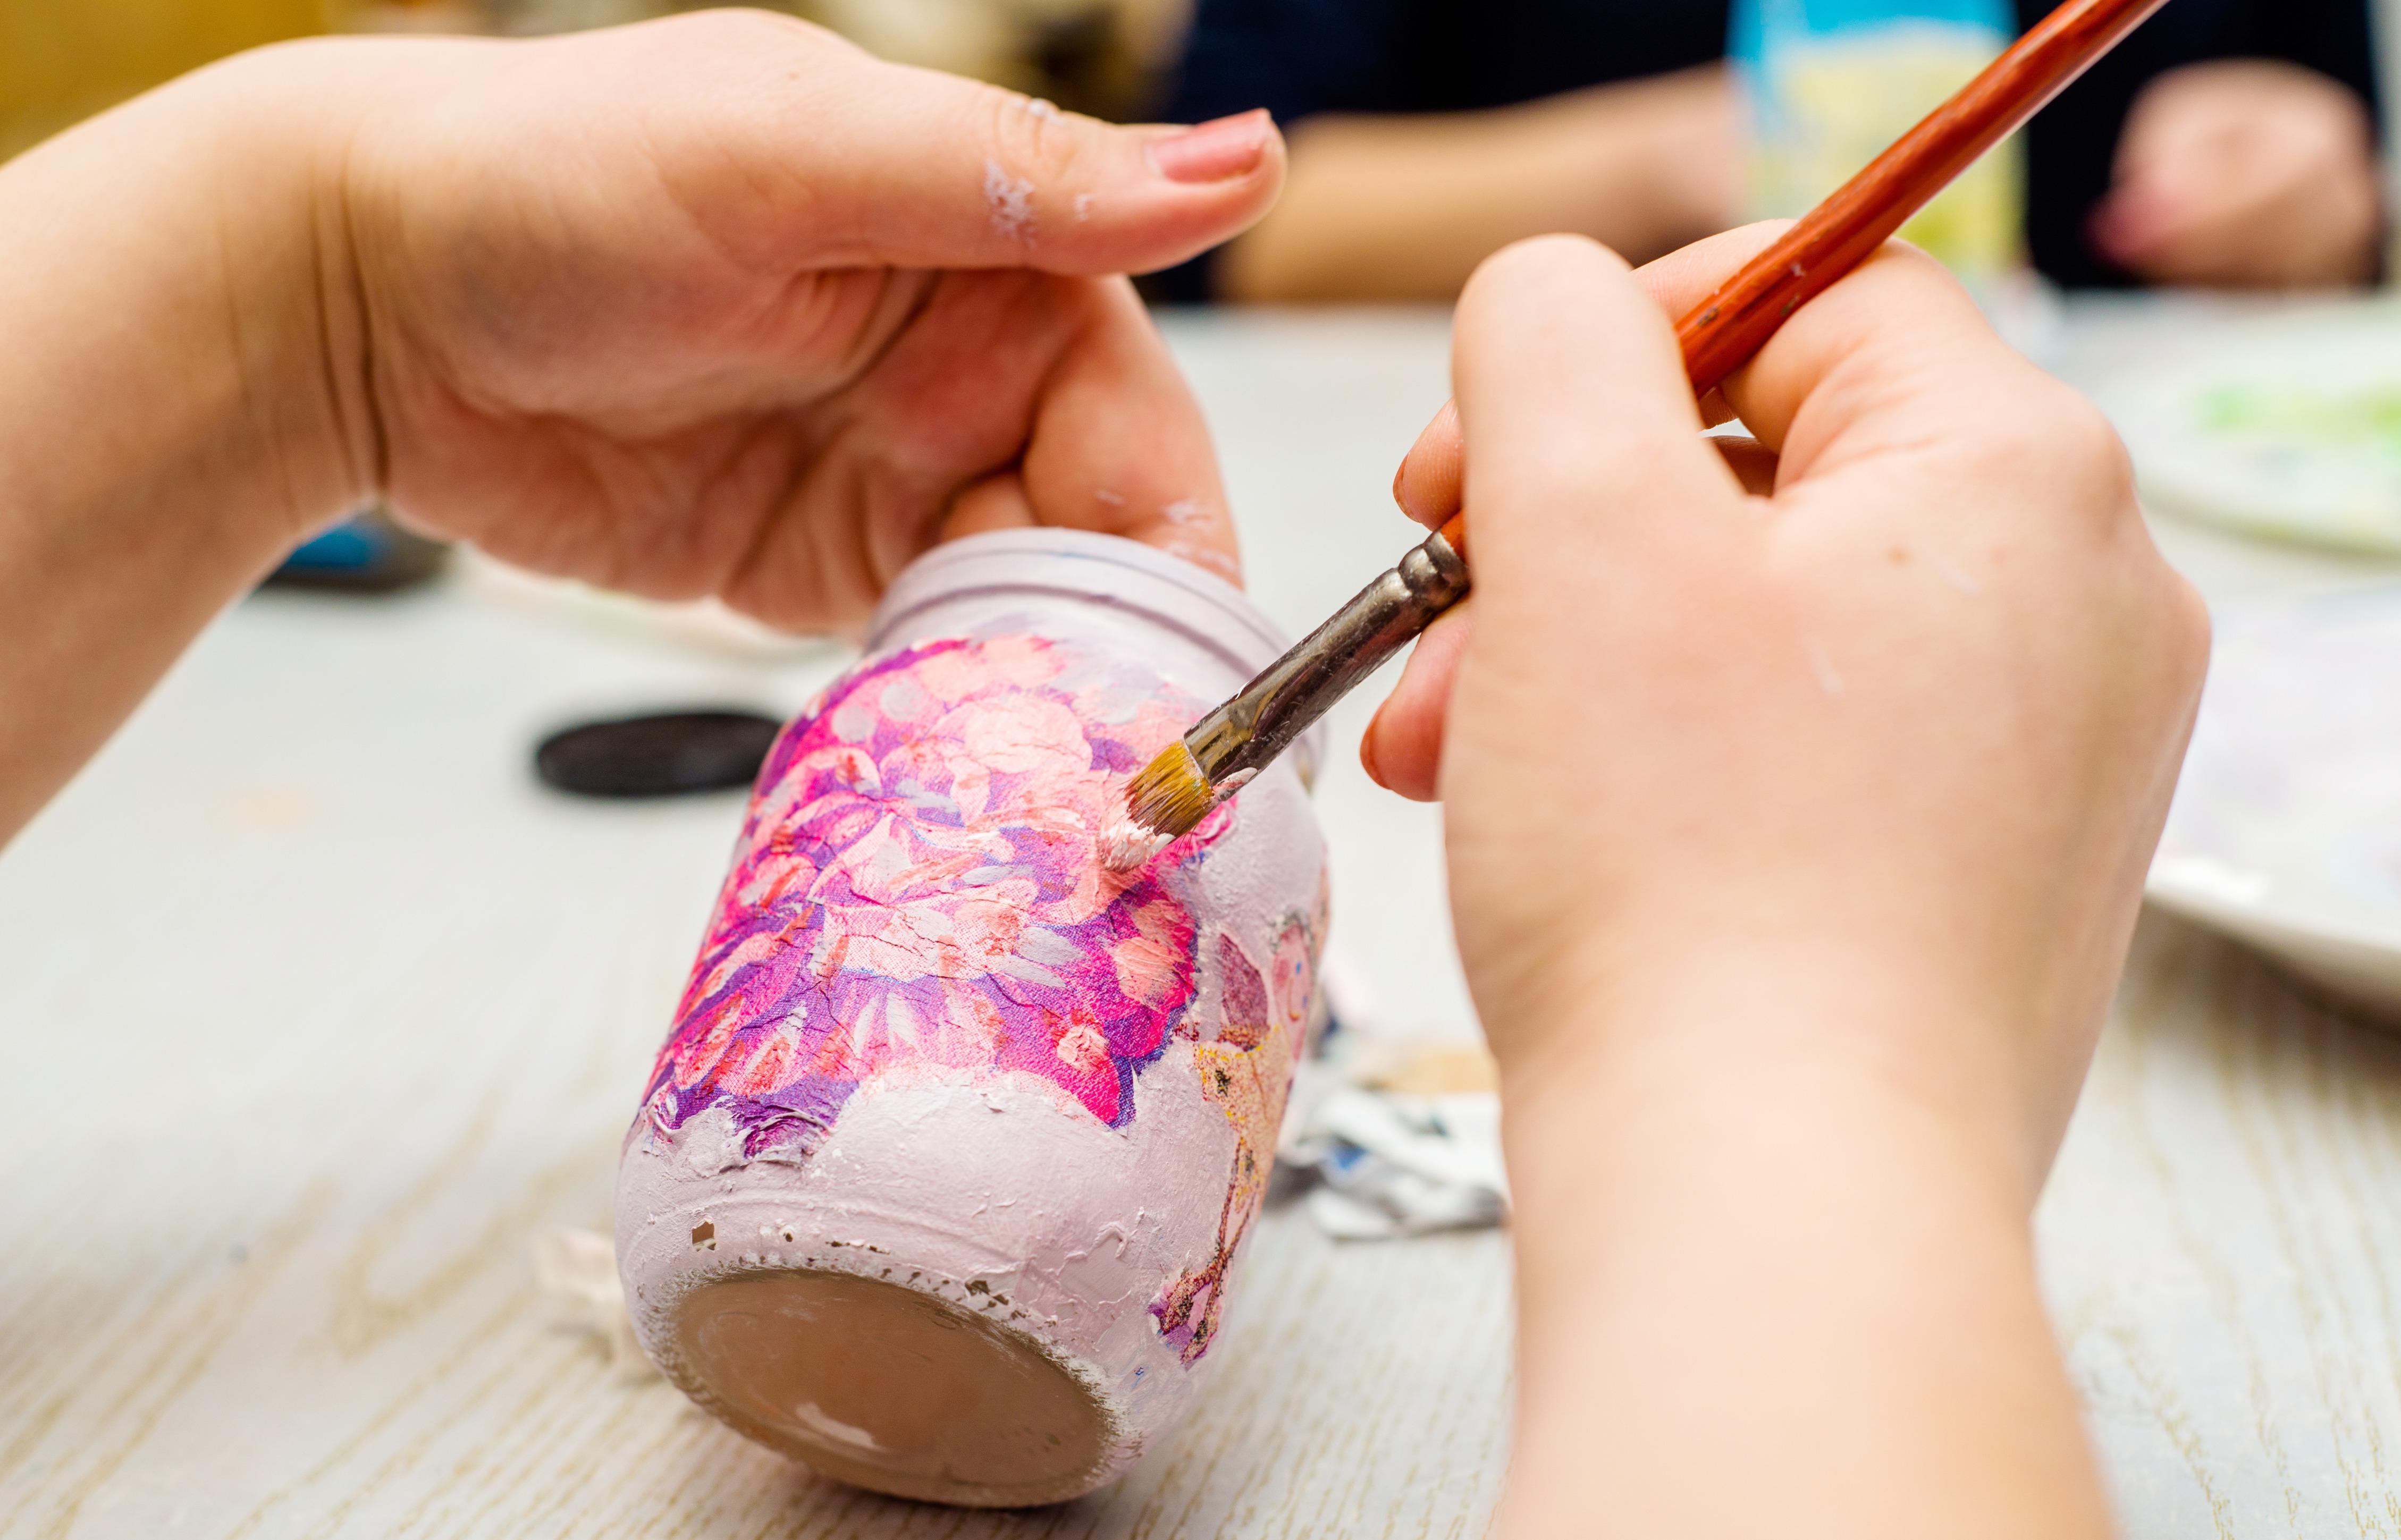
A single coat won’t protect your artwork. You need 3 to 4 layers of top sealant to create a smooth, durable finish.
Apply Thin, Even Layers
Use a bristle brush rather than foam for a bubble-free application. Foam brushes trap air, especially on non-porous glass. Dip the brush in water first to thin the glue slightly, which helps it spread smoothly.
Dry Between Coats
Wait 1 to 2 hours between coats. Test for tackiness by touching an inconspicuous spot. If it feels sticky, wait longer. Each coat should extend slightly beyond the paper edge to fully encapsulate it.
Achieve a Flush Finish
After 3 to 4 coats, the surface should feel smooth and level with the glass. If texture remains, add another coat. For platters, trim excess paper from the rim with sharp scissors (cut from the back), then seal the cut edge with a final dab of glue.
Cure Fully Before Using Your Piece

Drying is not the same as curing. Many beginners ruin their projects by washing too soon, even with Dishwasher Safe Mod Podge.
Standard Mod Podge Requires Gentle Care
Projects using the regular formula should never be submerged. Clean only with a dry or slightly damp cloth. These pieces are best for decorative display.
Dishwasher Safe Formula Needs 28 Days
Even if the surface feels dry, the chemical hardening takes four full weeks. During this time, do not wash or expose the piece to water. After 28 days, the item can be hand-washed or placed on the top rack of the dishwasher. Never use the bottom rack, since heat and pressure can damage the seal.
Troubleshoot Common Decoupage Problems
Even experienced crafters face issues. Here’s how to fix them quickly.
Fix Air Bubbles Immediately
Bubbles form when air gets trapped under the paper. Start smoothing from the center and push outward. Place waxed paper over the wet paper and press with a squeegee or credit card. Bristle brushes reduce bubbles compared to foam.
Prevent and Repair Wrinkles
Paper expands when wet, but wrinkles often flatten as the glue dries. To minimize them, use thin glue layers, work quickly and smoothly, and avoid repositioning once placed. If wrinkles persist, add more top coats since they usually disappear under the sealant.
Stop Edges From Lifting
Lifting happens when edges aren’t fully sealed. Always apply glue to the very edge of the paper, let the top coat extend onto the glass surface, and add extra sealant over seams and overlaps. If an edge lifts later, gently lift the corner, apply glue underneath, press down, and reseal with 2 to 3 additional top coats.
Explore Creative Design Ideas
Decoupage on glass is more than covering a surface. It’s about storytelling through design.
Make a Themed Serving Platter
Match napkin patterns to seasons or events. Try pastel florals and butterflies for spring, red and green motifs for holidays, or nautical stripes for beach vibes. Use collage techniques by layering small cutouts like a mosaic. Place a large central image such as a rose and fill gaps with leaves or dots.
Customize Jars and Vases
Wrap a mason jar with a continuous band of paper for a candy container. Use vertical strips on vases to mimic painted ceramics. Try ombre effects by layering tissue paper in graduating colors. For lamp bases, choose low-light visible patterns since the glow enhances translucency.
Maintain and Clean Your Finished Pieces
How you care for your piece determines how long it lasts.
Clean Decorative Pieces Gently
For standard Mod Podge projects, wipe the top glass side with mild soap and water. Use a damp cloth on the back and never soak. Avoid scrubbing or abrasive cleaners.
Wash Dishwasher-Safe Pieces Safely
After the 28-day cure, hand-wash with a soft sponge or place on the top rack only of the dishwasher. Avoid harsh detergents or high-heat drying cycles. Never put decoupaged glass in the microwave, since heat can crack the seal.
Frequently Asked Questions About Decoupage on Glass
What kind of glue works best for decoupage on glass?
Mod Podge is the most popular choice. Use standard Mod Podge for decorative pieces and Mod Podge Dishwasher Safe Formula for functional items like platters and jars that need to be washed.
Can you decoupage on glass and make it dishwasher safe?
Yes, but only when using Mod Podge Dishwasher Safe Formula and allowing a full 28-day cure. After curing, the piece can go on the top rack of the dishwasher.
How do you keep paper from bubbling on glass?
Smooth the paper from the center outward using a bristle brush or squeegee. Place waxed paper over the wet surface and press firmly to push out trapped air. Thin glue layers also help reduce bubbles.
Do you decoupage on the front or back of glass?
It depends on the project. For food-safe serving platters, apply the paper face down on the back so food touches only clean glass. For decorative vases and jars, apply the paper face up on the outside for a bold look.
How long does decoupage take to cure on glass?
Standard Mod Podge feels dry in a few hours but takes several days to fully harden. Dishwasher Safe Mod Podge requires a full 28 days to cure before washing or dishwasher use.
What paper is best for decoupaging glass?
Paper napkins and tissue paper work best because they’re thin and become translucent when glued. Avoid glossy magazine pages since the coating causes ink bleeding when wet.
Key Takeaways for Mastering Decoupage on Glass
Learning how to decoupage on glass opens up endless possibilities for personalized decor and functional serveware. Start with a clean, degreased surface, choose thin paper like napkins or tissue, and apply multiple thin coats of Mod Podge with proper drying time between each layer. Most importantly, respect the 28-day cure time if you want dishwasher-safe results.
Your next step is simple: grab a $3 platter from your local thrift store, pick up a pack of pretty napkins and a bottle of Mod Podge, and create your first piece this weekend. Once you see how easy it is, you’ll be decoupaging everything in sight.