Turning ordinary glass into a mirror might seem like a job for factories, but with the right materials and technique, you can do it at home. Using mirror-effect spray paint, you can transform any clean glass surface like an old window, picture frame, or door panel into a reflective, functional mirror. This DIY method is popular among upcyclers, interior designers, and crafters looking to add custom style without the cost of professional silvering.
The key lies in applying a metallic coating to the back of the glass, creating a reflective layer similar to traditional mirrors but without complex chemistry or vacuum plating. While not identical to factory-made mirrors, the result delivers clear, usable reflectivity perfect for decorative walls, garden installations, or themed decor. You’ll need just a few supplies, proper ventilation, and attention to detail during cleaning and spraying.
In this guide, you’ll learn exactly how to make glass into a mirror step by step, including safety tips, creative variations like vintage and haunted mirrors, material recommendations, and troubleshooting common issues.
Choose Your Mirror Method
Not all mirrors need to look the same. Depending on your project goal, you can select from several proven techniques using mirror-effect spray paint.
Standard Mirror Finish
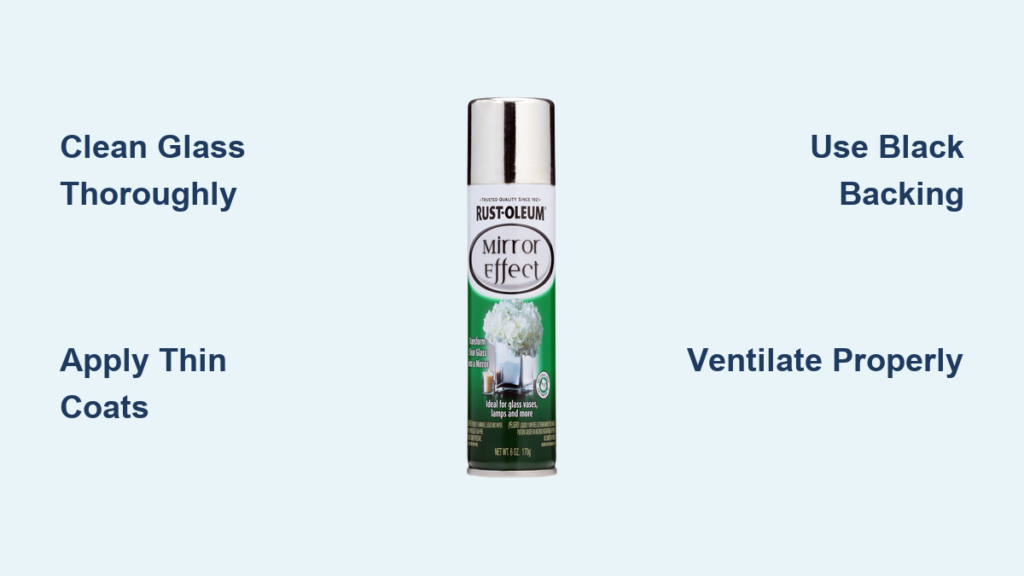
For a clean, contemporary look, use Rust-Oleum Mirror Effect or Krylon Looking Glass Silver in thin, even coats on the back of the glass. This method delivers high reflectivity and works best for bathrooms, vanities, or wall mirrors where clarity matters.
Antique Stippled Effect
Create a farmhouse or vintage-style mirror by misting the glass with vinegar-water (1:1) before lightly spraying paint. After 30 to 60 seconds, dab gently with a paper towel to lift some paint and form a mottled texture. The result mimics aged European mirrors with soft imperfections.
Faux Mercury Glass Look
Achieve an industrial or shabby-chic aesthetic by flicking vinegar-water onto wet mirror paint. The acid reacts, causing bubbles and etched patterns. Dab lightly to remove raised areas for a weathered, artistic finish.
Haunted or Illusion Mirror
Perfect for Halloween or themed rooms. Place a horizontally flipped image behind the glass, then paint only certain areas like eyes or mouth to reveal it. When viewed from the front, the mirror reflects you but the hidden image appears ghostly beneath.
Dual-Side Coating
For maximum reflectivity and durability, apply mirror paint to both sides of the glass. Use 4 to 5 thin coats per side. This advanced method enhances brightness and is ideal for display pieces or outdoor use.
Gather Essential Supplies
Having the right tools ensures success and safety during application.
Must-Have Materials
Mirror-effect spray paint specifically formulated for reflectivity (Krylon Looking Glass Silver or Rust-Oleum Mirror Effect). Glass cleaner like Windex for initial cleaning. Rubbing alcohol (70% or higher isopropyl) for final degreasing. Painter’s tape to protect frames and edges from overspray. Flat black spray paint to apply over mirror paint for boosted reflectivity. Protective gear including N95 respirator, nitrile gloves, and safety goggles. Lint-free cloths for streak-free wiping. Spray bottle for vinegar-water application.
Optional Add-Ons
Chakola dry-erase markers turn your mirror into a writable board. Cardboard or hardboard backing for reassembling frames. Lead test kit crucial when stripping old finishes from pre-1978 furniture. Cans or small supports to elevate glass for airflow during drying.
Pro Tip: Always check the spray can cap. If it has a shiny, metallic finish, the paint will likely deliver good reflectivity.
Remove and Prep the Glass Panel
If working with a framed piece like a window or picture frame, start by disassembling it safely.
Extract Glass Safely
Flip the frame over and remove fasteners, clips, or backing boards. Gently slide the glass out, holding it by the edges to avoid scratches. Set aside in a clean, flat area.
Refinish Wooden Frames (Optional)
For vintage charm, strip old paint with paint remover, then sand smooth. Test for lead if the item is older than 1978. Seal bare wood with polyurethane to prevent chipping and simplify cleaning.
Warning: Never sand painted surfaces without testing for lead. Exposure can be hazardous.
Clean Glass Thoroughly
This step makes or breaks the final result. Any residue causes poor adhesion or cloudy spots.
Step-by-Step Cleaning
Spray both sides with Windex and wipe with a damp cloth. Dry completely with a lint-free towel. Apply rubbing alcohol to a fresh cloth and wipe the back side (painting surface) again. Inspect under bright light. No streaks, smudges, or dust should remain.
Critical Rule: After cleaning, only touch the glass by the edges. Fingerprints ruin paint adhesion.
Visual Cue: If the surface beads water, it is still contaminated. It should sheet evenly when wiped.
Mask and Set Up Your Workspace
Prevent mess and ensure clean lines with proper setup.
Protect Surroundings
Tape off wooden frames or adjacent surfaces with painter’s tape. Seal edges tightly to stop bleed-through. Lay down cardboard or plastic sheeting to catch overspray.
Optimize Environment
Work outdoors or in a well-ventilated garage. Fumes are strong and flammable. Ideal temperature is 65 to 85°F (18 to 29°C). Avoid windy or humid days to prevent uneven drying or bubbling. Place the glass on cans or supports so air circulates underneath.
Safety First: Wear a respirator, gloves, and goggles. Mirror spray can stain skin and irritate lungs.
Apply Mirror-Effect Spray Paint
Precision and patience yield the best reflectivity.
Spray Technique Basics
Shake the can for at least 1 minute (up to 2 minutes recommended). Hold 8 to 10 inches (20 to 25 cm) from the surface. Use smooth, overlapping side-to-side motions. Never stop moving. Spray thin coats, not heavy blasts.
Standard Application (5 to 8 Coats)
Spray the back side of the glass. This becomes the reflective layer. Apply first coat lightly. Wait 1 minute between coats for flash drying. Repeat until the glass is fully opaque. No light passes through. Most users need 5 to 8 coats depending on glass thickness.
User Insight: Some achieve a desirable antique look with just 2 to 3 coats, allowing slight translucency.
Create Vintage Texture with Vinegar
To mimic old-world mirrors, lightly mist the glass with vinegar-water solution. Immediately spritz a light coat of paint. Wait 30 to 60 seconds, then dab (do not wipe) with a paper towel. Repeat for deeper texture.
Expert Note: The vinegar does not need to dry before spraying. Wet application enhances reaction.
Add Black Backing for True Reflectivity

Skip this step, and your mirror may appear translucent or dim.
Why Use Black Paint
Blocks light from passing through. Deepens contrast. Enhances image clarity. Prevents ghosting or shadowing.
How to Apply
Wait until the mirror paint is fully dry (about 10 minutes). Spray flat black paint over the entire mirrored surface. Use 1 to 2 even coats. Avoid drips. Let dry completely before handling.
Exception: For vases, bottles, or decorative objects, skip black paint to preserve translucency.
Reassemble the Frame
Now bring your project together.
Standard Mirror Assembly
Place the glass back into the frame with the painted side facing outward (you look at it). Insert new or original backing (cardboard, hardboard). Secure with clips or fasteners. Mount securely. Use a cleat system for heavy pieces.
Haunted Mirror Setup
Tape a reversed image (ghost face) to the back of the glass before painting. Leave specific zones unpainted to reveal the image. After painting, place the original (non-reversed) image face-down behind the glass. Insert so the painted side faces inward, toward the hidden image.
Result: A normal reflection with a faint, eerie figure appearing behind it.
Cure and Handle With Care
Rushing this step risks smudging or damaging the coating.
Drying Timeline
Tack-free in 10 minutes under normal conditions. Safe to handle after 1 hour, especially in sunlight. Full chemical cure takes 24 to 48 hours.
Wait 24 hours before using as a dry-erase board or exposing to moisture.
Never clean the painted side. It is protected behind the glass.
Creative Applications and Projects
Turn functional upgrades into design statements.
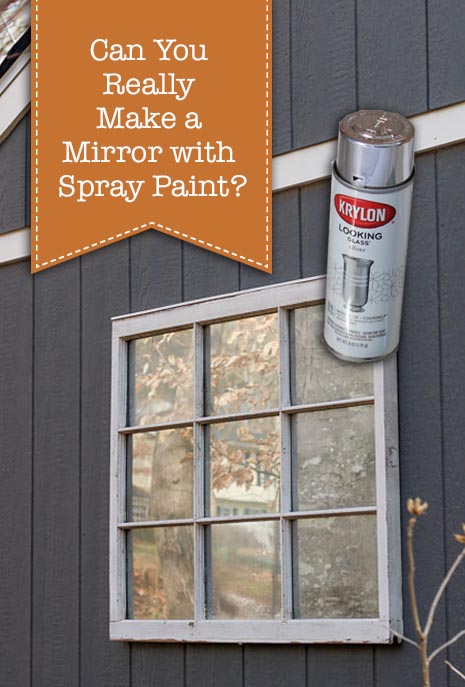
Old Windows into Mirrors
Salvage windows from thrift stores or demolition sites. Mirror each pane individually for a grid effect. Ideal for farmhouse, cottage, or industrial interiors.
Design Tip: Partially mirror. Paint only top panes, leave bottom clear for shelves or plants.
Garden Mirrors
Use weather-resistant frames and seal edges. Mount on fences or sheds to expand perceived space. Adds light and movement to shaded areas.
User Feedback: I made a large garden mirror from an old window. Looks stunning.
Dry-Erase Mirror Boards
After full cure, write with Chakola dry-erase markers. Wipe clean with Windex or damp cloth. Great for affirmations, grocery lists, or kids’ art.
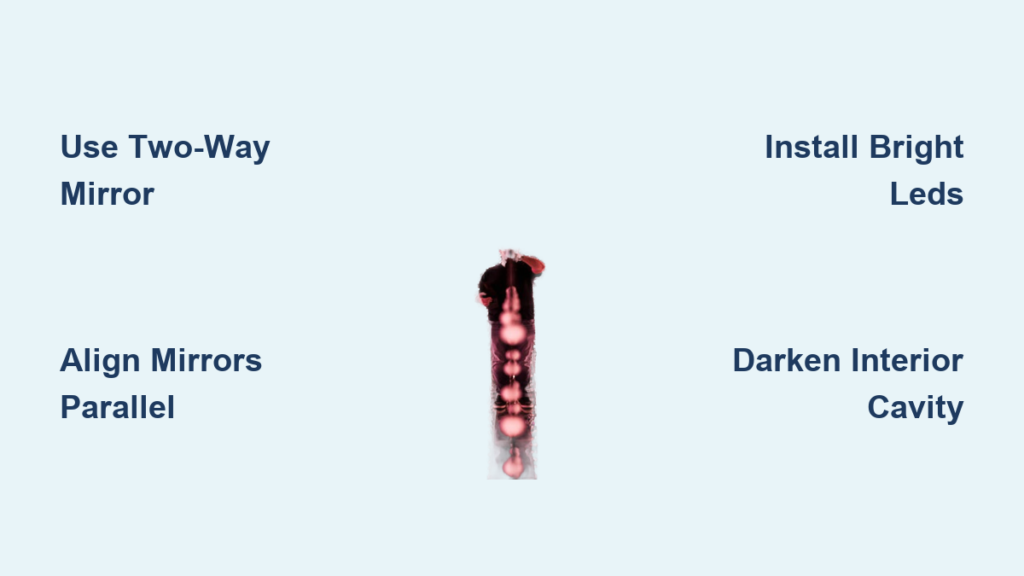
Mirror Vases and Bottles
Spray paint the interior with mirror coating. Insert LED string lights for glowing decor. No black backing needed. Transparency adds depth.
Partial and Patterned Mirroring
Mask off geometric shapes, borders, or letters before spraying. Combine mirrored and clear sections for artistic impact. Perfect for accent walls or custom signage.
Recommended Products and Brands
Choose quality sprays for best results.
| Product | Best For | Notes |
|---|---|---|
| Krylon Looking Glass Silver | High reflectivity, mercury glass | Preferred by experts |
| Rust-Oleum Mirror Effect | Standard mirrors, windows | Widely available |
| Flat Black Spray Paint | Backing layer | Any brand works |
| Chakola Markers | Dry-erase function | Bright colors, easy erase |
Canada Note: Krylon Looking Glass is not sold in Canada. Consider importing from U.S. retailers.
Cost Estimate: $12 to $16 per can. Two cans often needed for large mirrors.
Troubleshoot Common Issues
Fix problems before they ruin your project.
Splotchy or Uneven Finish
Cause: Heavy spraying or insufficient drying time. Fix: Apply lighter, more frequent coats. Wait 1 minute between layers.
Paint Peeling
Cause: Oily residue or poor cleaning. Fix: Re-clean with rubbing alcohol. Never touch surface with bare hands.
Translucent Appearance
Cause: Too few coats or missing black backing. Fix: Add 2 to 3 more paint layers and apply flat black spray.
Drips or Runs
Cause: Holding can too close or over-spraying. Fix: Maintain 8 to 10 inch distance. Keep can moving.
Vinegar Effect Not Working
Cause: Incorrect dabbing or dry vinegar. Fix: Mist evenly. Dab up-and-down with paper towel. Do not wipe.
Adhesive Shows Through
Cause: Mirror mastic reacts with paint. Fix: Avoid glue. Use mechanical fasteners instead.
Safety and Ventilation Rules
Protect yourself and others.
Essential Precautions
Work outdoors or in a ventilated space. Wear N95 respirator, gloves, goggles. Keep children and pets away. Avoid open flames. Spray is flammable.
Disposal Guidelines
Empty cans: Dispose per local hazardous waste rules. Contaminated rags: Seal in a bag and discard safely.
Never spray indoors without ventilation. Fumes are harmful.
Maintain and Extend Mirror Life
Your DIY mirror can last years with care.
Longevity Tips
Keep the painted side protected behind glass. Avoid moisture exposure. Do not attempt to clean the back coating. If glass breaks, repaint is required.
Repair Old or Damaged Mirrors
Yes, you can restore tarnished mirrors. Remove from frame. Clean thoroughly. Lightly sand if needed. Reapply mirror spray and black backing.
Expert Confirmation: You can repair an old mirror with metallic, glossy spray paint.
Key Takeaways for Transforming Glass into a Mirror
Mirror-effect spray paint turns regular glass into a reflective surface. Always apply to the back side of the glass. Clean with alcohol. No exceptions. Use 5 to 8 thin coats for full opacity. Apply black backing paint for true mirror quality. Ventilation and safety gear are mandatory. Creative options include vintage texture, haunted effects, and dry-erase functionality. Not for precision optics but excellent for decorative, upcycled, and budget projects.
Transforming glass into a mirror is one of the easiest and most rewarding DIY projects you can try. With minimal tools and a weekend afternoon, you can create custom mirrors that reflect your personality and style.
Start with Krylon Looking Glass Silver for the best results. Prep meticulously, spray patiently, and always finish with black paint for maximum reflectivity. Experiment with vinegar textures, partial mirroring, or dry-erase functionality to push creative boundaries.
Whether repurposing an old window, designing a garden focal point, or crafting a spooky illusion, this technique blends sustainability, artistry, and practicality. So grab a glass panel, head outside, and start mirroring. Your next masterpiece is just a few sprays away.
Frequently Asked Questions About Making Glass into a Mirror
Can I turn regular glass into a mirror at home?
Yes, regular clear glass can be transformed into a functional mirror using mirror-effect spray paint. The paint contains metallic particles that create an opaque, light-reflecting surface when applied in sufficient layers to the back of the glass.
What is the best spray paint for making mirrors?
Krylon Looking Glass Silver and Rust-Oleum Mirror Effect are the top-recommended products. Krylon offers higher reflectivity while Rust-Oleum is more widely available. Check the spray cap for a metallic sheen to verify quality before purchasing.
How many coats of mirror spray paint do I need?
Apply 5 to 8 thin coats for full opacity and reflectivity. Wait 1 minute between coats for flash drying. Some users achieve desirable antique effects with just 2 to 3 coats, allowing slight translucency.
Why do I need black paint behind the mirror?
Flat black spray paint applied over the mirror paint blocks light from passing through, deepens contrast, enhances image clarity, and prevents ghosting or shadowing. This step is essential for true mirror quality.
Can I use this method on plastic surfaces?
Plastic surfaces can be treated but yield lower reflectivity and may warp under spray pressure. Glass provides the best results for mirror-effect spray paint applications.
How long does it take for the mirror paint to cure fully?
The paint becomes tack-free in 10 minutes and safe to handle after 1 hour. Full chemical cure takes 24 to 48 hours. Wait at least 24 hours before using as a dry-erase board or exposing to moisture.