Is your bathroom mirror flopping forward every time you lean in? Does your standing mirror constantly slide out of position, forcing you to readjust it mid-use? A tilting mirror that won’t stay in place is more than just annoying. It can disrupt your daily routine and even become a safety hazard. The good news: in most cases, this issue is easy to fix with simple tools and household items. Whether it is a wall-mounted pivot mirror, a freestanding floor model, or a vintage shaving mirror, the root cause is usually lost friction or mechanical wear in the hinge, bracket, or mounting system.
This guide walks you through proven, step-by-step fixes tailored to each mirror type. You will learn how to restore tension, tighten loose joints, repair stripped holes, and stabilize wobbly stands using affordable, accessible methods. From wrapping a pivot shaft with tape to filling screw holes with toothpicks and glue, these solutions work fast and last.
Diagnose the Tilting Problem First
Before grabbing tools, identify what is causing the instability. Different mirror types fail in different ways. Pinpointing the exact issue saves time and prevents unnecessary disassembly.
Check for Loose Screws or Bolts
Grab the mirror gently and tilt it. If there is noticeable wobble, loose fasteners are likely the culprit. Inspect the set screws on pivot brackets, hinge bolts on floor mirrors, and thumb screws on antique models. Use a screwdriver or hex key to test tightness. If the screw turns without gripping, the hole may be stripped.
Look for Missing or Worn Components
Remove the mirror from its mount if safe and examine the bushing inside the pivot hole. It should be a small plastic or metal sleeve. Check for rubber or felt washers, which are often found between metal and wood parts. Look for metal locking plates present in vintage mirrors behind the pivot shaft. If any part feels loose, cracked, or missing, that is your fix point.
Test the Pivot Mechanism
Tilt the mirror slowly. Does it move smoothly but will not stay put? That indicates friction loss. Does it feel gritty or stuck? This could be corrosion or debris. A smooth but floppy pivot means the clamping system is not gripping. This is common in older models.
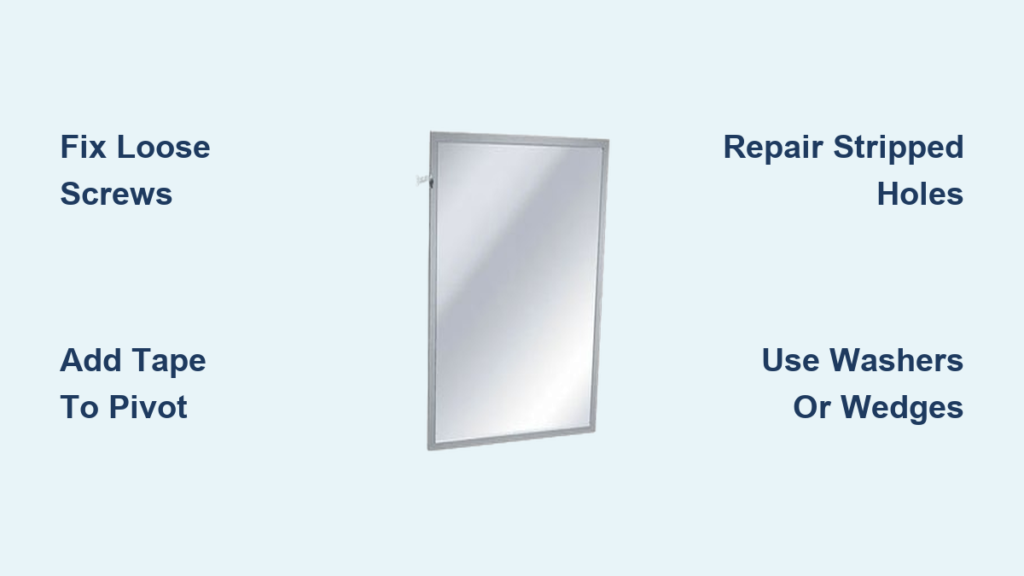
Fix a Loose Wall-Mounted Bathroom Mirror
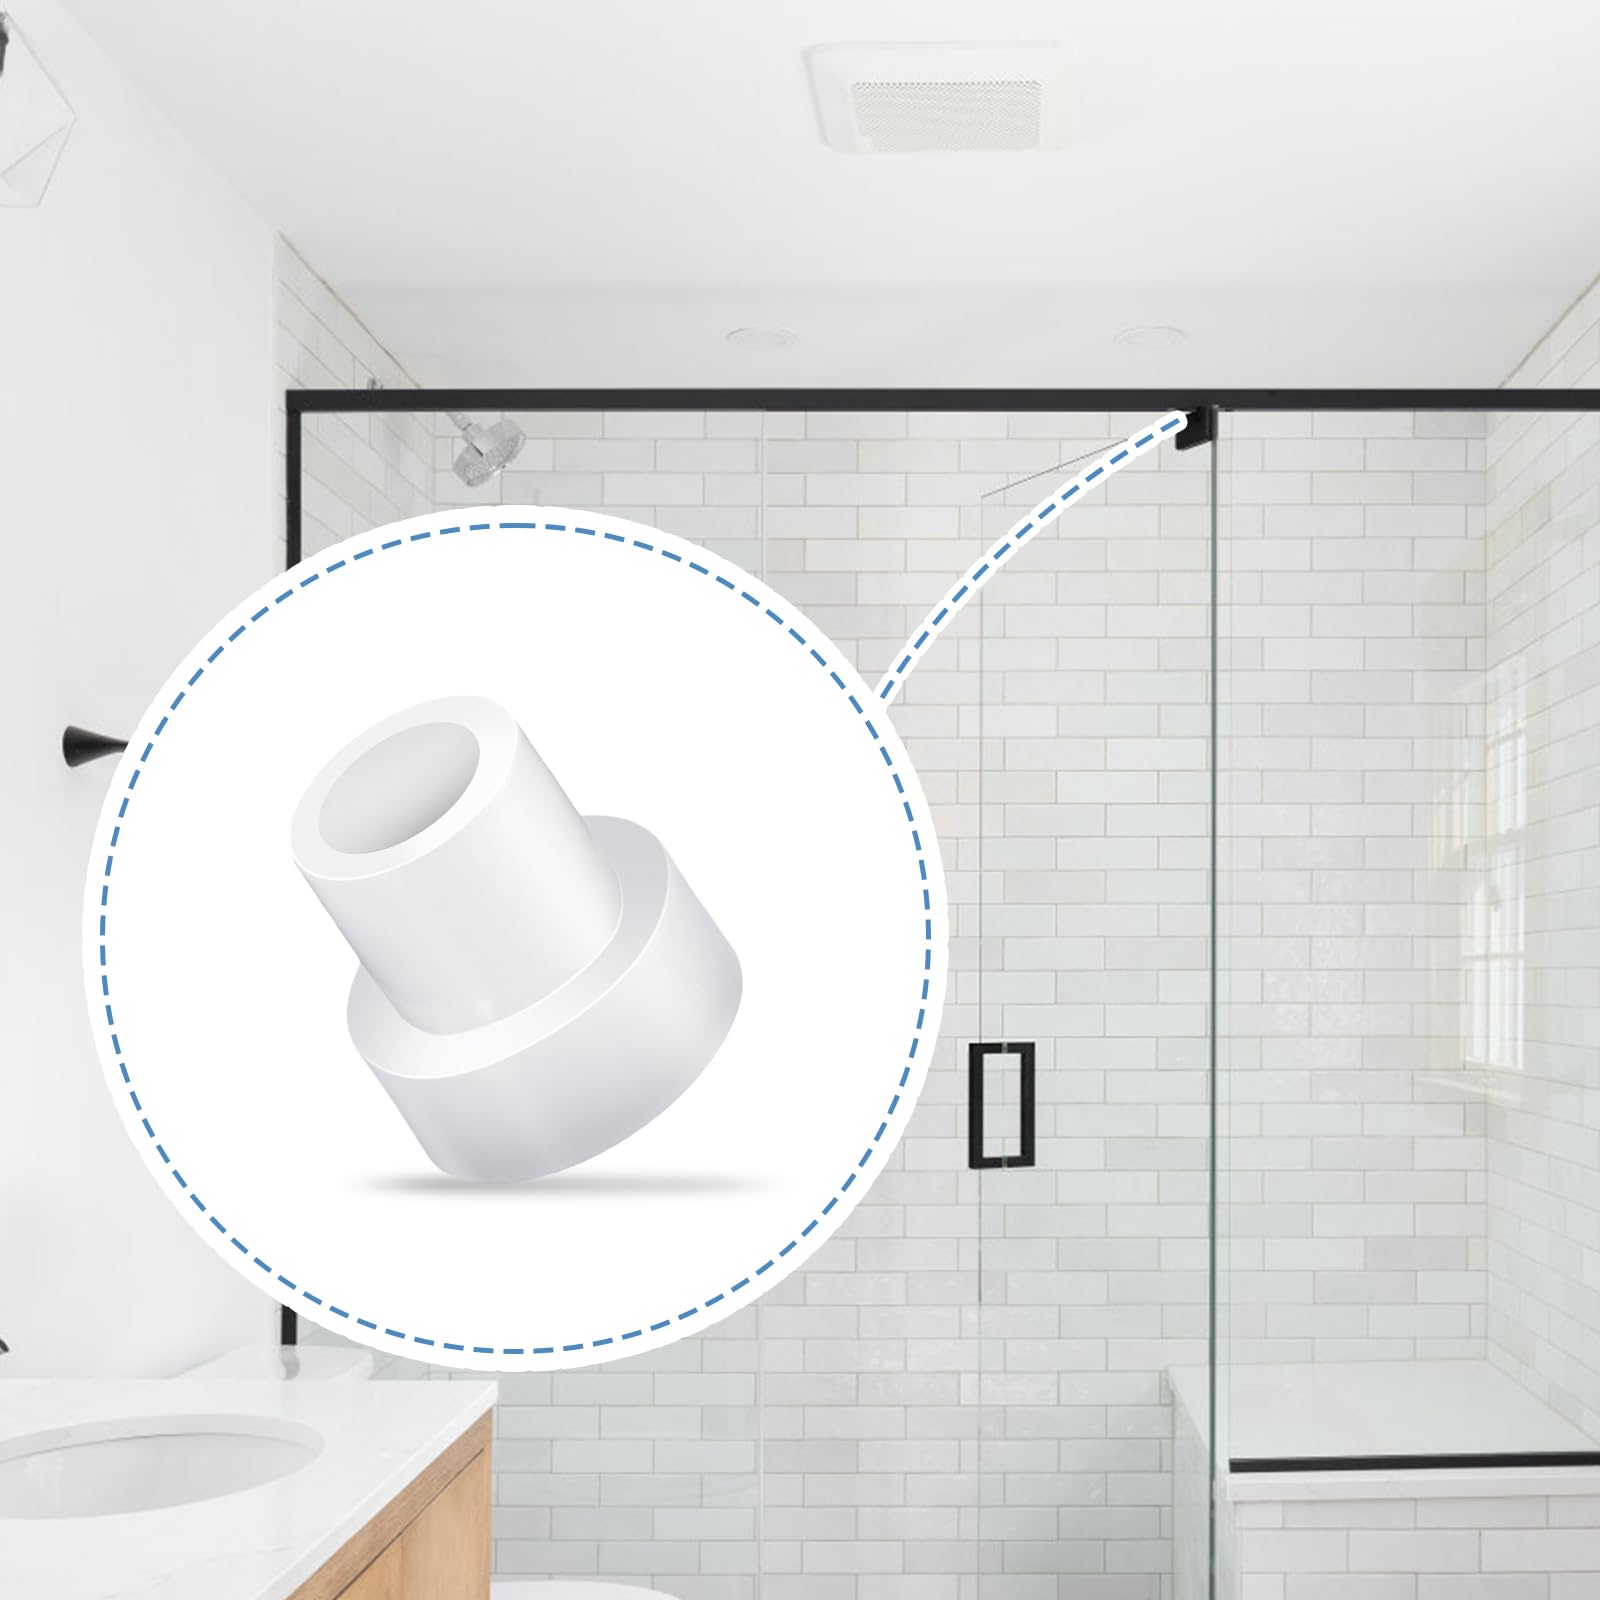
Wall-mounted tilting mirrors often fail due to a missing or worn pivot bushing. Without it, the set screw cannot create enough pressure to hold the mirror in place.
Restore Friction with Tape
When the original bushing is gone, electrical tape becomes a quick, effective replacement. Lift the mirror off the mounting bracket. Locate the pivot hole in the bracket where the metal pin passes through. Wrap two to three layers of electrical tape around a small rod like a nail or toothpick and insert it into the hole. Remove the rod, leaving the tape sleeve behind. Reinsert the pivot pin and rehang the mirror.
Why this works: The tape reduces the hole diameter, increasing friction when the set screw is tightened. It is a zero-cost, reversible fix that mimics a factory bushing.
Pro Tip: Use vinyl electrical tape. It is stretchy, durable, and resists compression over time.
Replace or Tighten the Set Screw
If the screw spins but does not clamp, remove it and check for stripped threads. Try a slightly longer screw of the same thread type for better bite. Wrap the screw threads with plumber’s tape before reinserting to add grip. Avoid over-tightening. This can crack plastic bushings or strip the bracket.
Stabilize a Wobbly Floor or Standing Mirror

Freestanding mirrors rely on frame integrity and connection points. When screws loosen or wood degrades, the mirror leans or tips.
Tighten Connections and Add Washers
Start with the basics. Tighten all visible screws, especially those at the mirror base. Insert rubber washers between the mirror frame and stand. These increase grip and absorb movement. Felt pads work too and are ideal for wood-on-wood contact.
Visual cue: If the mirror shifts after tightening, the screw holes are likely stripped.
Repair Stripped Wood Screw Holes
When screws spin freely, the wood has expanded and lost grip. Fix it with materials you already have.
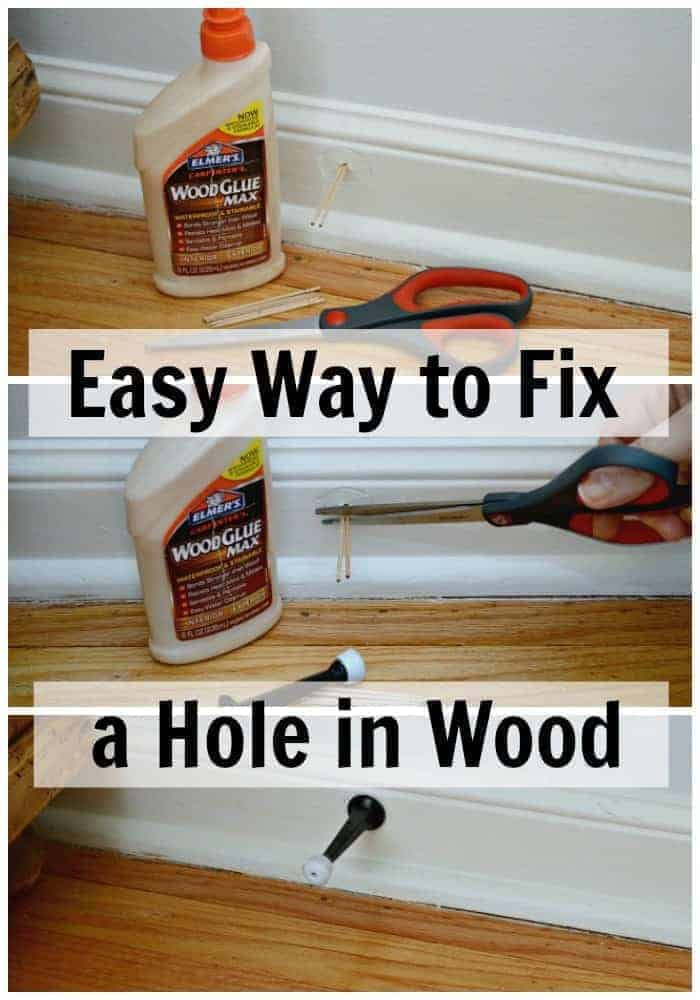
Use Toothpicks and Glue:
- Remove the loose screw.
- Dab wood glue into the hole.
- Jam in three to four wooden toothpicks until the hole is full.
- Snap them off flush with the surface.
- Let dry for two to four hours.
- Reinsert the screw and tighten.
The glue-hardened toothpicks create a new, solid base for the screw.
Alternative: Wood Shavings or Matchsticks
No toothpicks? Use shaved wood strips or broken matchsticks. Pack tightly and glue. Works the same way.
Warning: Do not use steel wool or plastic. These will not bond with wood glue and can damage threads.
Add a Back Wedge for Angle Support
If repairs do not fully stabilize the mirror, place a rubber doorstop or wooden wedge between the mirror back and the wall. Adjust the wedge to hold the desired angle. This removes strain from the pivot mechanism. It is a smart temporary or permanent workaround, especially for heavy mirrors.
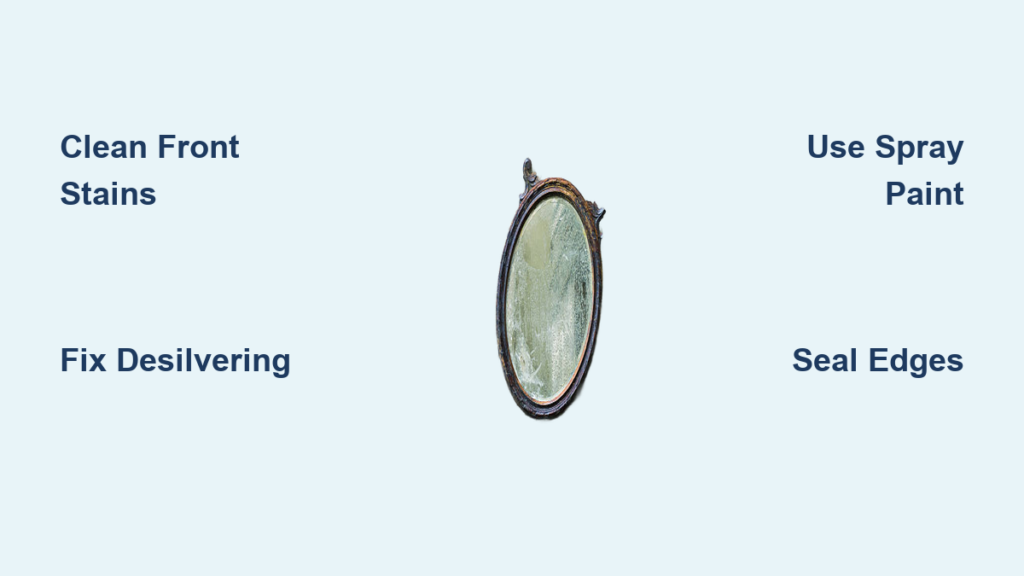
Restore an Antique Shaving Mirror That Will Not Lock
Vintage mirrors often fail silently. They look intact but refuse to stay put. The problem is usually inside the pivot assembly.
Clean and Dry the Pivot Shaft
Many users apply WD-40 to loosen stuck screws. But this oils the shaft, reducing friction. Use WD-40 only to free a seized thumb screw. Once removed, wipe the metal shaft and locking plate completely dry. Use rubbing alcohol to remove any residue. Reassemble and test. A clean, dry surface allows the clamp to grip properly.
Increase Shaft Friction with Tape
If the mirror still slips, wrap the metal pivot shaft with one to two layers of masking tape. Reinsert and tighten the thumb screw. The added thickness boosts resistance. Use thin paper or latex glove strips for a subtler fix. These are ideal for preserving antique finishes.
Fix a Short or Loose Thumb Screw
Sometimes the screw does not press the locking plate firmly. Remove the screw. Drop a small wad of paper into the hole. Reinsert the screw. The paper lifts the screw slightly, improving contact with the plate.
Expert note: If the metal fitting inside the frame has lifted, gently press it back down before reassembling.
Disassemble for Full Inspection
For deep cleaning, remove the back panel usually secured with one small screw. Slide out the pivot shaft from the bottom. Check for worn internal bushings, bent locking plate, and dust or old grease buildup. Clean all parts, add friction material, and reassemble. This restores full function without replacing the entire mechanism.
Emergency and No-Tool Fixes
When you need a fast solution and tools are not handy, try these.
Add Weight to the Mirror Base
Attach lead tape or a small metal strip to the bottom back edge of the mirror. This uses gravity to counteract forward tilt. It works best on lightweight standing mirrors. This trick is inspired by golf club weighting. Simple physics does the work.
DIY hack: Tape a few coins or washers to the back for instant stability.
Use Non-Slip Materials
Apply anti-slip tape, rubber bumpers, or felt pads where the mirror meets the stand or wall. This prevents sliding and micro-movements. It protects floors and walls. These materials are easy to replace and invisible when placed correctly.
Accept a Stable Natural Position
Some mirrors settle into a balanced angle after repeated tilting. While not a fix, it can reduce frustration for minor issues. Just tilt the mirror back and forth a few times and use it in the position it naturally holds.
What to Avoid When Fixing a Tilting Mirror
Never Rely on WD-40 Alone
WD-40 is a penetrating oil, not a fix. It can loosen stuck parts temporarily. But it leaves behind a slick residue that worsens slippage. Only use WD-40 to free screws. Then clean and dry thoroughly.
Do Not Over-Tighten Screws
Forcing a screw can strip threads, crack wood or plastic frames, and warp metal brackets. Tighten until snug, not rigid. If resistance drops suddenly, stop. You have likely stripped the hole.
Prevent Future Tilting Problems
A little maintenance goes a long way in keeping your mirror stable.
Inspect Every Three to Six Months
Check all screws and fasteners, pivot smoothness, and washer condition. Tighten any loose parts before they worsen.
Clean Pivot Points Gently
Use a dry cloth or soft brush to remove dust and grime from hinges and shafts. Avoid liquids unless disassembling.
Replace Worn Parts Early
Swap out compressed rubber washers, cracked plastic bushings, and corroded screws. OEM or generic hardware store replacements work fine.
Limit Force When Adjusting
Do not yank or shove the mirror into position. Gentle, controlled tilting preserves the mechanism.
Quick Fix Guide by Symptom
| Symptom | Cause | Solution |
|---|---|---|
| Mirror flops freely | Missing bushing | Insert tape into pivot hole |
| Screws spin in place | Stripped wood hole | Fill with glued toothpicks |
| Slight wobble | Loose connection | Add rubber washers |
| Vintage mirror slips | Worn shaft or short screw | Wrap shaft with tape or add paper to screw hole |
| Screw will not budge | Corrosion | Use WD-40, then clean and dry |
| Mirror tips easily | Unstable base | Add back wedge or wall-mount |
Frequently Asked Questions About Fixing a Tilting Mirror
Why does my bathroom mirror suddenly start tilting forward?
The most common cause is a worn or missing pivot bushing inside the mounting bracket. This small component creates the friction needed to hold your mirror in position. Without it, the set screw cannot generate enough pressure to keep the mirror steady.
Can I fix a tilting mirror without removing it from the wall?
Yes, for wall-mounted mirrors you can often restore friction by adding tape directly into the pivot hole without full removal. For standing mirrors, you can add weight to the base or place non-slip pads at contact points without disassembling anything.
What household items can I use to fix a stripped screw hole?
Wooden toothpicks combined with wood glue are the most effective household solution. Matchsticks or wood shavings also work well. Simply fill the hole with the material, let the glue dry, and reinsert the screw.
Is WD-40 safe to use on my antique mirror pivot?
Use WD-40 sparingly and only to free a stuck thumb screw. Never leave WD-40 residue on the pivot shaft. It acts as a lubricant and will reduce friction, making the tilting problem worse. Always clean and dry the area thoroughly after using it.
How do I know if my mirror needs wall mounting instead of repair?
If the stand is severely warped, the frame is cracked, or the mirror is particularly heavy, wall mounting is the safer option. This eliminates tilting issues entirely and prevents tipping hazards, especially in households with children or pets.
Final Thoughts on Fixing Your Tilting Mirror
With these methods, nearly any tilting mirror can be fixed in under thirty minutes using common household items. No special tools, no cost, no hassle. Whether it is a modern bathroom mirror or a family heirloom, stability is just a few tweaks away. Start simple with tape, toothpicks, or washers before attempting more involved repairs. Prioritize safety by anchoring heavy mirrors to the wall. For antiques, use reversible fixes like tape or paper to preserve value and authenticity. Test thoroughly after any repair by tilting the mirror up and down five to ten times to ensure it holds at multiple angles. Do not live with a wobbly mirror. Fix it today and enjoy a perfectly positioned reflection tomorrow.