Installing a mirror on your ceiling can transform a room’s lighting, create a stunning visual effect, or serve functional purposes like dance studios and sensory spaces. However, mounting anything overhead requires careful planning to avoid dangerous falls or property damage. This guide covers every proven method, from permanent installations to renter-friendly solutions, so you can choose the approach that matches your ceiling type, mirror weight, and living situation.
You will learn how to identify ceiling joists, select the right mirror material, combine adhesives with mechanical fasteners, and avoid common mistakes that lead to mirror detachment.
Check Lease and Legal Restrictions Before Installing
Rental agreements often restrict wall modifications but rarely address ceiling work. This legal gray area requires you to take specific precautions before proceeding.
Confirm Landlord Approval Is Required
Many leases explicitly limit wall hangings to stud-mounted items with size restrictions, such as holes no larger than a dime. Ceilings, however, frequently go unmentioned, which does not give you automatic permission to modify them. One tenant discovered their lease only restricted wall holes, leaving ceiling work technically unregulated under their agreement. Still, any permanent alteration could violate your lease terms. Always read your full rental agreement for clauses about modifications, fixtures, or damage. When in doubt, obtain written permission from your landlord before beginning work.
Smart Tip: Frame your installation request as enhancing natural light reflection rather than describing it as a decorative feature. This framing often avoids raising suspicion about intended use.
Understand Temporary vs Permanent Installations
Permanent installations typically involve screws, plywood backing, or industrial adhesives. These methods almost certainly require landlord approval. Temporary solutions like 3M Dual Lock, peel-and-stick Mylar panels, or removable glassless mirrors cause no damage and are more renter-friendly. Choose your method based on how long you plan to stay and whether your lease permits modifications.
Assess Your Ceiling Structure and Material

Not all ceilings can support a mirror safely. Your mounting method depends entirely on what lies above your drywall or plaster.
Identify Your Ceiling Type
Drywall, also called plasterboard, is the most common ceiling material in modern homes. It cannot support heavy mirrors alone because it is weak under vertical pull. Concrete or Artex ceilings, common in basements and older homes, have rough textures that complicate adhesion and require special preparation. Wood-framed ceilings with accessible joists offer the best opportunity for secure mechanical fastening.
Locate Ceiling Joists Accurately
Ceiling joists are the only safe anchor points for heavy mirrors. Joists typically run across the shortest room dimension, spaced 16 to 24 inches apart. Use a stud finder to locate them accurately, or tap the ceiling and listen for solid sounds indicating joists versus hollow sounds indicating gaps. Mark joist positions with painter’s tape before cutting or drilling.
Warning: Never rely on drywall anchors, Rawl plugs, or butterfly toggles for overhead mirrors. These fasteners fail under long-term load and can cause your mirror to fall.
Choose the Right Mirror Type for Your Ceiling

Your mirror choice affects safety, weight, installation complexity, and optical quality. Select based on your priorities and ceiling conditions.
Safety-Backed Glass Mirror
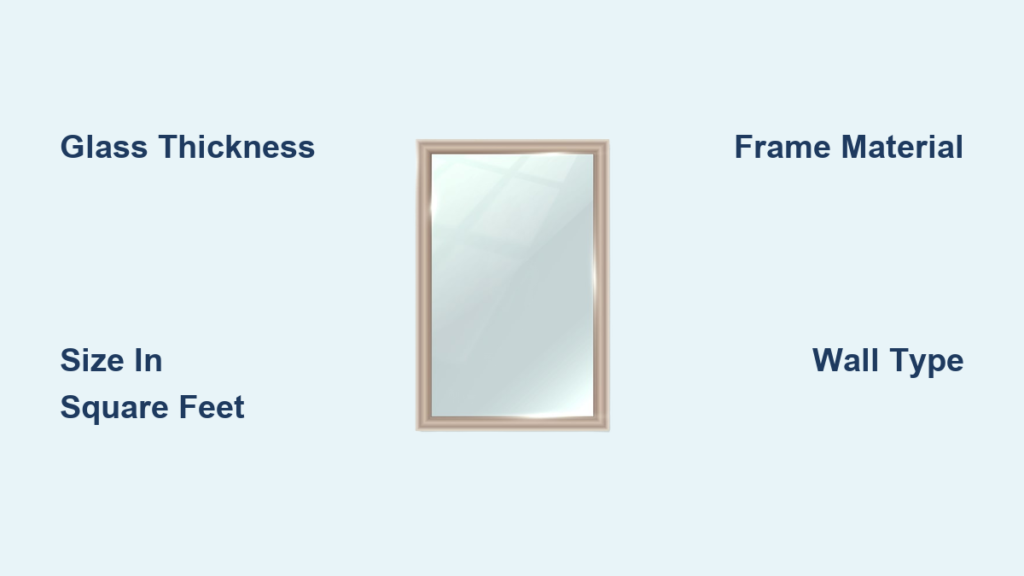
Standard glass mirrors offer the best optical clarity with no distortion. A 6 mm safety-backed mirror weighs approximately 15 kg per square meter. For example, a 1.2 by 1.2 meter mirror weighs about 26 kg. Always use laminated or film-backed glass labeled with BS EN 12600 rating for safety. This type requires mechanical support plus adhesive, and you should use J- and T-molding around edges to prevent slippage.
Expert Advice: Large ceiling mirrors are not DIY jobs. Mount to half-inch plywood screwed into joists, then secure the mirror with mastic and clips.
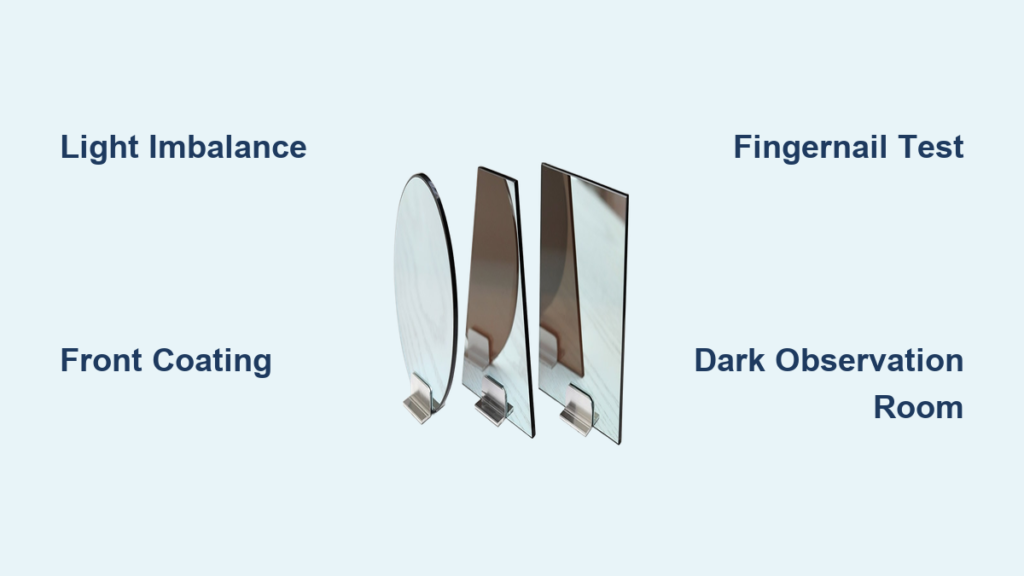
Acrylic Mirror Sheets
Acrylic mirrors are ideal for nurseries, gyms, and DIY projects because they weigh roughly half as much as glass, at about 7.5 kg per square meter. They are shatterproof, bending rather than breaking if dislodged. Available in 3 mm thickness for small panels or 5 mm for larger areas, acrylic can be cut with a utility knife. However, acrylic scratches easily, so avoid abrasive cleaners.
User Favorite: Glassless mirror panels are the best choice for ceiling mounting because they are light, shatterproof, and simple to install.
Mirror Tiles
Mirror tiles, typically 12 by 12 inches, offer a modular approach great for DIYers and renters. Lightweight and easy to handle, they install with double-sided tape and silicone adhesive. Mount tiles over plywood backing for best results. Visible seams between tiles may emphasize low ceilings, so consider this aesthetic factor before choosing.
Mirrored Mylar and Glassless Panels
Mylar and glassless panels represent the ultra-lightweight commercial solution. Made from shatter-proof PET or Mylar, they eliminate the risk of falling glass entirely. These panels are used in dance studios, hospitals, and high-end design projects. Some large buildings show no visible grid, suggesting hidden framing or advanced adhesives. Mount with 3M Dual Lock for removable installation.
Pro Insight: If the mirror is flexible, the image will look distorted, similar to a fun house mirror. Choose rigid materials for optical clarity.
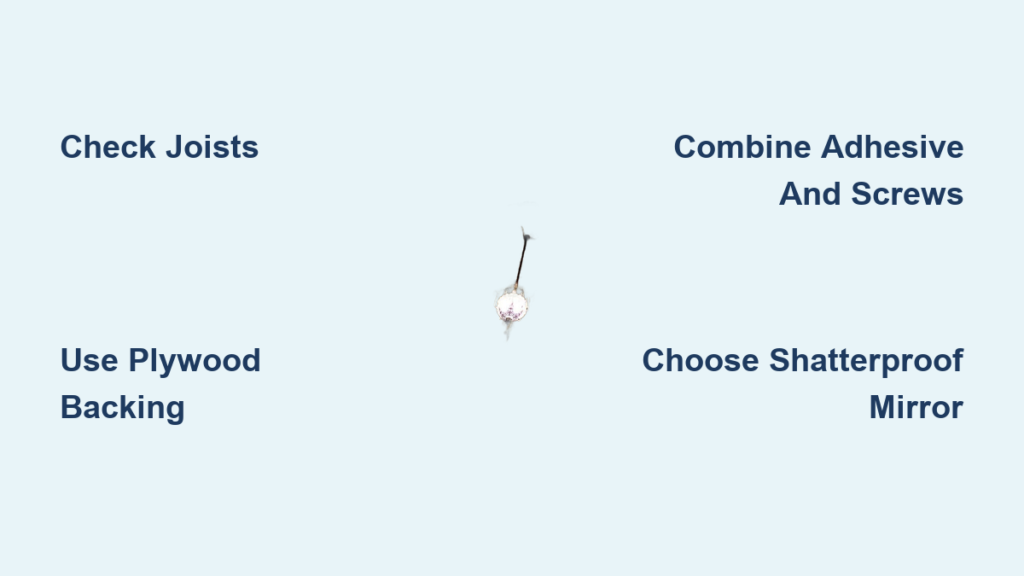
Mounting Methods: Adhesives and Mechanical Fasteners
Safety demands combining both adhesion and mechanical support, especially for overhead installations. Never rely on glue alone.
Best Adhesives for Ceiling Mirrors
Use adhesives as secondary bonding agents, never as the primary support. Mirror mastic provides industrial-grade strength but is insufficient alone. Solvent-free silicone, such as Stixall or Gripfill SF, is safe for mirrors and won’t degrade the backing. Construction adhesive like Loctite PL Premium bonds plywood to joists effectively. Double-sided tape works only for lightweight tiles or Mylar sheets.
Pro Tip: On textured ceilings, apply adhesive in raised zig-zag beads rather than flattening them. This fills gaps and prevents distortion.
Essential Mechanical Fasteners
Mechanical fasteners bear the real load. Use 5 by 70 mm wood screws to secure plywood to joists every 12 inches. Mirror clips serve two purposes: bottom support clips bear the weight while top retaining clips prevent forward sliding. Include rubber inserts to prevent cracking. Use 6 to 8 clips for large mirrors. J-molding and T-molding lock edges and seams when screwed into the substrate.
Hardware Tip: Buy zinc-plated or stainless steel clips. Avoid plastic clips for overhead use.
3M Dual Lock for Removable Installations
3M Dual Lock offers an industrial Velcro-style system perfect for renters or temporary setups. It provides strong shear resistance while allowing easy removal without damage. Attach to Mylar or acrylic sheets for a secure but removable hold.
Step-by-Step: Install a Glass Mirror on the Ceiling
Large, heavy mirrors require this comprehensive method for safe overhead mounting.
Install Plywood Backing
Cut half-inch plywood to match your mirror size. Screw into ceiling joists using 5 by 70 mm wood screws every 12 inches. Use 6 to 8 screws total, placing two per joist if spanning multiple joists. Countersink screws to avoid protrusion. Prime or paint the plywood to match your ceiling.
Why Plywood: Plywood distributes weight across multiple joists, bridges gaps, and provides a flat surface for adhesion.
Prepare and Position the Mirror
Clean the mirror back thoroughly. Apply mirror mastic in zig-zag beads across the back. Lift the mirror into place and use a floor-to-ceiling support post to hold it during curing. Align carefully with marked edges.
Secure with Clips and Molding
Install bottom support clips first, allowing the mirror to rest on them. Add top retaining clips to prevent sliding. Use J-molding around the perimeter, screwing it into the plywood. Ensure rubber inserts contact the mirror edge.
Cure and Inspect
Let adhesive cure 24 to 48 hours before removing supports. Check alignment and clip tightness after curing. Inspect annually for sagging or separation.
Acrylic Mirror Installation for Light to Medium Size
Acrylic offers an easier, safer DIY approach.
Method 1: Adhesive Plus Screws
Apply mirror-safe silicone in a zig-zag pattern. Drill pilot holes near top and bottom edges. Insert small black screws with washers into joists. These screws act as temporary braces during curing. Hide heads with decorative caps.
Never drill through the mirror surface. Attach only at edges.
Method 2: Timber Batten Support
Install 2 by 1 inch timber battens across joists. Screw battens securely into joists every 12 inches. Attach the acrylic sheet to battens with screws and washers. This method provides full mechanical support without relying on adhesive alone.
Recommended for sheets larger than 1.2 square meters.
Mirror Tile Installation on Textured Ceilings
Textured ceilings like Artex or stucco cause distortion and poor adhesion. Two solutions address this problem.
Solution 1: Thick Adhesive Beads
Apply large, raised beads of mastic or silicone. Do not press flat. Let adhesive fill texture gaps to prevent pressure points that warp the mirror.
Solution 2: Install Plywood Underlayment
This is the best long-term fix. Sand plywood smooth before mounting. This creates a flat, stable surface that eliminates distortion, especially with acrylic mirrors.
Critical: Direct mounting to textured ceilings causes visible warping, especially when viewed from below.
Child Safety: Mirrors in Nurseries and Kids’ Rooms
Safety must be your priority when installing mirrors where children are present.
Use Acrylic or Mirror Tiles
Acrylic and mirror tiles are lightweight and shatterproof. If dislodged, they bend rather than breaking into sharp shards. These materials are standard in hospitals, nurseries, and sensory rooms for these safety reasons.
Avoid glass mirrors in rooms where children jump on beds, throw toys, or hang from furniture. The risk of injury from falling glass is significant.
Weight Limits and Load Safety
Know what your ceiling can safely support.
| Mirror Size | Weight (6 mm Glass) | Safe Mounting Method |
|---|---|---|
| 0.6 × 1.2 m | ~11 kg | Plywood + joists + clips |
| 1.0 × 1.5 m | ~22 kg | Plywood + multiple joists + full clip set |
| 1.2 × 1.2 m | ~26 kg | Plywood + 3+ joists + molding |
Fact: Drywall alone cannot safely hold 10 to 25 kg overhead. Plywood secured to joists supports 100 to 200 kg, making it the only safe base for glass mirrors.
Where to Buy Materials
In-Store Options
Home Depot and Lowe’s may carry mirror tiles, but call ahead to confirm stock. Bathroom and tile suppliers often stock clip kits and moldings. Specialty glass shops offer custom-cut mirrors, safety glass, and mastic.
Online Sources
Amazon and eBay stock heavy-duty mirror clip sets and stainless steel options. Glass shops online provide custom-cut mirrors and safety-rated glass. Specialty retailers carry Mirrorlite glassless panels and Ceiling Mirror Hanging Kits.
Pro Kit: The Ceiling Mirror Hanging Kit includes eyebolts, chains, and UL-certified hardware. It costs around $200 and is ideal for commercial use.
Final Recommendations by Use Case
For Perfect Optical Clarity
Choose 6 mm laminated glass mounted to 18 mm plywood secured with mastic, clips, and J-molding screwed into ceiling joists. This method ensures zero distortion and maximum safety.
For Child-Safe Installation
Choose 3 to 5 mm acrylic sheet or mirror tiles. These materials are lightweight, shatterproof, and safe if dislodged. Installation is easy for DIYers.
For Simple DIY Setup
Choose 3 mm acrylic mirror. Use adhesive plus two top and two bottom screws into joists. Hide screw heads with decorative caps.
For Renters or Temporary Installations
Choose glassless Mylar or mirror panels with 3M Dual Lock. This causes no damage and is removable, making it lease-compliant when approved.
Frequently Asked Questions About Installing Mirrors on Ceilings
Can I install a mirror on a textured ceiling?
Textured ceilings like Artex or stucco cause mirror distortion and poor adhesion. Apply thick adhesive beads in raised patterns without flattening, or install plywood underlayment first to create a flat mounting surface.
How do I find ceiling joists accurately?
Use a stud finder for precision. Alternatively, tap the ceiling and listen for solid sounds indicating joists versus hollow sounds indicating gaps. Joists typically run across the shortest room dimension, spaced 16 to 24 inches apart.
What is the safest mirror type for a nursery?
Acrylic mirror sheets or mirror tiles are safest for nurseries. They weigh significantly less than glass, bend instead of breaking, and won’t produce sharp shards if dislodged.
Can I use adhesive alone to mount a ceiling mirror?
Never rely on adhesive alone for overhead mirrors. Use adhesives as secondary bonding agents only. Always combine adhesive with mechanical fasteners like clips, screws, or molding secured into ceiling joists.
How much weight can ceiling joists support?
Ceiling joists mounted with proper plywood backing can support 100 to 200 kg. A 1.2 by 1.2 meter glass mirror weighs approximately 26 kg, well within safe limits when properly mounted.
Is it legal to install a ceiling mirror in a rental property?
Check your lease agreement. Ceilings are often not addressed in rental restrictions, but any permanent modification may violate your lease. Obtain written landlord approval before proceeding.
Key Takeaways for Safe Ceiling Mirror Installation
Installing a mirror on your ceiling can create stunning visual effects, but safety must come first. Always secure heavy glass mirrors to ceiling joists using plywood backing, never rely on drywall anchors or adhesive alone, and combine mechanical fasteners with adhesive for maximum security. Acrylic and glassless Mylar panels offer the safest options for renters, DIYers, and children’s rooms because they are lightweight and shatterproof. Textured ceilings require flat plywood underlayment to prevent distortion. Inspect your installation annually for sagging, loose clips, or adhesive failure. Choose materials that match your specific situation, whether that means professional-grade glass for optical clarity or removable panels for rental compliance. A ceiling mirror enhances your space beautifully when installed correctly, but cutting corners on safety leads to dangerous situations that are never worth the risk.