Mounting a mirror on tiles can feel intimidating, especially when you worry about cracking the surface or ending up with a wobbly, unsafe installation. But with the right method, tools, and preparation, you can securely attach a mirror to tiled walls in your bathroom, kitchen, or entryway without causing damage. Whether you are using adhesive strips, silicone, construction glue, or drilling into tile, this guide covers every option to help your mirror stay put safely for years.
The key to success lies in matching your mounting method to the mirror’s weight, size, and how permanent you need the installation to be. From renters using no-damage Command Strips to homeowners installing large vanity mirrors with anchors, we will walk you through each approach so you can choose the best solution for your specific situation.
Choose the Right Mounting Method for Your Mirror
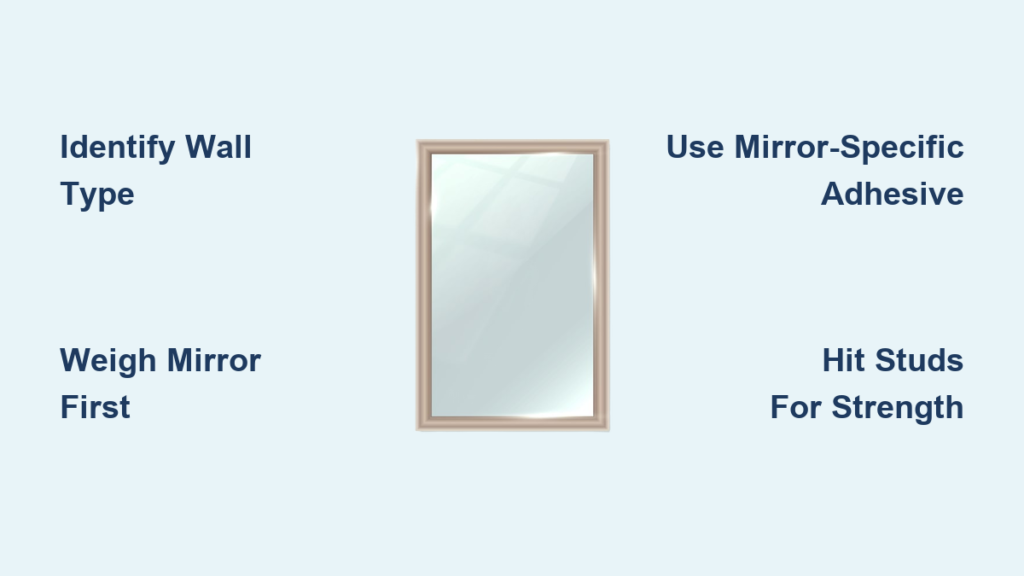
Your mirror’s weight and permanence needs determine the best installation strategy. Taking time to assess these factors upfront prevents costly mistakes and ensures your mirror stays securely mounted.
Match Method to Mirror Weight
Use the following guidelines to select your mounting approach based on how much your mirror weighs.
• Under 16 lbs (7.3 kg): Use 3M Command Strips or double-sided mounting tape.
• 16–30 lbs (7.3–13.6 kg): Apply neutral cure silicone or construction adhesive.
• Over 30 lbs (13.6 kg): Drill into tile with masonry anchors or use a plywood backing board.
Larger mirrors, even if not heavy, should be mounted with support methods that prevent glass flexing, such as backing boards or brackets.
Avoid Drilling into Grout
Drilling into grout is not recommended. Most grout lines are only 1–2mm wide, making accurate drilling nearly impossible. The risk of the bit slipping and chipping the tile is high. Even if successful, grout lacks structural strength and may crumble under load over time. Always drill into tile, not grout, for secure, long-term mounting.
Decide on Permanence
Choose your method based on how long you need the mirror to stay in place.
• Permanent: Silicone, construction adhesive, or drilled anchors.
• Removable: 3M Command Strips (ideal for renters).
• Semi-permanent: Brackets or hybrid systems with removable screws.
Install with Adhesive (No Drilling Required)
Adhesive methods protect tiles and require minimal tools, making them perfect for DIYers who want to avoid drilling into their walls.
Use Waterproof Double-Sided Tape
Apply polyurethane-based double-sided mirror tape designed for glass and tile. 3M offers high-strength versions that resist moisture and heat.
• Cut strips to fit near the edges and center of the mirror back.
• Press firmly for full contact.
• Supports up to 15–20 lbs, depending on surface area and tape quality.
Pro Tip: For better grip, warm the tape slightly with a hairdryer before pressing.
Hang with 3M Command Strips
Best for renters or temporary setups, Command Strips are a no-damage favorite that has been verified to hold mirrors securely for over 10 years in humid bathrooms.
Follow these steps:
- Clean tile with rubbing alcohol and dry completely.
- Attach strips to mirror back following the package layout.
- Press firmly for 30 seconds.
- Wait 1 hour before hanging the mirror.
- To remove, pull the tab straight down slowly.
X-Large bathroom strips hold up to 9 kg (19.8 lbs) per 4-pack. One verified user reported that 3M Command Strips have been holding a 2 ft wide round IKEA mirror just fine for the past 10 years in a bathroom.
Apply Neutral Cure Silicone
For a strong, permanent bond without drilling, use neutral cure silicone sealant, not acidic (which can corrode mirror backing).
Follow these steps:
- Clean both mirror back and tile with isopropyl alcohol.
- Apply 3–4 large dabs of silicone (or a thick perimeter bead plus center swirls).
- Press mirror firmly into place until flush.
- Use masking tape at top corners to prevent slippage.
- Let cure undisturbed for 24 hours.
One user achieved a rock-solid bond lasting over five years using this method in a steamy bathroom. Never use regular bathroom caulk, as it lacks structural strength.
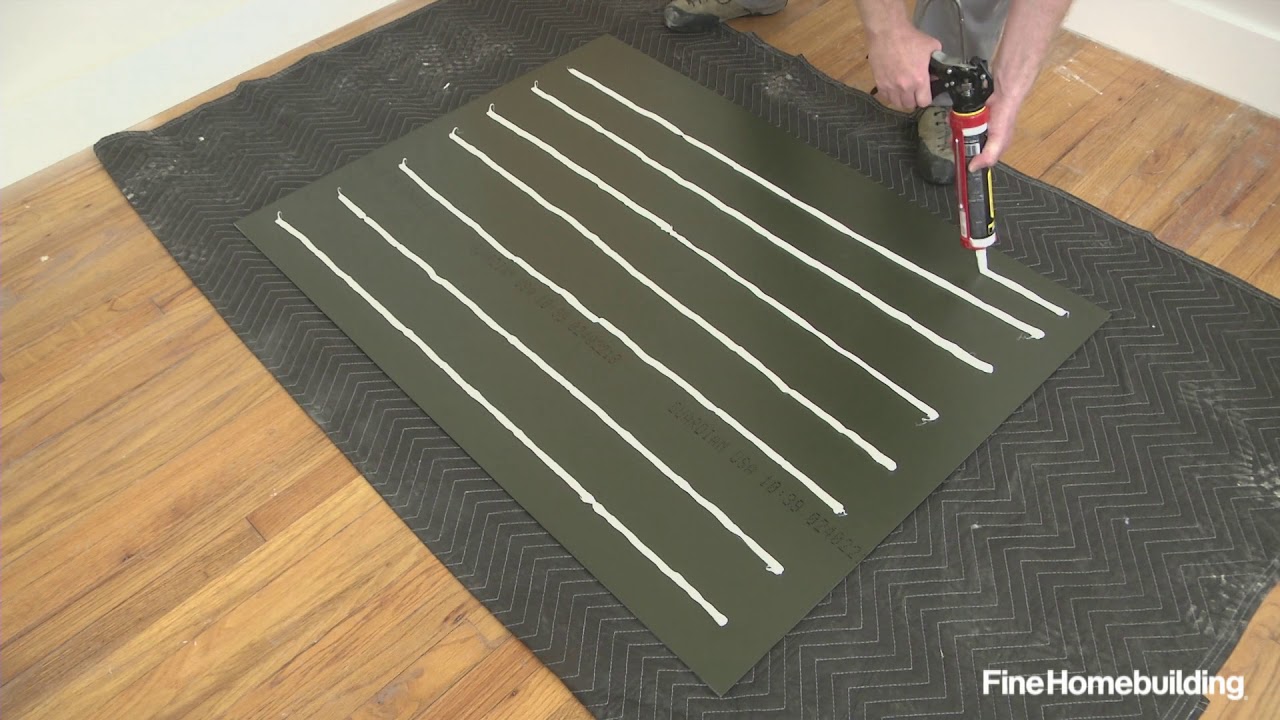
Use Construction Adhesive for Heavy Mirrors
For medium to heavy mirrors, apply bathroom-rated construction adhesive like Liquid Nails or high-tack grab adhesive.
• Apply in dabs around edges and center.
• Best used with a plywood backing board to distribute weight.
• Full cure takes 7 days, though it sets in 24 hours.
Cost runs approximately £7–£12 per tube.
Drill into Tile for Maximum Security
When strength matters most, such as with large or heavy mirrors, drilling is the gold standard for secure, permanent mounting.
Gather the Right Tools
You will need specific tools to drill into tile safely.
• Power drill (corded preferred for consistent speed)
• Diamond-coated or carbide-tipped tile bit
• Masonry bit (for wall behind tile)
• Masking tape, level, marker
• Safety glasses and gloves
Never use a standard masonry bit on tile, as it will overheat, smoke, and potentially shatter the tile.
Mark and Prep Drilling Points
Follow these steps to prepare for drilling:
- Hold mirror in place and mark screw positions.
- Apply an X of masking tape over each point to prevent bit slippage.
- Mark center with a fine-tip marker.
Drill Through Tile Safely
Drilling into tile requires patience and the right technique.
- Disable hammer/impact mode on your drill (critical to avoid cracking).
- Use low speed and light pressure.
- Spray water every 10–15 seconds to cool the bit and tile.
- Drill slowly until you penetrate the tile (approximately 1–2 minutes per hole).
- Switch to a masonry bit to drill into the wall substrate behind.
Pro Tip: Even if one hole lands on grout, drill all through tile for consistent strength.
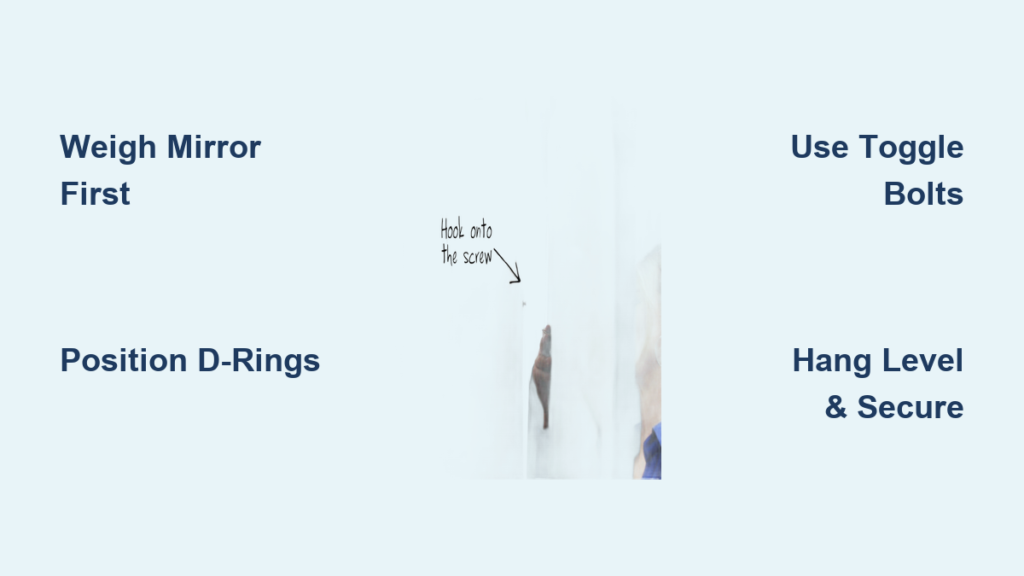
Insert Anchors and Hang Mirror
Complete the installation with these steps:
- Tap masonry wall anchor into hole with a hammer until flush.
- Insert screw (it should expand and pop slightly).
- Hang mirror on screw hooks or brackets.
- Check with a level.
Use anchors rated for at least 2–3 times the mirror’s weight for safety.
Try the Dremel Diamond Bit Method
For delicate tiles or if you are nervous about cracking tile, consider this low-force alternative.
• Use a pointed diamond Dremel bit to score a starter dimple.
• Progressively widen the hole with ball-shaped bits.
• Finish with a standard drill bit for the wall.
This reduces pressure and cracking risk significantly.
Core Drill for Very Heavy Mirrors
For very large mirrors (4ft x 3ft or bigger) or framed units, core drilling creates a large, secure mounting point.
• Use a 15mm diamond core bit to create a hole through the tile.
• Mount a bracket directly to the wall behind.
• The mirror hides the hole.
Save the cored tile piece in case you need to patch later.
Use Hybrid and Alternative Methods

Combine strength and flexibility with smart mounting alternatives that work well for challenging situations.
Mount Mirror to Plywood Backing
Best for large mirrors on uneven tiled walls, this method distributes weight evenly and prevents glass flexing.
Follow these steps:
- Cut plywood or MDF to mirror size.
- Glue mirror to board using construction adhesive.
- Apply adhesive to back of board.
- Press onto clean tile.
- Tape top edges and wait 24 hours before removing support.
Advantages include preventing glass flexing, distributing weight evenly, and easier removal than direct glass bonding. The drawback is added depth that may not achieve a flush look.
Install with Mechanical Brackets
Brackets provide adjustable support and are ideal for heavy mirrors, uneven walls, or installations where future removal is likely.
• Use two brackets for stability.
• Combine with dabs of silicone at the top to reduce swing.
• May leave a small gap behind the mirror (use decorative trim if needed).
Use Self-Adhesive Mirror Tiles
For decorative accents, try pre-mounted mirror tiles like IKEA Blodloenn.
• Peel and stick to clean, flat surfaces.
• Each tile holds independently.
• Not suitable for large mirrors or full vanity use.
Prepare the Surface Properly
No matter the method, surface preparation is critical for a secure, long-lasting installation.
Clean Tile and Mirror Back
Use isopropyl alcohol or a degreaser to remove dust, grease, moisture, and soap scum. Dry completely before applying any adhesive.
Failure to clean properly is the number one cause of adhesive failure on glazed tiles.
Follow Best Practices During Installation
Taking time during installation prevents problems down the road and ensures your mirror stays secure.
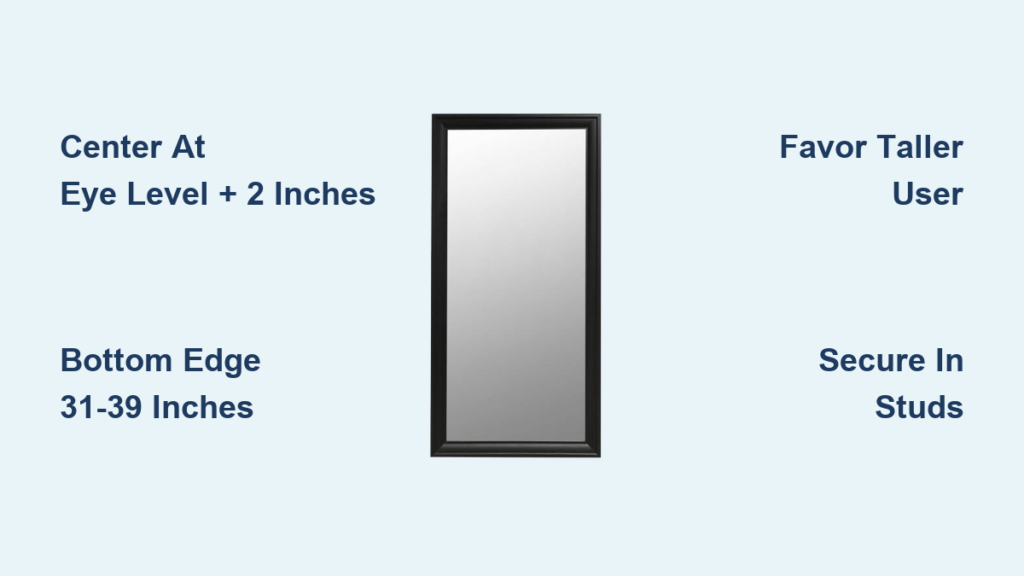
Plan the Layout First
- Measure wall height and mirror dimensions.
- Find vertical midpoint: (Wall height – Mirror height) ÷ 2.
- Draw a horizontal level line at that height.
- Use a plumb line from vanity edge for vertical alignment.
- Consider user height to ensure the shortest person can see into the mirror.
Support the Mirror While Setting
Use wooden packing blocks to hold the mirror at the right height. Apply masking tape across top corners to prevent slipping during cure. Have a helper assist with large mirrors.
Allow Full Cure Time
Silicone and tape require 24 hours before use. Construction adhesive reaches full strength in 7 days. Avoid touching or adjusting during curing.
Compare Mounting Methods at a Glance
| Method | Best For | Weight Limit | Drilling Required | Removable | Risk to Tile |
|---|---|---|---|---|---|
| Command Strips | Renters, light mirrors | Up to 20 lbs | No | Yes | None |
| Silicone Adhesive | Permanent, no-drill | Medium | No | No | None |
| Construction Adhesive | Heavy mirrors with board | High | No | Difficult | None |
| Drill + Anchors | Heavy, secure mount | High | Yes | No | Medium (if done wrong) |
| Brackets | Adjustable, heavy-duty | High | Yes | Yes | Medium |
Maintain and Inspect Over Time
Even the best installation needs occasional checks to ensure continued safety.
Inspect Annually
Adhesive mirrors require checking for lifting edges or fogging (sign of moisture behind glass). Drilled mounts need screw tightening every 2–3 years. Command Strips should be replaced every 3–5 years in humid areas if sagging occurs.
Safety Tips You Cannot Skip
These safety measures are non-negotiable for a successful installation.
• Always wear safety glasses and gloves when drilling or handling glass.
• Disable hammer mode on your drill (essential for tile).
• Never rush the process; take time to measure, mark, and prep.
• Invest in quality bits and adhesives (cheap tools cause cracked tiles and failed bonds).
• Test-fit the mirror before applying adhesive or drilling.
Final Recommendations by Use Case
| Scenario | Best Method | Why It Works |
|---|---|---|
| Large 4ft x 3ft mirror, permanent | Drill with anchors or plywood + adhesive | Secure, long-term hold; prevents flexing |
| Medium mirror, no drilling | Neutral cure silicone + taping | Strong bond, tile-safe |
| Renter, under 16 lbs | 3M Command Strips | No damage, easy removal |
| Uneven wall, heavy mirror | Brackets + top adhesive | Adjustable and stable |
| Afraid of cracking tile | Dremel diamond bit + water cooling | Low-force drilling alternative |
Frequently Asked Questions About Putting Mirrors on Tiles
Can I use Command Strips on bathroom tiles?
Yes, 3M makes bathroom-rated Command Strips specifically designed for humid environments. X-Large strips can hold up to 9 kg (19.8 lbs) and have been verified to work in bathrooms for over 10 years. Clean the tile thoroughly with rubbing alcohol before applying.
What happens if I drill into grout instead of tile?
Drilling into grout is not recommended because grout lines are too narrow (1–2mm), making accurate drilling difficult. The bit can slip and chip adjacent tiles. Grout also lacks structural strength and may crumble under weight over time. Always drill into tile, not grout.
How do I remove a mirror mounted with silicone?
Removing a silicone-mounted mirror is challenging and typically damages the mirror. You will need to cut the silicone with a utility knife, then carefully pry the mirror away from the wall. This usually requires two people and carries risk of breaking the mirror. Consider this before choosing permanent adhesive methods.
Can I mount a heavy mirror without drilling?
Yes, you can use construction adhesive with a plywood backing board. This distributes weight evenly across the tile surface and avoids drilling. Apply construction adhesive to both the back of the plywood and the tile surface, then press firmly and allow 7 days for full cure.
How long does adhesive take to cure before I can use the mirror?
Silicone and tape require a minimum of 24 hours undisturbed curing before use. Construction adhesive sets in 24 hours but reaches full strength in 7 days. Avoid touching or placing items on the mirror during these curing periods.
Key Takeaways for Installing Mirrors on Tiles
Mounting a mirror on tiles does not have to be stressful. Whether you choose a no-drill solution like Command Strips or silicone, or go for a rock-solid drilled mount with anchors, the right preparation and method make all the difference. Focus on clean surfaces, correct tools, and matching the method to your mirror’s weight and size, and you will enjoy a safe, professional-looking result that lasts for years.
The most important steps are assessing your mirror’s weight, choosing the appropriate mounting method, preparing surfaces thoroughly, and allowing proper cure time. For renters, Command Strips offer damage-free removal. For permanent installations, neutral cure silicone or drilled anchors provide the strongest hold. Take your time with measurements, use a level throughout installation, and your mirror will stay securely mounted for years to come.