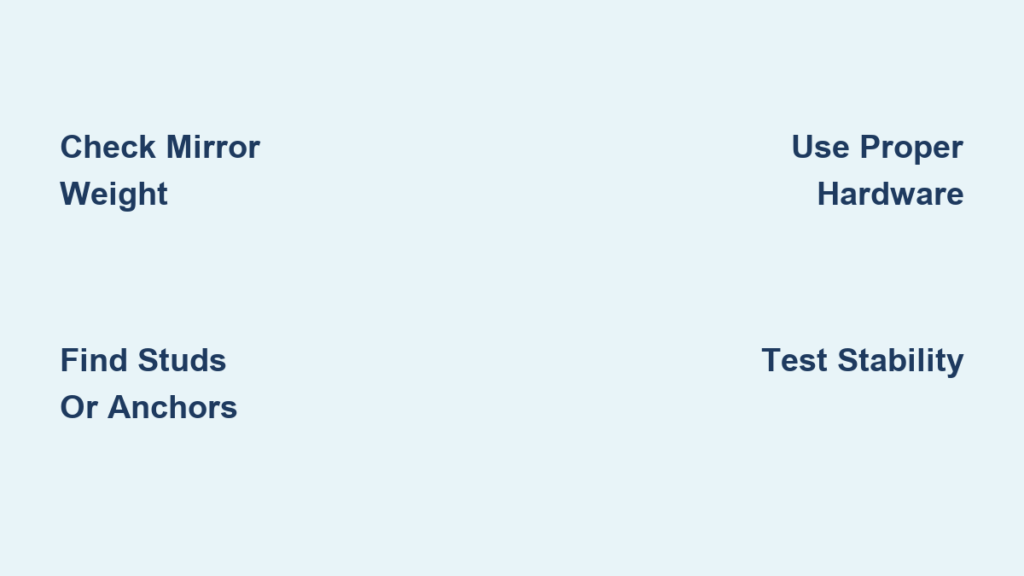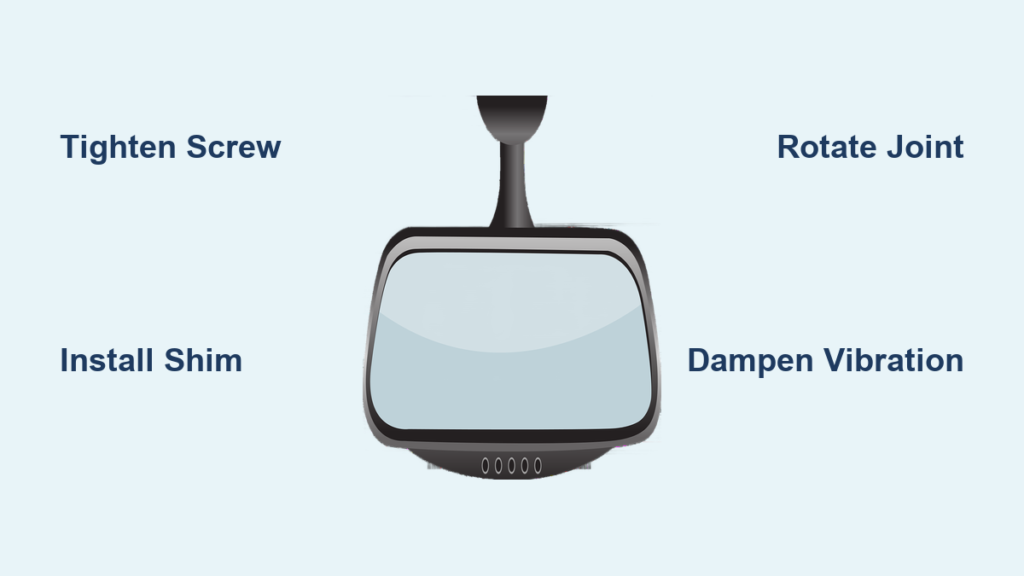
A shaky rear view mirror isn’t just annoying, it’s a safety hazard. Every bump in the road or thump from your subwoofer can send the mirror vibrating, blurring your view and distracting your focus. The good news is that most wobbly mirrors can be fixed quickly, often in under 10 minutes and for less than $5. Whether your mirror sags, rattles, or spins freely, the root cause is usually one of four things: a loose mounting screw, worn internal joint, failed adhesive bond, or vibration amplification from your car’s audio system. This guide breaks down every proven fix, from tightening a single Torx screw to installing vibration-dampening shims and permanent epoxy locks.
Diagnose the Source of Your Mirror Wobble
Before grabbing tools, you need to identify where the movement originates. A mirror can wobble at multiple points, and treating the wrong one wastes time.
Check Movement at Key Joints
Gently wiggle the mirror while watching these areas:
• Base-to-windshield interface: If the entire assembly shifts, the adhesive or mounting plate has failed
• Ball-and-socket joint: Play here means internal wear or lost tension
• Screw or pivot point: Visible looseness suggests stripped threads or a worn screw tip
Use this quick diagnostic table:
| Symptom | Likely Cause |
|---|---|
| Mirror droops when flipped up | Worn plastic mount or loose screw |
| Rattles only during bass-heavy music | Subwoofer vibration plus minor looseness |
| Spins freely with no resistance | Failed ball joint or detached tension mechanism |
| Gap between base and glass | Adhesive failure or misaligned bracket |
Pro Tip: Press one hand against the mirror base while wiggling the top. If movement stops, the issue is in the joint, not the windshield bond.
Test for Adhesive Failure
For glued mirrors common on newer vehicles, push firmly on the base. If it flexes or lifts, the adhesive has degraded. This often happens after windshield replacements or due to prolonged sun exposure.
Tighten the Mounting Screw

This is the fastest fix for most vehicles and should always be your first step.
Access the Mirror Housing
- Locate the seam between the upper and lower plastic housing
- Insert a small flat-head screwdriver into the lower edge
- Gently pry the two halves apart, starting at the bottom and working upward
- If clips are tight, use plastic trim tools to avoid cracking the casing
Caution: Don’t force it. Some housings snap off easily, while others require careful prying.
Locate and Tighten the Screw
Most models like the 2015 Toyota Prius and Ford Ranger use a Torx T20 screw at the base. Turn clockwise until snug. Do not over-tighten. If the screw spins without tightening, the threads are stripped, so skip to the shim method.
Reassemble and Test
- Align the housing edges with the windshield
- Press the top in first, then snap the bottom
- Listen for a soft click, which confirms clip engagement
- Wiggle the mirror: it should feel solid with zero play
Result: 80% of wobble issues resolve with this simple step.
Install a Shim for Worn Plastic Mounts

If tightening doesn’t help, the screw may have worn a groove in the plastic. This is common in 2012-2017 Toyota Prius models.
Remove the Mounting Screw
- Flip the mirror down to expose the rear
- Unscrew the Torx T20 screw by turning counter-clockwise
- Set the screw aside safely
Cut and Insert a Shim
- Use cardstock, a business card, or thin rubber
- Cut a half-inch by one-inch piece
- Slide it behind the mirror, positioning it just above the screw hole
- Ensure it’s visible through the hole, which guarantees proper placement
Material Guide:
• Cardboard: Quick fix, lasts 6-12 months
• Rubber washer: Durable, lasts 2+ years
• Felt or tape layers: Balanced grip and flexibility
Reattach and Secure
- Reposition the mirror onto the mount
- Reinsert the screw and tighten until snug
- The shim fills the worn gap, restoring pressure and eliminating wobble
Time Required: 5 minutes
Adjust the Ball Joint by Rotation
For older models like the Alfa Romeo GTV6, the mirror tightens via internal friction without disassembly needed.
Rotate Clockwise to Tighten
- Hold the base firmly
- Tilt the mirror slightly away from the windshield
- Rotate the housing 1-2 full turns clockwise
- This compresses the internal wedge or spring, increasing joint tension
Test Stability
The mirror should stay in place but still allow manual adjustment. If it’s too stiff, rotate counter-clockwise slightly.
Note: This method only works if the internal mechanism isn’t fully worn. It has no effect on modern electronic or auto-dimming mirrors.
Recondition Roll Pins in Lighted Mirrors
Mirrors with map lights, common in 1999-2001 models, often loosen due to compressed roll pins.
Disassemble the Mirror
- Pry off the clear lens cover using a flat-head screwdriver
- Remove the Phillips screw holding the housing
- Lower and slide the housing backward to release prongs
- Remove three screws securing the mirror base to the roof
Remove and Spread Roll Pins
- Take out the central screw connecting mirror to mount
- Catch the cast metal wedge and two roll pins as they fall
- Use taper-point pliers to gently spread each end of the pins
- Even spreading restores spring tension
Reassemble Carefully
- Reinsert the wedge and pins
- Reattach the mirror to the base
- Tighten the central screw until snug
- Refit housing and lens
Result: Mirror feels factory-tight, and the dimming lever stays engaged.
Use Adhesives to Increase Friction
When mechanical fixes fail, light adhesives can restore grip without permanent bonding.
Apply Nail Polish or Silicone
| Method | Steps | Best For |
|---|---|---|
| Nail polish | Coat the ball stem, let dry 5 minutes | Temporary grip boost |
| Silicone sealant | Dab inside socket, wiggle to spread, cure 24 hours | Long-term flexibility |
| Super glue | Apply to knob before reinsertion, wait to dry | Permanent fix, use sparingly |
Warning: Avoid excess glue. It can lock the mirror in place or damage plastic.
Try Rubber Cement for Tackiness
Thin rubber cement with a drop of water. Paint inside the socket. Let dry slightly, then reinsert the mirror. This creates a grippy, flexible layer that resists slippage.
Dampen Subwoofer-Induced Vibration
If your mirror shakes only when music plays, bass vibrations are the culprit, especially in Pontiac G6 or audio-modified vehicles.
Insert a Foam Dampener
- Fold a small microfiber cloth or foam pad
- Slide it between the mirror base and mounting bracket
- Compress slightly when reattaching the mirror
Effect: Up to 90% reduction in buzz and shake.
Install a Rubber Grommet
- Slide a rubber O-ring or grommet over the ball joint
- Reattach the mirror, compression increases friction
- Choose stiffness based on adjustability needs
Use Epoxy for Permanent Lock
Only if you’re certain of the viewing angle:
- Remove mirror from ball mount
- Apply two-part epoxy inside the socket
- Reinsert ball and hold in position
- Cure for 24 hours
Warning: Mirror becomes non-adjustable. Use only as a last resort.
Replace the Mirror When Needed
If all fixes fail, replacement is the safest option.
Signs You Need a New Mirror
• Cracked housing or broken clips
• Stripped screw holes with no grip
• Mirror falls off repeatedly
• Internal parts fused or missing
• Glass is cracked or auto-dimming failed
Choose the Right Replacement
| Type | Best For | Cost Range |
|---|---|---|
| OEM | Auto-dimming, compass, camera | $50-$150 |
| Aftermarket | Basic visibility, quick install | $20-$40 |
| Junkyard | Budget OEM parts | $15-$30 |
Install a Glued Mirror Properly
- Clean windshield with isopropyl alcohol wipe
- Apply automotive urethane like SikaTack to mount
- Press firmly for 30-60 seconds
- Wait 24 hours before driving
Safety First: Never rush adhesive curing. A weak bond risks mirror detachment.
Prevent Future Wobble
A one-time fix isn’t enough. Prevent recurrence with simple habits.
Essential Maintenance Steps
• Tighten every 6 months: Check mirror stability during oil changes
• Avoid over-adjustment: Frequent flipping wears out joints
• Park in shade: UV rays soften plastic and degrade adhesives
• Upgrade shim materials: Replace cardboard with rubber or plastic
• Use OEM-grade adhesives: For glued mirrors, use Dow Corning 995 or equivalent
Vehicle-Specific Mirror Fixes
2015 Toyota Prius: Shim the Torx Mount
The pointed screw wears a groove in plastic. Insert a rubber shim behind the screw point. Use scissors and a Torx T20 bit. Longevity is 2+ years with rubber.
Pontiac G6: Stop Bass Vibration
Subwoofer shakes the loose mirror. Add a foam pad or rubber grommet. Alternative: install a digital rear camera.
Ford Ranger: Tighten Roof Mount Screws
Remove the lower housing with a flat-head screwdriver. Tighten three screws on the metal base. Reattach mirror by turning clockwise.
Alfa Romeo GTV6: Clockwise Rotation Fix
Hold the base and rotate the mirror 1-2 turns clockwise. This restores internal tension without tools needed.
Frequently Asked Questions About Fixing a Wobbly Rear View Mirror
Why does my rear view mirror wobble while driving?
Mirror wobble typically stems from four main causes: a loose mounting screw, worn ball-and-socket joint, failed adhesive bond, or vibration amplification from your car’s audio system. Identifying the exact location of the movement is the first step to fixing it.
Can I fix a wobbly mirror without removing it?
Yes. For many vehicles, you can tighten the mounting screw directly or rotate the mirror housing clockwise to increase internal tension. The Alfa Romeo GTV6 and similar models with manual ball joints respond to simple rotation without any disassembly.
How do I stop my mirror from vibrating when I play loud music?
Subwoofer-induced vibration requires dampening solutions. Insert a foam pad or microfiber cloth between the mirror and mounting bracket. Alternatively, install a rubber grommet over the ball joint. These methods reduce vibration by up to 90%.
What is the quickest fix for a wobbly Toyota Prius mirror?
The 2015 Toyota Prius commonly experiences mirror wobble due to the Torx T20 screw wearing a groove in the plastic mount. The fastest fix involves inserting a small shim (cardboard, business card, or rubber) behind the screw point to restore pressure.
When should I replace my rear view mirror instead of repairing it?
Replace the mirror if you see cracked housing, broken clips, stripped screw holes that won’t hold, or if the mirror falls off repeatedly despite repairs. Also consider replacement if the glass is cracked or auto-dimming functionality has failed.
Is it safe to use epoxy to fix a wobbly mirror?
Epoxy creates a permanent bond that eliminates wobble completely, but it also makes the mirror non-adjustable. Only use epoxy if you’re certain of your desired viewing angle and have exhausted all other repair options.
Key Takeaways for Fixing Your Wobbly Rear View Mirror
Start with the simplest fix first. Tightening the mounting screw resolves approximately 80% of all wobble cases. If the screw spins freely or the plastic is worn, install a shim behind the mount to restore pressure. For subwoofer vibration, foam dampening or rubber grommets offer quick relief. Only resort to epoxy or mirror replacement when mechanical fixes fail or the mirror is damaged beyond repair.
Remember to check mirror stability every six months and park in shade to extend the life of your repair. With the right approach, your rear view mirror can stay rock-solid for years, keeping your focus where it belongs: on the road behind you.