You’re staring at a pristine glass surface—maybe your kitchen table, bathroom mirror, or phone screen—when suddenly, a glint of light reveals an ugly scratch. It wasn’t there yesterday. Now it’s impossible to ignore. The good news? Most minor scratches on glass can be removed or significantly reduced with the right method. Whether it’s a hairline mark from a stray utensil or a deeper groove from accidental impact, this guide delivers proven, step-by-step techniques to restore clarity and shine.
But not all scratches are fixable. Attempting to repair deep or structurally compromising damage can be dangerous or worsen the problem. This article walks you through how to assess scratch depth, which household and professional methods work, and when replacement is the only safe option. You’ll learn how to use common items like baking soda and toothpaste, when to upgrade to diamond pads, and how to prevent future damage—saving time, money, and your glass surfaces.
Assess Scratch Depth Before Any Repair
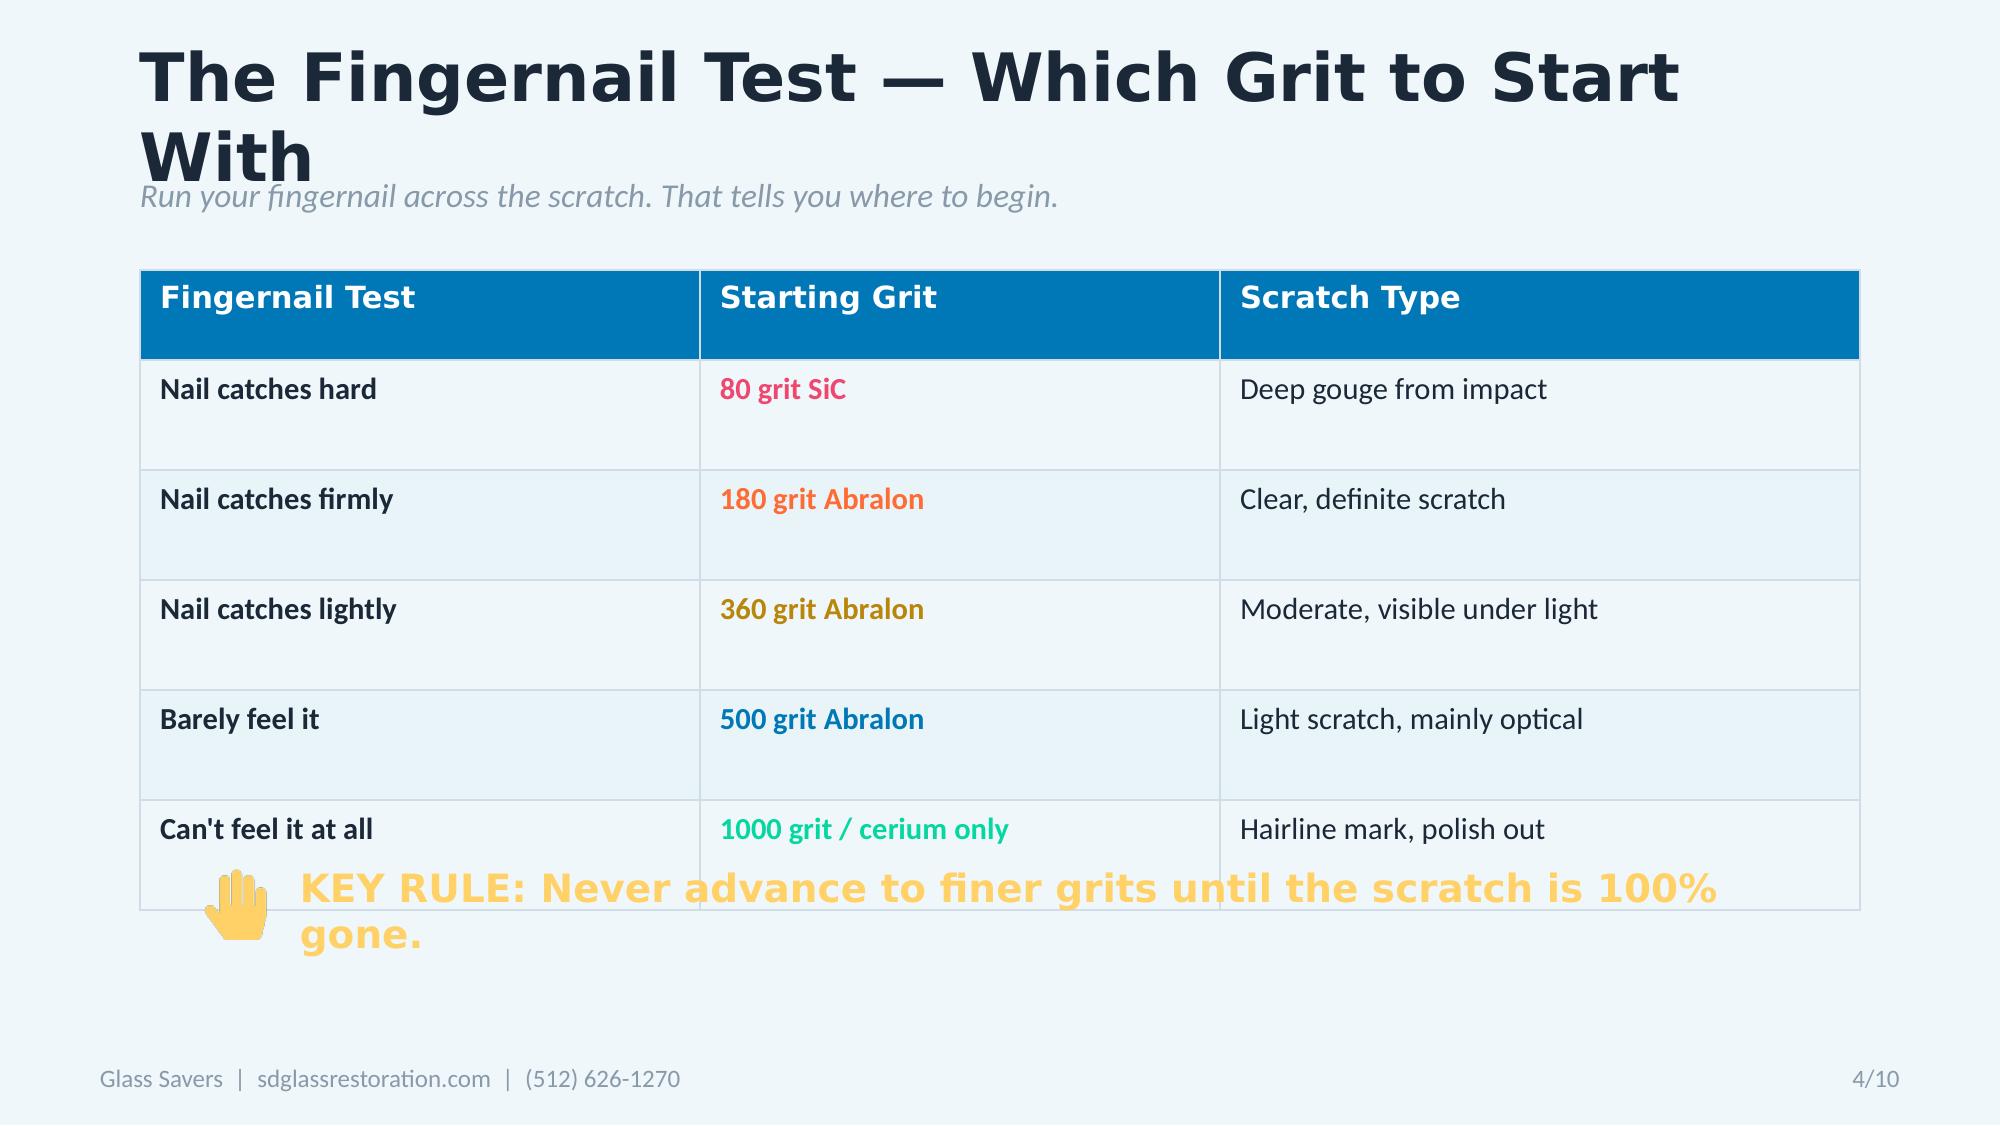
Before applying any product, determine if the scratch is repairable. A misjudged attempt can waste effort or, worse, weaken the glass.
Run the Fingernail Test
Run your fingertip across the scratch. If it catches or snags, the scratch is too deep for DIY polishing and likely needs professional treatment or replacement. If your nail glides over smoothly, the damage is superficial and treatable with mild abrasives.
Check for Cracks and Structural Damage
Look for cracks radiating from the scratch, especially in tempered or automotive glass. Cracks mean the glass is compromised. Do not attempt repair—replace it immediately. Polishing cracked glass can trigger sudden shattering.
Evaluate Visibility and Location
Hold the glass at an angle under bright light. Does the scratch distort your view? If it’s in a high-visibility area like a windshield or picture frame, even slight haze post-repair may be unacceptable. For low-traffic areas, minor imperfections may be tolerable.
Clean the Glass Surface Thoroughly
Dirt, dust, or grit left on the glass can act like sandpaper during polishing, creating new scratches.
Wash with Glass Cleaner
Spray a non-abrasive glass cleaner over the entire surface. Use a microfiber cloth—never paper towels or rough sponges—to wipe in circular motions. This removes oils, fingerprints, and debris.
Dry Completely
Moisture can dilute polishing compounds and leave streaks. Dry the area with a clean, lint-free microfiber towel. Ensure no residue remains before proceeding.
Perform a Final Dust Check
Hold the glass up to the light. Look for tiny particles or fibers. If visible, wipe again. A flawless surface is essential for effective scratch removal.
Remove Minor Scratches with Baking Soda Paste
Baking soda is a safe, accessible abrasive perfect for faint surface scratches on mirrors, windows, and tabletops.
Mix a Thick Paste
Combine 1 tablespoon of baking soda with just enough water to form a toothpaste-like consistency. Too much water reduces its polishing power.
Apply and Polish
Dip a soft cloth or sponge into the paste. Rub over the scratch using small, circular motions for 1–2 minutes. Apply light but consistent pressure—don’t press hard enough to scratch further.
Wipe and Inspect
Use a damp cloth to remove the paste. Dry immediately with a microfiber towel. Check the scratch under angled light. Repeat once if needed. Stop if no improvement—deeper methods may be required.
Use Whitening Toothpaste for Fine Scratches
Whitening toothpaste contains silica, a gentle abrasive that buffs out micro-scratches without damaging glass.
Choose a Non-Gel Formula
Only non-gel whitening toothpaste works. Gel versions lack abrasives. Check the label for “whitening” or “polishing” claims.
Apply and Buff
Squeeze a pea-sized amount directly onto the scratch. Rub gently with a soft cloth in circular motions for 30–60 seconds. Let it sit for 2 minutes to allow abrasives to work.
Clean and Evaluate
Wipe off with a damp cloth. Dry and inspect. Repeat up to two times. Effective on phone screens, mirrors, and glass decor—but avoid oleophobic-coated screens as it may strip the protective layer.
Try the Vinegar and Baking Soda Combo
This dual-action method lifts grime and lightly abrades surface flaws, ideal for shower doors and windows with light etching.
Mix into a Paste
Combine equal parts white vinegar and baking soda. The mixture will fizz—this is normal. Stir until it forms a spreadable paste.
Rub and Let It Dwell
Apply to the scratch with a soft cloth. Gently rub for 1 minute. Let it sit for 5 minutes to dissolve mineral deposits and begin polishing.
Rinse and Dry
Wipe clean with water, then dry with a microfiber cloth. Best for scratches mistaken for hard water stains. If the mark disappears only after vinegar, it was likely mineral buildup, not a true scratch.
Combine Toothpaste and Baking Soda for Stubborn Marks
A hybrid paste merges two mild abrasives for slightly more challenging minor scratches.
Formulate the Paste
Create a mixture using equal parts non-gel toothpaste and baking soda, adding a few drops of water to reach the right consistency.
Apply and Buff
Spread the paste onto the scratch with a soft cloth. Rub in small circular motions for 1–2 minutes.
Wipe and Inspect
Clean with a dry microfiber cloth. Repeat the process if the scratch persists.
Upgrade to a Glass Polishing Compound
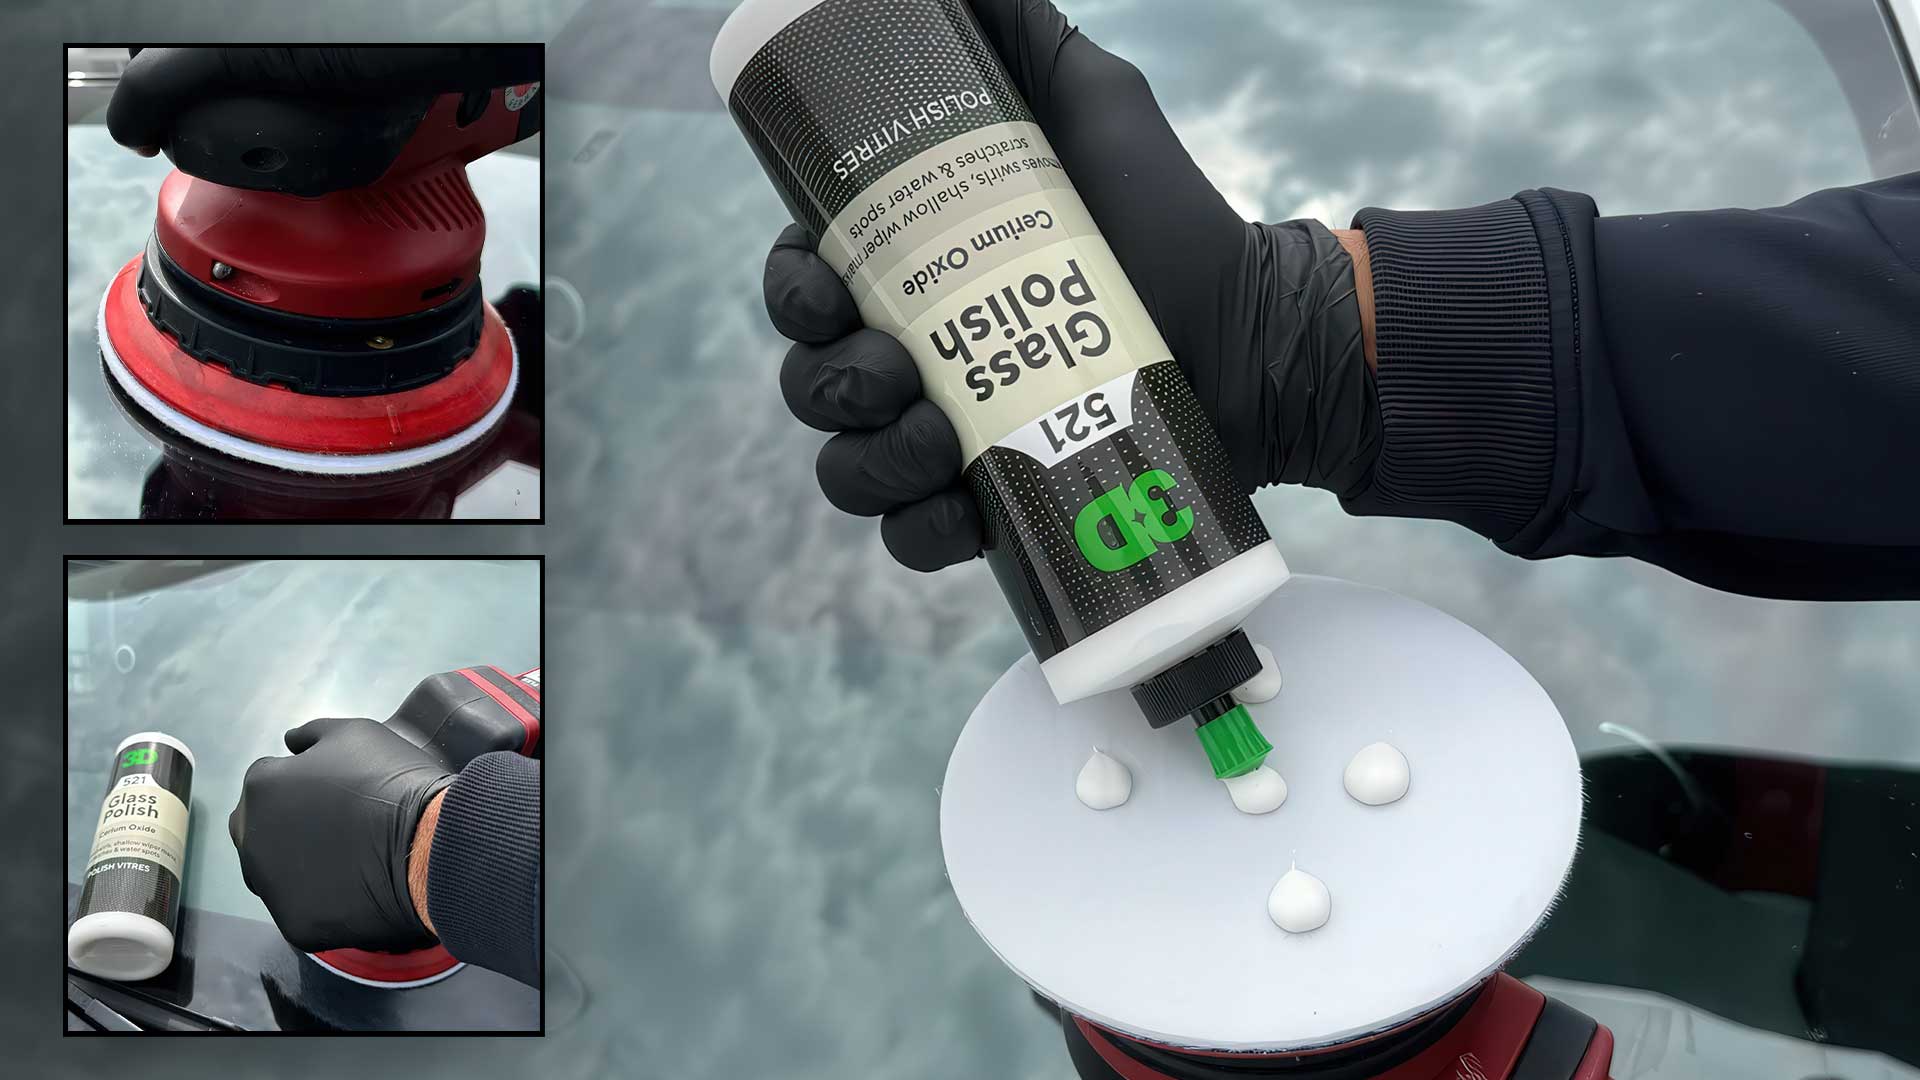
When household methods fail, commercial compounds with cerium oxide or micro-diamonds remove deeper scratches by leveling the glass surface.
Select the Right Product
Buy a glass-specific polishing compound (e.g., Cerium Oxide or Novus #2). Avoid metal or car polish—these can damage glass.
Prep with Vinegar Solution
Combine equal parts white vinegar and water in a spray bottle. Apply to the scratch and wipe with a soft cloth to remove oils before polishing.
Apply with a Buffing Pad
Put a dime-sized amount on a soft microfiber cloth or foam pad. Rub over the scratch using firm, circular pressure. Continue for 2–3 minutes until the area appears glossy.
Wipe and Repeat
Remove residue with a clean cloth. Inspect. For deeper scratches, repeat 2–3 times. This method works on glass tables, display cases, and thick window panes.
Use Diamond Polishing Pads for Deep Scratches
Deep gouges require precision tools. Diamond pads offer controlled material removal with minimal risk of overheating.
Choose a Grit Progression
Start with a 1500-grit diamond pad, then move to 2000, and finish with 3000 for optical clarity. Using only one grit leaves haze.
Lubricate and Polish
Wet the pad and glass with distilled water to reduce friction and heat. Rub in small circles with light pressure. Never linger in one spot—this creates waves.
Refine the Finish
After 1500-grit, clean the area. Repeat with 2000-grit, then 3000-grit. Finish by rinsing with distilled water and drying with a lint-free cloth. Restores clarity on automotive glass and thick tabletops.
Consider a Professional Glass Repair Kit
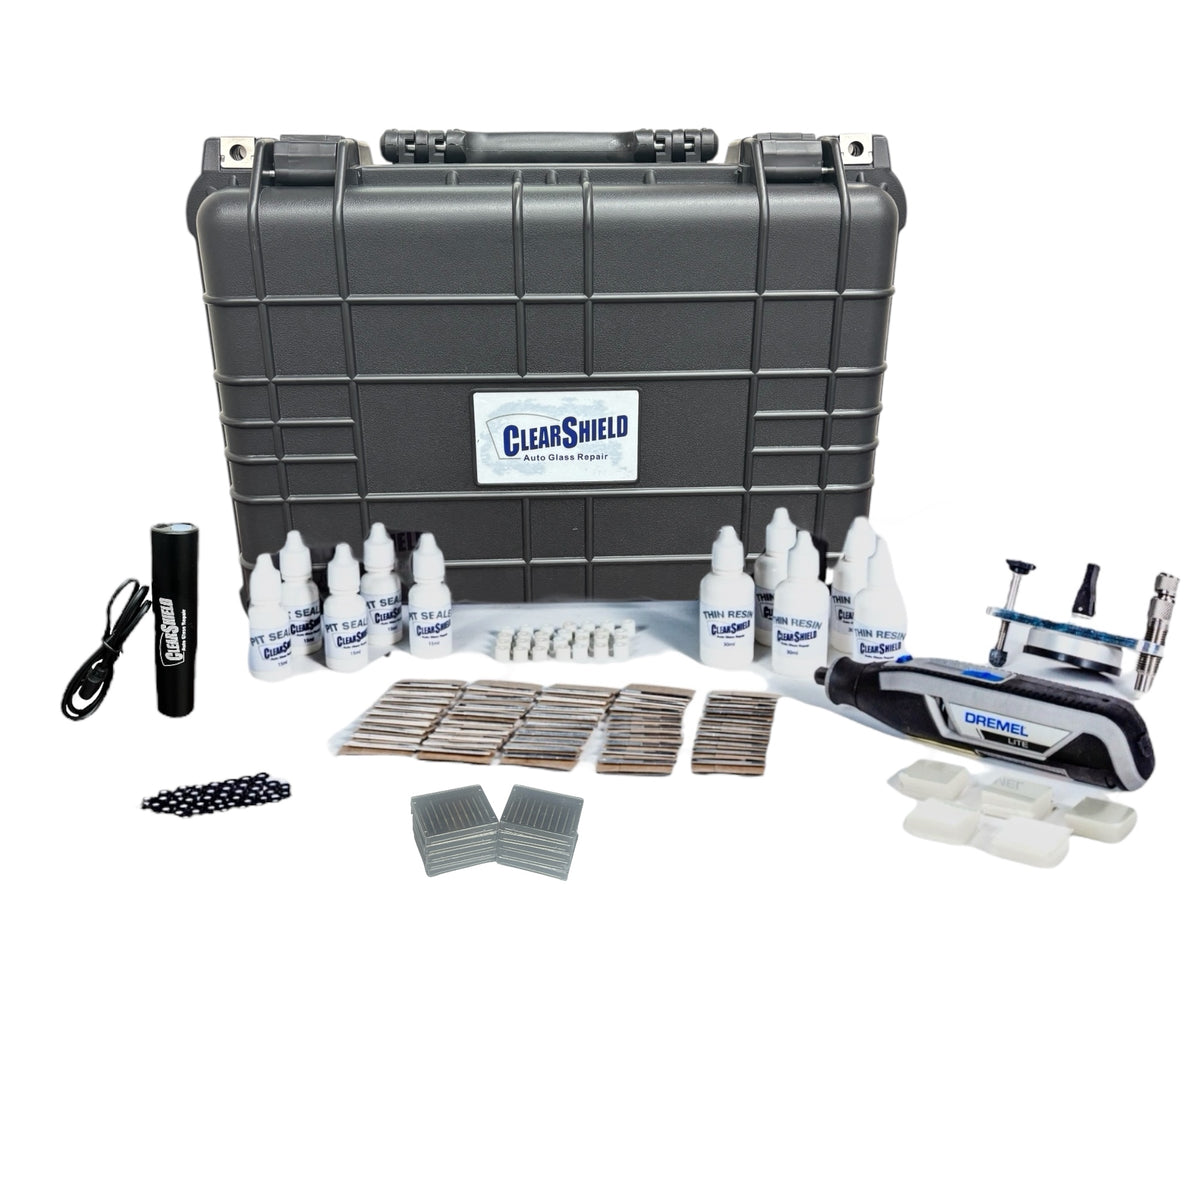
For large or multiple scratches, a repair kit provides a systematic, multi-stage solution.
Review Kit Components
Most kits include:
– Abrasive compounds (600, 1200, 2000 grit)
– Foam polishing pads
– Applicator tools
– Instructions for progression
Follow the Grit Sequence
Begin with coarse compound to reduce scratch depth. Clean thoroughly. Move to medium, then fine grits. Each stage removes the scratches left by the previous one.
Achieve Optical Clarity
The final polish should leave no swirl marks. Inspect under direct light. Kits are ideal for architectural glass, retail displays, and damaged glass furniture.
Know When Replacement Is the Only Option
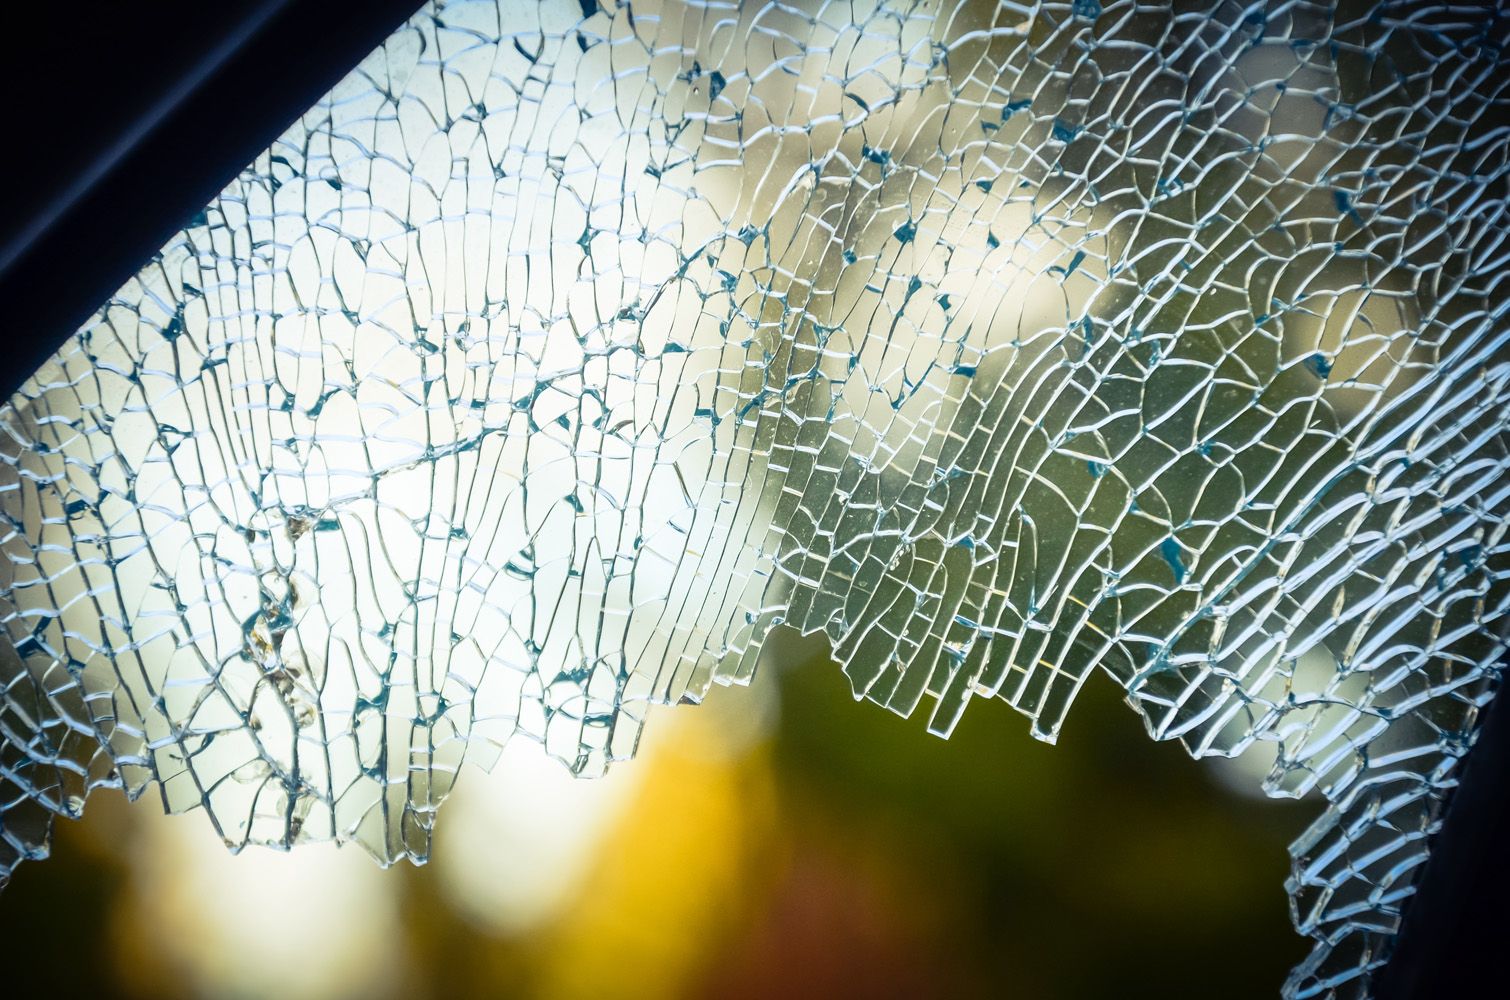
Some damage cannot be safely fixed. Knowing when to stop is crucial for safety and appearance.
Replace if the Fingernail Catches Deeply
If your nail sinks into the scratch, DIY methods won’t suffice. The depth requires industrial grinding, which compromises structural integrity.
Never Repair Cracked or Tempered Glass
Tempered glass (used in shower doors, car windows) is under tension. Deep scratches or polishing can trigger spontaneous shattering. Replace immediately.
Avoid Repairing Windshield Scratches in the Driver’s View
Even slight distortion from polishing can impair vision at night or in rain. For automotive glass, professional assessment is mandatory.
Prevent Future Scratches on Glass
Once your glass is restored, protect it to avoid repeating the process.
Apply Protective Films
Use clear adhesive films on phone screens, glass tables, and touch panels. They absorb scratches and are replaceable.
Use Table Covers and Placemats
Protect dining tables from cutlery and hot dishes. Cloths, placemats, or coasters prevent direct contact with abrasive objects.
Install Glass Sealants
Apply a commercial glass sealant every 6–12 months. It creates a sacrificial layer that resists minor abrasions and repels water.
Clean Glass Safely to Avoid New Scratches
Improper cleaning is a leading cause of micro-scratches.
Use Only Microfiber Cloths
Paper towels, tissues, and rough sponges contain fibers harder than glass. Always use lint-free microfiber.
Avoid Abrasive Cleaners
Steer clear of powdered cleaners, bleach, or scrubbing pastes. Use only non-abrasive glass cleaners like ammonia-free formulas.
Remove Debris First
Blow off loose dust or rinse the surface before wiping. Trapped grit can scratch during cleaning.
Follow Safety Tips When Polishing Glass
Protect yourself and the glass during repair.
Wear Safety Gear
Use safety glasses and a dust mask when using polishing compounds. Fine glass particles can irritate eyes and lungs.
Prevent Heat Damage
Mechanical polishers generate heat. Keep the surface wet with water and move continuously. Overheating can crack the glass.
Work in a Ventilated Area
Some compounds emit fumes. Open windows or work near a fan to ensure airflow.
Frequently Asked Questions About Removing Scratches from Glass
Can toothpaste really remove scratches from glass?
Yes, non-gel whitening toothpaste can buff out very fine, superficial scratches. It contains mild abrasives like silica that polish the surface. However, it won’t fix deep scratches that catch your fingernail.
Will baking soda scratch glass further?
No, baking soda is a very mild abrasive with a grit equivalent below 1000. When mixed into a paste with water and applied gently, it polishes glass without causing new damage. Always use a soft cloth and light pressure.
Is it safe to repair scratches on a phone screen?
Only on screens without an oleophobic coating, or with extreme caution. Toothpaste and baking soda can strip the protective oil-repellent layer. For modern smartphones, professional screen repair is the safer choice.
How do I tell if a scratch is too deep to repair?
Run your fingernail across the scratch. If it catches or sinks into the groove, the scratch is too deep for DIY methods. Deep scratches require professional polishing or full glass replacement.
Can I remove scratches from a car windshield myself?
It’s not recommended. DIY windshield repair carries a serious risk of optical distortion, which can be dangerous at night or in rain. Always seek professional assessment for automotive glass.
Why does tempered glass shatter when scratched or polished?
Tempered glass is manufactured under high internal tension. Deep scratches or aggressive polishing can release this tension suddenly, causing the entire panel to shatter into small pieces. Replace tempered glass rather than repairing it.
Key Takeaways for Removing Scratches from Glass
Removing scratches from glass is possible—but only when done correctly. Superficial marks respond well to baking soda or whitening toothpaste. Moderate scratches need commercial polishing compounds. Deep grooves may require diamond pads or professional help. Always assess depth first, clean the surface thoroughly, and never attempt to repair cracked or tempered glass.
Your next step: identify the scratch using the fingernail test, then choose the matching method from this guide. Start with the gentlest option and escalate only if needed. With the right technique, you can restore clarity and extend the life of your glass surfaces for years to come.