You pick up a plain drinking glass and imagine it with your initials wrapped around the side, or a frosted snowflake on a holiday ornament. Glass etching makes that vision permanent. The process uses an acidic cream to create microscopic scratches on the glass surface, which scatter light and produce that signature frosted look. Once you learn how to etch glass at home, you can customize everything from wine glasses to vases with results that survive the dishwasher for years.
This guide covers every stage of the process, from setting up a safe workspace to troubleshooting patchy results. You’ll discover which materials work best, how long to leave the cream on, and why the instructions on the bottle are misleading. By the end, you’ll have the confidence to create professional-looking etched glass on your first or second attempt.
Set Up a Safe Etching Workspace

Gear Up With Protective Equipment
Etching cream is acidic enough to burn skin and damage eyes on contact. Before opening the bottle, put on plastic or latex gloves, safety goggles, and a long-sleeved shirt. Skip your favorite clothes because accidental splashes leave permanent marks. Work near an open window or under an exhaust fan to keep fumes from building up in your breathing space.
Shield Your Countertops and Sinks
Cover your work surface with newspaper or a plastic sheet. The cream will permanently etch countertops, tile, and porcelain sinks if it drips or splashes. Stainless steel sinks handle direct rinsing without damage, but porcelain or glazed sinks require a plastic bucket or tub to catch the runoff. Taking two minutes to prep saves hours of cleanup or repair later.
Choose Materials That Produce Clean Results
Pick Glassware That Etches Well
Most standard glass items respond beautifully to etching cream, including drinking glasses, mugs, jars, bottles, vases, and mirrors. Tempered glass and Pyrex can be unpredictable, so test on an old piece or an inconspicuous spot first. Avoid plastic, metal, or ceramic entirely because the cream will damage those surfaces beyond repair.
Assemble Your Supply List
Gather these items before you start:
- Glass etching cream (Armour Etch is the most common brand)
- Isopropyl rubbing alcohol at 70% concentration or higher
- Adhesive stencils, stencil vinyl, or masking tape
- A dedicated paintbrush or popsicle stick
- Transfer tape for intricate vinyl designs
- A sponge and plastic bucket
- Access to hot water
Skip foam brushes because they trap air pockets that cause streaking. A bristle brush or popsicle stick gives you better control and a more even coat.
Clean the Glass Until It Squeaks
Wash and Degrease the Surface
Start with soap and water to remove dust and grime from the entire piece. Once dry, wipe the area you plan to etch with isopropyl alcohol and a lint-free cloth. This step removes fingerprints, skin oils, and any residue that could block the cream from making contact with the glass. Standard glass cleaners like Windex leave behind a film that interferes with etching, so avoid them.
Confirm a Residue-Free Finish
After the alcohol dries, run a clean finger across the surface. It should feel almost squeaky with no slippery spots. Any contamination left behind will create patchy or failed etching. From this point forward, handle the glass only by the base or rim to keep oils off the area you’ll etch.
Apply Your Stencil Without Bleeding
Select an Adhesive-Backed Stencil
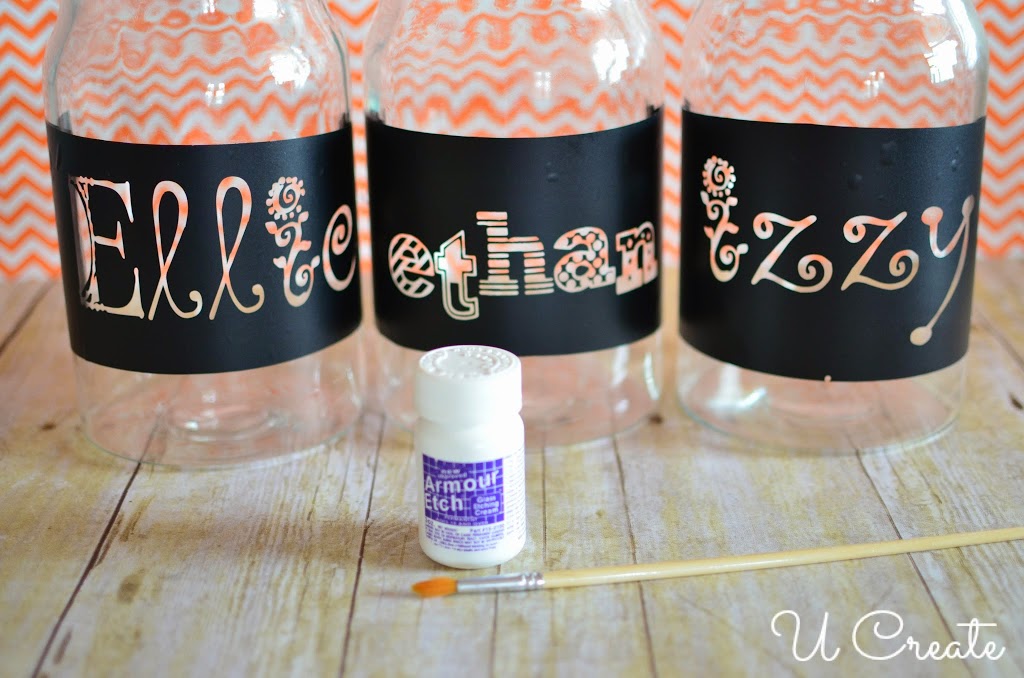
Only adhesive stencils work for this project. Non-adhesive plastic stencils let cream seep underneath and ruin crisp lines. Your options include:
- Pre-made adhesive stencils from craft stores
- Oramask or stencil vinyl cut with a Cricut or Silhouette machine
- Masking tape or painter’s tape for straight lines and stripes
- Contact paper for budget-friendly custom shapes
- Adhesive paper reinforcers for polka dots
Regular vinyl without an etching-specific label can lift or degrade during the process, so stick to materials designed for this use.
Seal Every Edge Firmly
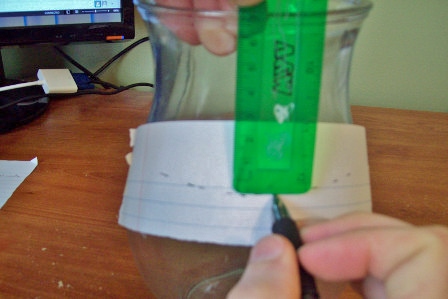
Position your stencil and press down all edges with a gloved finger, popsicle stick, or cloth. Check for air bubbles and lift and reapply if you spot any. For text designs, place a guide tape along the top to keep letters aligned. Use transfer tape to move intricate machine-cut designs without losing small pieces.
Keep the exposed glass area around your design narrow. Large open borders show every texture inconsistency, while tight borders hide minor variations. After the stencil is secure, avoid touching the exposed glass with bare hands.
Spread the Etching Cream in a Thick Layer
Apply Generously With a Stick or Brush
Stir the cream first because visible crystal chunks are normal and necessary for the chemical reaction. Use a popsicle stick or paintbrush to spread a thick, opaque layer over the entire design area. Do not brush it thin like paint. Stay within the stencil boundaries and wipe up any spills immediately with a damp cloth.
Move Crystals Away From the Design
Large crystals can settle into your design and create blotchy spots. Use the popsicle stick to push them toward the masked edges where they won’t affect the final look. This small step makes a noticeable difference in the evenness of your frost.
Wait Longer Than the Bottle Suggests
Ignore the One-Minute Recommendation
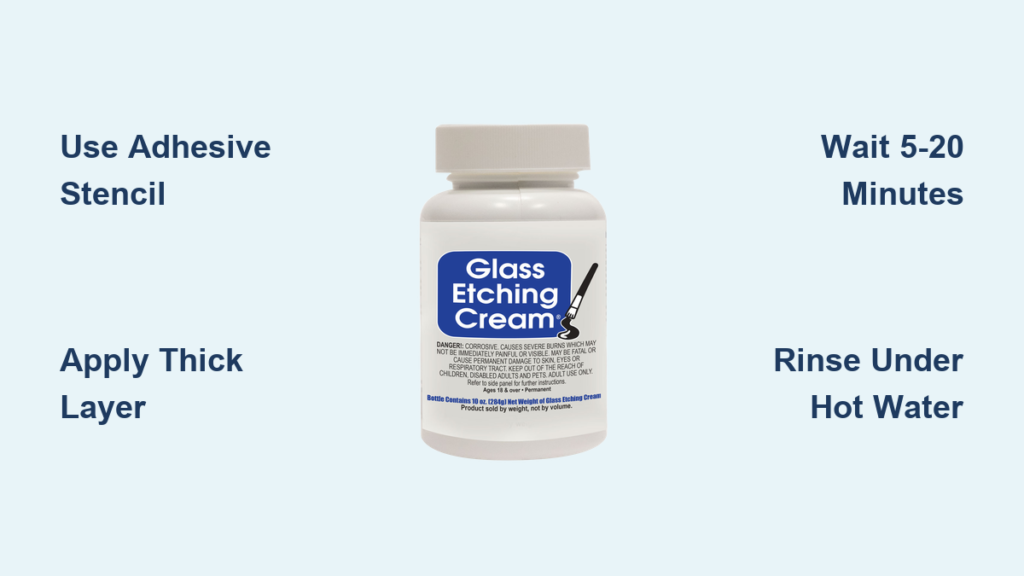
Most etching cream bottles say to wait just one minute, but that timing produces faint, barely visible results. For a solid, professional frost, leave the cream on for five to twenty minutes. Five minutes is the reliable minimum, and older cream may need the full twenty to perform well. Beyond twenty minutes, you won’t see meaningful improvement.
Agitate the Cream Every Two Minutes
Gently tap or swirl the cream with your popsicle stick every one and a half to two minutes. This redistributes the active chemicals and prevents crystals from settling into one spot. Be careful not to lift the stencil while you work. Agitation matters most for large or detailed designs where uneven coverage shows up easily.
Rinse and Reveal Your Etched Design
Rinse Under Hot Running Water
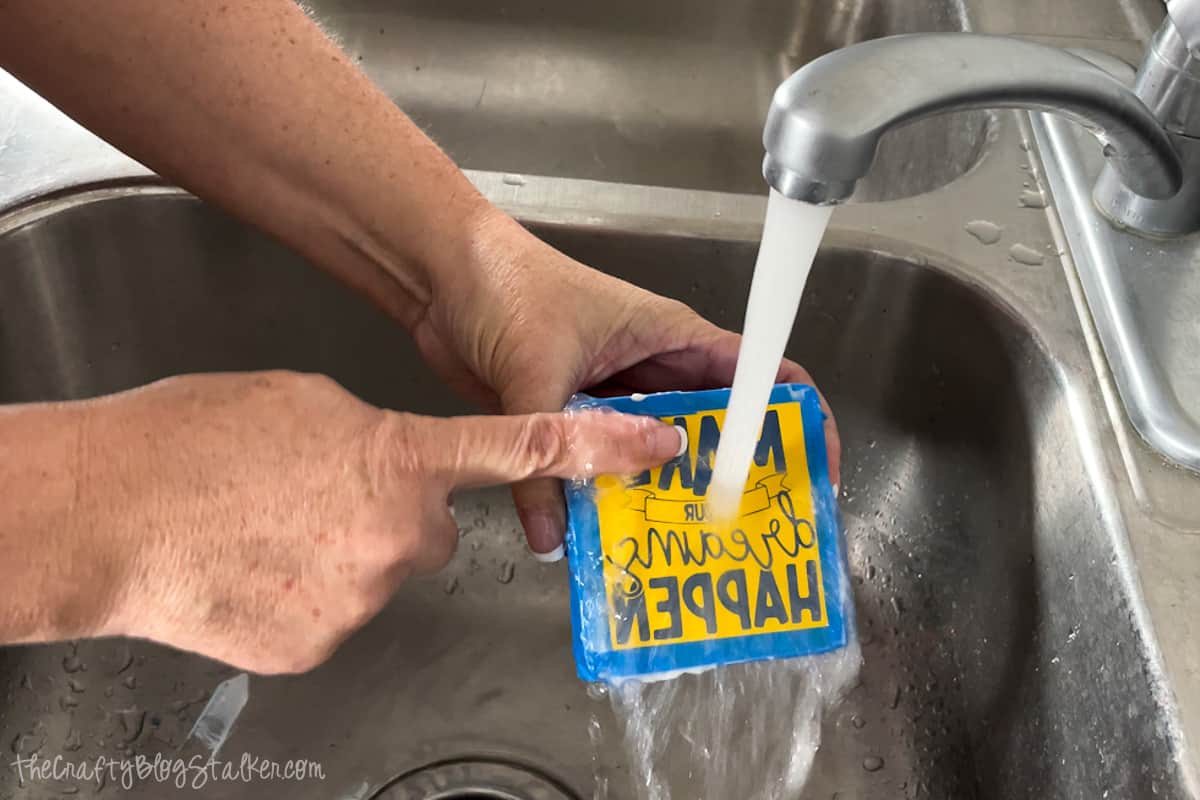
Hold the glass under hot tap water and use a gloved hand to wipe away the cream. The heat softens the adhesive and makes cleanup faster. If you have a porcelain sink, rinse into a plastic bucket instead. Stainless steel handles the acid without damage.
Peel Off Stencils While Still Wet
Remove tape, stickers, and vinyl while rinsing. The warm water loosens the adhesive so everything peels away cleanly. Pull slowly to avoid tearing, and scrub any sticky residue with a sponge. The etched design may look unclear while wet, but the frost sharpens as the glass dries.
Troubleshoot Common Etching Problems
Why Is My Etching Faint or Invisible?
Short dwell time is the most common cause. If you waited only one minute, the cream barely had time to work. Old or dried-out cream also produces weak results, as does a layer applied too thin. Reapply with a thicker coat and wait ten to fifteen minutes while agitating every two minutes.
What’s Causing Bleeding Under the Stencil?
Bleeding happens when stencil edges lift or air bubbles get trapped underneath. Always use adhesive-backed stencils and press every edge firmly before applying cream. Inspect your work under good lighting to catch any lifted corners.
Why Does My Etching Look Blotchy?
Blotchy texture usually points to settled crystals, uneven application, or large exposed areas. Stick to fine lines and text rather than solid blocks of glass. Agitate the cream regularly and use your popsicle stick to move crystals away from the design zone.
Try Advanced Techniques for Better Results
Build an Assembly Line for Multiple Pieces
When etching a set of glasses, prep and stencil every piece first. Then apply cream to three glasses at a time, wait five minutes with agitation, and rinse the first batch while the second batch continues its dwell time. The cream won’t harm glass if it sits a few extra minutes, and this workflow cuts your total project time significantly.
Create Custom Designs With Cutting Machines
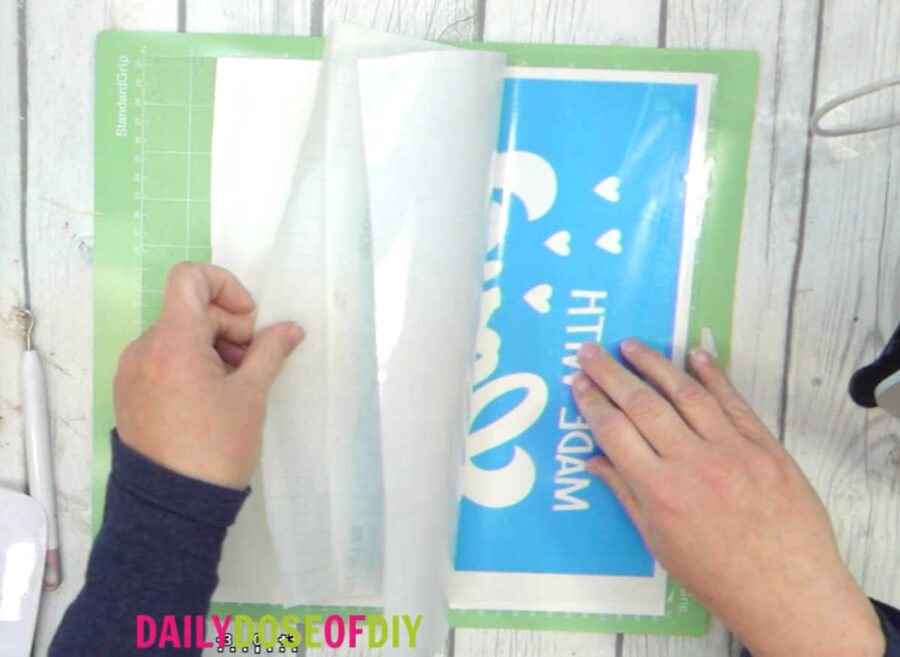
Design your pattern digitally and cut it from Oramask with a Cricut or Silhouette. Weed out the negative space, apply transfer tape over the front, peel off the backing, and press the stencil onto the glass. Rub firmly before removing the transfer tape to leave the design perfectly positioned.
Care for Your Tools and Finished Pieces
Rinse Brushes Right After Use
Run your brush under tap water immediately after finishing to wash away all cream. Even with prompt rinsing, bristles will degrade over time, so label your brush “etching only” to avoid using it for paint later. A popsicle stick is disposable and requires zero cleanup.
Store Cream in a Sealed Bottle
Keep the cap tight to prevent the cream from drying out. Older cream still works but may need longer dwell times. If the cream turns chalky or won’t stir smooth, replace it.
Enjoy Dishwasher-Safe Results
Once etched and rinsed, your design is permanent. The micro-scratches become part of the glass itself, so the finish won’t peel, fade, or wash away. Skip sealers and top coats because they aren’t necessary. Your etched glasses are ready for daily use right away.
Practice Before Tackling Final Projects
Test on Dollar Store Glass First
Pick up a few inexpensive glasses from a dollar store and run through the full process. This low-pressure practice lets you experiment with dwell times, stencil adhesion, and agitation without risking a meaningful piece. It’s also a smart way to test older cream before committing to a gift or wedding favor.
Compare Dwell Times Side by Side
Try the same design with one, five, and ten-minute exposures on a single test glass. You’ll see firsthand why one minute falls short and where the sweet spot lies for your specific cream. Most crafters find five to ten minutes delivers the ideal frost level for their projects.
Frequently Asked Questions About Glass Etching
Can I etch glass with items I already have at home?
You can substitute contact paper or masking tape for store-bought stencils, but you still need actual etching cream because no household product replicates its chemical action. Vinegar and other mild acids will not produce a true frosted etch.
How long does etched glass last?
Etched designs are permanent because the cream physically alters the glass surface. The micro-scratches will not fade, peel, or wash away, even after years of dishwasher use and daily handling.
Is glass etching safe for kids?
The process involves acid and requires gloves, eye protection, and ventilation. Adult supervision is essential, and most etching projects are best handled by teens and adults rather than young children.
Why does my etched design look clearer after it dries?
Water fills in the micro-scratches temporarily, which reduces the frosted appearance. Once the glass dries completely, the scratches scatter light again and the full frost effect becomes visible.
Can I etch curved glass like wine glasses?
Yes, curved glass etches well as long as your stencil adheres properly. Use flexible stencil vinyl or cut your design into smaller sections to follow the curve. Press edges firmly to prevent lifting.
What should I do if I get etching cream on my skin?
Rinse the affected area with plenty of water immediately. The cream is acidic and can cause irritation or burns with prolonged contact. If redness or discomfort persists, seek medical advice.
Key Takeaways for Your First Glass Etching Project
Glass etching rewards patience and preparation. Start with a clean workspace, proper safety gear, and adhesive stencils pressed firmly onto a squeaky-clean surface. Apply a thick layer of cream, wait at least five minutes while agitating every two minutes, and rinse into a safe container. Skip the one-minute timing on the bottle and test on inexpensive glass until you find your rhythm.
Your next step is simple: grab a dollar store glass, your stencil of choice, and a bottle of etching cream. Run through the full process once to build confidence, then move on to gifts, holiday decor, or personalized glassware that lasts a lifetime.