Frosting glass is a simple yet transformative way to add privacy, style, and elegance to any glass surface. Whether you’re looking to obscure a bathroom window, personalize wine glasses, or create decorative accents from mason jars, the right frosting method can deliver professional-looking results at home. With techniques ranging from permanent chemical etching to removable window films, there’s a solution for every skill level, budget, and project type.
The key to success lies in matching the method to your needs—permanence, durability, and ease of application all play a role. This guide breaks down six reliable ways to frost glass, complete with step-by-step instructions, safety tips, and maintenance advice. You’ll learn how to achieve a flawless matte finish without streaks, bubbles, or peeling—and avoid common mistakes that ruin the look.
Choose Your Frosting Method
Permanent vs. Temporary Options
Decide whether you want a lasting change or a flexible design. Chemical etching and baked enamel paint alter the glass permanently and are ideal for heirloom pieces or high-traffic areas. In contrast, frosted window film and DIY Mod Podge mixtures offer renter-friendly, removable solutions perfect for seasonal decor or temporary privacy.
Match Method to Surface Type
Not all glass reacts the same. Standard soda-lime glass (common in windows and bottles) responds well to etching cream. However, tempered or borosilicate glass (like Pyrex) may resist etching or pose safety risks. Always test a small area first. For double-pane windows, apply film only to the interior side to prevent seal damage.
Consider Location and Use
Outdoor installations need weather-resistant methods—etched glass or UV-stable films. Interior projects like lamps or vases can use spray paint or enamel. If dishwasher safety matters, opt for baked enamel or etched glass with proper sealant, not spray coatings.
Use Chemical Etching Cream
Why Etching Cream Works
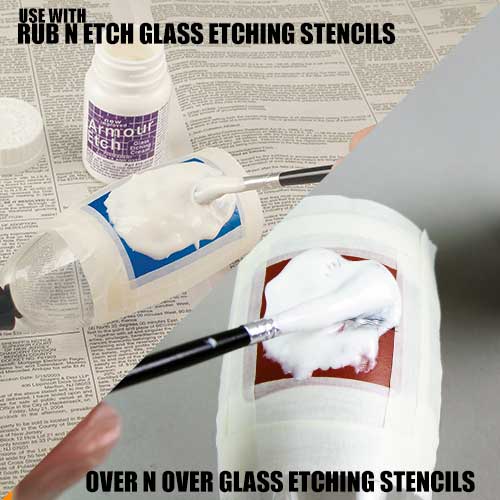
Chemical etching cream creates a permanent, matte finish by lightly dissolving the glass surface. The result looks like professionally sandblasted glass but is achievable at home with minimal tools. This method is ideal for intricate stencil designs on wine glasses, mirrors, or window panes.
Gather Essential Supplies
You’ll need:
– Etching cream (e.g., Armour Etch)
– Latex or nitrile gloves
– Safety glasses
– Disposable brush
– Lint-free cloth
– Mild soap and warm water
– Vinyl stencils (optional)
– Plastic sheeting for workspace protection
Avoid using metal tools—use plastic or wooden implements to prevent contamination.
Clean Glass Before Etching
Wash the surface with additive-free soap and water. For glassware, run it through the dishwasher, then hand-wash again to remove residue. Dry thoroughly with a lint-free cloth. Oils or soap film will block the cream and cause uneven frosting. Wipe with rubbing alcohol for a final clean if needed.
Apply Stencils Properly
If using a stencil, press it firmly onto the dry glass. Use a popsicle stick or old credit card to burnish the edges. This prevents cream from bleeding underneath and ensures crisp lines. Position the design carefully—once applied, repositioning risks tearing the stencil.
Apply Cream with a Dabbing Motion
Shake the etching cream well. Using a disposable brush, dab (don’t brush) a thick layer—about 1/4 inch—over the exposed glass. Brushing causes streaks. Cover the entire target area evenly. Work quickly; the cream begins reacting immediately.
Wait 1–5 Minutes Exactly
Let the cream sit for the time specified on the product label—typically 1 to 5 minutes. Do not let it dry. Over-etching can weaken thin glass or create a cloudy, inconsistent finish. Set a timer for precision.
Rinse and Remove Stencil
Rinse under warm running water to remove all cream. Only after rinsing should you peel off the stencil. This prevents trapped cream from continuing to etch. Flush water around the edges to eliminate any seepage.
Dry and Maintain Safely
Pat dry with a soft cloth. Never use vinegar, alcohol, or acetone-based cleaners on etched glass—they leave visible streaks in the textured surface. Stick to mild soap and water for cleaning. Avoid abrasive scrubbers.
Apply Frosted Glass Spray Paint
Best for Interior Projects
Frosted spray paint offers a quick, semi-permanent solution for light fixtures, cabinet inserts, or craft bottles. It doesn’t change the glass structure—just coats it with a translucent layer. While not suitable for outdoor use, it’s excellent for controlled environments where removability is a bonus.
Prep the Work Area
Choose a well-ventilated space shielded from wind. Lay down newspaper or cardboard. Wear gloves and a mask to avoid inhaling fumes. Ideal conditions: 50°F to 90°F and humidity under 65%. Cold or damp air causes poor adhesion and fogging.
Clean and Dry the Surface
Wipe the glass with mild detergent and water. Dry completely with a lint-free cloth. Any dust or grease will show under the paint. For extra assurance, clean with mineral spirits and let evaporate before spraying.
Spray in Even, Overlapping Passes
Shake the can for at least 1 minute. Hold 12 to 16 inches from the surface. Use smooth, side-to-side motions, overlapping each pass by a few inches. Apply thin coats—thick layers run or drip. The finish will look shiny at first; the frost effect appears as it dries (within 10 minutes).
Add Multiple Coats for Opacity
Wait 5–10 minutes between coats. Two to three coats usually deliver full opacity. Let the final coat dry completely before handling. Avoid touching the surface during cure to prevent fingerprints.
Remove Mistakes with Acetone
If you make an error, soak a paper towel in acetone or nail polish remover and cover the area. Wait a few minutes, then wipe clean. On flat surfaces, gently scrape with a razor blade for chemical-free removal.
Install Frosted Window Film
Ideal for Large Glass Panels
Window film is the top choice for privacy on shower doors, office partitions, or rental apartments. Self-adhesive or static-cling varieties install easily and last for years. High-quality films are UV-resistant, energy-efficient, and leave no residue when removed.
Measure and Cut Slightly Oversized
Use a measuring tape to get exact dimensions. Cut the film 1/4 inch larger than the glass on all sides—this allows for trimming after application. Use scissors for curves or a utility knife with a straight edge for clean lines.
Clean Glass Thoroughly First
Spray glass cleaner or a vinegar-water mix on the surface. Wipe with a lint-free cloth until spotless. Dust or grease causes bubbles. For double-pane windows, apply only to the interior side to avoid thermal stress on the seal.
Use Soapy Water for Repositioning
Mix a few drops of dish soap in water and spray generously on the glass. This creates a slip layer, letting you adjust the film before it bonds. Peel the backing slowly and place the film onto the wet surface. It will float temporarily.
Squeegee from Center Outward
Starting at the center, use a squeegee or credit card to push water and air bubbles to the edges. Work in straight lines, overlapping slightly. Keep the surface wet during this step to maintain mobility. Don’t press too hard—this can stretch the film.
Trim Excess with Utility Knife
Once smooth and bubble-free, trim the edges with a sharp utility knife. Use a ruler or straight edge for precision. Cut against the frame to ensure a clean finish. Wipe away residual soapy water and let dry.
Let Cure 24–48 Hours
Do not touch, clean, or expose the film to moisture during curing. Full adhesion takes 1 to 2 days. Avoid opening windows or shower doors during this time. Repositioning is only possible before the adhesive sets.
Paint with Enamel Frost Finish
Create Washable Frosted Glassware
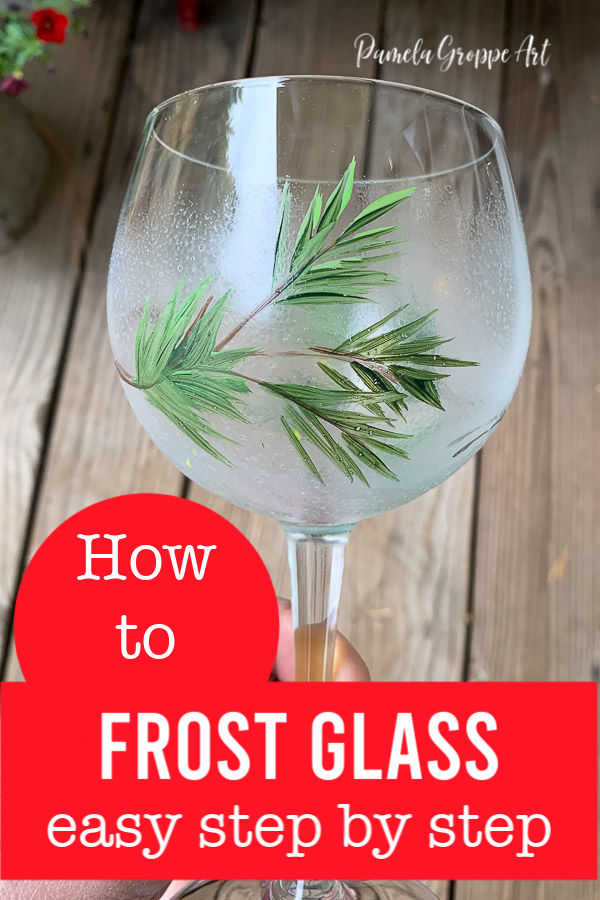
Enamel frost paint is perfect for personalized wine glasses, votive holders, or decorative jars. When properly cured, it becomes waterproof and dishwasher-safe. Brands like Murano Glass Paint (successor to Plaid FolkArt) deliver a durable, textured finish.
Deep Clean with Alcohol Wipe
Wash the glass with soap and water. Remove label glue with citrus-based remover. Then, wipe the surface with rubbing alcohol to eliminate invisible oils. Let dry 15–30 minutes. Wear nitrile gloves after cleaning—skin oils prevent paint adhesion.
Pounce, Don’t Brush
Pour a small amount of paint onto palette paper. Load a sponge pouncer or makeup sponge, then tap off excess. Use a dabbing (pouncing) motion—never brush. Brushing creates streaks and thin spots. For wine glasses, leave a ½-inch clear rim where lips touch.
Let Dry 24 Hours Before Baking
Allow the first coat to dry fully—usually 24 hours. If adding designs (e.g., gold accents), paint them on top of the dry frost layer. Do not rush curing.
Cure in Cold Oven for Durability
- Place glass in a cold oven.
- Set to 350°F.
- Bake 30 minutes after temperature is reached.
- Turn off oven—do not open.
- Let cool completely inside (2+ hours).
This prevents thermal shock and ensures a hard, washable finish.
Try DIY Mod Podge Frost Effect
Low-Cost Craft Alternative
For a vintage or rustic look on jars and bottles, mix Mod Podge Dishwasher Safe Gloss with translucent glitter enamel paint. The result mimics frosted glass with subtle shimmer—ideal for wedding centerpieces or holiday decor.
Mix Enough for Full Coverage
Combine a generous batch—running out mid-project causes color mismatches. Stir well to ensure even pigment distribution. Use a paintbrush for application.
Coat Exterior or Interior
For quick drying, paint the outside of the container. For a smoother, protected finish, pour the mixture inside, rotate to coat, then invert to drain and dry. Interior coating takes several days to cure fully.
Accept Streaks as Design Feature
This method often leaves slight streaks—embrace them for a handmade, aged aesthetic. Avoid overworking the brush. Let dry completely before decorating or using.
Avoid Common Mistakes
Prevent Streaks and Stains
Streaks come from brushing instead of dabbing. Whether using etching cream or paint, always pounce. Also, never clean finished etched glass with vinegar or alcohol—they react with the micro-abrasions and leave permanent streaks.
Stop Bubbles in Film
Bubbles form when glass is dirty or dry-applied. Always use the soapy water method and squeegee from center to edge. If bubbles persist, prick with a pin and press out air.
Avoid Peeling Spray Paint
Spray paint fails outdoors or on poorly cleaned surfaces. Ensure glass is degreased with alcohol before painting. Use only indoors or in sheltered areas. Never apply in high humidity.
Fix Uneven Etching
Inconsistent cream thickness or short dwell time leads to patchy results. Apply a uniform 1/4-inch layer and set a timer. Don’t guess—follow the product’s recommended etch time exactly.
Maintain Finished Surfaces
Clean Etched Glass Gently
Use only mild soap and warm water. Avoid abrasive cloths or chemical cleaners. The textured surface traps residues—rinse thoroughly and dry with a soft towel.
Protect Spray Paint from Solvents
Wipe with a damp cloth and mild soap. Never use acetone, nail polish remover, or degreasers—they dissolve the coating. Store painted items away from direct sunlight to prevent fading.
Handle Film with Care
Clean with a soft cloth. Avoid scrubbing or razor blades, which scratch the surface. If film lifts, re-wet the edge and press back down before full cure.
Preserve Baked Enamel
Hand-wash or run through the dishwasher if fully cured. Avoid stacking frosted glasses—they can scratch. Store upright or padded.
Compare Methods at a Glance

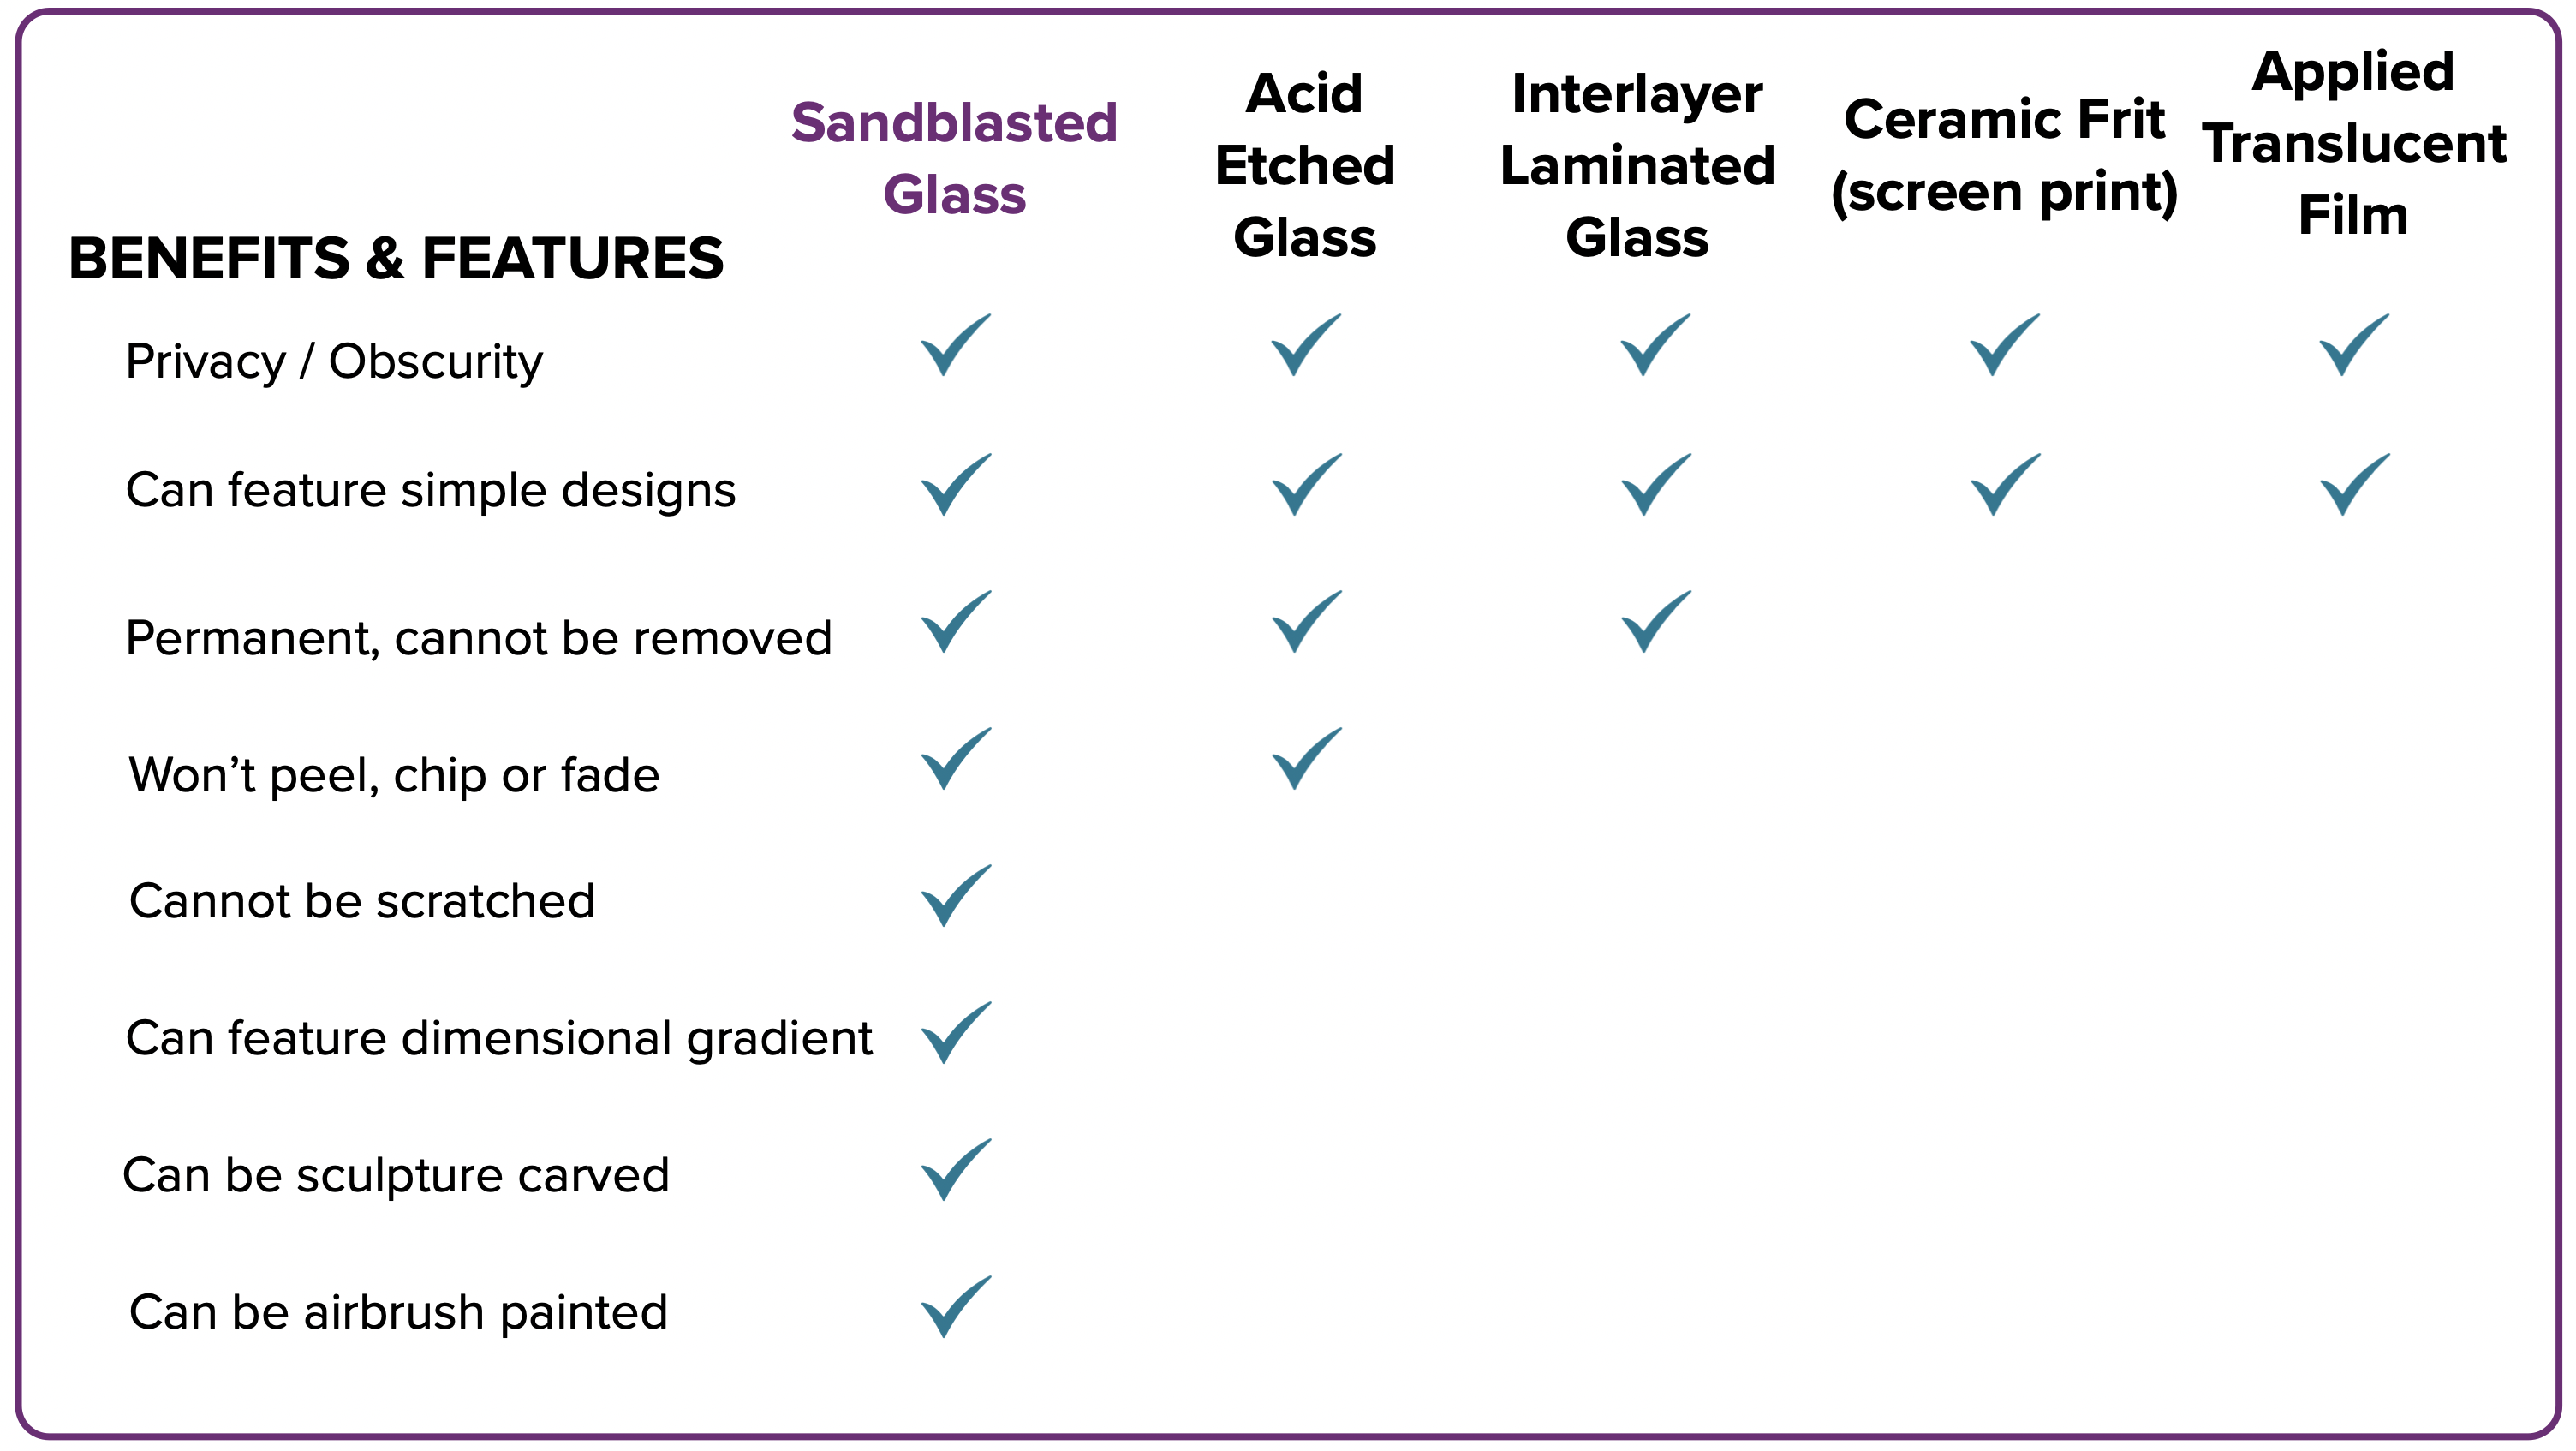
| Method | Permanence | Outdoor Safe | Washable | Cure Time | Best For |
|---|---|---|---|---|---|
| Etching Cream | Permanent | Yes | Yes (hand) | 1–5 min + rinse | Glassware, stencils |
| Spray Paint | Semi-permanent | No | Gentle hand wash | 10 min | Interior crafts |
| Window Film | Removable | Yes (UV film) | Yes | 24–48 hrs | Windows, renters |
| Enamel Paint | Permanent (baked) | Yes | Dishwasher safe | 21 days or bake | Drinkware |
| Mod Podge Mix | Semi-permanent | No | Hand wash | Days (if inside) | Decorative jars |
| Sandblasting | Permanent | Yes | Yes | Immediate | Large panels |
Frequently Asked Questions About Frosting Glass
What is the easiest way to frost glass at home?
The easiest method is frosted window film. It requires no chemicals, installs in under an hour, and is fully removable. For a permanent finish without special tools, etching cream is beginner-friendly and delivers professional results.
Can you frost glass without etching cream?
Yes. Frosted spray paint, window film, and DIY Mod Podge mixtures all create frosted effects without etching cream. These alternatives are ideal if you want a removable or budget-friendly solution.
How long does frosted glass last?
- Etched glass: Permanent and lasts indefinitely.
- Baked enamel: Permanent with proper curing.
- Spray paint: Several years indoors with gentle care.
- Window film: Years of use; high-quality film leaves no residue when removed.
Is frosted glass dishwasher safe?
Etched glass and baked enamel (cured at 350°F for 30 minutes) are dishwasher safe. Spray paint and Mod Podge coatings should be hand-washed only to preserve the finish.
Does frosted spray paint wash off?
Yes. Frosted spray paint can be removed with acetone, nail polish remover, or lacquer thinner. On flat glass, a razor blade also removes it without chemicals.
Can you frost tempered or Pyrex glass?
Tempered and borosilicate (Pyrex) glass may resist etching cream or pose safety risks. Always test a small area first. For these glass types, window film or spray paint are safer alternatives.
Key Takeaways for Frosting Glass Successfully
Learning how to frost glass opens up countless possibilities for privacy, decor, and personalization. The best method depends on your goals: choose etching cream or baked enamel for permanent, dishwasher-safe results on glassware. Pick window film for renters, large windows, or seasonal designs. Use spray paint or Mod Podge for quick, budget-friendly craft projects.
Start by prepping your glass thoroughly—any dust, oil, or residue will show through the finish. Always dab or pounce instead of brushing to avoid streaks. Follow cure times exactly, and clean finished pieces only with mild soap and water to preserve the matte texture.
Ready to transform your glass surfaces? Gather your supplies, pick a method that matches your project, and start with a small test piece to build confidence.