A cracked mirror doesn’t have to become instant trash. Whether you have a hairline fracture running across your bathroom vanity or a dramatic spiderweb crack on a full-length mirror, learning how to make a cracked mirror look good saves you money and gives you time to plan a permanent solution. This guide covers proven methods to stop cracks from spreading, hide damage with stylish fixes, and even transform flaws into unique design features that enhance your space.
Stop a Mirror Crack from Spreading First
Before you think about aesthetics, you must stabilize the damage. A crack in glass behaves like cancer. It will eventually propagate until it reaches an edge, so stopping the spread protects your safety and buys time for a better repair.
Apply Super Glue with the Tape Funnel Method
This quick fix uses capillary action to draw adhesive deep into the fissure. Cut a strip of blue painter’s tape into a funnel shape, placing the narrow end directly over the crack start. Drip cyanoacrylate glue at the wide end and let gravity pull it along the fracture. Let dry completely for 10 to 15 minutes.
This method works best on hairline cracks but provides only temporary holding power. The glue may yellow with prolonged sunlight or humidity exposure, so follow up with a more durable solution.
Use Glass Repair Resin for Lasting Results
For a fix that lasts years rather than months, use a two-part epoxy designed for glass. Recommended products include Loctite Glass Glue, J-B Weld ClearWeld, and Rain-X Windshield Repair Kit. Clean the mirror thoroughly with glass cleaner, then mask the surrounding area with painter’s tape. Mix the resin according to package directions, draw it into a syringe, and inject slowly into the crack from one end to the other. Tap gently to release air bubbles, then cure for 6 to 24 hours or 10 to 20 minutes under UV light if applicable. Scrape excess with a razor blade and polish with 2000 grit sandpaper and a microfiber cloth.
The result makes the crack 70 to 80 percent less visible while improving structural integrity. Avoid regular white glue, silicone, or nail polish. These lack the strength and clarity needed for glass repair.
Hide Crack Damage with Stylish Frames
Concealment often works better than repair when aesthetics matter more than structural integrity. The right frame transforms a damaged mirror into a design feature.
Install a Decorative Frame Around the Mirror
A 2 to 3 inch wide frame completely hides edge cracks and draws attention away from center damage. Pre-made PVC or MDF frame kits cost $15 to $40 and offer easy peel-and-stick application. Custom wood frames using baseboard or trim cost $20 to $100 plus and provide a more premium, durable look. Metal borders in brass or aluminum cost $30 to $120 and suit modern or vintage styles perfectly.
Use double-sided foam tape or mirror mastic for secure adhesion. Paint wood frames to match your wall color or vanity. For extra impact, add LED strip lights behind the frame. The ambient glow draws eyes to the mirror while hiding flaws.
Try Vinyl Tape for Renter-Friendly Borders
If you can’t use nails or adhesive, adhesive vinyl tape creates instant style without damage. Choose geometric, floral, or metallic patterns. Measure and cut precisely using a level, then apply starting from one corner while smoothing as you go. This method works perfectly for small mirrors or temporary fixes. A gold herringbone border turns a damaged edge into a luxury accent.
Block the Crack with Strategic Decor Placement
Sometimes the simplest solution works best. Place potted plants, candles, vases, or sculptures in front of the crack. This works best when the crack sits at the bottom or corner. Simply rotate the mirror 180 degrees if needed to move the damage to a less visible spot. A small fairy light garland or wall sconce also effectively hides damaged zones.
Transform Crack Damage into Creative Decor
Embrace the damage as part of a personalized art piece. Several creative approaches turn flaws into focal points.
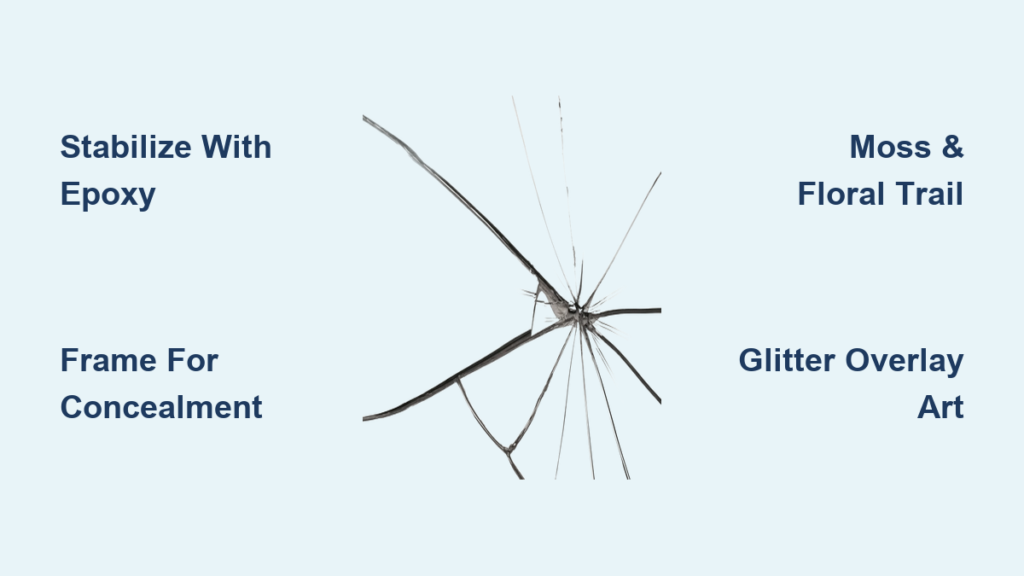
Create a Moss and Floral Trail Along the Crack

This approach works beautifully for vertical cracks that resemble rivers or roots. Buy artificial moss, tiny flowers, mushrooms, or vines from a craft store. Use E6000 adhesive or hot glue to attach them along the crack path. Add fairy lights for a whimsical glow.
This method suits boho, cottagecore, fantasy, or nature-themed rooms. The crack becomes a focal point rather than a flaw. One user reported gluing moss and little fake flowers along her crack for a whimsical fae-vibe that guests consistently admire.
Apply a Glitter and Crushed Glass Overlay
Transform the mirror into a shimmering statement piece with this weekend project. Gather Mod Podge in gloss or matte, silver acrylic paint, fine or chunky glitter, and crushed glass in clear, rose-gold, or iridescent finishes. Mix Mod Podge, silver paint, and glitter into a thick paste. Paint over the crack and surrounding area with a 1 to 2 inch border. While wet, sprinkle crushed glass evenly and press gently with gloved fingers. Dry overnight and seal with a second coat of Mod Podge.
This method retains partial reflectivity while hiding damage completely. Focus on one quadrant or side rather than covering the entire surface. The result looks intentional, not like damage concealment.
Add Decals, Quotes, or Art Over the Crack
Turn the flaw into inspiration with decorative overlays. Silhouette decals like trees, butterflies, or abstract figures work well. Inspirational quotes such as “You’ve got this” or “I am enough” add personality. Themed stickers including beach scenes, galaxies, or floral wreaths provide coverage while adding style. Apply directly over the crack using frosted or metallic vinyl for extra coverage.
When to Replace Instead of Repair
Not every crack can be saved. Knowing when to let go prevents safety hazards and wasted effort.
Signs You Need Mirror Replacement
Replace immediately if the crack is spreading visibly, glass fragments are loose or missing, the mirror wobbles or detaches from the wall, the backing is peeling or blackened indicating silvering failure, or it’s located in a high-traffic or moving area like a sliding door. Smart mirrors with electronics need professional evaluation since cracks may damage wiring, LEDs, or sensors.
A large custom mirror replacement often costs less than expected. One user replaced a ceiling-to-counter double vanity mirror for under $200. Get quotes from local glass shops. They often offer same-week service and competitive pricing.
Cost Comparison Guide
DIY epoxy repair costs $10 to $30 and lasts 3 to 5 years, best for small to medium cracks. Super glue costs $2 to $10 and lasts under 6 months, suitable only for temporary holds. Vinyl frame borders cost $10 to $40 and last 1 to 3 years, perfect for renters. Custom wood frames cost $50 to $100 plus and last 5 or more years as a permanent upgrade. Mirror replacement costs $80 to $500 plus and lasts 10 or more years for severe damage or safety risks.
Handle Smart Mirrors with Extra Care
Modern mirrors with lighting, Bluetooth, or touch sensors require special consideration.
Why Standard Fixes Are Risky
Cracks in smart mirrors can damage internal circuits, LEDs, or sensors. Moisture may seep in causing short circuits. Adhesives or heat from glue guns could melt delicate components. Do not attempt resin or paint fixes on smart mirrors. Contact the manufacturer or electrician for module replacement instead. If the crack is minor and not near electronics, framing provides the safest option.
Note that repairing a smart mirror often costs more than replacing the entire unit. Weigh long-term value before investing in repairs.
Safely Reuse or Dispose of Damaged Mirrors
When replacement becomes necessary, don’t automatically toss the old mirror.
Creative Reuse Instead of Trash
Turn damaged mirrors into garden mosaics by embedding shards in stepping stones or planters. Create wall art by arranging pieces into abstract patterns on wood backing. Make DIY trays or coasters by sealing edges with resin and adding felt bottoms. Create holiday ornaments from small shards with ribbon hangers.
Always sand sharp edges with 200+ grit paper before handling. Seal with clear resin or grout. Label reused items clearly: “Sharp edges, handle with care.”
Proper Disposal Steps
Wear gloves and safety glasses. Cover both sides with packing tape to hold shards in place. Wrap in cardboard or towels. Place in a sturdy box or double trash bag. Label clearly: “Broken glass, handle with care.” Check local waste rules. Mirrors aren’t accepted in curbside recycling due to reflective coating contamination. Some construction recyclers accept mirrors. Search by zip code to find specialty recyclers near you.
Frequently Asked Questions About Making a Cracked Mirror Look Good
Can I fix a cracked mirror myself without replacing it?
Yes. Small hairline cracks respond well to two-part epoxy resin like Loctite Glass Glue or J-B Weld ClearWeld. Apply with a syringe, cure for 6 to 24 hours, then polish. This makes the crack 70 to 80 percent less visible and prevents spreading. Larger cracks or spiderweb patterns typically need replacement.
What is the fastest way to hide a crack in a mirror?
Decorative framing provides the fastest transformation. A 2 to 3 inch wide frame completely hides edge cracks and costs $15 to $40 for pre-made kits. Vinyl tape borders offer a renter-friendly option that takes minutes to apply. Strategic decor placement with plants or candles works instantly for bottom or corner cracks.
Does super glue work on mirror cracks?
Super glue provides a temporary hold only. The tape funnel method draws cyanoacrylate into hairline cracks for short-term stabilization, lasting less than 6 months. The glue may yellow with humidity or sunlight exposure. Follow up with epoxy resin for durability.
How much does it cost to replace a cracked mirror?
Replacement costs range from $80 to $500 plus depending on size and style. Many homeowners report large vanity mirror replacements costing under $200. Local glass shops often beat big box store prices and offer custom cutting.
Can I turn a cracked mirror into art?
Absolutely. Creative transformations include gluing artificial moss and fake flowers along the crack for a whimsical trail. Applying glitter and crushed glass overlay creates a glamorous statement piece. Decals, quotes, or themed stickers cover damage while adding personality. The crack becomes a focal point rather than an eyesore.
Key Takeaways for Making a Cracked Mirror Look Good
A cracked mirror doesn’t require instant replacement. Start by stabilizing the damage with epoxy resin to prevent spreading, then choose your approach based on your goals and budget. Decorative frames provide the most invisible fix while lasting years. Creative transformations like moss trails or glitter overlays turn damage into unique art. For severe damage, smart mirrors, or safety risks, replacement makes more sense than continued repair. Whatever method you choose, always prioritize safety when handling broken glass, and consider repurposing the old mirror into garden art or mosaic projects before disposal.