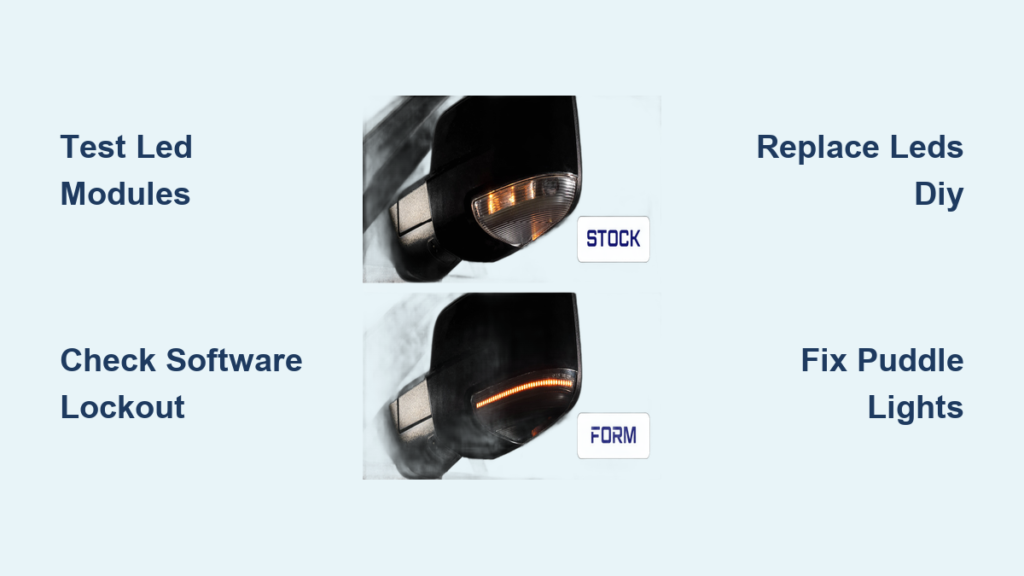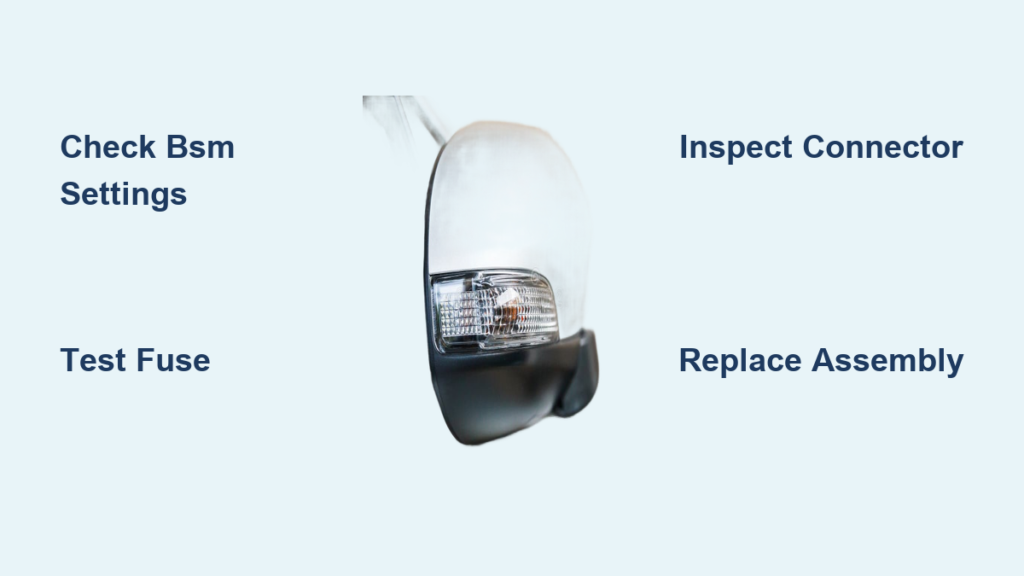
Your turn signal or blind spot light in the side mirror has stopped working. You hear the familiar clicking when signaling, but nothing flashes in the mirror. Other mirror functions like adjusting or folding still work fine, which points to a specific electrical or software issue rather than total mirror failure. The good news is most causes are fixable without replacing the entire assembly. Whether it is a loose wire, dead LED, blown fuse, or a disabled setting, this guide walks you through diagnosing and repairing a side mirror light not working step by step.
You will learn how to test power at the connector, secure loose wiring, replace the turn signal module, and reactivate hidden safety features. Most repairs take under an hour and cost less than $50, saving you hundreds compared to full mirror replacement.
Check BSM Settings First
BSM Light Off? It Might Be Disabled
On 2022 and newer vehicles, the mirror blind spot indicator may not be broken. It could simply be turned off in the vehicle software. If no light appears when a car enters your blind zone, do not assume hardware failure immediately. Many drivers accidentally disable this feature or cannot find the setting buried in menus.
How to Enable BSM
Access your vehicle Driver Assistance menu to restore the function. The exact path varies by manufacturer, but follow these general steps.
Press Settings on your infotainment screen, then navigate to Safety and Driver Assistance or Vehicle Settings. Select Blind Spot Monitoring and toggle Enable or On.
Some brands use different names for this feature. Watch for Side Blind Zone Alert on GM vehicles, Lane Change Assist on Mercedes and BMW, or Blind Spot Detection on Ford and Toyota models.
If the option appears grayed out, ensure your vehicle is in Park and the mirrors are unfolded. After enabling, test by driving beside another car. The mirror indicator should flash when a vehicle enters your blind zone.
Test the Fuse and Relay

Locate the Correct Fuse
A blown fuse is a common culprit even when you hear the turn signal relay clicking. The flasher relay operates mechanically, so it may click even with an open circuit downstream. Do not skip this step based on sound alone.
Check these fuses in your vehicle fuse box.
Turn Signal, Hazard Lights, Mirror, and BSM or Driver Assist
Fuse boxes are typically located under the driver side dash or under the hood. Use the diagram on the fuse box cover to identify the correct one for your mirror lights.
How to Test a Fuse
Pull the fuse using a fuse extractor tool. Inspect the filament visually. If it is broken, replace it. For more certainty, test with a multimeter.
Set the multimeter to continuity mode. Touch the probes to both metal ends of the fuse. A beep indicates the fuse is good. No sound means the fuse is blown.
Replace with the same amp rating, typically 10A or 15A. After replacement, test the mirror light to confirm the issue is resolved.
Inspect Mirror Connectors
Loose Wires Cause Most Failures
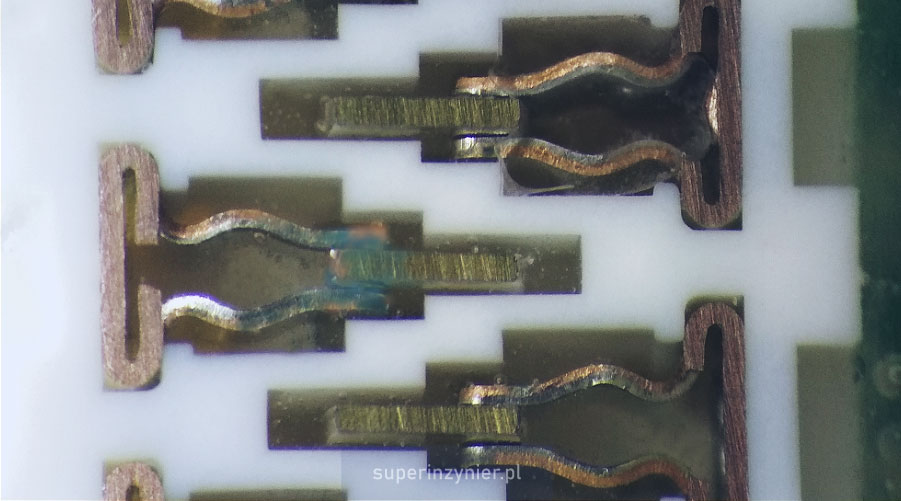
In 2007-2013 GM trucks including Silverado, Tahoe, and Suburban models, loose connectors are the number one cause of side mirror light failure. Vibration and road debris weaken retaining clips over time, especially on the passenger side mirror. The turn signal circuit often uses a light blue wire, so check that connection specifically.
Tools You Will Need
Straightened coat hanger or plastic trim tool, zip tie about 4-6 inches, dielectric grease, and electrical contact cleaner.
How to Secure the Connector
Remove the door panel if needed to access the wiring inside the door or mirror base. Locate the mirror connector and inspect it for damage.
Gently pry the connector using a coat hanger. Slide it under the back of the connector and push forward. Do not pull on the wires themselves.
Inspect the pins for corrosion, bending, or looseness. Clean the contacts with a dry brush or contact spray. Apply dielectric grease to each pin to prevent moisture buildup.
Re-seat the connector firmly until it clicks into place. Secure with a zip tie to prevent future loosening from road vibration.
Test Power and Ground
Use a Multimeter to Diagnose
Even with a good fuse, power may not reach the mirror. Use a digital volt meter to test for the presence of electrical signals before replacing components.
Set the multimeter to DC volts. Connect the black probe to chassis ground. Place the red probe on the mirror connector pins while activating the turn signal or hazard lights.
Look for pulsing 12V on the signal wire. This confirms power is reaching the mirror assembly.
What the Results Mean
No 12V indicates an open circuit, bad door control unit, or wiring break. No ground means a corroded path or broken wire in the door hinge area. If 12V and ground are both present but the light does not work, the internal LED module or printed circuit board has failed.
Diagnose Internal LED Failure
Integrated LEDs Cannot Be Replaced
Most modern mirrors use non-serviceable LED modules mounted on a printed circuit board. Unlike old bulbs, you cannot simply swap them out. The entire assembly typically requires replacement when the LED fails.
Signs of LED failure include no light despite confirmed power and ground, intermittent flashing when the mirror is moved, and visible cracked solder joints on the PCB.
Common causes are moisture ingress from damaged seals, impact damage from car washes or parking, electrical surge during jump starts, and vibration fatigue in folding mirrors.
Can You Repair the PCB
Some users attempt re-soldering cracked joints or replacing resistors, but results are mixed. One user reported re-soldering the main board with no success. Due to complexity and risk of permanent damage, replacement is often the better choice.
Replace the Turn Signal Assembly
When to Replace vs Repair
If testing shows power and ground are present but the light still does not work, or the PCB is visibly damaged, replace the turn signal assembly. This is faster and more reliable than micro-repairs on the circuit board.
Tools Required
Flathead screwdriver, plastic pry tools, replacement housing, and rubber seal if not included with the new unit.
Step-by-Step Replacement
Remove the side mirror by extending it fully using the switch, then turning the switch off to lock it in place. Insert a flathead between the white plastic tab and housing, then twist gently to release one of two locking tabs. Repeat on the opposite side, then lower and pull the mirror out to expose the two upright hooks.
Remove the front cover by pressing inward on four upper and four lower tabs. Use plastic pry tools to hold the tabs open. Push out the side tabs with a screwdriver and wedge the tools to prevent re-latching. Release the upper tabs first. The lower ones disengage automatically.
Access and remove the housing by disconnecting the wiring harness. Lift the latch and pull the harness free. Remove the two screws securing the unit and extract the old assembly.
Prepare the new unit by transferring the original wiring harness. Insert the pins until they click. Add a moisture barrier by gluing a small rubber piece over the connection.
Reinstall and test by aligning the mounting holes and reconnecting the harness. Test with hazard lights before reassembly. Confirm both sides flash at the same rate.
Reassemble the mirror by snapping the front cover back on, starting from the bottom. Align the mirror hooks and press into place. Engage the locking tabs with a screwdriver and adjust the mirror position.
Fix Wiring Breaks
Internal Wires Break at Hinges
Repeated mirror folding, whether manual or automatic, can fatigue wires near the hinge. This causes intermittent or total failure of the mirror lights.
How to Repair
Isolate the broken wire with a multimeter using a continuity test. Cut out the damaged section. Solder in a new wire segment and insulate with heat shrink tubing. Route the wire safely to avoid future stress.
Reset the Door Control Unit
Voltage Glitches Cause Phantom Failures
Sometimes the door control unit or body control module glitches and stops sending signals to the mirror, even when wiring is perfectly fine. This can happen after jump starts, battery changes, or electrical surges.
Disconnect the battery and wait 5-10 minutes. Reconnect and retest the mirror lights. This clears temporary faults and resets communication across the CAN bus network.
Prevent Future Failures
Stop Problems Before They Start
Side mirror lights fail due to vibration, moisture, and wear. Prevent recurrence with these maintenance steps.
Apply dielectric grease to all connector pins annually. This prevents oxidation and moisture buildup, especially important in coastal or snowy climates.
Secure connectors with zip ties to eliminate slack and prevent vibration from loosening connections.
Inspect mirror wiring during any maintenance that requires removing door panels. Look for frayed wires or cracked insulation.
Use OEM spec parts when replacing components. Aftermarket units often lack rubber seals, mounting brackets, or correct connector pins.
Key Takeaways for Fixing Your Side Mirror Light
A side mirror light not working is rarely a mysterious problem. Start with the easiest fixes first. Check BSM settings on newer vehicles, test fuses, and inspect connectors for looseness. Use a multimeter to confirm power and ground are reaching the mirror assembly. If those are good but the light still does not work, the internal LED board has failed and the turn signal assembly needs replacement. Avoid costly full mirror replacements by securing loose connectors with zip ties and applying dielectric grease annually. With these steps, most repairs take under an hour and cost less than $50 while keeping your signals visible and your safety intact.
Frequently Asked Questions About Side Mirror Light Not Working
Why does my turn signal click but the mirror light does not flash?
The clicking sound comes from the flasher relay, which is mechanical and operates independently of the mirror circuit. Even with a blown fuse or open wiring downstream, the relay will still click. This is why you must test the fuse and power at the mirror connector rather than relying on the click alone.
Can I replace just the LED bulb in my side mirror?
Most modern vehicles use integrated LED modules that cannot be replaced individually. The LED is mounted directly on a printed circuit board within the mirror assembly. You must replace the entire turn signal housing or the whole mirror in most cases.
How do I know if my side mirror light failure is a software issue?
On 2022 and newer vehicles, check your Driver Assistance or Safety settings to confirm Blind Spot Monitoring is enabled. If it is disabled, turn it on and test again. If the setting is already enabled or enabling it does not help, the issue is likely hardware related.
Why does my side mirror light only work sometimes?
Intermittent operation typically indicates a loose connector or broken wire near the mirror hinge. The wire fatigues from repeated folding and breaks internally. Test power at the connector and inspect the wiring path for damage.
Does a side mirror light failure require professional repair?
Many causes are DIY fixable, including loose connectors, blown fuses, and disabled BSM settings. However, if the issue is a failed printed circuit board or wiring harness damage requiring soldering, professional help may be needed. Start with the simple checks yourself before paying for expert diagnosis.