Removing a mirror glued to a wall or frame can feel intimidating, especially when strong adhesive holds it firmly in place. Whether you’re renovating a bathroom or replacing an old fixture, knowing how to remove mirror adhesive effectively is key to avoiding wall damage, injury, or broken glass. Most mirrors aren’t just hanging on nails; they’re often bonded with black mastic, silicone, or construction glue that resists simple prying. This guide walks you through every step, from identifying the adhesive type to repairing the wall afterward, so you can complete the job confidently.
Identify the Mounting Method Before You Begin
Before applying heat or force, determine how the mirror was installed. This saves time and prevents unnecessary effort.
Check for Hidden Fasteners
Many framed mirrors use nails or screws into wall studs, even if they appear glued. Inspect the top and sides with a flashlight for small nail heads or screw holes painted over. A stud finder can help detect metal fasteners behind the frame. If found, remove them first, as this may reduce or eliminate the need for aggressive adhesive removal.
Test for Paint Seals
Sometimes, latex paint creates a false “glued” effect by sealing the gap between the mirror edge and wall. Run a utility knife along the perimeter to cut through any painted seam. If the mirror lifts easily after this, the bond was only superficial.
Spot-Glue vs. Full-Surface Adhesion
Most adhesive installations use spot-gluing, meaning small blobs of adhesive rather than a full layer. After removing the mirror, you might see round impressions on the wall. This means less surface area to clean but unpredictable release points during removal.
Pro Tip: Use a flashlight to peek behind the mirror at the top corner. Look for dark patches indicating mastic, clear flexible beads indicating silicone, or tape-like strips indicating VHB tape. Mark these areas with a marker for targeted treatment.
Choose the Right Removal Method for Your Situation
Match your approach to the adhesive type and mounting style for the best results.
Floss Behind the Mirror with Steel Wire
This method works best for large, fully adhered mirrors on drywall or tile.
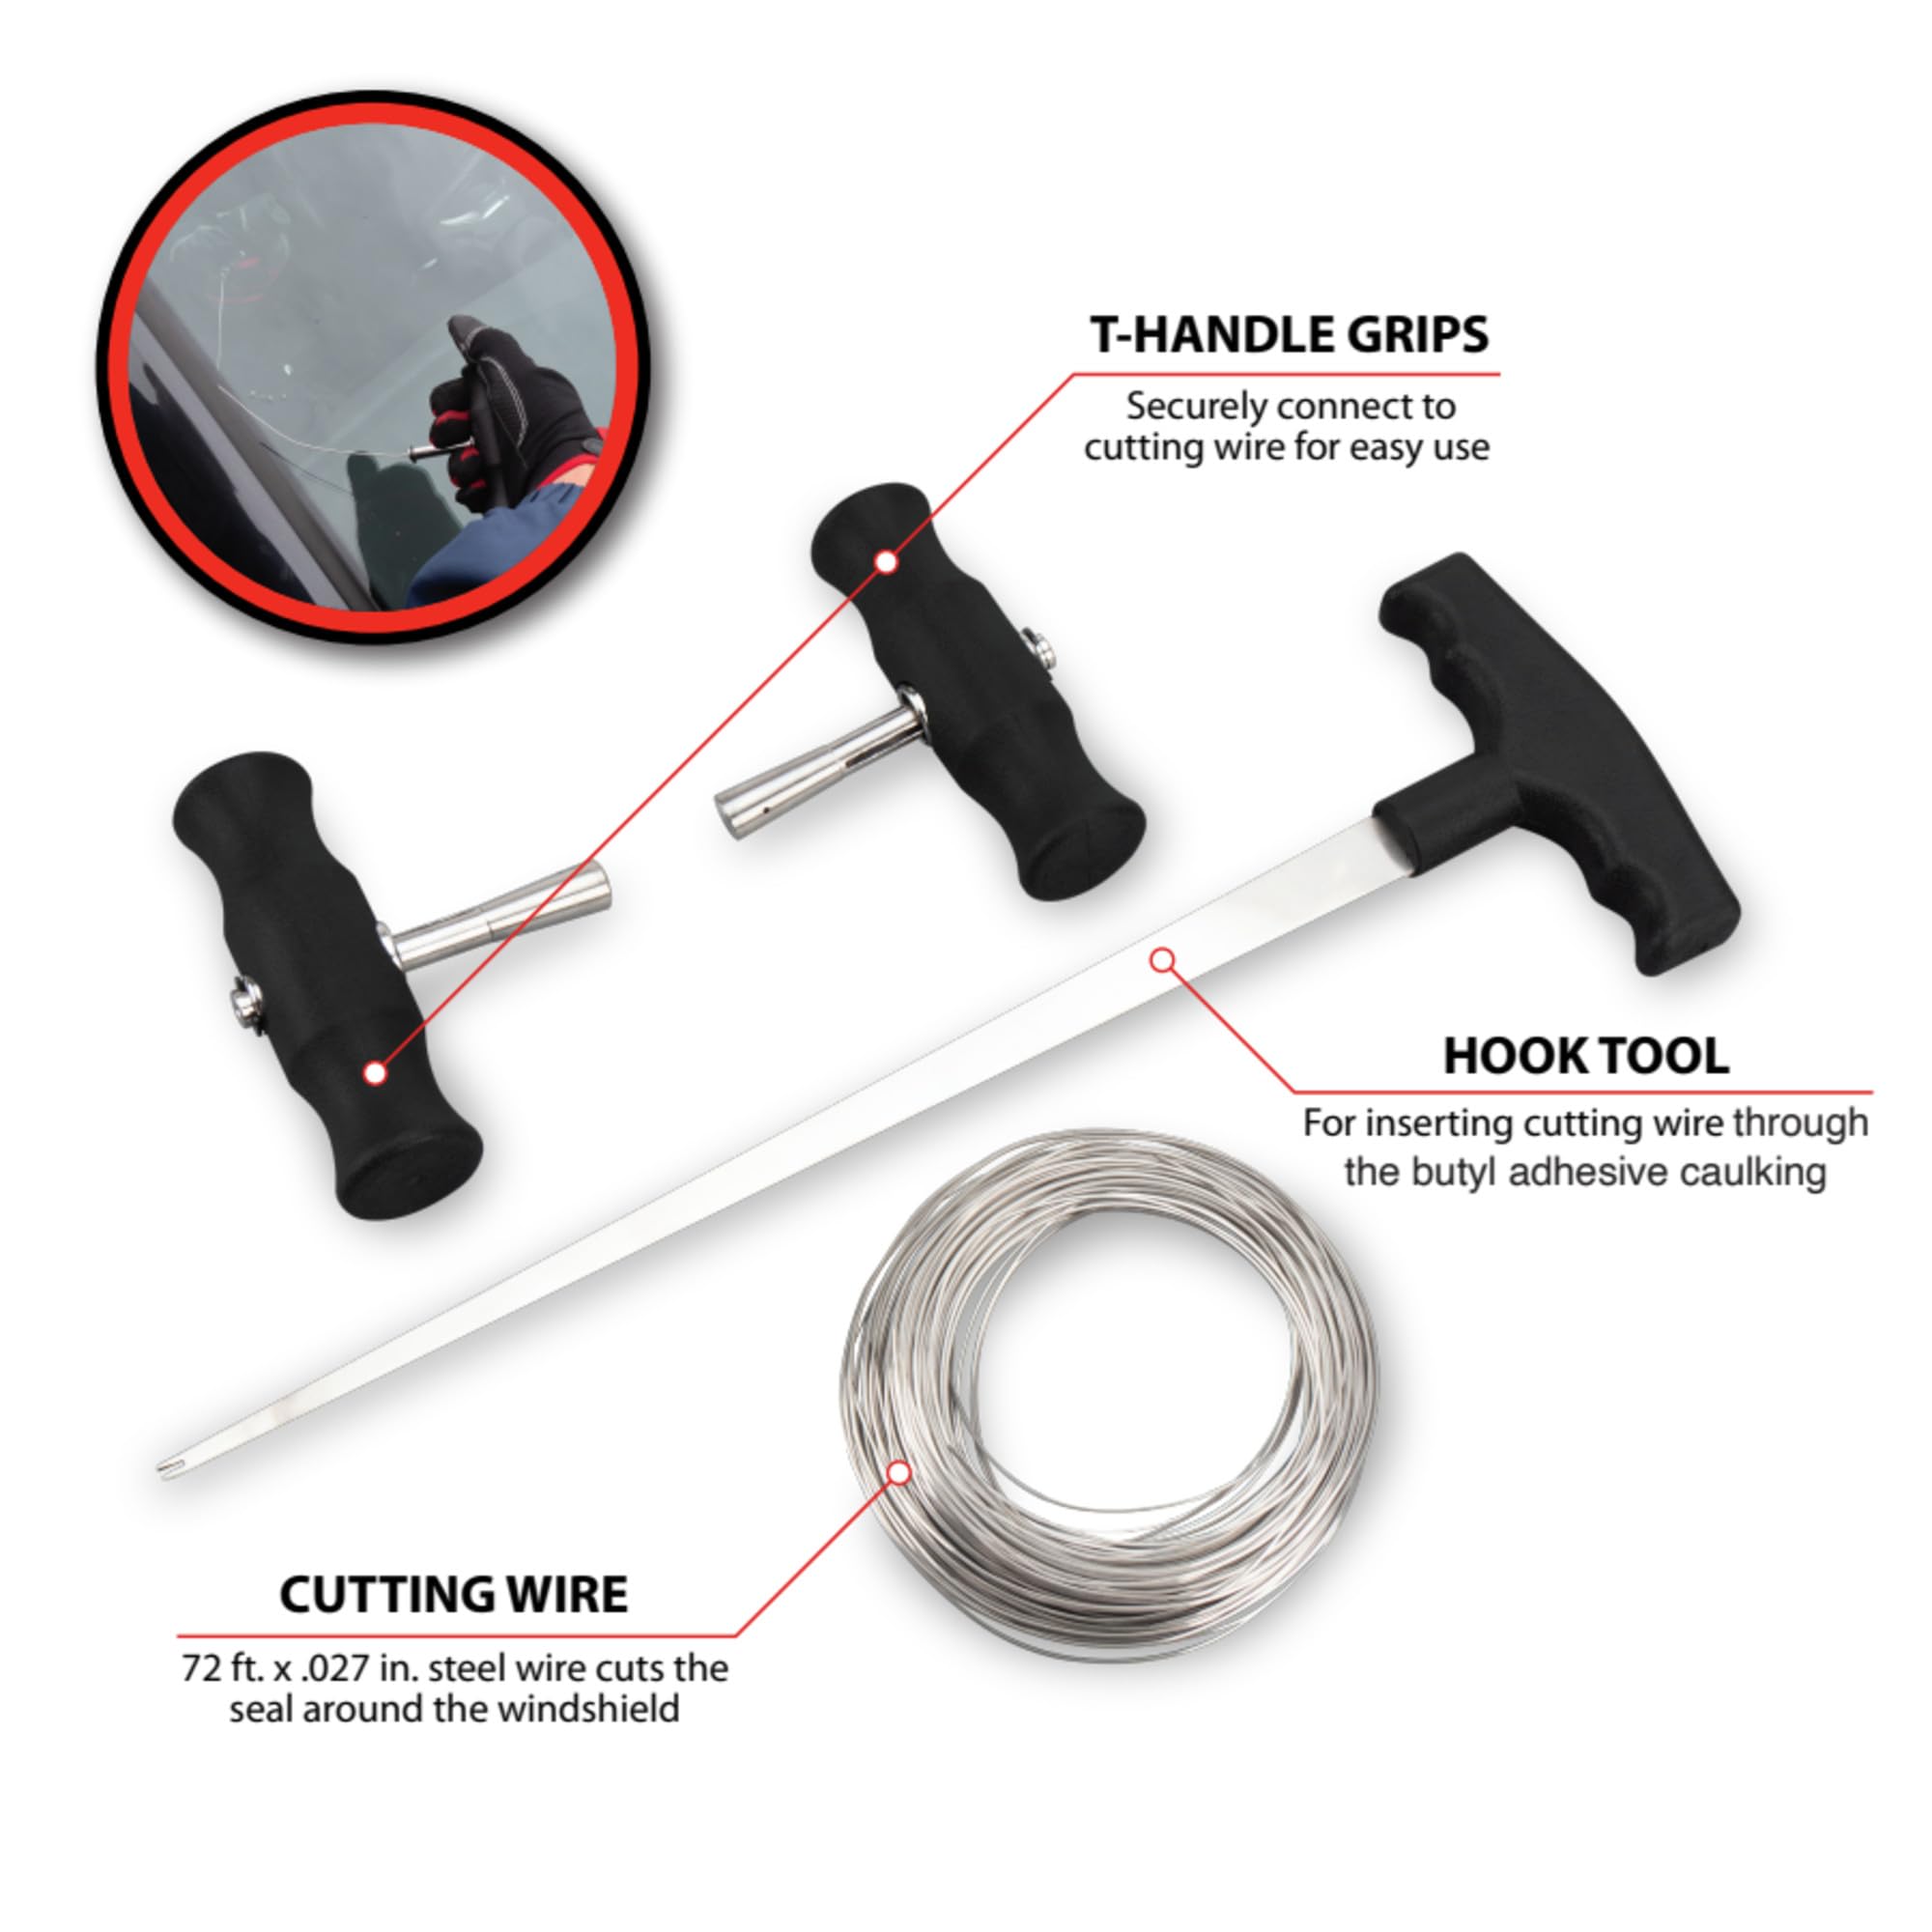
Use braided steel wire, like a bicycle brake cable, as a “floss” to saw through adhesive behind the glass. Start by creating a small gap at the top corner using a wide putty knife and rubber mallet. Insert stacked wood shims to hold the gap open. Feed the wire behind the mirror and pull it back and forth in a sawing motion, moving from top to bottom.
Expert Note: Attach the wire loop to a drill for powered flossing. Wrap it around the chuck so it rotates like a chain. Use low speed and maintain firm control to prevent sudden slips.
Work in sections, reheating adhesive ahead with a heat gun. Have a partner support the mirror as it detaches to prevent dropping.
Pry with Shims for Partial Bonds
This approach works best for mirrors with weak or spot adhesion.
Cut through paint seals first with a utility knife. Tap wooden shims, three to five stacked, into the top edge using a rubber mallet. Advance them slowly down the sides, listening for a faint tearing sound. This means the adhesive is releasing from the drywall.
Pause for several minutes once a gap forms to allow full separation. Glass can flex slightly without breaking, so pull gently and straight outward.
Warning: Never leave shims unattended. The mirror can release suddenly and fall.
Soften Mastic with Heat and WD-40
This technique works best for old mirrors bonded with black asphalt-based mastic.
Apply a heat gun to soften the sticky, tar-like adhesive. Focus on corners and thick buildup areas. Alternate heating between sides to keep the bond pliable.
Insert shims at multiple points around the perimeter. Once you hear a soft “pop” indicating bond failure, support the mirror with both hands and pull straight out.
After removal, scrape warm adhesive with a metal scraper. Apply WD-40 to remaining residue, let it soak five to ten minutes, then wipe clean with paper towels. It works better than paint thinner or acetone on mastic.
User Insight: “WD-40 cut through the black goo like nothing else. I was amazed.”
Break the Mirror as Last Resort
This method works best for stubborn adhesives or damaged mirrors.
If other methods fail, controlled breakage is faster and safer than forcing an intact removal. Cover the entire surface with duct tape or packaging tape in a crisscross pattern. This contains shards and reduces scattering.
Wear full safety gear including leather gloves, ANSI-rated goggles, long sleeves, and closed-toe shoes. Use a glass breaker tool to strike a corner, never the center.
Carefully remove large pieces by hand and place them in a sturdy box. Pry off fragments still stuck to the wall with a putty knife. Scrape off residual adhesive while wearing protection.
Safety Rule: Assume the mirror is not tempered glass. Treat every shard as hazardous. Do not vacuum, as glass can damage your machine or become airborne.
Separate Frame-Mounted Mirrors
This works best for mirrors glued into wooden frames with silicone or epoxy.
Determine if the mirror is set into the frame or rests on top. If inset, decide whether to save the mirror or the frame.
Apply WD-40 along the inner edge to penetrate the silicone bond. Warm the area with a heat gun. Thread braided fishing line behind the mirror and saw back and forth using dowels for leverage.
Alternatively, submerge the entire frame in water for two to three days to delaminate plywood and weaken the bond. This damages the frame but may save the mirror.
Outcome: Expect damage to the mirror’s silver backing due to friction and chemical exposure.
Remove Adhesive Residue by Surface Type
Once the mirror is gone, clean what remains behind.
Clean Drywall Without Causing Damage
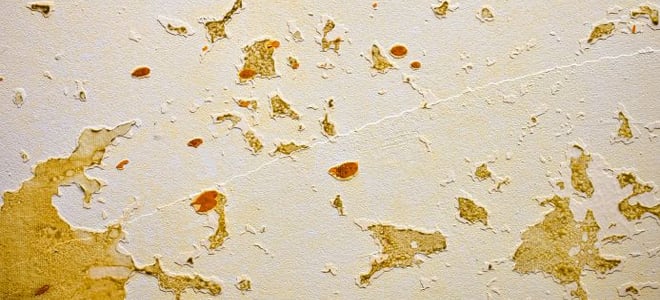
Avoid aggressive scraping that tears the paper face. Use a heat gun to soften adhesive, then scrape gently with a plastic or metal blade at a shallow angle. Focus on one area at a time.
For stubborn residue, consider these options:
• WD-40 works well on mastic and Liquid Nails. Spray, wait five to ten minutes, wipe clean.
• Goo Gone is safer than harsh solvents but messier. Good for final cleanup.
• Acetone works but use sparingly, as it can dissolve paint and damage drywall finish.
Always test solvents on a small hidden area first.
Remove Adhesive from Tile
Tile is tougher than drywall, but adhesive often hides in grout lines. Use a utility knife to carefully dig out hardened glue. A stiff brush helps loosen debris.
Clean with isopropyl alcohol or acetone, then rinse thoroughly. Avoid metal scrapers that can scratch glazed surfaces.
Handle Wood Surfaces Carefully
Less common, but possible with custom installations. Use heat and plastic scrapers to avoid gouging. Avoid solvents that could stain or warp the wood. Light sanding with 120 to 220 grit can smooth leftover residue.
Note: Construction adhesives like Liquid Nails do not dissolve easily. Mechanical removal is usually required.
Repair the Wall After Mirror Removal
Most mirror removals leave some wall damage. Here’s how to fix it properly.
Assess the Damage Type
Different damage requires different repair approaches. Small dents or gouges fill with spackle or joint compound. Loose paper surface seals with PVA drywall primer before patching. Missing chunks require mesh tape and joint compound for structural repair. Textured walls need matching finish using spray texture or hand techniques.
Patch and Paint Like a Pro
Follow these steps for a seamless repair:
- Clean the area thoroughly.
- Apply PVA primer to stabilize damaged paper.
- Spread joint compound in thin layers with a six to ten inch drywall knife.
- Sand lightly between coats with 120 to 220 grit sandpaper.
- Prime the entire repaired section before painting.
- Repaint to match the surrounding wall.
Pro Tip: Practice texture matching on scrap drywall first. Use aerosol orange peel sprays or stipple with a brush or roller.
Prioritize Safety at Every Step
Glass and chemicals make this job risky if you skip protection.
Wear Essential Protective Gear
Thick leather gloves protect against sharp edges. ANSI-rated safety glasses prevent eye injuries. Long sleeves and closed-toe shoes provide full-body defense. A respirator or mask is essential when using acetone or WD-40 in enclosed spaces.
Ensure good ventilation when applying solvents.
Work with a Partner
Mirrors are heavy and unpredictable. One person should support the glass while the other works on separation. Never stand directly in front of the mirror during prying or flossing.
Dispose of Glass Safely
Fold the tarp carefully to contain shards. Place broken pieces in a sturdy cardboard box, label it “Broken Glass,” and take it directly to outdoor trash.
Never vacuum glass. It can damage your vacuum or send tiny shards into the air.
Know When to Call a Professional
Some jobs are best left to experts.
Hire a Pro If
• The mirror is larger than 36 by 48 inches
• It’s near electrical outlets or lighting fixtures
• You’re uncomfortable handling glass or drywall repair
• The wall has texture or wallpaper that’s hard to match
Professional removal and repair typically cost $100 to $300, depending on size and complexity.
Reality Check: “Drywall is cheap. Trying to save the mirror often leads to cuts, delays, and worse wall damage.”
Frequently Asked Questions About Removing Mirror Adhesive
What is the easiest way to remove a mirror glued to a wall?
The easiest method depends on the adhesive type. For black mastic, apply heat with a heat gun and use wooden shims to pry slowly. For silicone, combine heat with steel wire flossing. WD-40 helps soften both types after heat application.
Can I reuse a mirror after removing it from adhesive?
Reuse is unlikely. Even if the mirror comes off intact, adhesive residue on the back makes rehanging difficult. Most people discard it and install a new fixture after patching the wall.
How do I remove mirror adhesive without breaking the glass?
Start with the least destructive methods first. Use steel wire to floss behind the mirror, apply heat to soften adhesive, and work shims in gradually. This approach preserves the mirror in most cases.
What dissolves mirror adhesive best?
WD-40 is highly effective on mastic and silicone. It works better than paint thinner or acetone according to user reports. Apply it after heating the adhesive, let it soak five to ten minutes, then wipe clean.
How long does it take to remove a glued mirror?
Small mirrors around 27 by 36 inches take 30 to 60 minutes. Large full-length mirrors, around four by seven feet, take several hours. Heating and waiting dominate the timeline.
Will removing mirror adhesive damage my drywall?
Some drywall damage is expected in most cases. The adhesive often pulls off the paper face when removed. Fortunately, repairs are straightforward using joint compound and primer.
Key Takeaways for Removing Mirror Adhesive Successfully
Removing mirror adhesive is challenging but doable with the right approach. Start by identifying the mounting method and adhesive type, then choose the appropriate technique. The floss method with steel wire works best for intact removal, while shim prying suits weaker bonds. For stubborn mastic, heat combined with WD-40 provides excellent results.
Always prioritize safety by wearing protective gear, working with a partner, and ensuring proper ventilation. Accept that some wall damage is normal, and plan for repairs using joint compound and primer. If the mirror is very large or you’re uncertain about the process, hiring a professional for $100 to $300 may be worth the peace of mind.
With patience, the right tools, and these techniques, you can successfully remove any mirror adhesive and prepare your wall for its next chapter.