A favorite drinking glass slips from your hand and hits the edge of the sink. A decorative vase tips over during dusting. Your dining table gets a jagged chip from a heavy object. These everyday accidents happen in every home, and chipped glass is one of the most common household nuisances you will encounter. While tossing the item might feel like the easiest option, many chipped glass pieces can be safely repaired or salvaged with the right approach.
The best fix depends on the type of glass, the size and location of the chip, and what matters most to you: safety, appearance, or both. This guide on how to fix chipped glass covers sanding, adhesive bonding, gap filling, and full replacement, so you can choose the method that fits your situation and skill level.
Sand Chipped Edges Smooth
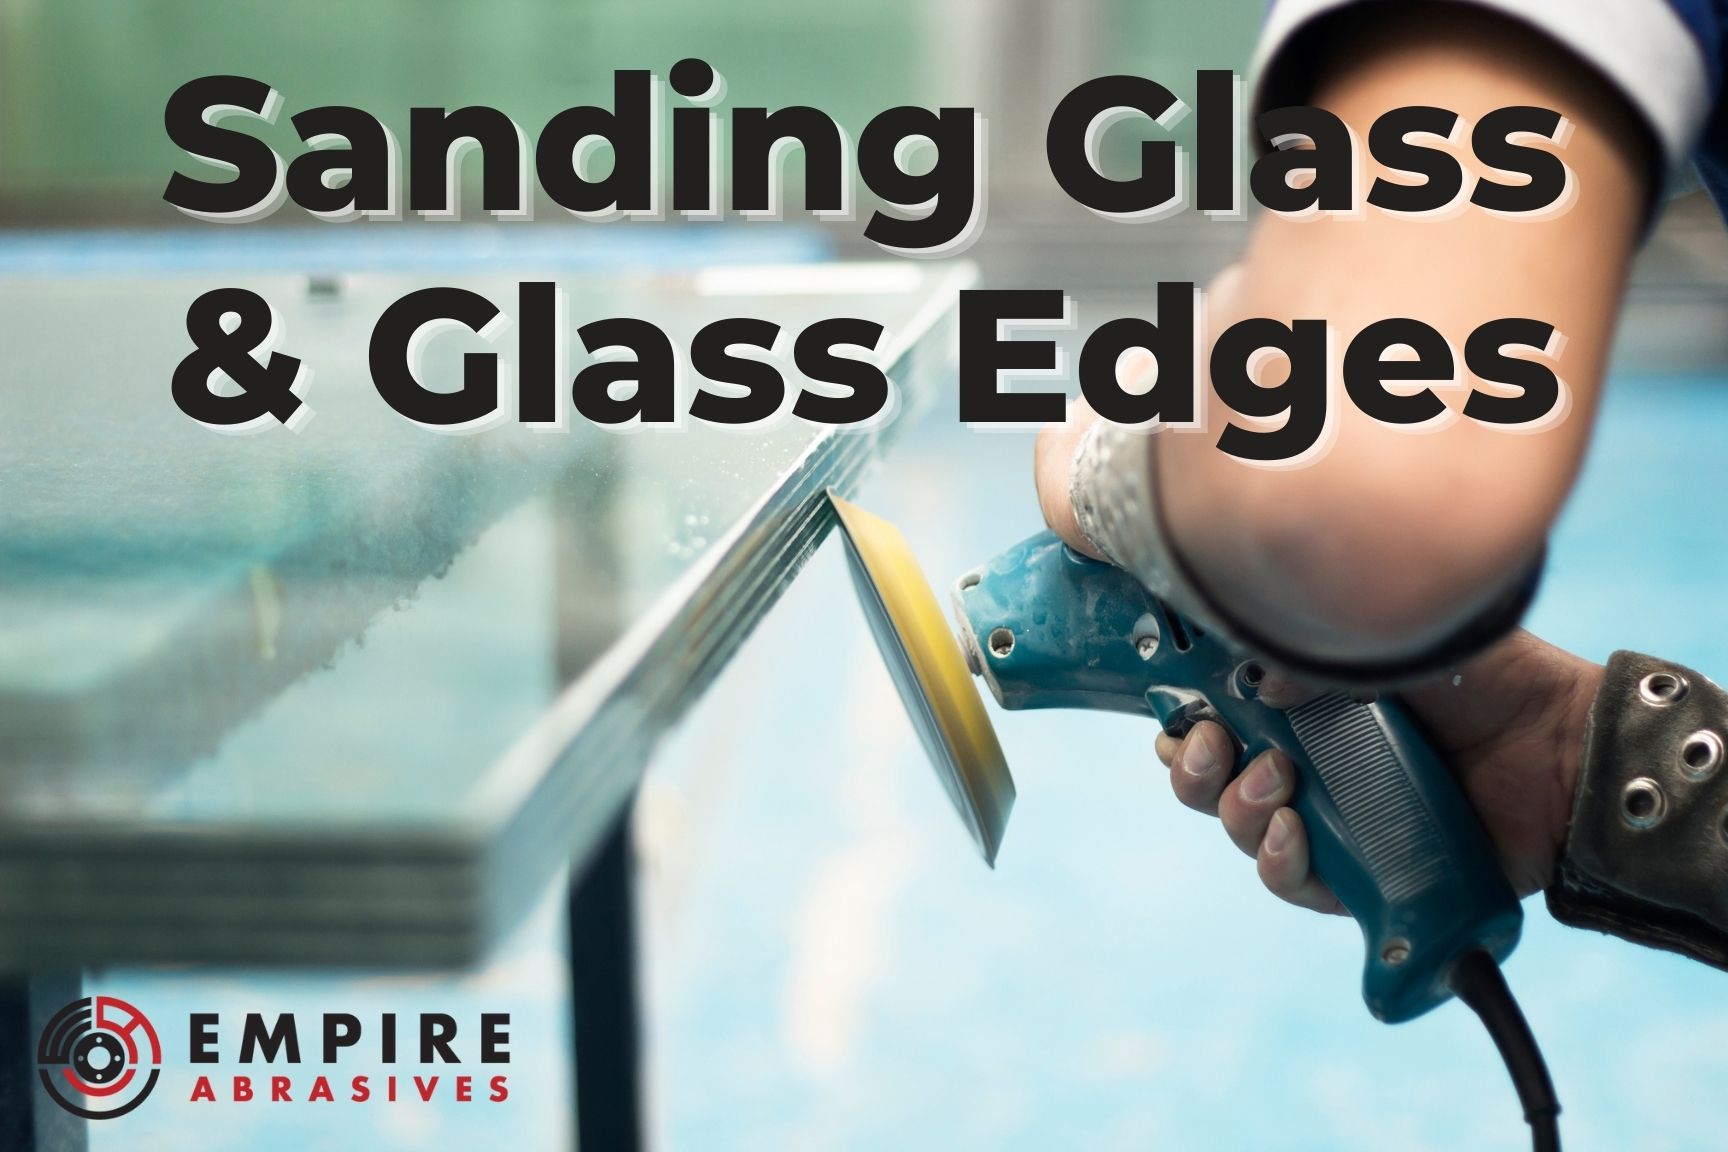
When a glass item has a sharp edge but the rest of the piece remains intact, sanding is the fastest, safest, and most affordable solution. This method does not restore missing material, but it removes dangerous edges so the item can be used without risk of cuts.
Use Waterproof Sandpaper
Always choose waterproof (wet/dry) sandpaper labeled for wet use. Regular sandpaper falls apart when wet and creates a messy slurry. A 600-grit sheet works best, since it shapes the edge quickly while still leaving a smooth finish. Avoid anything below 400 grit unless the chip is large, as coarser paper removes material too fast and weakens the glass.
Keep the Surface Wet While Sanding
Fill a bowl with water or work near a sink. Wet both the sandpaper and the chipped area before you begin, and keep them wet throughout the process. Water cools the surface, prevents micro-cracks from friction heat, and traps glass dust so your workspace stays clean. Use light circular or back-and-forth motions on the sharp edge only. Do not grind aggressively; focus on rounding the edge until it feels smooth.
Check Smoothness Every 15–20 Seconds
Pause frequently to rinse the area and gently run your fingertip along the edge. Stop when it no longer catches on skin or clothing. Over-sanding weakens the glass, so aim for safe, not perfect. Once smooth, wipe dry and inspect. The chip will still be visible, but it will no longer pose a cutting hazard.
Best for Drinking Glasses and Plates
This method is ideal for drinking glasses, bowls, and dinnerware. It lets you keep a full set intact instead of replacing an entire collection. After sanding, the item is safe for food and drink. Skip the dishwasher if the chip was deep, since thermal stress could worsen hidden cracks.
Reattach the Broken Piece
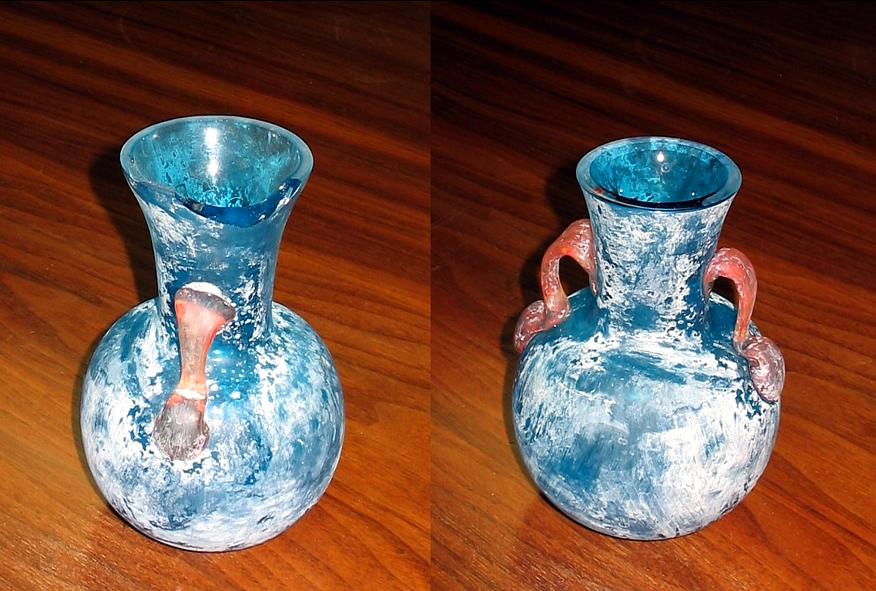
If the chipped fragment is still intact, you can glue it back for a nearly invisible repair. This works best on decorative or non-functional glass items where appearance matters more than strength.
Use UV-Cured Glass Adhesive
UV-cured adhesive delivers the clearest, strongest bond. It is designed specifically for glass and cures rock-hard under ultraviolet light. Apply a tiny drop to the chipped area or the fragment, then realign the piece precisely. Once it touches, repositioning is difficult. Wipe away excess glue with a toothpick before curing, then shine a UV lamp (under $15) for 30–60 seconds, or place the item in direct sunlight for 5–10 minutes. The result is nearly invisible and highly durable.
Try Super Glue for Small Chips
For quick fixes, use high-quality cyanoacrylate glue labeled for glass. Apply one drop, press the fragment into place, and hold for 10–15 seconds. Use masking tape to stabilize the piece while it dries. This method is faster and cheaper, but standard super glue may leave a faint line and is less resistant to moisture and heat. It is not recommended for items exposed to dishwashers or temperature swings.
Fill Gaps with Windshield Resin
If the chip does not fit perfectly or tiny gaps remain, use automotive windshield repair resin. Apply it after gluing to fill voids. This clear compound hardens to match the refractive index of glass, minimizing visual distortion. Cure it with UV light. It is a cosmetic enhancer, not a structural fix, so it works best for small imperfections.
Repair Tabletop Chips Carefully
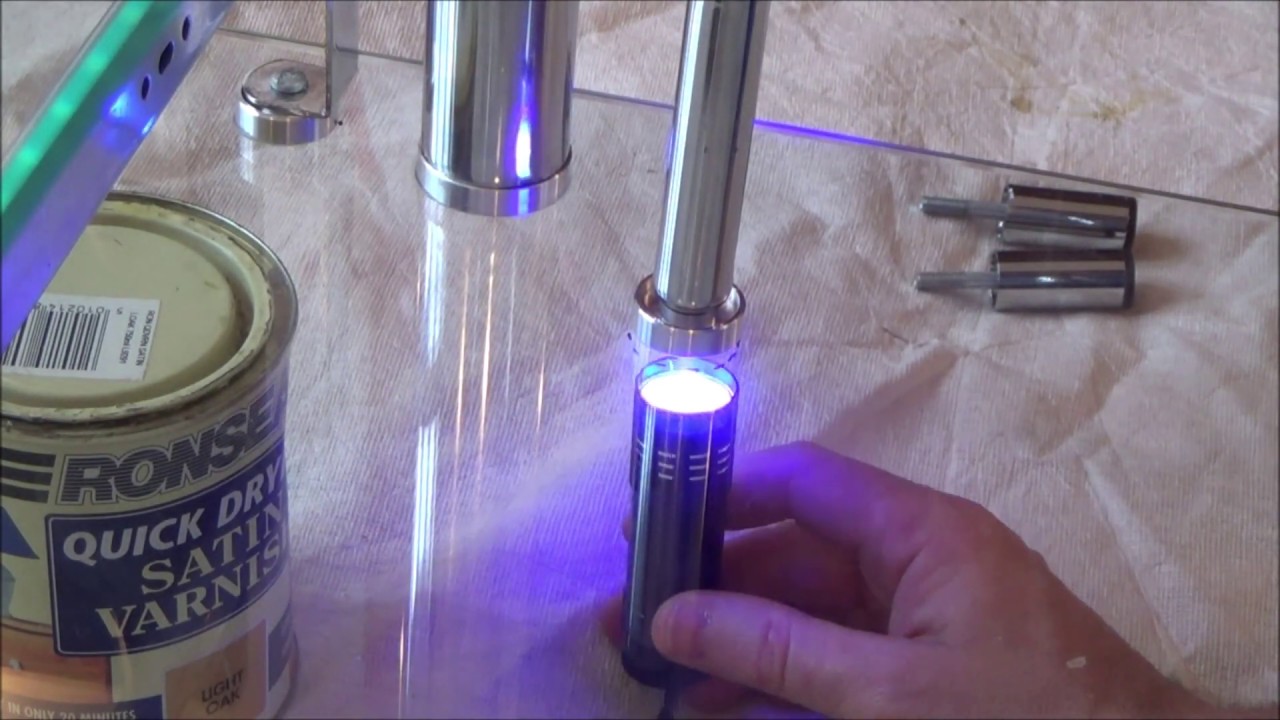
Glass tabletops are high-risk surfaces. A chip here is not just unattractive; it is a safety hazard. DIY repairs can help, but you need realistic expectations.
Do Not Expect Invisible Results
Even with UV adhesive and gap filler, a 1 cm² chip on a flat surface will likely leave a visible outline under bright light. Refractive differences make perfect blending impossible with home tools. Close inspection will reveal the repair line.
Avoid Structural Overconfidence
Glued or filled chips do not restore original strength. The repaired area remains a weak point. Pressure, impact, or thermal stress (like a hot pan) can spread the crack. Sanding removes material, further weakening the edge.
Treat Repairs as Temporary Fixes
If you must keep the table short-term, use UV adhesive to stabilize the chip and prevent it from spreading. Sand sharp edges to avoid cuts. But treat this as a stopgap, not a permanent solution.
Replace with Tempered Glass

For tabletops, shelves, or any high-use surface, replacement is often the best fix. Tempered glass is stronger, safer, and more cost-effective in the long run than repeated repairs.
Choose Safety Over Savings
Tempered glass shatters into small, dull pieces instead of dangerous shards. This is critical in homes with kids or high-traffic areas. Standard annealed glass can fail catastrophically from a small chip.
Match Thickness and Finish
Measure your current glass to get the right size and thickness. Tempered glass comes in various finishes, including clear, frosted, and tinted, and can be custom-cut. Many hardware stores offer cutting and tempering services for under $50 for standard sizes.
Skip the DIY Repair Cost Trap
A UV lamp, adhesive, and windshield kit can cost $30 or more, with no guarantee of success. A new tempered tabletop may cost only slightly more, and it is safer, stronger, and flawless.
Compare Repair Methods at a Glance

| Method | Best For | Visibility | Durability | Cost | Skill |
|---|---|---|---|---|---|
| Sanding | Glasses, plates | High (missing material) | Low | Under $5 | Low |
| UV Adhesive | Vases, decor | Very Low | High | $15–$30 | Moderate |
| Super Glue | Small repairs | Moderate | Medium | $5–$10 | Low |
| Tempered Replacement | Tabletops, shelves | None | Maximum | $30–$100+ | None |
Know When to Repair or Replace
Repair If:
- The item is sentimental or irreplaceable, such as vintage glassware.
- The chip is on a non-structural decorative piece.
- You only need to remove sharpness, not restore appearance.
- The fragment is available and fits perfectly.
Replace If:
- The glass is a tabletop, shelf, or door.
- The item is in a child’s room or high-traffic area.
- The chip is large, deep, or spreading.
- You want a permanent, invisible, and safe solution.
Safety and Maintenance Tips
Wear Gloves and Eye Protection
Always protect yourself. Sharp glass can cut skin or flake into eyes. Wear cut-resistant gloves and safety goggles when sanding or handling broken edges.
Do Not Sand Cracked Glass
If the chip has turned into a crack, sanding will not help. The structural integrity is compromised, so replace the item instead.
Avoid Thermal Shock
Never expose repaired glass to sudden temperature changes. Do not pour boiling water into a sanded or glued glass. Do not move it from the freezer to a hot oven.
Test Dishwasher Safety Carefully
Sanded glass is usually dishwasher-safe if no micro-cracks exist. Glued items with UV adhesive can often be washed gently, but cyanoacrylate bonds degrade over time with heat and detergent. Hand-wash when possible.
Frequently Asked Questions About Fixing Chipped Glass
Can chipped glass be repaired invisibly?
For small chips on decorative items, UV-cured adhesive can produce a nearly invisible repair. However, on flat surfaces like tabletops, a 1 cm² chip will likely show a faint outline even with the best methods.
Is sanding chipped glass safe?
Yes, when done correctly with waterproof sandpaper and water lubrication. The goal is to remove sharpness, not to restore the missing piece. Always wear gloves and eye protection.
What is the best glue for chipped glass?
UV-cured glass adhesive offers the clearest, strongest bond. For quick fixes on small chips, cyanoacrylate (super glue) labeled for glass also works but may leave a visible line.
Should I repair or replace a chipped glass tabletop?
Replace it with tempered glass. Repairs on tabletops rarely restore full strength, and the safety risk from sharp edges or future shattering is significant, especially in homes with children.
Can I put repaired glass in the dishwasher?
Sanded glass is generally dishwasher-safe if no micro-cracks were introduced. UV-adhesive repairs are usually moisture-resistant once cured, but cyanoacrylate bonds may weaken over time with heat and detergent.
How do I know if a chip is too dangerous to repair?
If the chip has spread into a crack, if the glass is a tabletop or shelf, or if the item is in a high-traffic area with children, replacement is the safer choice.
Key Takeaways for Fixing Chipped Glass
Fixing chipped glass is not a one-size-fits-all task. For glasses and plates, sand the edge smooth so the item is safe to use. For decorative items, use UV-cured adhesive to reattach fragments and achieve a nearly invisible repair. For tabletops and high-risk surfaces, skip the DIY struggle and replace with tempered glass for a safer, longer-lasting result.
The best fix is not always the most invisible one. It is the one that keeps you and your family safe while preserving the items that matter most. Start by assessing the type of glass, the location of the chip, and your priorities, then choose the method that matches your situation.