You pull into the driveway after a long drive, grab your favorite household glass cleaner, and start wiping down your windows. Within minutes, you notice a faint purple haze creeping across the tint. What you just used contained ammonia, a chemical that slowly destroys the polyester film and adhesive bond holding your tint in place. This scenario plays out thousands of times every day, and the damage is usually permanent.
Tinted glass windows require a fundamentally different cleaning approach than standard glass. The interior film, typically made of polyester or PET, is bonded with a sensitive adhesive that breaks down when exposed to harsh chemicals, abrasive tools, or excessive moisture. Learning how to clean tinted glass windows the right way protects your investment, preserves clarity, and extends the tint’s lifespan to its full 5 to 10 year potential. This guide covers everything you need: safe products, proper tools, step-by-step techniques, and maintenance schedules for both vehicles and homes.
Choose Tint-Safe Cleaning Solutions
Avoid Ammonia and Alcohol Cleaners
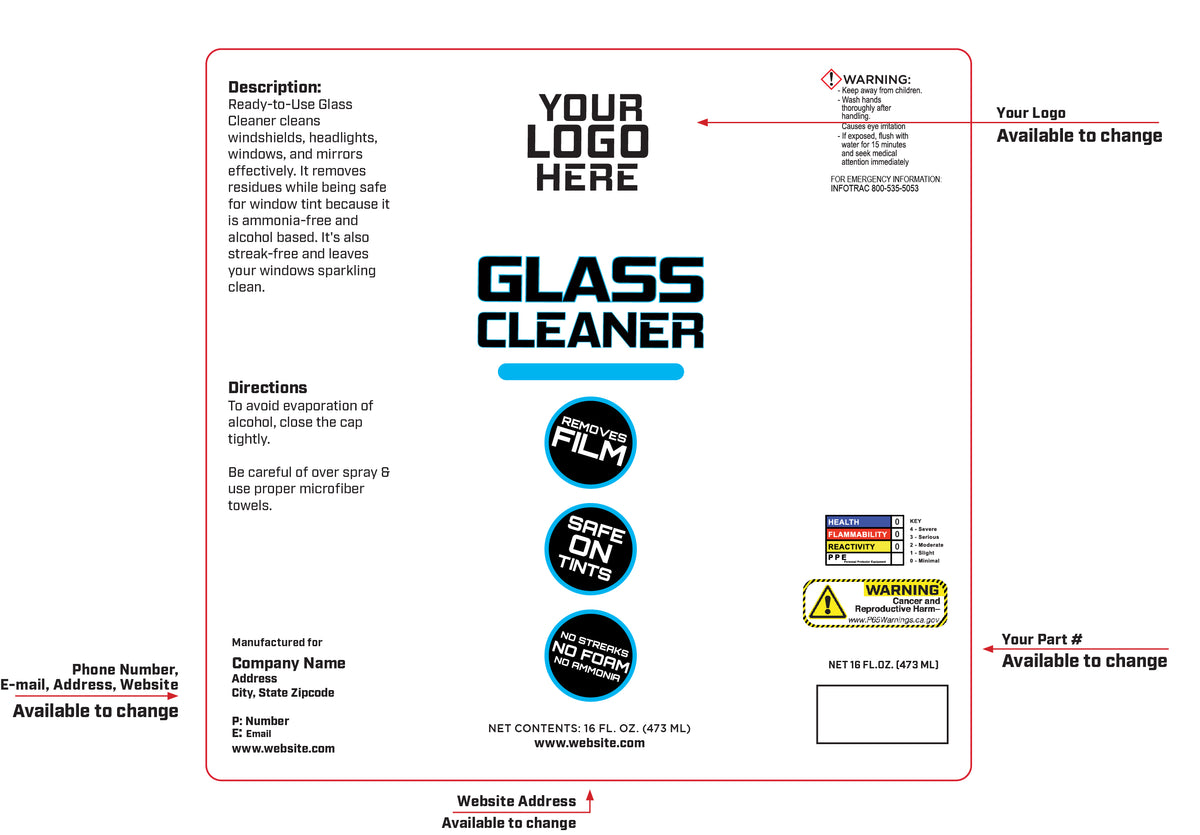
Ammonia is the most dangerous chemical for tinted windows. It breaks down the film’s structure, causing fading, discoloration, and irreversible purple hazing. It also degrades the adhesive layer, leading to peeling at the edges. Alcohol-based cleaners produce similar damage by weakening the bond between film and glass. These ingredients appear in many popular household glass sprays marketed for streak-free results, so always read labels before use. Using prohibited chemicals also voids most manufacturer warranties.
Use Mild Soap or Tint-Safe Sprays
The safest commercial options are cleaners labeled “tint-safe” or “ammonia-free.” Products like Chemical Guys Signature Glass Cleaner and Simple Green Glass Cleaner (RTU) are proven effective without harming the film. For a budget-friendly alternative, mix mild dish soap (such as Dawn) with distilled water at a 1:10 ratio. Distilled water prevents mineral deposits that cause spotting, especially important in hard water areas. Waterless car wash sprays also work well for quick touch-ups on both interior and exterior surfaces.
Skip Vinegar Despite Popularity
Some sources recommend vinegar and water as a natural cleaning solution, but this advice is risky. Vinegar’s acidity can degrade the adhesive and film layers over time, and multiple professional sources explicitly warn against its use. With safer alternatives readily available, there’s no reason to take the chance.
Use the Right Cleaning Tools

Only Use Soft Microfiber Towels
Microfiber is the industry standard for tint care. Choose lint-free, ultra-soft varieties, with “waffle weave” designs being especially effective at trapping dirt without scratching. Always use separate cloths for interior and exterior cleaning to prevent outdoor grit from contacting the delicate interior film. Before each use, inspect towels for embedded debris that could cause micro-scratches.
Never Use Paper Towels or Newspapers
Paper towels and newspapers are among the most common causes of scratched tints. Their wood-pulp fibers are abrasive enough to leave tiny scratches that scatter light and create a cloudy appearance. Even if the paper feels soft, repeated use dulls the film’s finish. Avoid them completely.
Avoid Pressure Washers and Abrasives
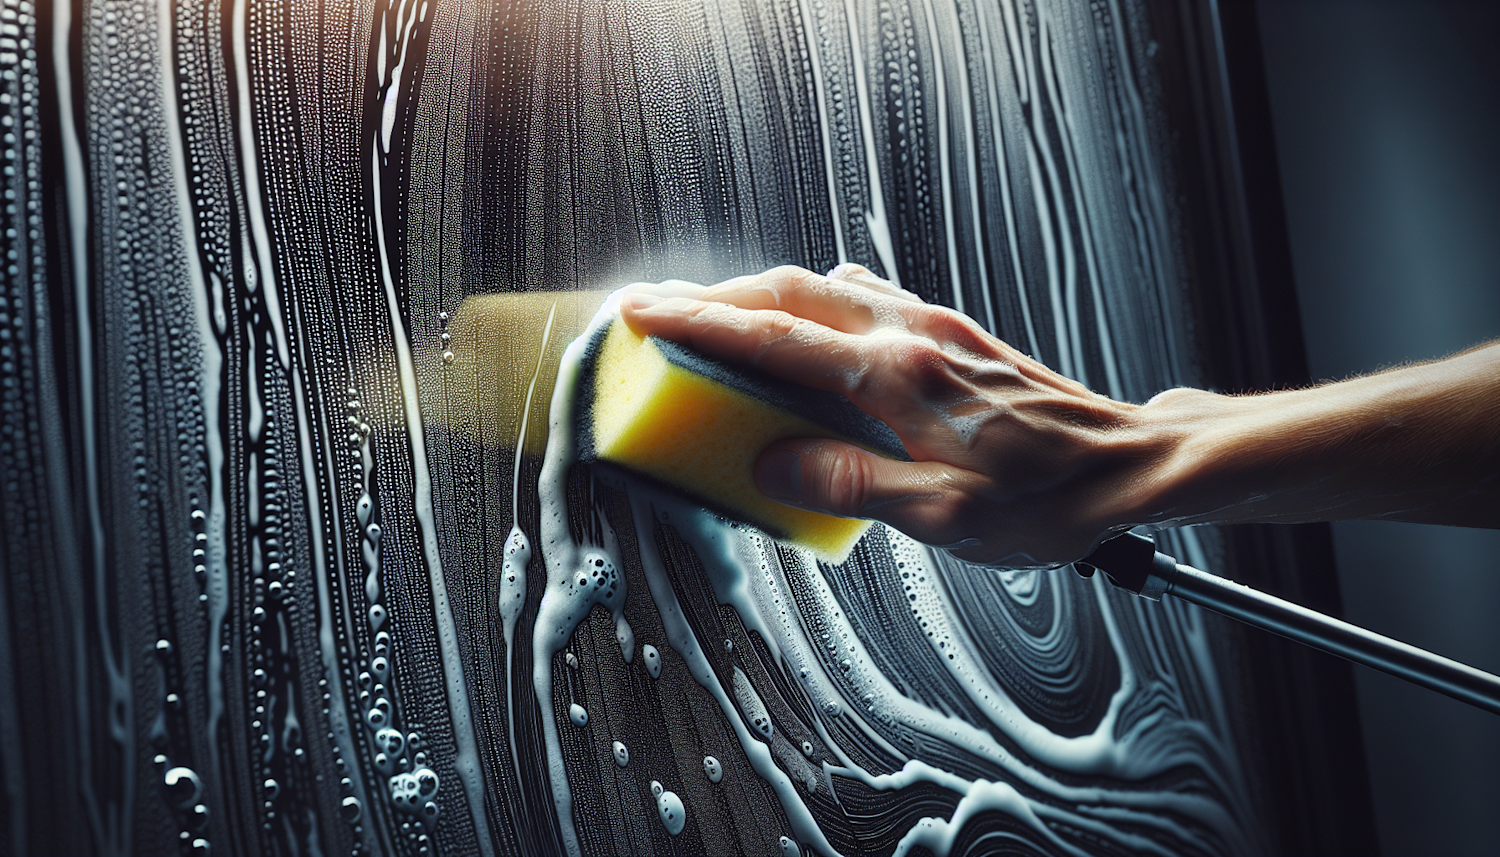
Never use a pressure washer on tinted windows. The high-pressure stream forces water underneath the film edges, compromising the adhesive and causing peeling or bubbling. Abrasive pads, scrubbers, and brushes should never touch the surface. Even sponges with a scrubbing layer can damage the film if used aggressively.
Clean Windows in the Shade
Prevent Streaks with Proper Lighting
Always clean tinted windows in the shade or during cooler parts of the day. Direct sunlight causes cleaning solutions to dry too quickly, leaving behind streaks and residue. It also makes it harder to spot smudges and missed areas. Cleaning indoors or in a garage is ideal for vehicles. For homes, early morning or late afternoon works best.
Work on Cool, Dry Surfaces
Hot glass expands, and applying liquid to overheated windows increases the risk of streaking and uneven drying. Let the vehicle or room cool down before starting. Ensure the surface is dry before applying any cleaner to prevent trapping moisture under the film.
Apply Cleaner to Cloth, Not Glass

Prevent Edge Saturation
Never spray cleaner directly onto tinted glass. Overspray can pool at the edges, allowing liquid to seep under the film and weaken the adhesive. Instead, mist the solution onto a microfiber cloth first, then gently wipe the window. This method gives you full control over moisture levels and protects the film’s perimeter.
Use the Cross-Hatch Wiping Method
Wipe the window vertically first, then horizontally. This cross-hatch technique makes streaks easier to spot under different light angles. If streaks remain, reapply with a fresh section of a clean cloth. Use light pressure and never scrub. Aggressive wiping increases friction, raising the risk of scratches or film lifting.
Clean Edges with a Wrapped Credit Card

Reach Tight Corners Safely
The edges of tinted windows are the most vulnerable to lifting. To clean near the frame without damaging the seal, wrap a soft microfiber cloth around a plastic card, such as an old credit card. Gently slide the wrapped edge along the border to remove dust and grime without applying direct pressure to the film.
Inspect for Lifting or Bubbling
While cleaning, check the perimeter for signs of peeling, bubbling, or discoloration. These issues can indicate moisture intrusion or adhesive failure. If you spot problems, do not attempt to peel or puncture the film. Contact a professional installer for assessment.
Dry Immediately with a Clean Cloth
Prevent Water Seepage
After wiping, dry the window immediately with a separate, dry microfiber towel. Leaving moisture on the surface, even in small amounts, increases the chance of water creeping under the film edges. For large residential windows, a soft rubber squeegee helps remove excess liquid efficiently. Wipe the squeegee blade after each pass to avoid streaks.
Buff to a Streak-Free Finish
Use a final buffing motion with a dry microfiber to achieve a crystal-clear, streak-free result. If streaks persist, they are likely caused by dirty cloths, too much soap, or cleaning in direct sunlight. Re-clean using distilled water and a fresh towel.
Follow a Monthly Maintenance Routine
Clean Vehicles Every 4 Weeks
For cars, clean tinted windows once a month to remove fingerprints, smudges, and airborne pollutants. In dusty or high-humidity environments, increase frequency. Regular maintenance prevents grime buildup that requires more aggressive cleaning later.
Clean Home Tints Every 2–3 Months
Residential tinted windows face less exposure and can be cleaned every two to three months. Focus on areas near doors, vents, or kitchens where grease, dust, or moisture accumulate. Keep window tracks clean to prevent debris from scratching the film during operation.
Protect Tint From Sun and Damage
Park in Shade or Use Sunshades
Prolong tint life by minimizing direct UV exposure. Park in garages or shaded areas when possible. Use windshield sunshades to reduce interior heat and UV damage, especially during summer. UV rays degrade the adhesive and dye layers over time, even with high-quality tints.
Apply Ceramic Coatings for Extra Protection
Enhance durability with a ceramic glass coating like HydroView. These products add a hydrophobic layer that repels water, dirt, and grime, making future cleanings easier. They also provide additional UV protection, helping maintain tint color and clarity for longer.
Never Pop Bubbles or Peel Film
Bubbles Usually Resolve on Their Own
After installation or cleaning, small water or air bubbles may appear. Do not poke or pop them. This creates a permanent breach in the film, allowing dirt and moisture to enter. Most bubbles from installation dry out within a few days to weeks. If they persist beyond a month, contact your installer.
Peeling Requires Professional Repair
If the film starts peeling at the edges, do not try to re-stick it yourself. DIY fixes often trap air or moisture, worsening the damage. Professional re-adhesion or replacement is the only reliable solution. Prevention through proper cleaning is far more effective than repair.
Test Cleaners Before Full Use

Check for Scratches on Hidden Corners
Before using any new cleaner or cloth, test it on a small, inconspicuous corner of the tint, such as the upper edge near the rearview mirror. Wipe gently and inspect for haze, streaking, or scratches. If the film looks unchanged, it is safe to use on the rest of the window.
Verify Non-Abrasive Tools
Even microfiber towels degrade over time. If a cloth feels rough or leaves lint, retire it. Always use high-quality, dedicated tint-cleaning towels to ensure consistent results.
Frequently Asked Questions About Tinted Glass Windows
Can You Use Windex on Tinted Windows?
No. Most Windex products contain ammonia, which breaks down the tint adhesive and causes irreversible purple discoloration and peeling. Use only ammonia-free cleaners labeled as tint-safe.
How Long Does Window Tint Last With Proper Care?
High-quality tint lasts 5 to 10 years when maintained correctly. Improper cleaning with ammonia, alcohol, or abrasive tools can cut this lifespan in half, sometimes causing edge peeling within months.
What Causes Purple Discoloration in Window Tint?
Purple haze results from UV rays and chemical exposure breaking down the dye and adhesive layers. Ammonia-based cleaners accelerate this process dramatically. Once discoloration appears, it cannot be reversed; the film must be replaced.
Is It Safe to Use a Squeegee on Tinted Windows?
Yes, but only with a soft rubber blade used gently. A squeegee works well for large residential windows to remove excess water without leaving spots. Always wipe the blade after each pass and avoid pressing hard on the film edges.
Should You Roll Down Windows After Getting Them Tinted?
No. Most installers recommend waiting several days before rolling down newly tinted windows to allow the adhesive to cure. Rolling them down too soon can cause the film to shift, crease, or peel at the edges.
Can You Pressure Wash a Car With Tinted Windows?
No. Pressure washers force water under the film edges, lifting the adhesive and causing peeling or bubbling. Hand washing with a microfiber mitt and gentle rinse is the only safe method.
Key Takeaways for Cleaning Tinted Glass Windows Safely
Properly cleaning tinted glass windows is about preservation, not just appearance. The three most important rules are: avoid ammonia and alcohol, use only soft microfiber towels, and never spray cleaner directly onto the glass. These simple habits prevent the most common causes of tint damage and keep your windows looking clear for years.
Your next step is to audit your current cleaning supplies. Check every bottle in your cabinet for ammonia or alcohol, and replace any paper towels with high-quality microfiber cloths. If your tint already shows signs of damage like purple haze, bubbling, or edge lifting, schedule a professional assessment before the problem worsens. A gentle, consistent routine protects your investment and keeps your windows dark, clear, and damage-free.