Driving at night can be stressful when bright headlights from vehicles behind suddenly flood your rearview mirror, causing glare and eye strain. This is where the auto dim mirror comes in. It automatically reduces glare without you lifting a finger. But how does an auto dim mirror work? It is not magic. It is smart engineering combining electrochromic technology, dual-light sensors, and real-time control logic to keep your vision clear and safe after dark.
Unlike manual mirrors that require flipping a lever, auto dim mirrors adjust smoothly and automatically based on surrounding light conditions. They darken only when needed, like when a car speeds up behind you on a dark highway, and return to full clarity once the threat of glare passes. In this guide, you will learn exactly how these intelligent mirrors detect light, respond with precise dimming, and integrate with your vehicle systems for seamless performance.
Electrochromic Technology: The Science Behind Auto Dimming
At the heart of every auto dim mirror is electrochromism, a chemical reaction that changes the mirror tint when electricity is applied. This allows the mirror to shift from clear to dark without any moving parts.
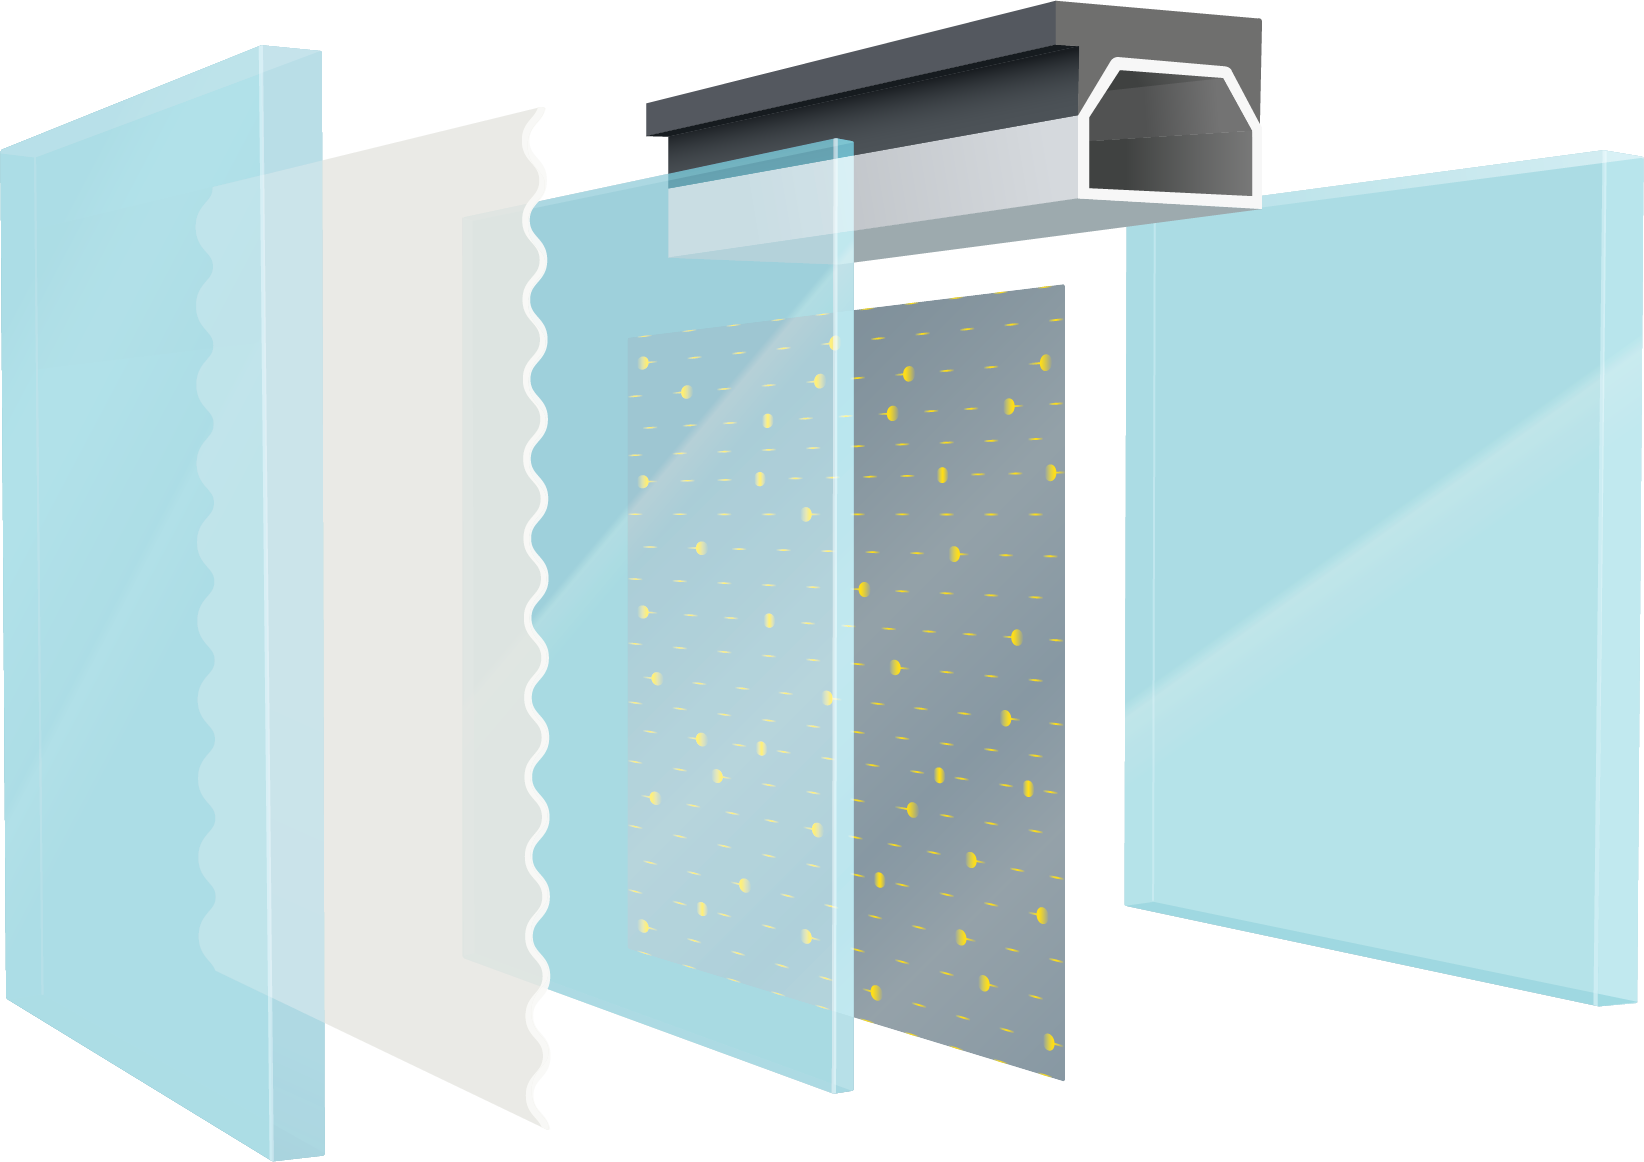
Layered Glass Structure
The mirror uses a multi-layer sandwich between two glass panels. Here is what each layer does:
- Transparent conductive coating: Made of indium tin oxide, this layer lets current flow evenly across the surface.
- Electrochromic layer: Uses tungsten oxide that darkens when ions enter it.
- Ion-storage layer: Holds lithium or hydrogen ions when the mirror is clear.
- Electrolyte gel: Moves ions between the electrochromic and storage layers.
- Reflective metal backing: Aluminum or silver layer that maintains reflectivity while tint changes.
When voltage is applied, ions move from the storage layer into the electrochromic material, causing it to absorb light and appear dark. When power stops, ions retreat and the mirror clears.
Dimming and Recovery Timing
The dimming process follows specific timing patterns that you should know about:
- Darkening takes 5-15 seconds as ions migrate through the electrochromic layer.
- Reflectivity drops from 80% (clear) to as low as 4-8% (dark) depending on glare intensity.
- Recovery takes 10-30 seconds as ions return to the storage layer and the mirror fades back to clear.
You can test functionality by applying 12V to the rear connector in a controlled setting. If the mirror darkens, the electrochromic system is working properly.
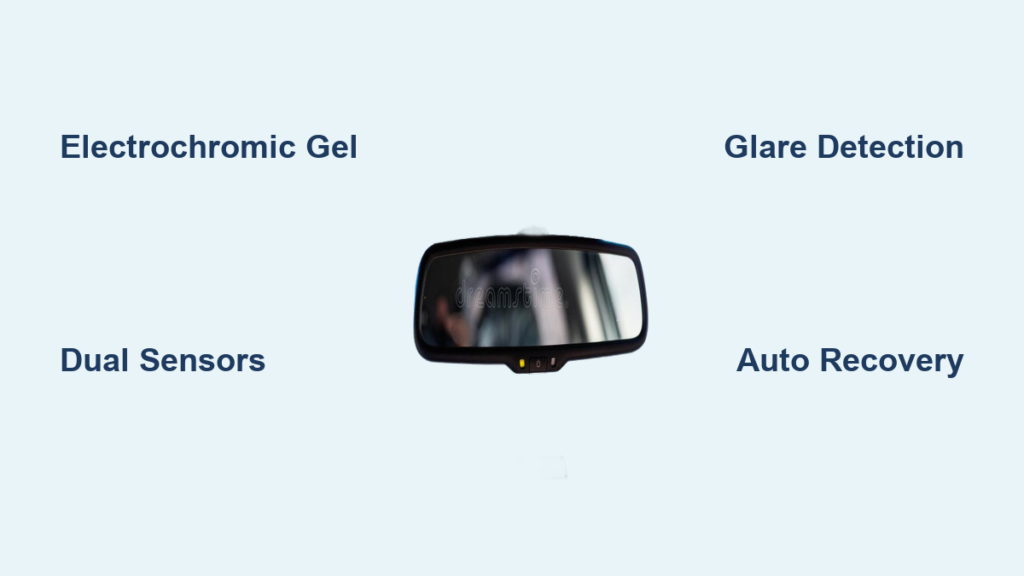
Dual-Sensor Light Detection System
Auto dim mirrors do not guess when to activate. They use two light sensors to make smart decisions based on real-time conditions.
Front and Rear Sensor Functions
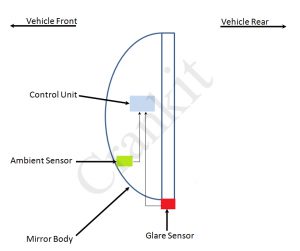
Front-facing sensor (glare sensor)
- Located on the top front edge of the mirror housing.
- Detects sudden brightness from headlights behind your vehicle.
- Triggers dimming when glare exceeds ambient light levels detected by the rear sensor.
Rear-facing sensor (ambient light sensor)
- Faces forward through the windshield.
- Measures cabin and outside light levels continuously.
- Prevents dimming during daylight or well-lit street conditions.
Both sensors appear as small dark lenses on the mirror. Clean them with a lint-free cloth if dimming fails.
How the Smart Dimming Logic Works
The mirror microcontroller runs a differential algorithm that compares both sensors:
- Dimming activates when the rear sensor sees much brighter light than the front sensor.
- No dimming in daylight because high ambient light disables the response, even with strong rear light detected.
- Proportional response means stronger glare produces a darker mirror.
- Smooth fade-in and fade-out avoids abrupt changes that could startle the driver.
This intelligent system ensures the mirror only dims when needed, like at night on a rural road, not during daytime traffic.
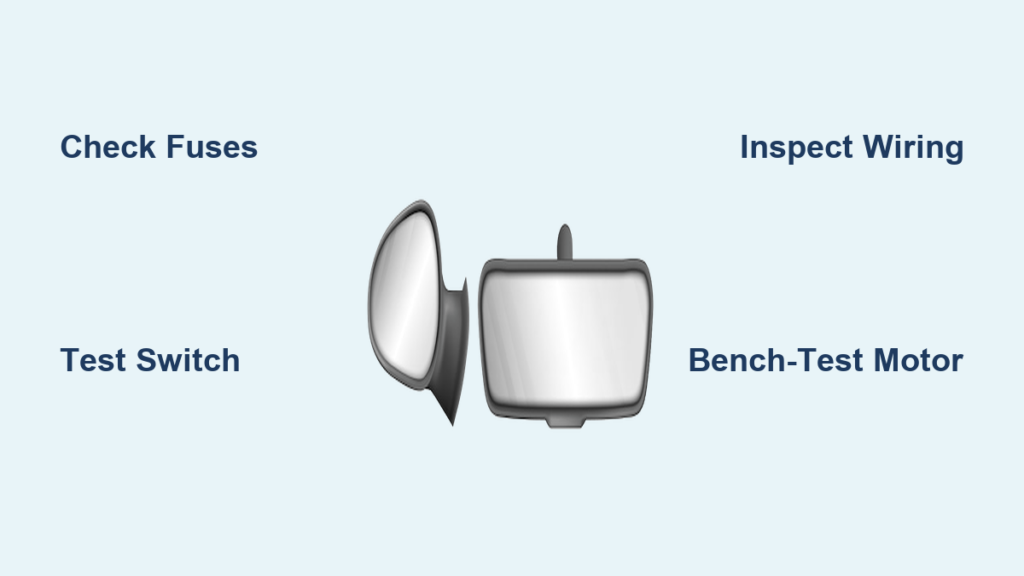
Testing Your Auto Dim Mirror Function
Want to confirm your mirror works? Here is a quick verification test you can perform safely.
Step-by-Step Verification Process
- Park your vehicle at night or in a dark garage.
- Cover the front sensor on the mirror front edge with a small piece of tape or your hand.
- Shine a flashlight or phone light at the back of the mirror where the rear sensor is located.
- Watch the mirror. It should gradually darken over 5-10 seconds.
- Remove the light source. The mirror should fade back to clear within 30 seconds.
Success means the mirror responds smoothly to light changes. No change indicates you should check sensors, wiring, or consider mirror replacement.
Never perform this test while driving. It could impair your vision and create a safety hazard.
Reverse Gear Override Feature
In many vehicles including the Chrysler 300, Ford Fusion, and Lexus RX, the auto dim function turns off when you shift into reverse.
Why This Happens
- Purpose: Maximize rear visibility when backing up into parking spots or tight spaces.
- Mechanism: The Body Control Module sends a signal to disable dimming when reverse gear is engaged.
- Reactivation: Auto dim resumes automatically when you shift out of reverse, provided low-light conditions still exist.
This override ensures you see clearly behind you during parking maneuvers, even if a car is behind you with bright headlights.
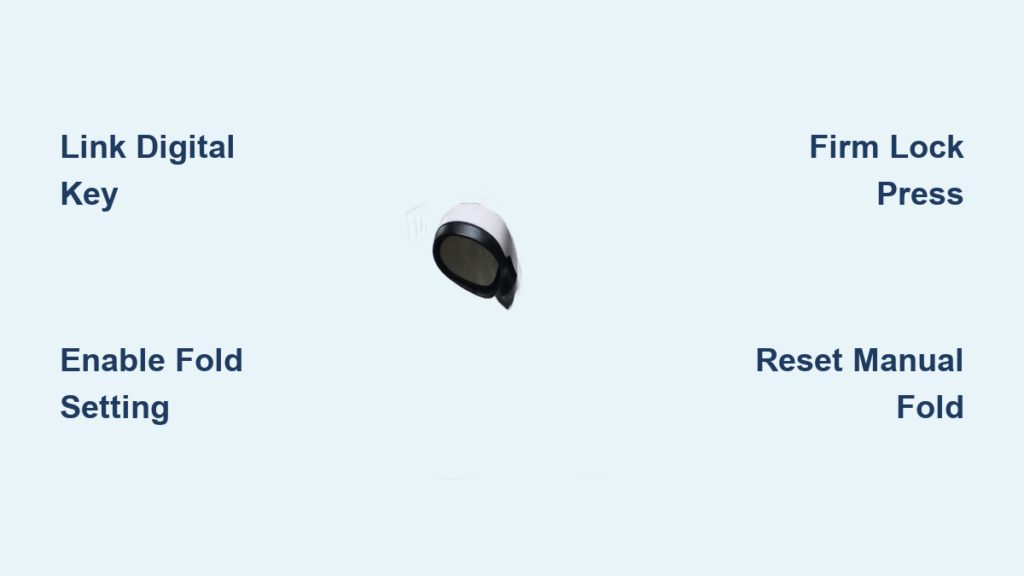
Synchronization with Auto Dim Side Mirrors
If your vehicle has auto dim side mirrors, they often synchronize with the interior unit for a seamless experience.
Linked Dimming Behavior
- The driver side mirror typically dims in sync with the interior mirror.
- This helps maintain a consistent visual field without jarring contrast between mirrors.
- The passenger side mirror may dim independently or remain active based on its own sensors.
This integration creates a unified nighttime driving experience across all rearward views in your vehicle.
Manual Override and Disabling Options
Some drivers prefer to disable auto dim. Here is how to do it without damaging the system.
Software Control Methods
On certain models, you can toggle the feature through the infotainment system:
- 2017 Chrysler 300 (Uconnect): Go to Settings, then Vehicle, then Instrument Panel, and find Auto-Dimming Mirror to toggle on or off.
- Lexus, Acura, BMW: May have a dedicated button near the mirror or on the dash.
These settings usually reset after ignition cycles unless manually disabled again each time.
Physical Disabling Methods
Sensor blocking method
Place a tiny piece of black tape over the front-facing glare sensor. This prevents detection of rear headlights. It is fully reversible and safe for the mirror.
Electrical disconnection method
Remove the mirror housing to access the rear electrical connector. Unplugging the harness cuts power to the sensors and electrochromic layer. The mirror will still reflect manually but loses auto dim function. This takes about 60 seconds.
Use this method only if you do not plan to use the auto dim feature again.
Manufacturer Differences: Gentex vs Donnelly

Not all auto dim mirrors are built the same. Two major OEM suppliers dominate the market.
Gentex Mirrors
- Supplies Ford, GM, Toyota, Honda, and BMW.
- Serviceable design that can be opened and reassembled.
- Reliable dual-sensor system with high durability.
- Often includes HomeLink, compass, temperature display, and FMV features.
- Rare gel leaks and excellent longevity.
Donnelly (Magna) Mirrors
- Found in Chrysler, Dodge, and some European models.
- Permanently glued housing that destroys the seal if opened.
- Must be resealed with epoxy if repaired.
- Known for weak solder joints on 7-pin connectors that cause flickering.
- Prone to gel leakage that creates permanent dark spots or complete failure.
A working Donnelly unit can sell for $120 or more due to scarcity and repair difficulty.
Pin Configurations and Features
Auto dim mirrors come in different pin counts, each supporting various features.
| Pin Count | Features Included |
|---|---|
| 3-pin | Basic auto dim only |
| 7-pin | Plus compass and interior lights |
| 10-pin | Plus HomeLink garage opener |
| 16-pin | Plus OnStar, FMV, and telematics |
Mirrors are not interchangeable across pin types without harness adaptation. Always match the correct configuration for your vehicle.
Can You Upgrade After Purchase
Yes, but only if your vehicle supports the feature and you have the correct wiring harness. The PCB and sensors must also be compatible. Adding temperature display post-purchase is impossible unless the internal hardware already exists.
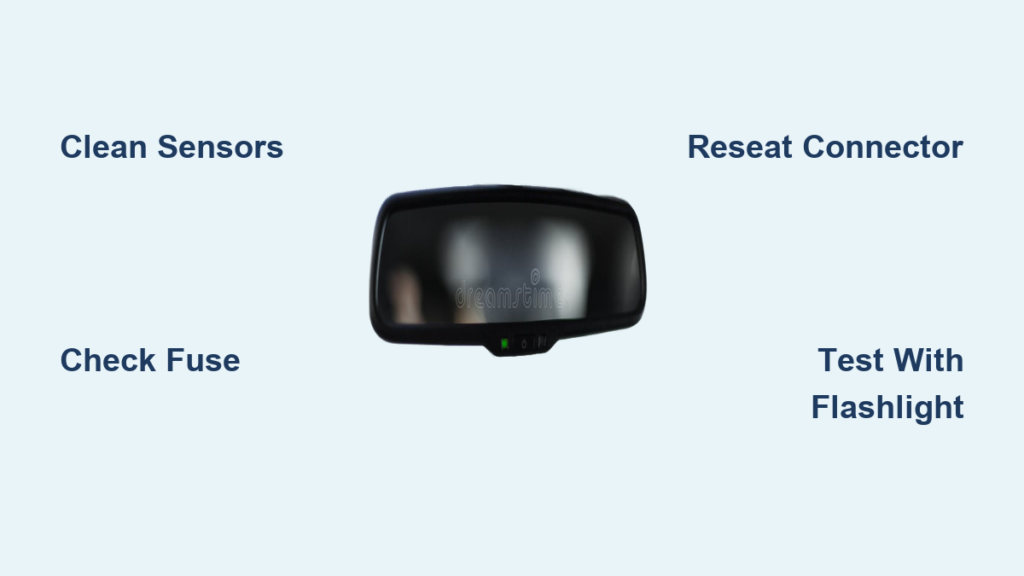
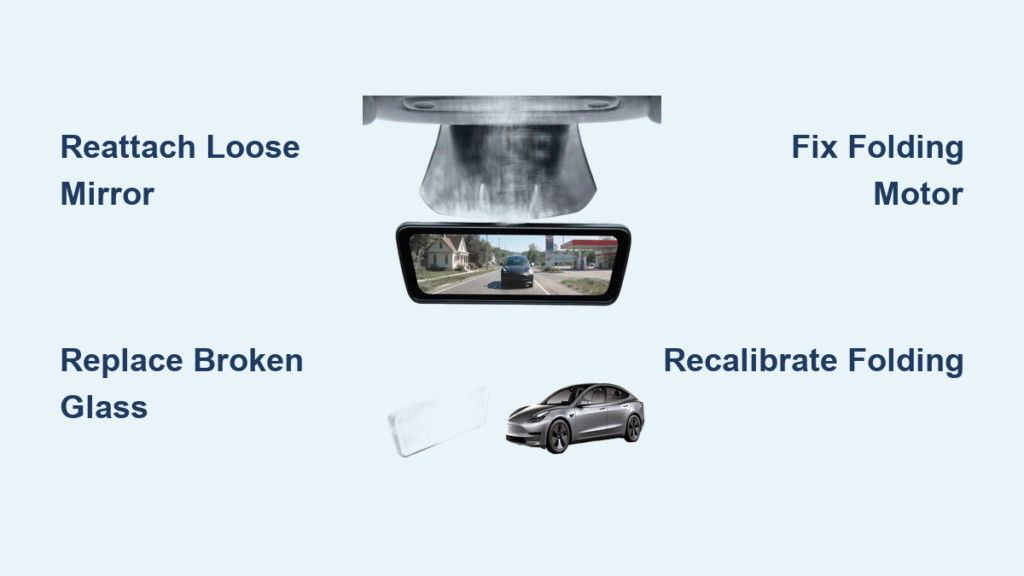
Common Problems and Fixes
Even advanced systems fail occasionally. Here is how to diagnose and fix common issues.
Mirror Does Not Dim
Common causes include:
- Dirty or blocked sensors from dust, debris, or dash cam mounts.
- Wiring disconnection from loose connectors.
- Failed electrochromic system.
Fix by cleaning both sensors with a microfiber cloth, removing any obstructions, and checking the rear connector for secure fit.
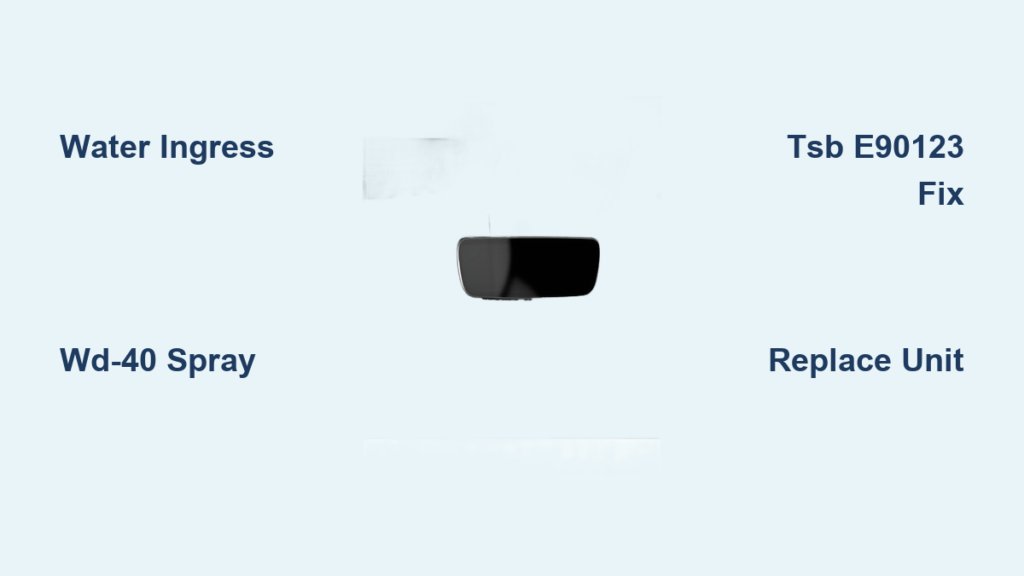
Mirror Stays Dark Permanently
Common causes include:
- Failed electrochromic gel that can no longer clear.
- Short circuit in the control board.
- Permanent ion lock (rare occurrence).
Fix: This is irreversible. You must replace the mirror. Test with 12V applied to the rear connector. If it does not clear, the gel is dead.
Intermittent Dimming Problems
Common causes include:
- Loose 7-pin connector with poor contact.
- Cold solder joints, especially common in Donnelly units.
- Corroded contacts from moisture.
Fix by inspecting the harness for damage, reflowing solder joints (advanced DIY), or replacing the mirror if problems persist.
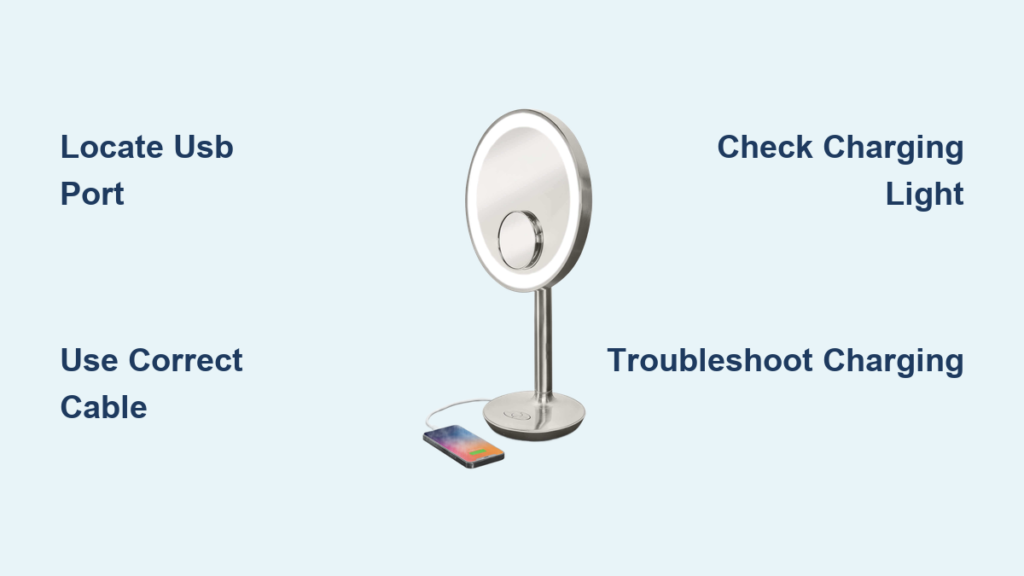
Flickering Display (Compass or Temperature)
Common causes include:
- Failed sensor or PCB from component wear.
- Moisture ingress damaging internal circuits.
- Power fluctuation from electrical system issues.
Fix by trying to reset via software if supported. Otherwise, replace the mirror unit.
Benefits Over Manual Prismatic Mirrors
Why choose auto dim over traditional manual mirrors? The difference is significant.
| Feature | Auto Dim Mirror | Manual Mirror |
|---|---|---|
| Adjustment | Automatic | Requires flip lever |
| Reflectivity | Adjustable (4-80%) | Fixed low setting |
| Viewing Angle | Unchanged | Shifts upward slightly |
| Image Clarity | Crystal clear | Slightly distorted |
| Glare Response | Proportional, real-time | All-or-nothing |
| Power Needed | Yes | No |
| Night Driving Comfort | High | Moderate |
Manual mirrors use a wedge-shaped prism. Flipping the lever shifts reflection from the bright back surface to the dim front surface, redirecting glare toward the ceiling. Auto dim mirrors outperform in clarity, comfort, and safety with no awkward head tilting or delayed reactions.
Integration with Vehicle Systems
Modern auto dim mirrors do not work in isolation. They sync with other smart features in your vehicle.
Linked Features
- Auto headlights: Turns on automatically with low ambient light.
- Rain-sensing wipers: Shares forward-facing sensor data for automatic activation.
- Rearview cameras: Replaces mirror view when reversing for better visibility.
- Blind-spot monitoring: Some models integrate alerts into the mirror housing.
In luxury vehicles, the mirror acts as a control hub for HomeLink garage openers, digital compasses, outdoor temperature displays, map lights, and FMV (Front Mounted Video) systems.
Final Thoughts on Maintaining Your Auto Dim Mirror
To keep your auto dim mirror working for years, follow these maintenance tips:
- Clean sensors regularly with a soft, dry cloth.
- Avoid placing stickers or mounts over sensor areas.
- Never use ammonia-based cleaners that can damage conductive coatings.
- Check wiring connections if dimming becomes erratic.
- Replace promptly if gel fails since no repair option exists.
With proper care, most units last the life of the vehicle. As auto dim mirrors become standard even in economy cars like the Toyota Corolla and Honda Civic, their role in nighttime safety continues to grow.
Frequently Asked Questions About Auto Dim Mirror Work
How does an auto dim mirror know when to darken?
The mirror uses two sensors. The front sensor detects ambient light levels while the rear sensor watches for glare from headlights behind you. When the rear sensor detects significantly more light than the front sensor, the mirror darkens automatically.
Can I test my auto dim mirror at home?
Yes. Park in a dark area, cover the front sensor, and shine a flashlight at the back of the mirror. The mirror should gradually darken within 5-10 seconds and clear within 30 seconds when the light is removed.
Why does my auto dim mirror stay clear during daylight?
The system is designed this way. The rear sensor only triggers dimming when ambient light (detected by the front sensor) is low. This prevents unnecessary dimming during daytime or well-lit conditions.
Does auto dim work when reversing?
In most vehicles, auto dim automatically disables when you shift into reverse. This is controlled by the Body Control Module to ensure maximum rear visibility while backing up.
Can I add auto dim to a car that does not have it?
Adding auto dim mirror function requires compatible hardware, wiring harness, and sensors. It is not a simple plug-in upgrade. Consult a professional installer to determine if your vehicle can support the modification.
What causes an auto dim mirror to stay dark permanently?
This usually indicates failed electrochromic gel. The chemical layer can degrade over time, particularly in Donnelly-brand mirrors. Once this happens, the mirror cannot be repaired and must be replaced.