Have you ever stared into a tunnel of endless light, each glow receding into the distance like stars fading into space? That’s the magic of an infinity mirror—a mesmerizing optical illusion you can build at home with basic materials. This guide shows you exactly how to make an infinity mirror, from choosing the right mirrors and LEDs to assembling a stunning light tunnel that appears to stretch into infinity.
You’ll learn the science behind the effect, select the best components for your budget and skill level, avoid common mistakes that ruin the illusion, and discover creative variations ranging from tabletop displays to wearable art.
Choose the Right Mirrors for Your Build
The front and back mirrors create the illusion. Get them wrong, and the effect fails completely.
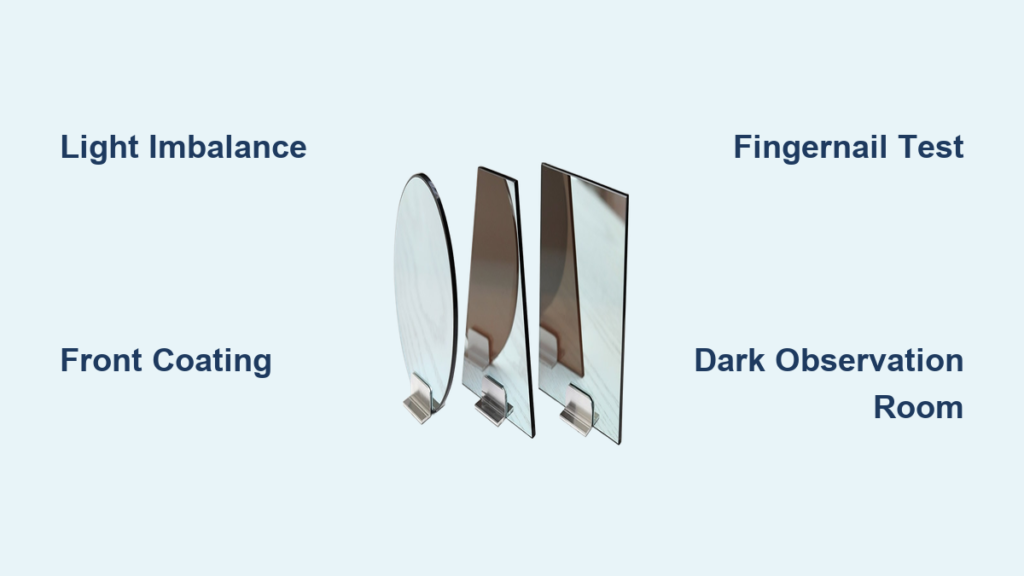
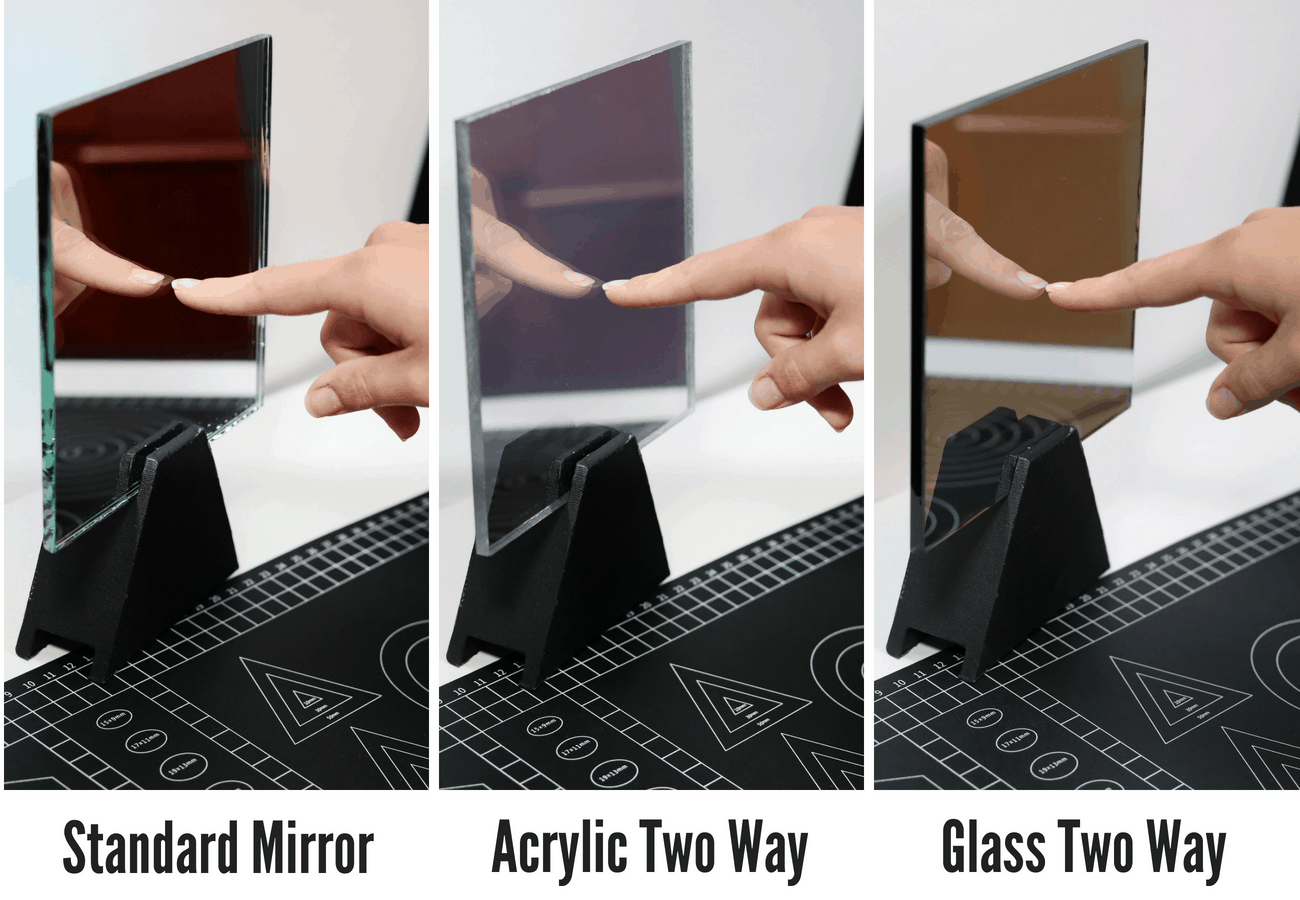
Front Mirror: Two-Way Glass or Film Options
The front mirror must reflect some light while letting you see through. Several options exist with varying clarity, cost, and durability.
• Glass two-way mirror offers the best clarity with approximately 70% reflectivity and 11% transparency. It appears dark when lights are off.
• Acrylic two-way mirror is lightweight and shatter-resistant, but avoid large sizes because they can warp and create a funhouse effect.
• Two-way mirror film provides a budget-friendly option. Apply it to clear glass for a partial mirror effect, though clarity may be lower and appearance slightly foggy.
Pro Tip: Always install the film or coated side facing inward, toward the light source. This ensures reflections bounce correctly between mirrors.
Back Mirror: Full Reflectivity Required
The back mirror must reflect all light back into the cavity to create the infinite effect.
• Standard chrome mirrors are most common, offering 96% reflectivity but can cause ghosting or double reflections.
• First surface mirrors place the coating on the top of the glass rather than behind it, eliminating ghosting for crisp, sharp visuals.
Expert Insight: First surface mirrors prevent ghosting caused by light passing through glass before reflecting—critical for professional-looking results.
Select the Best LED Lighting
LEDs are essential for infinity mirrors because they are small, bright, and produce minimal heat.
Pick the Right LED Strip Type
| LED Type | Best For | Notes |
|---|---|---|
| Single-color white | Classic tunnel effect | Warm or cool white changes the mood |
| RGB strips | Color-changing effects | Remote or app control available |
| Addressable LEDs (WS2812B) | Animations and patterns | Individual LED control for complex displays |
| Battery-powered strips | Portable builds | Great for wearables or tabletop units |
| Remote-controlled circular lights | Cube interiors | Adds ambient glow from above |
User Tip: Place LEDs along the inner edge of the frame, not floating in the center. This creates even, symmetrical reflections throughout the tunnel.
Position Lights Correctly
Mount strips on the frame wall, facing the gap between mirrors. Hide them behind a lip or trim for a clean look. Use black backing to conceal wires and boost contrast between reflections.
Alternative: Some builders use fairy lights or small bulbs, but LEDs remain optimal for their size, efficiency, and directional output.
Build or Modify a Frame
The frame holds everything in perfect alignment. Without a sturdy, well-constructed frame, your mirrors will drift out of parallel and ruin the effect.
Use a Pre-Made Shadowbox (Beginner Approach)
Try an IKEA Ribba frame or a dollar store certificate frame. Depth should be at least 1 inch to fit LEDs and wiring comfortably. Remove the glass and backing, then clean all surfaces thoroughly before assembly.
Quick Fix: Cut a small hole in the back panel for the power cord. Seal around it with hot glue to keep dust out of the interior cavity.
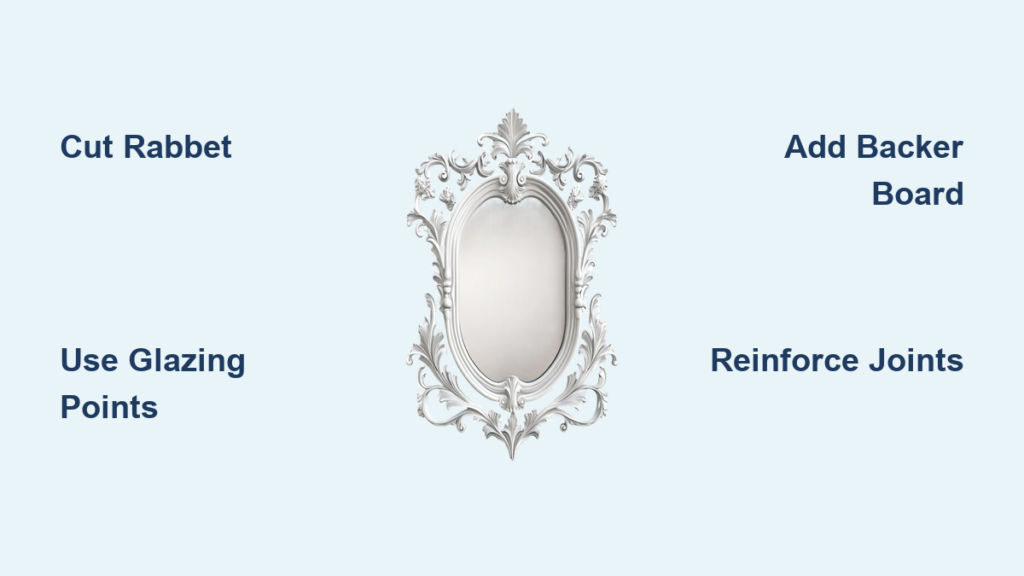
Build a Custom Wooden Frame (Advanced)
- Cut wood with 45° mitered corners for clean joints.
- Route a 16mm rabbet for the back mirror.
- Cut a 4mm groove for the front mirror.
- Paint the interior matte black to absorb stray light.
- Reinforce joints with wooden dowels for stability.
Pro Tip: Dry-fit all parts before gluing. Check that mirrors sit flush and perfectly parallel.
Apply Two-Way Mirror Film (DIY Option)
Turn clear glass into a partial mirror using film. This budget-friendly method works well for beginners.
Tools Needed
• Two-way mirror film
• Spray bottle with soapy water
• Utility knife
• Squeegee or credit card
• Gloves and microfiber cloth
Step-by-Step Application
- Clean the glass with ammonia-free cleaner.
- Tape three edges of the film to the glass.
- Spray soapy water on the glass surface.
- Peel the backing slowly, spraying water to prevent sticking.
- Lay the film down, then squeegee from center outward to remove bubbles.
- Trim excess with a sharp blade.
- Let dry overnight before handling.
Warning: Bubbles mean improper adhesion. Reapply with more soapy water and squeegee again.
Install LEDs and Wiring
Proper electrical setup ensures reliability and safety for your infinity mirror.
Prepare the LED Strip
Cut the LED strip into four equal segments for square frames. Solder flexible wires between sections to hide gaps. Tin connections first for stronger solder joints. Always observe polarity: red wire to red, black to black.
Visual Cue: Test the circuit before final assembly. If lights do not turn on, reverse the power leads.
Route the Power Cable
Cut a slot in one frame side for the wire. Feed through a DC power jack or USB connector. Insulate joints with heat-shrink tubing. Secure the cable with hot glue to prevent strain.
Power Options:
• 12V wall adapter works best for permanent displays
• Battery pack is ideal for portable units
• USB-powered provides low voltage, safe for children’s rooms
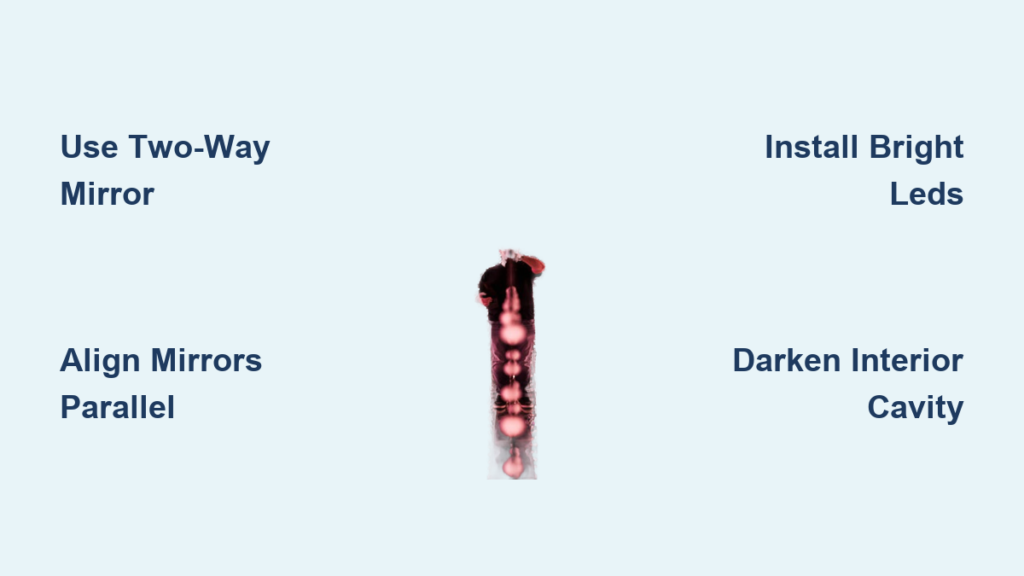
Assemble the Infinity Mirror
Final assembly locks in the illusion. Take your time with this step because perfect parallelism is essential.
Step-by-Step Build
- Glue the back mirror into the rabbet.
- Insert the LED strip into the frame groove.
- Place the front glass with the film side facing inward.
- Press into the front groove or glue lightly.
- Attach the plywood back panel with nails or screws.
- Seal edges to prevent dust from entering.
Critical Check: Mirrors must be perfectly parallel. Any tilt causes reflections to curve or drift, destroying the infinity effect.
Enhance the Effect
Line the cavity with matte black paint or black felt. Avoid shiny hardware inside the frame. Keep the interior clean and dry because dust kills contrast and makes reflections hazy.
Fix Common Infinity Mirror Problems
Avoid these frequent issues that ruin the effect.
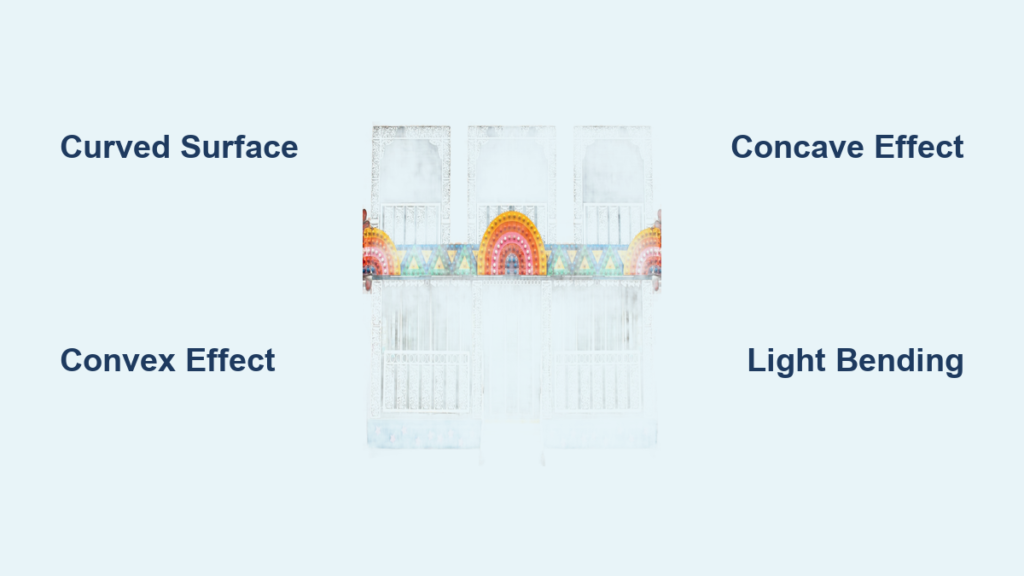
Curved Reflections
Cause: Mirrors are not perfectly parallel.
Fix: Realign during assembly. Use spacers or shims to maintain exact spacing.
Faint or Weak Tunnel
Cause: Dim LEDs or dirty mirror surfaces.
Fix: Use bright 12V LED strips. Clean all glass thoroughly before sealing the unit.
Visible Wires or LEDs
Cause: Poor concealment behind the frame.
Fix: Use black backing material. Hide LEDs behind a frame lip or trim piece.
Foggy Appearance
Cause: Low-quality film or acrylic used for the front mirror.
Fix: Upgrade to glass two-way mirror or first surface mirror for better clarity.
Lights Will Not Turn On
Cause: Loose wire connection or reversed polarity.
Fix: Check all connections carefully. Solder and insulate every joint properly.
Explore Creative Design Variations
Make your infinity mirror unique by trying different shapes and applications.
Try Different Geometric Shapes
• Cube designs offer classic, scalable results.
• Pyramids create dramatic effects, especially with dichroic glass for rainbow reflections.
• Spheres work with flexible LEDs and curved mirrors.
• Polyhedron designs inspired by artists like Anthony James create complex, multi-sided installations.
Turn It Into Functional Art
• Infinity mirror tables use two-way mirror tops with edge LEDs for stunning furniture.
• Beer pong tables combine gameplay with mesmerizing light effects.
• Wearable art pieces embed small mirrors and battery-powered LEDs into dresses or vests.
Build Immersive Installations
• Infinity rooms line walls with two-way mirrors and floor lighting, similar to Yayoi Kusama’s famous exhibitions.
• 3D TV displays place a screen behind the mirror to project digital art into infinity.
• Endless hallways create dramatic effects used in haunted houses and film sets.
Pro Tip: Print falling code or starfield patterns on adhesive vinyl and place behind LEDs for a Matrix-style infinity effect.
Maintain and Clean Your Mirror
Keep the illusion sharp with proper care.
Do These Things
• Clean the exterior only with microfiber cloth and ammonia-free cleaner.
• Use compressed air to remove internal dust if the unit is accessible.
• Store in a dry place to prevent condensation damage.
Avoid These Mistakes
• Do not open sealed units unless absolutely necessary.
• Never touch mirror surfaces with bare hands because oils cause permanent smudges.
• Never use window cleaners containing ammonia because they can damage mirror coatings.
Longevity Tip: Seal all edges with silicone to prevent moisture and dust from entering the interior cavity.
Key Takeaways for Building Your First Infinity Mirror
Building an infinity mirror is a rewarding project that blends science, art, and craftsmanship into one glowing centerpiece. The most critical factors for success are using parallel mirrors, selecting bright LEDs, and maintaining a dark, non-reflective interior cavity. Start with a pre-made frame if you are a beginner, then upgrade to custom builds as your skills improve. The effect depends entirely on proper alignment and quality components, so take your time during assembly.
The only limit is your imagination. From simple tabletop displays to room-sized installations, infinity mirrors continue to inspire makers and artists worldwide. Now that you know how to make an infinity mirror, start building today and step into the infinite.
Frequently Asked Questions About Making Infinity Mirrors
What is the best type of mirror for the front of an infinity mirror?
Glass two-way mirrors offer the best clarity with approximately 70% reflectivity and 11% transparency. They provide the clearest reflections and appear dark when the lights are off. Acrylic options work for smaller projects but may warp over time.
How do I prevent ghosting in my infinity mirror?
Ghosting appears as double reflections and happens when light passes through the glass substrate before reflecting. Use first surface mirrors for the back panel to eliminate this issue. These mirrors have the coating on the top surface rather than behind the glass.
What LED strip is best for infinity mirrors?
RGB LED strips offer the most versatility because they can change colors. For classic effects, single-color white strips work well. Addressable LEDs like WS2812B allow individual control for animations and complex patterns.
Why does my infinity mirror look faint?
Faint reflections usually stem from dim LEDs or dirty mirror surfaces. Use bright 12V LED strips and clean all glass thoroughly before sealing the unit. Also ensure the interior cavity is lined with matte black material to maximize contrast.
Can I build an infinity mirror without a custom frame?
Yes. Pre-made shadowbox frames from IKEA or dollar stores work well for beginners. Simply remove the backing, add LED strips along the inner edge, and insert your mirrors. This approach costs less than $30 and produces impressive results.
How far apart should mirrors be in an infinity mirror?
There is no fixed optimal distance. Closer mirrors create tighter, more frequent reflections. Greater distance produces deeper, more spaced-out tunnel effects. Experiment with spacing to achieve your desired aesthetic.