
You’re ready to install a new frame, replace a broken mirror, or order a custom fit—but one mistake in measurement can throw everything off. Whether it’s for a bathroom vanity, an entryway accent, or a high-precision optical setup, knowing how to measure a mirror correctly is the first step to a flawless result. An ill-fitting mirror looks unbalanced, blocks fixtures, or worse—arrives too late to fix before installation day.
In this guide, you’ll learn the exact steps professionals use to measure mirrors with precision. You’ll discover how to avoid common errors, what tools give the most accurate results, and how to adapt your technique for round, rectangular, or optical mirrors. We’ll also cover clearance checks, mounting hardware considerations, and real-world tips from top brands. By the end, you’ll be able to measure any mirror confidently, down to the 1/8 inch.
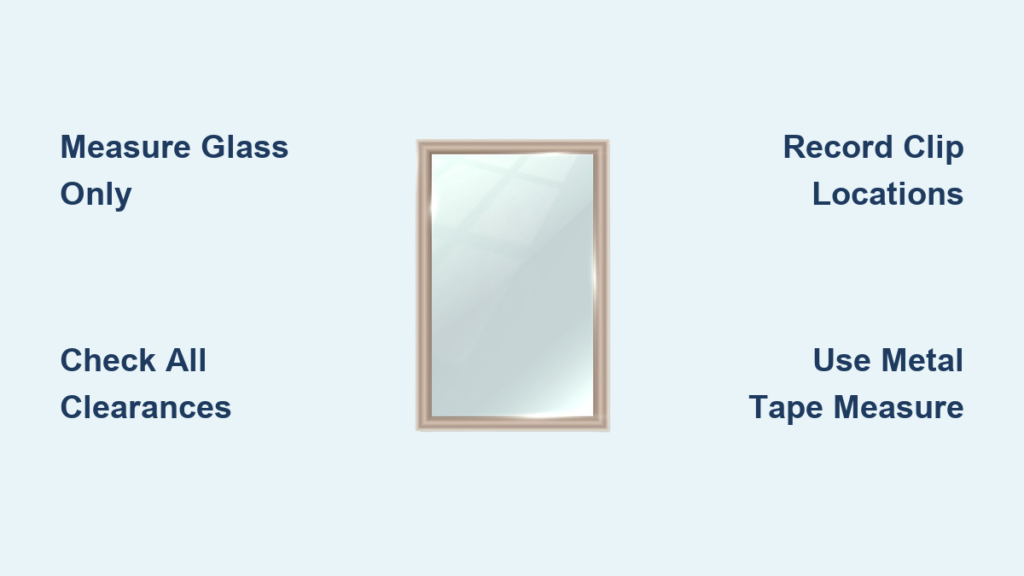
Measure the Glass, Not the Frame or Wall
Record True Reflective Surface Dimensions
Always measure the glass itself, not the frame, wall opening, or existing mounting area—especially when ordering replacements or frames. Many frame systems are designed to overlap the glass edge slightly, so including the frame will result in an incorrect fit.
Use a metal tape measure for rigidity and accuracy. Measure from edge to edge of the reflective surface. Take three readings for each dimension: width at the top, middle, and bottom; height at the left, center, and right. Record the smallest dimension if measurements vary, as this ensures a safe fit.
Pro Tip: Round down to the nearest 1/8 inch when ordering. This prevents tight fits due to minor wall irregularities or manufacturing tolerances.
Check Clearance Around the Mirror

Identify Obstruction Zones on All Sides
Even a perfectly sized mirror won’t fit if it hits a light fixture, faucet, or outlet. Measuring clearance on all four sides prevents costly reorders.
Measure from the mirror’s edge to the nearest obstruction on each side. Common hazards include wall sconces, electrical outlets, faucets or shower valves, cabinet corners, and backsplashes or countertops.
Clearance Reporting Rules
| Gap Size | How to Report |
|---|---|
| Less than 1 inch | Record exact measurement |
| 1 inch or more | Enter “1 inch” |
| Flush with surface | Mark as “0” |
Most frame systems are built to accommodate up to 1 inch of recess. If space is tighter, manufacturers may customize cuts to avoid interference.
Inspect Mounting Hardware and Edges

Detect Hidden Clips or Strips Behind the Mirror
Many mirrors are secured with metal clips, brackets, or mounting strips behind the glass. Even if invisible, these protrusions affect how a frame sits.
Visually inspect behind the mirror (remove carefully if needed). Note if clips exist on top, bottom, left, or right. Some frames include a recessed channel to fit over clips without modification. For tight spaces, request custom notches in the frame.
Confirm Flush Alignment with Surrounding Surfaces
Check whether the mirror aligns flush with surrounding surfaces. Evaluate left and right edges versus vanity, and bottom edge versus backsplash or countertop. If the mirror is flush on the bottom, record clearance as “0”. If sides align exactly with the vanity, the manufacturer may adjust the frame width slightly for symmetry.
Use a Measuring Worksheet
Standardize Your Data Collection
Manufacturers often provide printable worksheets with labeled diagrams to ensure consistency. These help you record mirror width and height, four-side clearances, clip locations, and flush alignment indicators.
Why it works: A worksheet reduces human error, ensures no detail is missed, and makes it easy to share specs with suppliers.
Download or sketch one with boxes for each measurement. Bring it on-site to capture data efficiently.
Tools for Precision Measurement

Choose the Right Equipment for the Job
Using the wrong tool leads to inaccurate results. Here’s what to use and when.
Essential Tools
- Metal tape measure (preferred over cloth or plastic)
- Pencil and notepad or printed worksheet
- Bubble level or laser level (to verify vertical and horizontal alignment)
Advanced Options
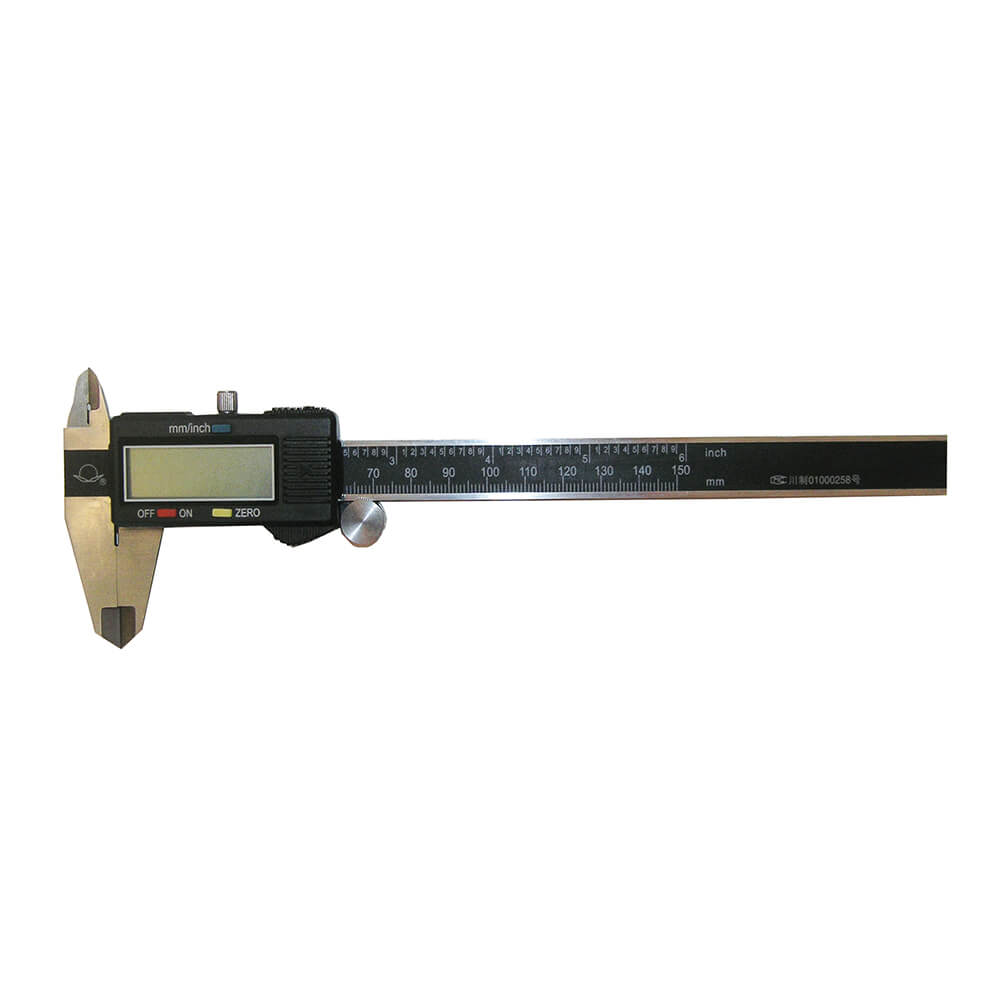
- Digital calipers for small mirrors or optical applications under 12 inches
- Laser distance measure for large walls or ceiling-mounted mirrors
- Rigid ruler for measuring diameter of round mirrors
Warning: Avoid parallax error by viewing measurement marks directly from above, not at an angle.
Best Practices for Reliable Results
Follow These Rules Every Time
Accuracy is not just about tools, it is about method. Measure twice and order once—verify every dimension before submitting. Keep the tape flat and taut across the surface. For non-square walls, use a laser level to project reference lines. Take multiple readings if the mirror appears warped or uneven. Document with photos showing clips, edges, and obstructions.
Expert Note: Walls in older homes are rarely perfectly square. Compensate by measuring at multiple points and using leveling tools during installation.
Measuring Round Mirrors
Find the True Diameter of Circular Mirrors
Round mirrors are popular in bathrooms and entryways, but measuring them incorrectly distorts proportions.
Step-by-Step for Circular Mirrors
- Place a rigid ruler or tape measure across the center.
- Extend from one edge to the opposite, passing through the exact center point.
- Record to the nearest 1/8 inch.
- For best accuracy, take two perpendicular measurements and average them.
Common Sizes
- 24 inch diameter: Top seller for powder rooms
- 30 to 36 inch diameter: Ideal for entry halls or living areas
Warning: Do not measure only the reflective coating—include the full glass substrate.
Optical Mirror Measurement for Telescopes and Labs
Precision Beyond Home Decor
For scientific or astronomical use, even small measurement errors impact performance.
What to Measure
- Full glass diameter, not just the coated area
- Include uncoated edges and substrate
- Account for beveled edges, typically 1 to 3 mm
Tools Required
- Digital calipers for mirrors under 12 inches
- Precision ruler or tape for larger units
- Laser measurement device in professional settings
Why It Matters: Light-gathering power equals pi times radius squared. A 9.2-inch mirror collects only 84 percent of the light of a true 10-inch model. This affects image brightness and detail in deep-sky observations.
Industry Size Rounding Issues
Advertised vs. Actual Dimensions
Many consumers report discrepancies between labeled and real sizes. A 234 mm mirror may be marketed as 10-inch. A 127 mm coated diameter may appear on a Celestron 130 mm telescope. This rounding, similar to 2×4 lumber not being exactly 2×4, is common but controversial.
Causes of Discrepancy
- Rounding up metric to imperial
- Measuring only coated area
- Beveled edge reduction
- Shrinkage during cooling
User Concern: A 0.8-inch shortfall is seen as misleading, especially in premium products.
What to Do
- Verify specs before purchase
- File complaints with consumer agencies if misled
- Request refunds or replacements
- Share findings in reviews or videos to promote transparency
Recommended Mirror Sizes by Room
Bathroom Vanity Mirrors
For a single sink vanity, aim for 50 to 80 cm width or 70 to 80 percent of vanity width. Example: a 48-inch vanity supports a 34 to 38-inch mirror. Leave at least 2 inches on each side for sconces or faucets.
For double sink vanities, use two separate mirrors 20 to 28 inches each spaced 2 to 4 inches apart, or one continuous mirror spanning both sinks. Bottom edge should sit 4 to 6 inches above the sink, with top below lighting.
Entryway Mirrors
Minimum width should be half the console table width. Recommended height is 31 to 39 inches. Mount at eye level, 60 to 65 inches from the floor.
Full-Length Mirrors
Minimum functional size is 16 by 47 inches. Ideal size is 20 by 63 inches or larger. For tall users, choose 71 inches or more in height. Mount with bottom edge 2 to 4 inches from the floor.
Living Room Decorative Mirrors
Size range is 31 to 47 inches in width or diameter. Can go up to 59 inches in large spaces. Should match proportion of sofa or console. Often used as a mantel focal point.
Choose Shape Based on Space
Round Mirrors
Round mirrors soften sharp lines and are ideal for small bathrooms and pedestal sinks. Popular size is 24-inch diameter.
Oval Mirrors
Oval mirrors offer an elegant, elongated view and work well in traditional interiors. They have no sharp corners.
Rectangular Mirrors
Rectangular mirrors are the most versatile shape. They fit over vanities, dressers, and consoles while maximizing reflection. Common sizes include 24 by 36 inches and 22 by 60 inches.
Irregular and Geometric Shapes
Irregular shapes include scalloped, notched, or uniquely framed designs. These add artistic flair but require precise edge measurement. They work best as statement pieces.
Avoid Common Sizing Mistakes
| Mistake | Fix |
|---|---|
| Mirror too small | Cover 70 to 80 percent of furniture width |
| Mounted too high or low | Center at 60 to 65 inches from floor |
| Ignores fixture clearance | Mark 2-inch buffer zones around lights and faucets |
| Crooked installation | Use bubble or laser level before drilling |
| Forgets backsplash or clips | Record exact edge clearance and note hardware |
Pro Tip: Hold a cardboard cutout of the intended size on the wall to visualize fit before buying.
Professional Placement Tips
Achieve Perfect Proportion and Function
Match mirror width to furniture width: a 48-inch vanity supports a 34 to 38-inch mirror. Position the mirror to reflect natural or artificial light into the room. For double sinks, ensure equal spacing and identical mirror sizes. When measuring for a frame, measure only the glass since frames are designed to cover edges slightly. For custom orders, provide full data including dimensions, clearances, clips, and flush status.
Frequently Asked Questions About Measuring Mirrors
What is the correct way to measure a mirror for replacement?
Measure the glass from edge to edge, not the frame or wall opening. Use a metal tape measure and record width and height at multiple points. Round down to the nearest 1/8 inch when ordering. This ensures the replacement fits properly without being too tight.
Should I measure the frame or the glass when ordering a mirror frame?
Always measure the glass, not the frame. Frame systems are designed to overlap the glass edge slightly. If you include the frame in your measurements, the new frame will be too large.
How do I measure clearance around a mirror for a frame installation?
Measure from the mirror edge to the nearest obstruction on all four sides. Record exact measurements if less than 1 inch. Record “1 inch” if the gap is 1 inch or larger. Record “0” if the mirror is flush with the surface.
What tools do I need to measure a mirror accurately?
A metal tape measure provides the best accuracy. Use a bubble or laser level to verify alignment. Keep a pencil and notepad or printed worksheet handy. Digital calipers help with small or optical mirrors.
How do I measure a round mirror correctly?
Place a rigid ruler or tape measure across the center point. Measure from one edge to the opposite edge, passing through the exact center. Record to the nearest 1/8 inch. Take two perpendicular measurements and average them for best accuracy.
Why do mirror sizes seem different from what is advertised?
Many manufacturers round up metric measurements to imperial sizes. A 234 mm mirror may be marketed as 10-inch. This is similar to how 2×4 lumber is not actually 2 by 4 inches. Always verify actual specifications before purchasing.
Key Takeaways for Measuring Mirrors with Precision
Following these guidelines ensures a perfect fit for any mirror project. Always measure the glass itself, not the frame or wall, and round down to the nearest 1/8 inch when ordering. Check clearance on all four sides to avoid interference with fixtures, and document the presence of clips or mounting strips that may affect frame installation. Use the right tools, including a metal tape measure and level, and take multiple readings to account for wall irregularities.
For round mirrors, measure through the center and average perpendicular readings. For optical mirrors, measure the full substrate including beveled edges, not just the coated area. When in doubt, use a manufacturer’s worksheet and consult professionals for large or custom installations. With this systematic approach, you will achieve accurate measurements and professional results every time.


