Soldering stained glass is the step that transforms individual pieces of colored glass into a single, durable work of art. Whether you are making a suncatcher or a large panel, strong soldering keeps your project intact for years. The secret lies in using the right tools, controlling your heat, and applying steady technique. If you have struggled with bumpy seams, solder that refuses to stick, or cracked glass, this guide will walk you through every fix. You will learn how to prepare your panel, pick the best solder and flux, run smooth seams, finish edges cleanly, and avoid the mistakes that frustrate most beginners.
Essential Tools for Soldering Stained Glass

The right equipment separates a successful solder joint from a failed one. Standard electronics soldering irons simply cannot maintain the heat needed to melt solder across copper foil or lead came.
Choose the Right Soldering Iron
You need a high-wattage, temperature-controlled iron designed for stained glass work.
- Minimum 80 watts, though 100 watts or higher delivers more consistent heat.
- Trusted brands include Weller and Hakko FX-601, both known for durability and precision.
- Look for internal temperature control that adjusts automatically at the tip for stable performance.
Set the Correct Temperature
Temperature directly controls how solder flows and bonds to the foil.
- The ideal range is 460°F to 480°F.
- Too hot (above 500°F): Solder burns through, flows to the back, and will not stick to the tip.
- Too cold (below 440°F): Solder solidifies too fast, leaving ripples and weak joints.
If your iron develops a cold spot, let it recover or nudge the temperature up slightly.
Must-Have Supporting Tools
- Wet sponge: Wipe the iron tip frequently to maintain heat transfer.
- Tip cleaner: Use brass wool or a chemical cleaner to remove black oxidation.
- Metal brushes: Apply flux without contaminating it.
- Homasote workboard: Heat-resistant and accepts pins for stability.
- Masking tape, batons, or pins: Keep glass pieces from shifting during assembly.
- Fume extractor or open ventilation: Solder fumes contain lead, so airflow is essential.
Selecting the Right Materials
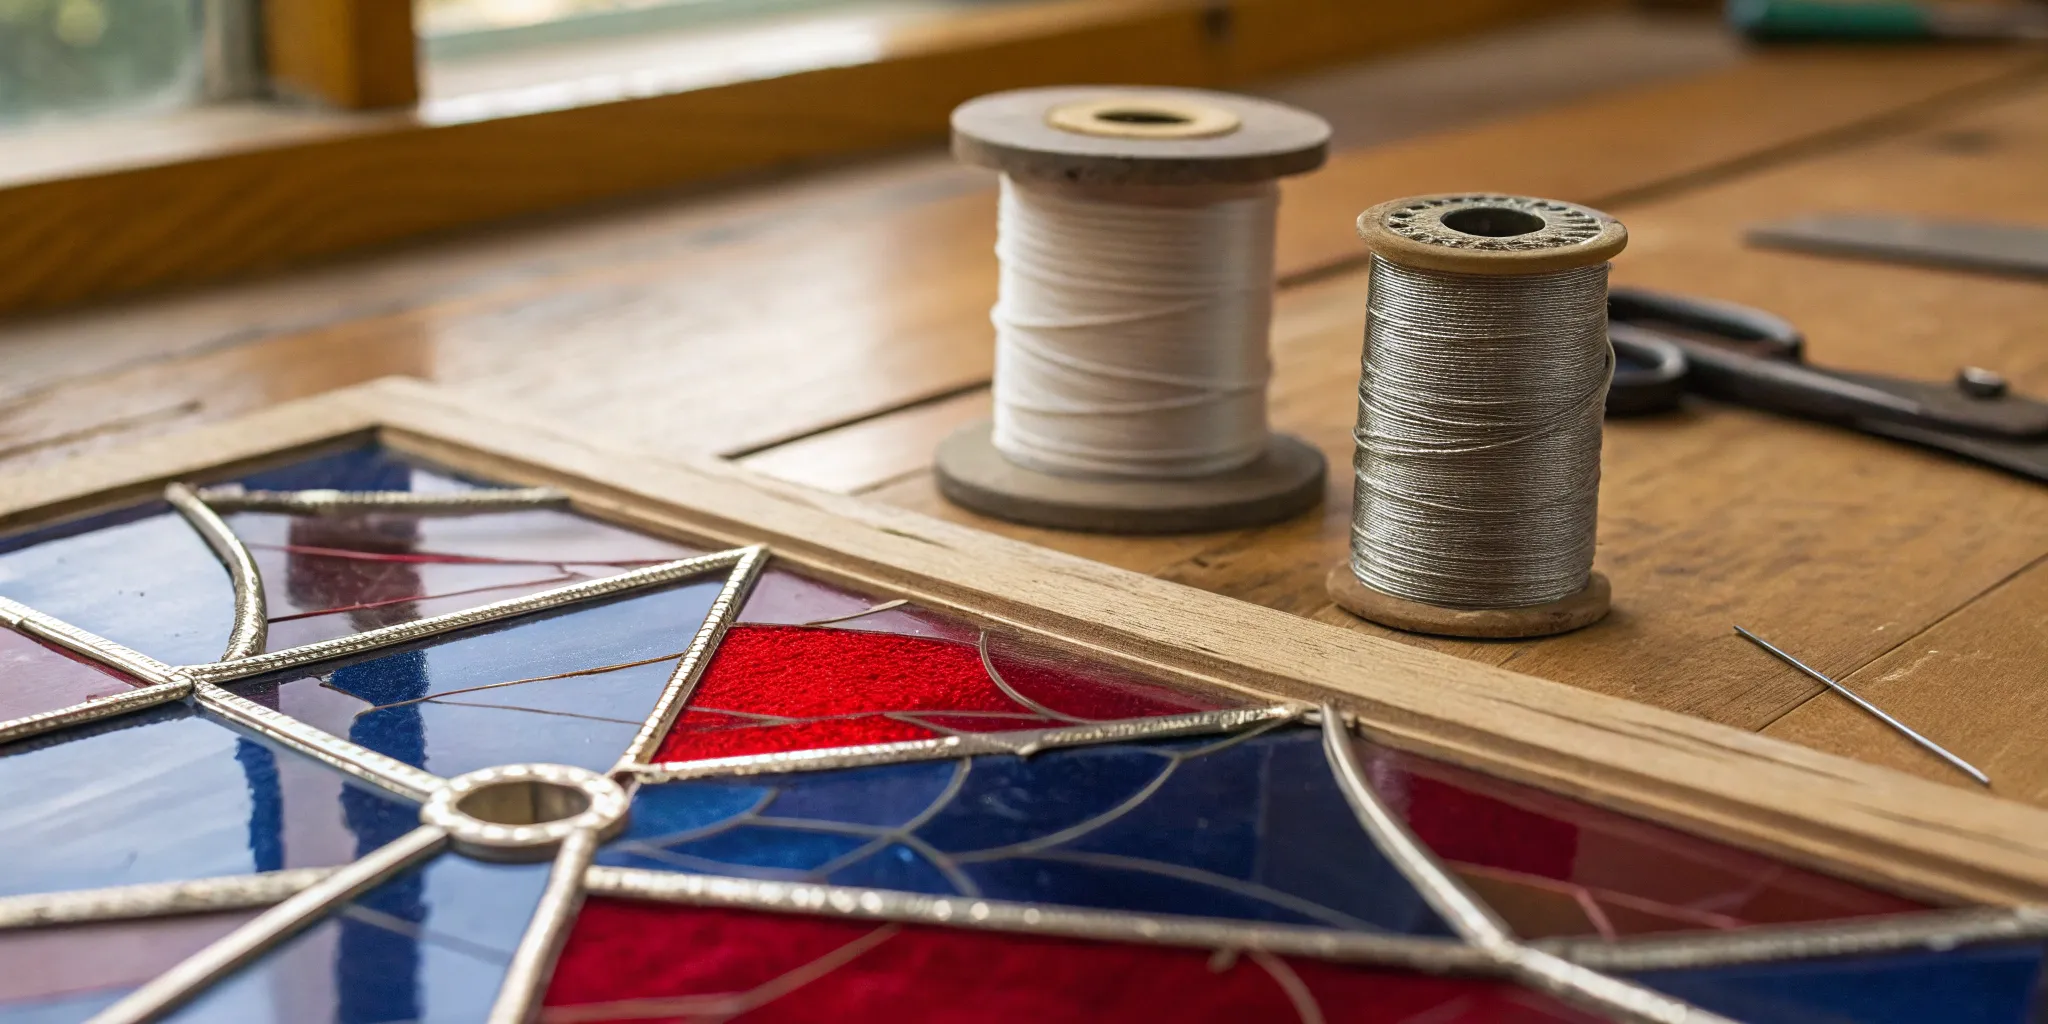
Using proper materials ensures strong, clean solder joints. Substituting the wrong type of solder can ruin your project.
Choose the Correct Solder Alloy
Solder is a blend of tin and lead, or tin and copper for lead-free options. The ratio determines melting point and flow.
60/40 Solder (60% Tin / 40% Lead)
- The best all-around choice for copper foil projects.
- Flows smoothly, creates a shiny finish, and bonds strongly.
- Costs a bit more than 50/50 but is worth the investment.
50/50 Solder (50% Tin / 50% Lead)
- Has a higher melting point and sets faster.
- Produces a flatter seam, which is preferred for lamps and boxes.
- Harder to control, so it is not recommended for beginners.
63/37 Solder (63% Tin / 37% Lead)
- Melts at a single temperature, known as the eutectic point.
- Used mainly for decorative soldering like beading or outlining details.
Lead-Free Solder (Tin-Copper)
- Required for jewelry or suncatchers that touch skin or food.
- Flows poorly and demands higher heat.
- More challenging, so only use it when safety requires it.
Warning: Never use acid-core or rosin-core solder. Both corrode copper foil and weaken your joints.
Use the Right Flux
Flux cleans metal surfaces at a molecular level, allowing solder to bond. Without it, solder beads up and refuses to stick.
Types of Flux
- Liquid: Easy to apply but tends to sputter when heated.
- Paste: Thicker than liquid and less prone to spatter.
- Gel: Preferred by professionals because it stays where you put it with minimal mess.
Apply Flux Correctly
- Use a metal brush to avoid contaminating your flux.
- Apply a light, even coat along every seam.
- Too much flux causes sputtering and burns.
- Too little flux prevents solder from flowing, leaving spikes or gaps.
Reapply flux whenever solder stops moving smoothly across the seam.
Prepare Copper Foil and Came
- Foiled edges must be clean and gap-free. Solder bonds only to metal, never to glass.
- If your foil or came looks oxidized, test a scrap piece first. If solder will not adhere, scrub it with steel wool or clean it with solvent.
- Wrap every glass edge completely with no exposed gaps. Use a fid to burnish the foil smooth.
Safety First: Protect Yourself
Soldering involves heat, fumes, and lead. Following safety protocols protects both your health and your workspace.
Prevent Lead Exposure
- Lead enters the body through ingestion or open wounds, not through intact skin.
- Always wash your hands with soap and water after working.
- Never eat, drink, or smoke in the studio.
- Cover any cuts on your hands before you begin.
- Keep children and pets away from materials and fumes.
Manage Fumes and Heat
- Ventilate your space: Work outdoors, in a garage, or with a fume extractor fitted with a carbon filter.
- Wear safety glasses to shield your eyes from flux spatter.
- Use heat-resistant gloves when handling hot panels.
- Never touch the iron tip. It stays above 450°F even when idle.
Step-by-Step Soldering Process
Follow these stages to build a strong, professional-looking panel from start to finish.
Assemble the Panel Correctly
Before soldering, make sure every piece is positioned and secured.
- Mount the pattern on your workboard with tape.
- Place foiled glass pieces precisely on the lines.
- Hold pieces in place with masking tape, batons, or pins.
- Check the fit: Gaps up to 1/8 inch can be filled with solder, but aim for tight fits.
- Clean the glass thoroughly to remove grinder dust and oil using alcohol or glass cleaner.
Tack Solder Key Joints
This temporary step locks your design in place.
- Apply liquid flux to major intersections and seams.
- Melt small blobs of solder at 3 to 4 key points per section.
- Do not solder full seams yet, just enough to hold alignment.
- Remove tape or pins after tacking.
Only tack one side. When you flip the panel, the back does not need tacking.
Run Smooth Seams (Front Side)
Now create continuous, even solder lines.
- Apply a light coat of flux to all seams.
- Hold the iron like a knife: fingers on one side, thumb on the other.
- Orient the tip with wide flat sides horizontal and thin edges vertical.
- Start 1/4 inch from the edge (unless you are making a suncatcher, see Edge Finishing).
- Feed 60/40 solder against the flat side of the iron tip.
- Move slowly and steadily, letting the heat melt the solder under the tip.
- Direction matters: Right-handed? Work right to left. Left-handed? Work left to right.
- Listen for a sizzle, which means flux is active and solder is bonding.
Adjust for Seam Quality
- Flat or dull seam? Add more solder and slow down.
- Solder spilling onto glass? Move faster.
- Ripples forming? Your iron is too cold. Let it recover or raise the heat.
- Burn-through happening? Your iron is too hot. Lower the temperature or work quicker.
Use the Hold and Lift Method
Fix uneven seams or rework mistakes cleanly.
- Place the iron tip on the solder and hold it still.
- Let the heat melt the solder pool without dragging.
- Once liquid, lift the iron and move to the next section.
This prevents ridges caused by dragging and gives you better control.
Solder the Reverse Side
The back side completes the joint and adds strength.
- Carefully flip the panel, holding the edges near the center to avoid bending.
- Observe: Some solder may have seeped through, which is normal.
- Apply light flux to all seams.
- Solder as on the front, using less solder where leakage occurred.
- Let the glass cool completely before reworking a hot area to prevent thermal shock and cracking.
Finish the Edges Properly
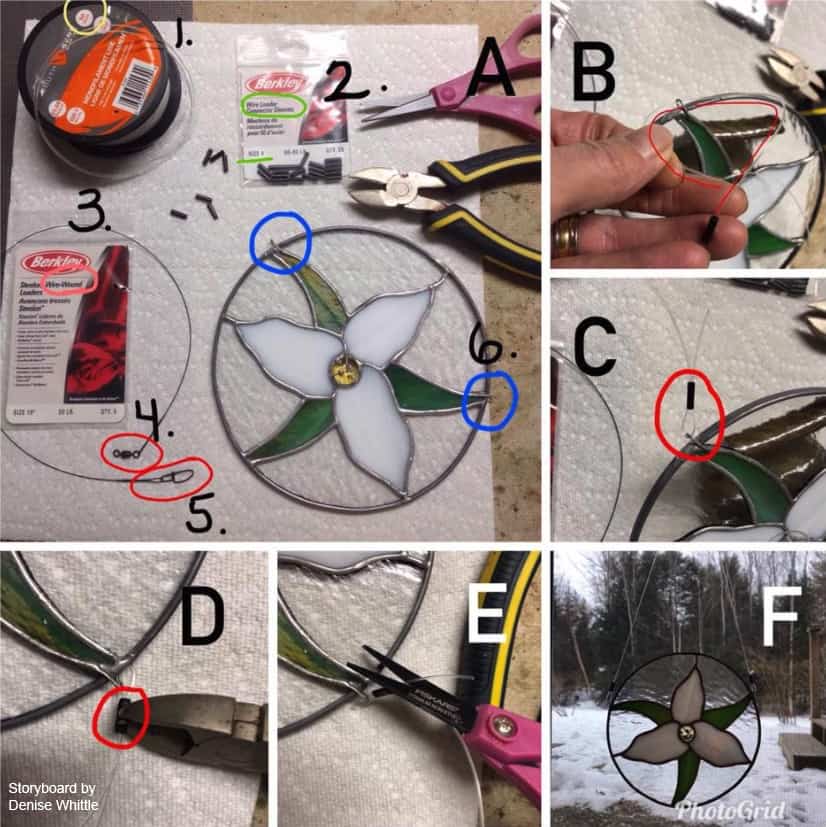
How you finish the edges depends on whether your piece is framed or free-hanging.
Tinning for Suncatchers
For pieces that hang without a frame, seal the edges with solder.
- Solder seams all the way to the edge with no gap.
- Tip the piece on its side.
- Flux the exposed foil edge on both front and back.
- Apply a thin bead of solder along the top edge.
– Move quickly to prevent solder from drizzling down the sides.
– If it drips, let it cool and gently lift it off with a fingernail or etching tool. Do not pull, or you may tear the foil. - Embed hanging rings into the top seam while the solder is molten.
– Make sure the rings are fully surrounded by solder for strength.
This method works best for jewelry, suncatchers, and small ornaments.
Frame with U-Channel Came
For windows, panels, or large pieces, use zinc, copper, or lead came for structure.
- Stop soldering 1/4 inch from the edge and leave a flat seam.
- Choose your came type:
– Lead came: Flexible and ideal for curved or irregular shapes.
– Zinc or copper U-channel: Rigid and best for straight edges and rectangles.
– Zinc with silver solder gives a modern look.
– Copper came with copper patina creates a warm, antique finish. - Fit the frame precisely:
– Cut a 1-inch test piece of came.
– Slide it over the right edge. If tight, use a fid to gently open the channel.
– Place the test piece on the top-right corner.
– Slide the side came up until it meets the test piece.
– Mark the cut line, adding blade width, then cut.
– Repeat for the left side.
– Cut top and bottom pieces to fit inside the side cames, with open ends facing the top and bottom. - Secure the frame:
– Solder hanging rings into the top side cames.
– Fill U-channel holes with quick dabs of solder to seal and strengthen.
Fix Common Soldering Problems

Even experienced artists run into issues. Here is how to diagnose and solve them quickly.
Solder Disappears Into Gaps
Cause: Poorly cut glass with spaces between pieces.
Fix: Keep adding solder until it beads up and bridges the gap. Clean up excess on the back later with the iron.
Excess Solder or Bumpy Seams
Cause: Too much solder or dragging too slowly.
Fix:
- Melt the excess with the iron and flick it off onto a heat-safe surface. You can reuse it later.
- Use the hold and lift method to smooth the remaining areas.
Solder Will Not Stick or Melt
Work through this checklist:
- Dried flux? Reapply fresh flux.
- Cold iron? Wait for recovery or raise the temperature.
- Dirty tip? Wipe with a wet sponge or use tip cleaner.
- Oxidized foil? Scrub with steel wool or replace the foil.
Test adhesion on a scrap piece before committing to your main project.
Solder Stuck to Glass
Solder does not bond to glass. It only sticks to foil or came.
- Cool the piece, then flick off droplets with a fingernail.
- To gather stray solder, brush flux over it, then touch with a hot iron and pull back to the seam. Work fast to avoid cracking.
Glass Cracks During Soldering
Cause: Thermal shock from uneven or repeated heating.
Prevention:
- Move around the panel instead of focusing on one area.
- Let the glass cool before reworking a joint.
- Avoid reheating the same spot multiple times.
Professional Tips for Better Results

Improve your technique and final appearance with these expert practices.
Test Materials Before Starting
- Check old foil or came on a scrap piece. If solder does not stick, clean or replace it.
- Verify iron performance: Does 60/40 solder flow smoothly at 470°F? If not, clean the tip or adjust the heat.
Inspect and Improve Seam Quality
- Shiny, uniform bead? Good flux and heat.
- Dull or spiky? Add flux and reflow.
- Hanging rings secure? They should not wiggle. Embed them deep in the solder.
- Frame flush? No gaps between came and glass.
Maintain Your Tools
- Clean the iron tip after every few inches of soldering.
- Store with a tinned tip (coated in solder) to prevent oxidation.
- Replace burnt tips, since they will not conduct heat well.
Clean and Apply Patina
After soldering:
- Wash the panel with water and mild soap to remove flux residue, which is corrosive over time.
- Rinse and dry completely.
- Apply patina (black, copper, or bronze) with a brush to unify the look and protect the solder lines.
- Buff with wax such as Carnauba for shine and protection.
Match Materials to Your Project
- Jewelry: Must use lead-free solder.
- Lamps: Use 50/50 solder for flat seams.
- Windows: Require zinc or lead came for support.
- Suncatchers: Need tinned edges and strong hanging rings.
Frequently Asked Questions About Soldering Stained Glass
What wattage soldering iron do I need for stained glass?
You need a minimum of 80 watts, but 100 watts or higher is ideal. Electronics irons in the 20 to 40 watt range lack the thermal mass to maintain consistent heat.
What temperature should I set my soldering iron to?
Set your iron between 460°F and 480°F. Below 440°F, solder solidifies too fast and causes ripples. Above 500°F, solder burns through and will not stick to the tip.
Which solder is best for beginners?
60/40 solder (60% tin, 40% lead) is the best choice for beginners. It flows smoothly, creates strong bonds, and is forgiving on copper foil projects.
Why will my solder not stick to the foil?
The most common causes are dried flux, a cold iron, a dirty tip, or oxidized foil. Work through each possibility by reapplying flux, raising the temperature, cleaning the tip, or scrubbing the foil with steel wool.
Is lead-free solder required for stained glass?
Lead-free solder is required for jewelry, suncatchers, or any item that touches skin or food. For decorative panels and windows that will not be handled, 60/40 solder is standard.
How do I prevent glass from cracking while soldering?
Move around the panel to distribute heat evenly, let hot areas cool before reworking, and avoid reheating the same joint repeatedly. Sudden temperature changes cause thermal shock.
Key Takeaways for Soldering Stained Glass Like a Pro
Learning how to solder stained glass comes down to three essentials: the right tools, the right materials, and steady technique. Start with a 100W temperature-controlled iron, use 60/40 solder for general projects, and keep your iron set between 460°F and 480°F. Apply flux lightly, move slowly along each seam, and always solder both sides of your panel for strength. Finish your piece with proper edging, whether that means tinning for suncatchers or framing with U-channel came for windows. Now that you understand the full process, set up your workspace, grab your iron, and start creating.