
A loose or missing side mirror cover is more than an eyesore. It can reduce visibility, expose the housing to moisture and rust, and lower your car’s resale value. The good news? Most mirror cover repairs take under 30 minutes, cost less than $60, and require only basic tools. Whether your cover popped off in a car wash or cracked after an impact, you can fix it yourself without removing the door panel or hiring a mechanic. This guide covers every step from diagnosing broken clips and snapping on a replacement to gluing damaged housings and upgrading to LED turn signals.
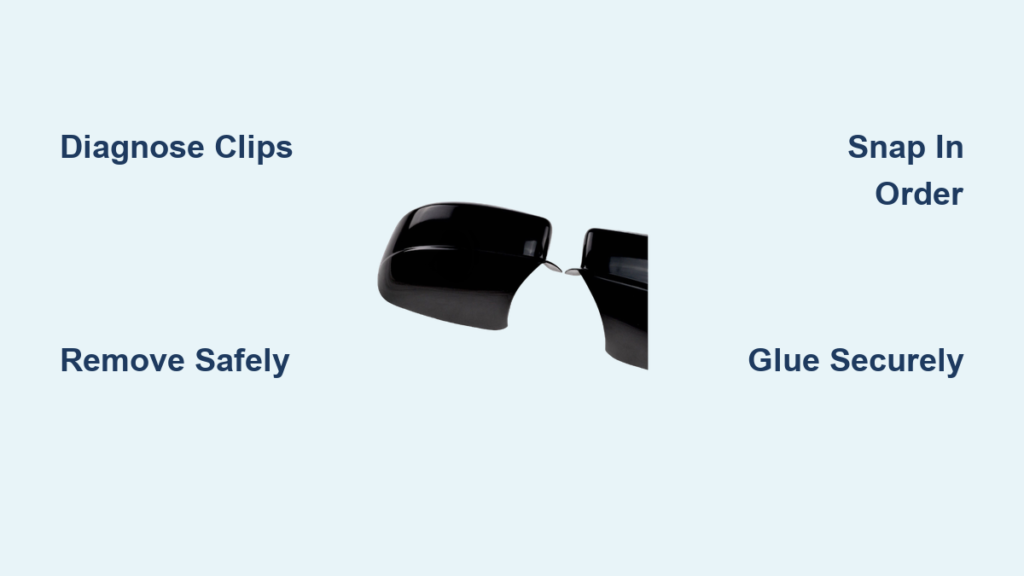
Diagnose the Damage First
Before removing or replacing anything, assess the condition of your mirror cover and attachment points. The repair path depends entirely on what’s broken.
Check for Broken Clips or Tabs
Most mirror covers use 2 to 5 plastic clips molded into the back. Use a flashlight to inspect the following:
• Are any tabs snapped off completely?
• Is the housing cracked around mounting points?
• Does the cover wiggle or hang loosely?
If three or more clips are broken, snapping the cover back won’t hold. You’ll need adhesive or a full replacement.
Test Snap-Fit Security
Gently press on each edge of the cover. The top and sides should click firmly into place. A soft thud instead of a snap means clips are damaged. Gaps along the bottom indicate misalignment or broken lower tabs.
Pro Tip: Compare with the opposite mirror. If one side feels looser, the clips are likely compromised.
Remove the Old Cover Safely
Never yank the cover off. This breaks more clips and creates additional damage. Use proper technique to avoid costly mistakes.
Use a Plastic Trim Tool
- Angle the mirror outward using the interior control button.
- Slide a plastic trim removal tool into the gap at the front or rear edge.
- Gently twist to release the first clip. Do not force it.
- Work your way around: top and sides first, bottom clips last.
Warning: Bottom clips are often the strongest. Releasing them too early can bind the cover and cause breakage.
Handle Models with Attached Glass
On some vehicles like the 2014 to 2017 Honda Odyssey, the mirror glass is fastened to the cover. To remove it properly:
- Remove four screws. One may be hidden under a cap.
- Pull the glass from the bottom, wiggling slightly.
- Do not pull from the top. This breaks the internal hooks.
Visual Cue: When properly released, the glass will tilt forward and detach cleanly.
Install a New Cover Correctly
A poorly seated cover will come loose in wind or car washes. Follow this sequence for a secure, permanent fit.
Align and Snap in Order
- Position the top first. Engage the upper clips by angling the cover slightly.
- Press sides evenly. Apply firm pressure to left and right edges.
- Snap the bottom last. Use the heel of your hand to press down firmly.
Key Tip: If the cover resists, warm it in sunlight for 5 to 10 minutes. Warm plastic flexes easier and snaps into place smoothly.
Use Lubrication for Tight Fits
Apply a drop of dish soap to the clips or mating surfaces. This reduces friction and prevents cracking without affecting long-term hold.
Fact: Soap washes off naturally and doesn’t degrade plastic or paint.
Verify Full Seating
After installation, run your finger around the edge. No gaps should be present. Gently wiggle the cover. Zero movement means it’s secure. Test mirror functions including adjustment, heat, and turn signals.
Repair Broken Covers with Strong Adhesive
If the cover is cracked or clips are missing, glue it back. However, you must use the right product for lasting results.
Choose the Right Glue
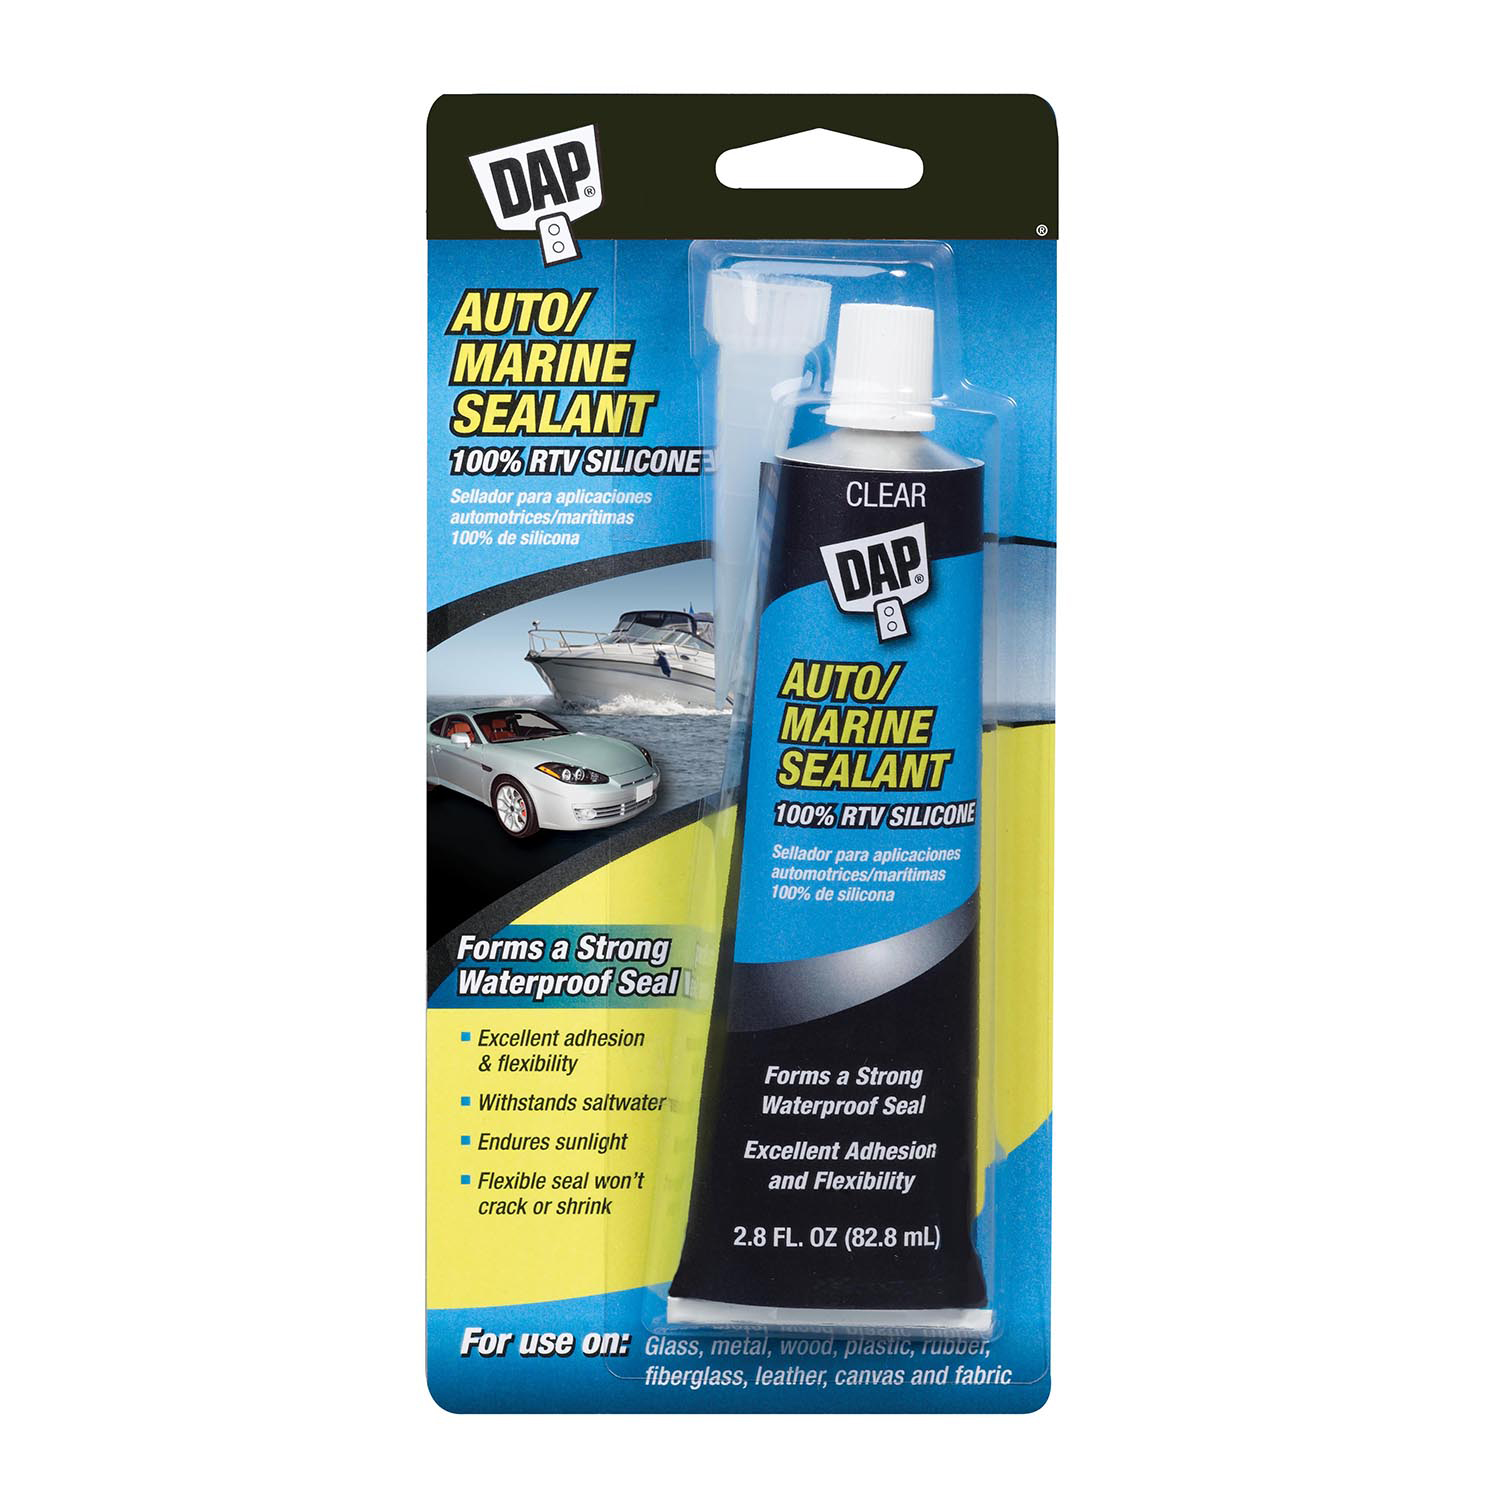
| Adhesive | Best For | Cure Time |
|---|---|---|
| RTV Silicone (Permatex) | Flexible, vibration-resistant | 24 hours |
| Plastic Epoxy (2-part) | Major breaks, missing tabs | 6 to 24 hours |
| Gorilla Glue (Polyurethane) | Large gaps, porous surfaces | 1 to 2 hours |
| Super Glue (Cyanoacrylate) | Minor cracks only | 10 to 15 minutes |
Expert Advice: “Avoid flexible adhesives if the cover sees high wind load. Use rigid epoxy for strength.” — Andrew, Master Diagnostic Technician
Apply Glue Step-by-Step
- Clean both surfaces with isopropyl alcohol.
- Lightly sand smooth plastic with 220-grit paper for better grip.
- Apply beads of RTV to each broken tab or mounting point.
- Press the cover into place and align carefully.
- Secure with rubber bands or tape. Do not let it shift.
- Wait 24 hours before driving.
Warning: One user spent months removing a glued cover after it failed in a car wash. Only glue if you plan to keep the car long-term.
Reinforce for Long-Term Hold
Prevent future failures with simple upgrades while you have the cover off.
Add Mechanical Support
For covers with missing clips, consider this permanent reinforcement:
• Drill small pilot holes through the back of the cover and housing.
• Insert zip ties or plastic rivets for extra strength.
• Seal holes with silicone to block moisture.
Note: This is a permanent modification ideal for older vehicles with brittle clips.
Replace Missing Foam Liner
Some covers have a black foam insert that dampens noise and seals against dust. If yours is gone, order an OEM replacement or cut closed-cell foam tape to fit. Stick it inside the cover before reattaching.
Match Paint Perfectly
A mismatched cover looks worse than a broken one. Get it right the first time.
Find Your Factory Paint Code
• Check the driver’s side door jamb sticker.
• Look in the owner manual or registration.
• Use your VIN on the manufacturer’s parts site.
Critical: Paint names like “Blue Me” vary by supplier. Always use the code, not the name.
Paint Options Compared
| Option | Cost | Quality |
|---|---|---|
| OEM Pre-Painted | $80–$150 | Perfect match |
| Aftermarket + Painting | $25–$40 | Good match |
| Mobile Technician | ~$50 total | Cheaper than dealer |
| DIY Spray Can | $20 | Risk of poor blend |
Pro Tip: A mobile painter can match and spray your new cover in a driveway, often for half the dealer price.
Upgrade While You’re There
With the cover off, it’s the perfect time to add features.
Install LED Turn Signals
Replace stock bulbs with sequential LED modules available on eBay and AliExpress. Choose amber for legality or white or ice blue. Check your local laws first. Disconnect wiring with a flathead screwdriver by pressing the connector latch.
User Preference: “I went with yellow. Don’t want a cop pulling me over.”
Troubleshoot Common Problems
Fix issues fast with this quick-reference guide.
Cover Won’t Snap On
Cause: Cold, stiff plastic or misalignment.
Fix: Warm in sun, use dish soap on clips, double-check orientation.
Cover Comes Loose in Car Wash
Cause: Broken or missing clips.
Fix: Replace cover or glue with RTV plus zip-tie reinforcement.
Gaps or Uneven Fit
Cause: One clip not fully engaged.
Fix: Remove and reinstall, ensuring all tabs click.
Mirror Glass Won’t Reattach
Cause: Top hooks not aligned.
Fix: Insert glass at an angle, engage top hooks first, then snap bottom.
Power Functions Not Working
Cause: Wiring disconnected behind mirror.
Fix: Reconnect heated mirror, blind spot, or turn signal plug. Test with controls.
Replace vs. Repair: Make the Right Choice
Not every cover can or should be glued back on.
| Factor | Glue Repair | Full Replacement |
|---|---|---|
| Cost | $5–$15 | $50–$150 |
| Durability | Good (with RTV) | Excellent |
| Resale Value | May raise red flags | Looks factory-new |
| Color Match | Keeps original | Requires paint matching |
| Future Repairs | Hard if glued | Easy access |
Expert Verdict: “Buy a new cover and get it sprayed by a mobile tech. It’s cheaper than dealer and lasts longer.” — 528iTSportWagon
Final Steps: Test and Verify
Do not skip this step. Ensure your fix lasts.
- Inspect alignment. Both mirrors should look identical.
- Wiggle test. No movement means secure attachment.
- Function check. Adjust, fold, heat, and signal. All must work.
- Document the repair. Note if glued for future owners or service.
Maintain Long-Term Durability
No special care is needed, but avoid these pitfalls:
• High-pressure car washes aimed directly at the mirror
• Scratching with ice scrapers or rough cloths
• Ignoring small cracks. They worsen with temperature changes.
Durability Note: UV exposure fades paint over 2 to 3 years. Consider a protective wax for one-stage finishes.
Frequently Asked Questions About Fixing Side Mirror Covers
How long does it take to replace a side mirror cover?
Most exterior-only replacements take less than 5 minutes. If the mirror glass must be removed first, plan for 15 to 30 minutes. Adhesive repairs require 20 to 60 minutes plus 24 hours for curing.
Can I glue my mirror cover back on instead of replacing it?
Yes, if clips are broken. Use RTV silicone or two-part epoxy for durable results. However, gluing makes future repairs extremely difficult. Only glue if you plan to keep the car long-term.
Where do I find my car’s paint code for mirror cover matching?
Check the driver’s side door jamb sticker, your owner manual, or use your VIN on the manufacturer’s online parts site. Always use the code, not the paint name.
Why does my mirror cover keep falling off in car washes?
This happens when clips are broken or missing. Inspect the attachment points. Either replace the cover or reinforce with adhesive and mechanical support like zip ties.
Do I need to remove the door panel to fix the mirror cover?
No. Most mirror covers are exterior-only repairs. You can access and remove them without removing the door panel or disconnecting major wiring.
Can I upgrade to LED turn signals while replacing the cover?
Yes. With the cover off, you can install sequential LED turn signal modules. They connect to your existing wiring. Amber is the safest color choice for legality.
Key Takeaways for Fixing Your Side Mirror Cover
Fixing a side mirror cover is one of the easiest and most cost-effective DIY auto repairs. With the right tools and technique, you can restore your car’s look and function in minutes. Start by diagnosing whether clips are broken or the housing is damaged. Use plastic trim tools for safe removal, and always release bottom clips last. For broken clips, RTV silicone provides a durable hold when properly cured. For the best appearance and resale value, replace the cover and get it professionally painted to match your factory color code. Whether you snap on a new cap, glue a broken one, or upgrade to LED turn signals, this guide gives you everything you need to get it done right the first time.


