
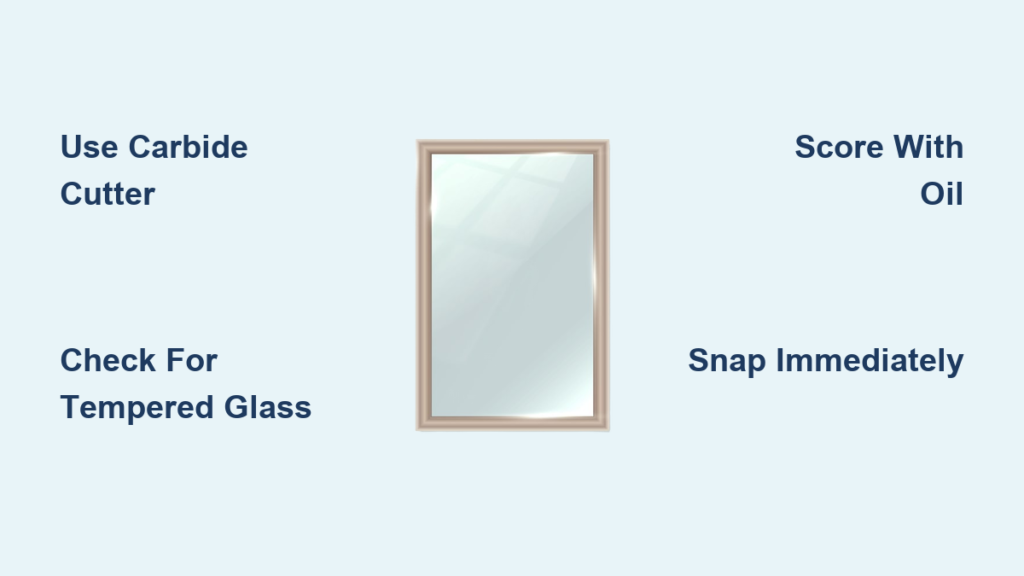
Cutting mirror glass at home is possible with the right tools, technique, and safety precautions. Whether you are repurposing an old mirror or creating a custom piece for a DIY project, how to cut mirror glass successfully depends on precision, proper scoring, and immediate breaking. This guide walks you through every step from preparation to edge finishing so you can achieve clean, safe results without costly mistakes.
Choose the Right Glass Cutter for Clean Cuts
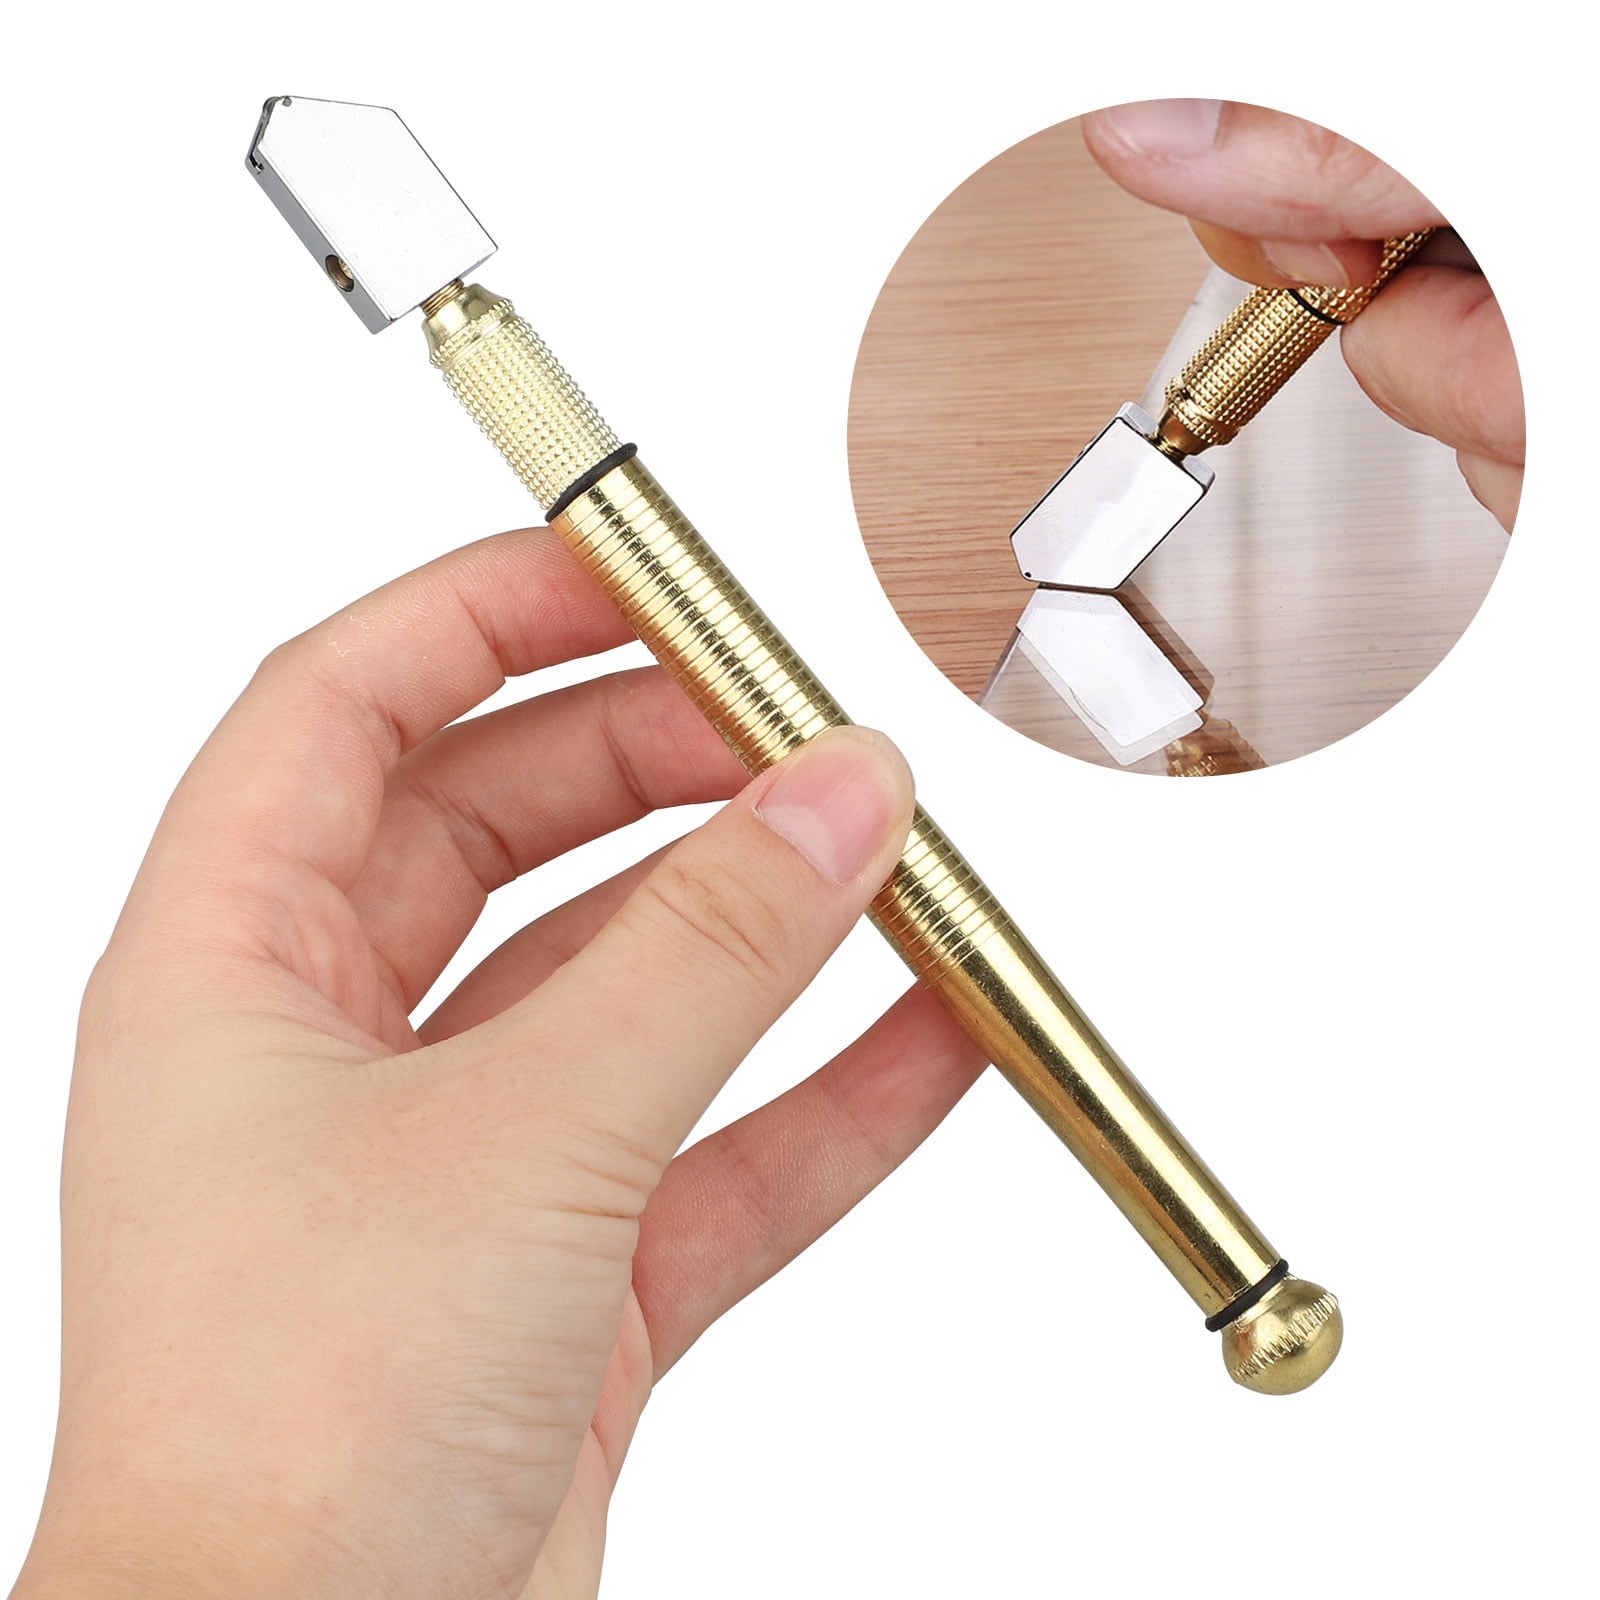
Only use a glass cutter with a single carbide wheel for mirror glass. Multi-wheel models with six small blades are ineffective and produce poor scores. Pencil-style cutters with built-in oil reservoirs deliver consistent lubrication and are ideal for beginners. Brands like Fletcher, especially those with a gold-painted end, are designed for plate glass and mirrors and offer superior control.
Avoid dull or low-quality tools. A worn wheel will not score properly, leading to jagged breaks. Replace wheels when scoring becomes silent or inconsistent. Never use steel tools, nails, screwdrivers, or utility knives to score glass, as these can cause uncontrolled fractures or complete shattering.
Confirm Your Mirror Is Safe to Cut
Never attempt to cut tempered glass. It is engineered to explode into small, dangerous pieces when damaged. Standard household mirrors are usually untreated float glass with silver or aluminum backing, which can be cut safely. However, some modern mirrors, especially in furniture or doors, may be tempered.
To confirm the mirror is cuttable, look for a temper stamp in the corner indicating “Tempered” or “Safety Glass.” If you are unsure, assume it is tempered and do not cut. Most DIY-friendly mirrors are 3 mm (1/8 inch) or 6 mm (1/4 inch) thick. Glass thicker than 1/4 inch or made of laminated or safety glass is not suitable for home cutting.
Set Up Your Workspace Properly
Work on a clean, flat table or workbench large enough to support the entire mirror. An uneven surface increases the risk of accidental cracking during scoring or breaking. Place a soft underlayment such as cardboard, felt, cloth, or a thick Pilates mat beneath the mirror. This prevents scratches on the reflective coating and cushions the glass during breakage.
Secure the mirror with light tape along the edges if needed. A shifting mirror during scoring leads to crooked lines and failed cuts. Ensure your workspace is well-lit and ventilated, and keep children and pets away from the area.
Clean and Mark the Glass for Cutting
Dust, grease, or fingerprints interfere with scoring. Use a lint-free cloth and isopropyl alcohol or glass cleaner to thoroughly wipe the front glass side before marking. Always mark the cut line on the front (glass) side, never the back. Scoring the coated side damages the reflective layer and causes chipping.
For straight cuts, use a metal ruler and permanent marker or grease pencil. Double-check alignment with a framing square. For curved or freeform cuts, create a paper or cardboard template of your desired shape. Reinforce the template with masking tape to prevent warping, then tape it to the glass and trace the outline with a Sharpie.
Score the Mirror Like a Pro
Apply a few drops of cutting oil directly onto the cutting wheel or along the intended cut path. Use 3-in-1 oil, sewing machine oil, kerosene, or even olive oil in a pinch. Oil reduces friction, cools the wheel, and helps the fracture propagate smoothly.
Hold the cutter at about 45 degrees to the glass surface. Too steep or too shallow reduces scoring effectiveness. Apply firm, even pressure (around 7 lbs) and score in one smooth motion with no pauses, hesitations, or retracing. Start just before the edge and finish just past it. The ideal score produces a crisp scratching sound and leaves a thin, continuous gray or black line.
Never re-score a line. Doing so ruins the wheel and weakens the fracture line. If any section is faint or broken, rescore once with increased pressure. Avoid double-scoring unless absolutely necessary.
Break the Glass Along the Score Line
Heat from friction weakens the glass temporarily. Delaying the break reduces effectiveness. Snap immediately after scoring for the best results.
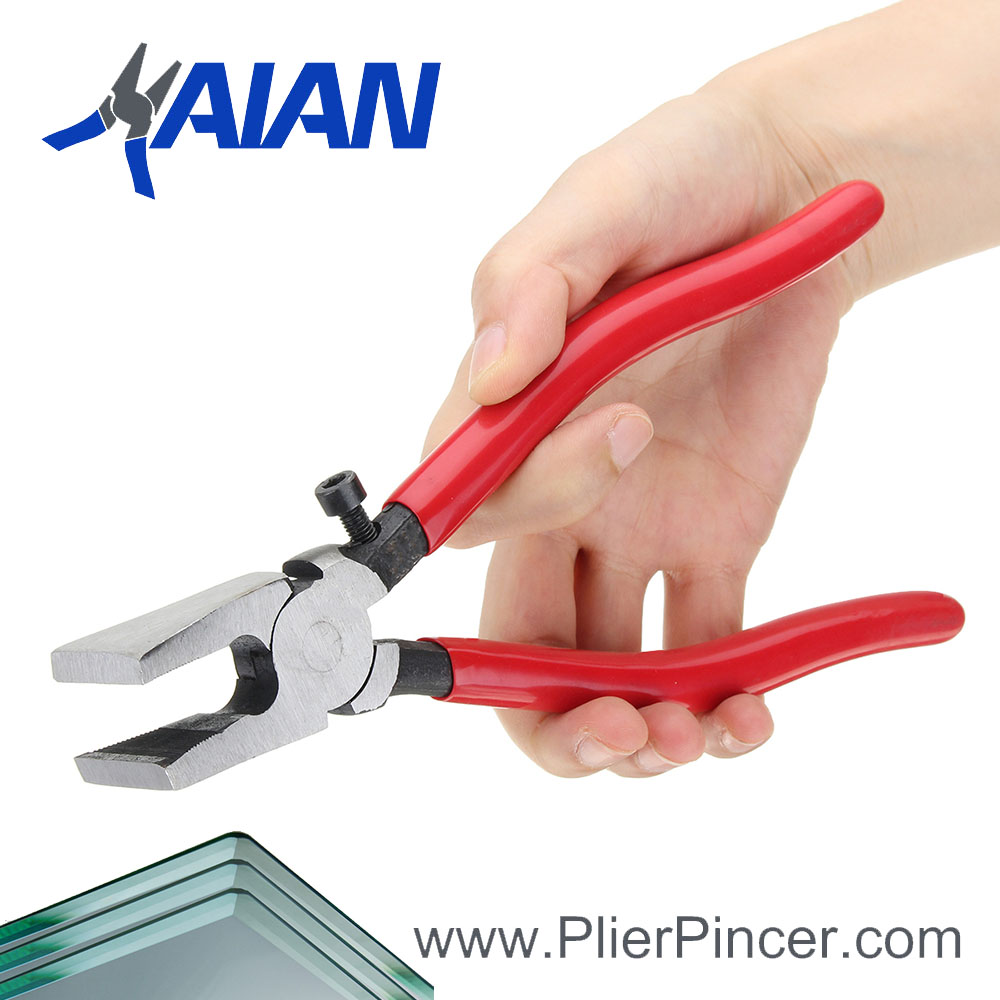
For straight cuts, use the table-edge snap method. Flip the mirror so the scored side faces down. Align the score line exactly with the table edge. Hold the fixed portion firmly and apply a quick, firm downward pressure on the overhanging section. Alternatively, use a bouncing tap with fingers or pliers until it snaps.
For curves or complex shapes, use running pliers. Grip the edge of the off-cut with glass running pliers. Gently pull and wiggle along the score line from one end to the other until the glass separates. For tight curves, try the pen-under-score method. Place a pen or pencil under the scored line and press down on both sides to initiate the break. Slide the pen along the curve as the fracture progresses.
For 6 mm (1/4 inch) glass, use a high-quality cutter and apply firm, steady pressure. Expect resistance during breaking. Add short perpendicular relief scores at sharp turns to guide the fracture and prevent uncontrolled cracking.
Smooth Rough Edges Safely
Use 60 to 80 grit sandpaper to remove burrs and sharp edges. Progress through 120 to 150 (medium) and finish with 180 to 200 (fine) for a smooth edge. Always wet-sand. Dry sanding creates hazardous glass dust. Use water or soapy water as a lubricant to suppress particles and improve finish.
A Dremel with sanding drums or flap wheels speeds up the process. Hand-sand final areas for precision. Position a vacuum hose close to the sanding zone to capture dust. Hold it with clamps or between your knees for hands-free operation.
Restore the Reflective Finish
Exposed or damaged edges lose reflectivity. Restore them with mirror-specific spray paint. Apply at least six thin coats and allow full drying time (15 to 30 minutes) between layers. This achieves a factory-like shine. Use indoors with a kitchen fan or exhaust to vent fumes.
For less-than-perfect results, use molding onlays (corner, center, or linear). Attach with a small bead of E6000 adhesive applied precisely. Spray-paint onlays for gold, antique, or Parisian finishes to hide flaws and add decorative flair.
Follow Critical Safety Rules
Wear safety glasses at all times. Flying shards are dangerous and can cause serious injury. Wear cut-resistant gloves during breaking and sanding, but not during scoring, as they reduce grip. Wear a respirator or mask when sanding old mirrors or spraying paint. Wear closed-toe shoes to protect feet from falling glass.
Mirrors made between 1840 and 1930 may contain mercury-based silvering. Shine a bright light on the surface. A sparkling or glittering effect suggests mercury. Do not cut or sand these mirrors without a NIOSH-approved respirator and full containment. Modern mirrors (post-1930) use silver or aluminum and are safe to handle.
When to Call a Professional Glass Shop
Consider professional cutting for thick glass (1/4 inch or more), large mirrors, multiple panels, or precision projects. Professional shops have industrial cutting tables for accuracy and can cut glass up to 1/2 inch thick. They also offer edge sanding, polishing, and beveling, often for just a few dollars per cut.
A user had three cabinet door panels cut from a 1/4 inch mirror professionally. The result was clean, safe, and affordable. For demanding projects, professional services provide unmatched precision and safety.
Frequently Asked Questions About Cutting Mirror Glass
Can I cut a mirror with a utility knife?
No. Never use steel tools, nails, screwdrivers, or utility knives to score glass. These tools cause uncontrolled fractures or complete shattering. Only use a professional-grade glass cutter with a single carbide wheel designed specifically for this task.
Why does my mirror not break along the score line?
The most common cause is incomplete or light scoring. Rescore with firm, continuous pressure (around 7 lbs) in one smooth pass. Ensure you are using cutting oil and that the wheel is not dull. Break immediately after scoring, as delay reduces effectiveness.
Can I cut curved shapes in mirror glass?
Yes. Use a circular glass cutter for curves, arcs, and rounded shapes. Apply oil, score slowly with consistent pressure, and use relief cuts at sharp turns to guide the fracture. Breaking methods like the pen-under-score technique work well for curves.
How do I know if my mirror is tempered?
Look for a temper stamp in the corner of the mirror. It will say “Tempered” or “Safety Glass.” If you cannot find a stamp or are unsure, assume the mirror is tempered and do not attempt to cut it. Tempered glass will shatter unpredictably when cut.
Is it safe to sand mirror edges at home?
Yes, but with proper precautions. Always wet-sand to suppress glass dust. Use water or soapy water as lubricant. Wear a respirator and safety glasses. Position a vacuum near the sanding area to capture particles. Do not dry sand under any circumstances.
What is the best way to practice before cutting a final piece?
Practice on scrap glass or old mirrors before attempting final cuts. This builds confidence with scoring pressure, breaking techniques, and curve handling without risking expensive mirror pieces.
Key Takeaways for Cutting Mirror Glass Successfully
Cutting mirror glass at home is feasible and cost-effective for 1/8 inch to 1/4 inch untempered mirrors when done with care. Success depends on using the right tools (a quality single-wheel carbide cutter), scoring on the front glass side with consistent pressure, applying cutting oil, and snapping immediately after scoring. Always verify the mirror is not tempered before starting, and wear proper safety gear including safety glasses, gloves, and a respirator when needed.
While DIY cutting offers creative freedom for custom shapes and artistic expression, professional glass shops provide unmatched precision and safety for thick, large, or high-precision projects, often at minimal cost. With the right technique and respect for the material, you can transform a standard mirror into a custom masterpiece safely and successfully.


