
If your telescope’s views have become hazy, stars look dimmer, or you have accidentally touched the mirror, you might be wondering how to clean a telescope mirror without causing permanent damage. The good news is that cleaning a telescope mirror is a simple, low-risk process when done correctly. However, over-cleaning actually causes more harm than dirt ever will, so knowing when to clean is just as important as knowing how.
This guide walks you through every step, from inspection and removal to cleaning, drying, and reassembly. You will learn expert-approved techniques, avoid common mistakes that scratch or degrade coatings, and restore your mirror’s clarity safely. Whether you own a Dobsonian, a truss-tube scope, or a compact Newtonian, this is your complete resource for keeping optics in peak condition.
Signs Your Telescope Mirror Actually Needs Cleaning
Cleaning should never be routine. Only proceed if you observe clear performance-affecting contamination:
Visible fingerprints, grease spots, or smudges on the mirror surface indicate immediate cleaning is needed. Persistent haze or reduced contrast in views not caused by dew or poor seeing conditions is another clear sign. Animal droppings, insect residue, pollen clumps, or spiderwebs require prompt attention. Dew that dried with mineral deposits or left a film also necessitates cleaning. Additionally, any accidental finger contact warrants cleaning since skin oils degrade the protective coating over time.
Expert consensus emphasizes restraint. Even a visibly dusty mirror rarely needs cleaning. Dust particles are too small to block significant light and do not scratch the surface. If stars remain sharp and images are bright, leave the mirror alone.
Cleaning can wait if only light dust is visible, the telescope performs well optically, or the mirror was recently cleaned. Wait at least six to twelve months between cleanings unless heavily soiled, as frequent cleaning increases the risk of scratches and coating wear.
Essential Tools and Supplies for Telescope Mirror Cleaning
Use only soft, non-abrasive, and chemically safe materials for mirror cleaning.
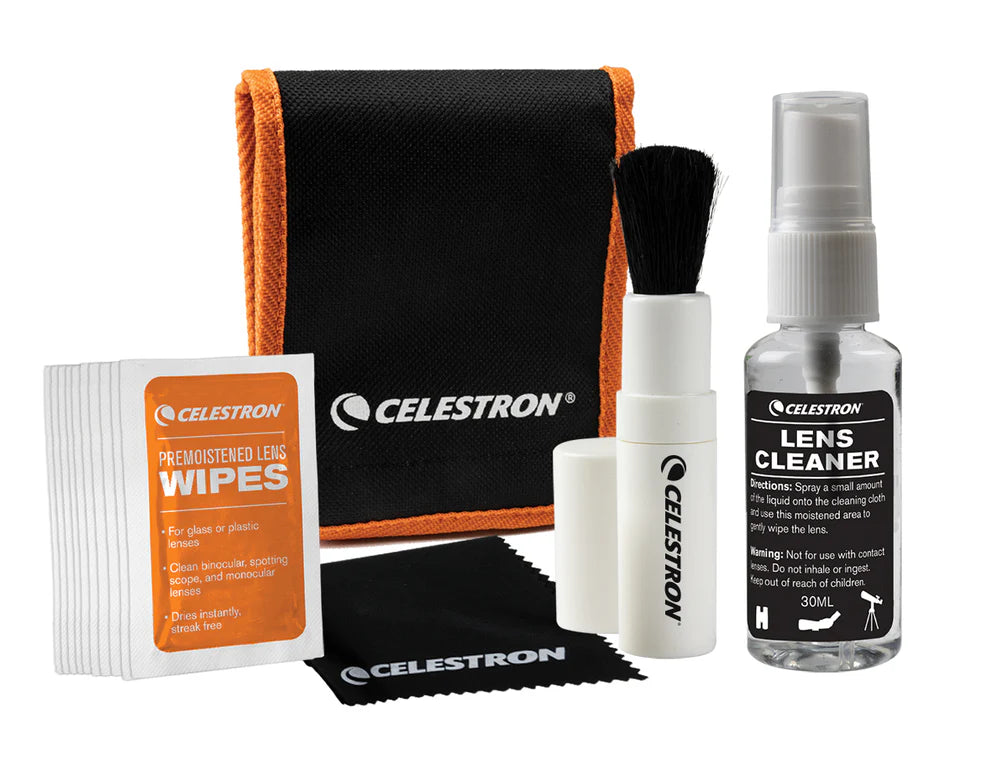
Required cleaning materials include warm tap water for initial rinse and soak, distilled or deionized water for the final rinse to prevent water spots, one drop of mild fragrance-free dish soap like Dawn, and isopropyl alcohol at 90 percent or higher mixed fifty-fifty with distilled water for stubborn oils. Acetone serves as an optional stronger solvent for tough grime. Bare fingertips are the safest cleaning tool, and cotton balls work well when changed frequently. A soft washcloth or padded sink liner protects the mirror during cleaning. A paper towel corner is essential for blotting water droplets without rubbing. A rocket blower removes lint or droplets without contact, and latex or nitrile gloves prevent new fingerprints.
Critical items to avoid include paper towels and tissues that scratch or leave lint, glass cleaners like Windex that destroy coatings, petroleum-based solvents that leave residues, tap water for the final rinse that causes mineral spotting, and high-pressure compressed air that can blast debris into the surface.
Removing the Primary Mirror Without Risk
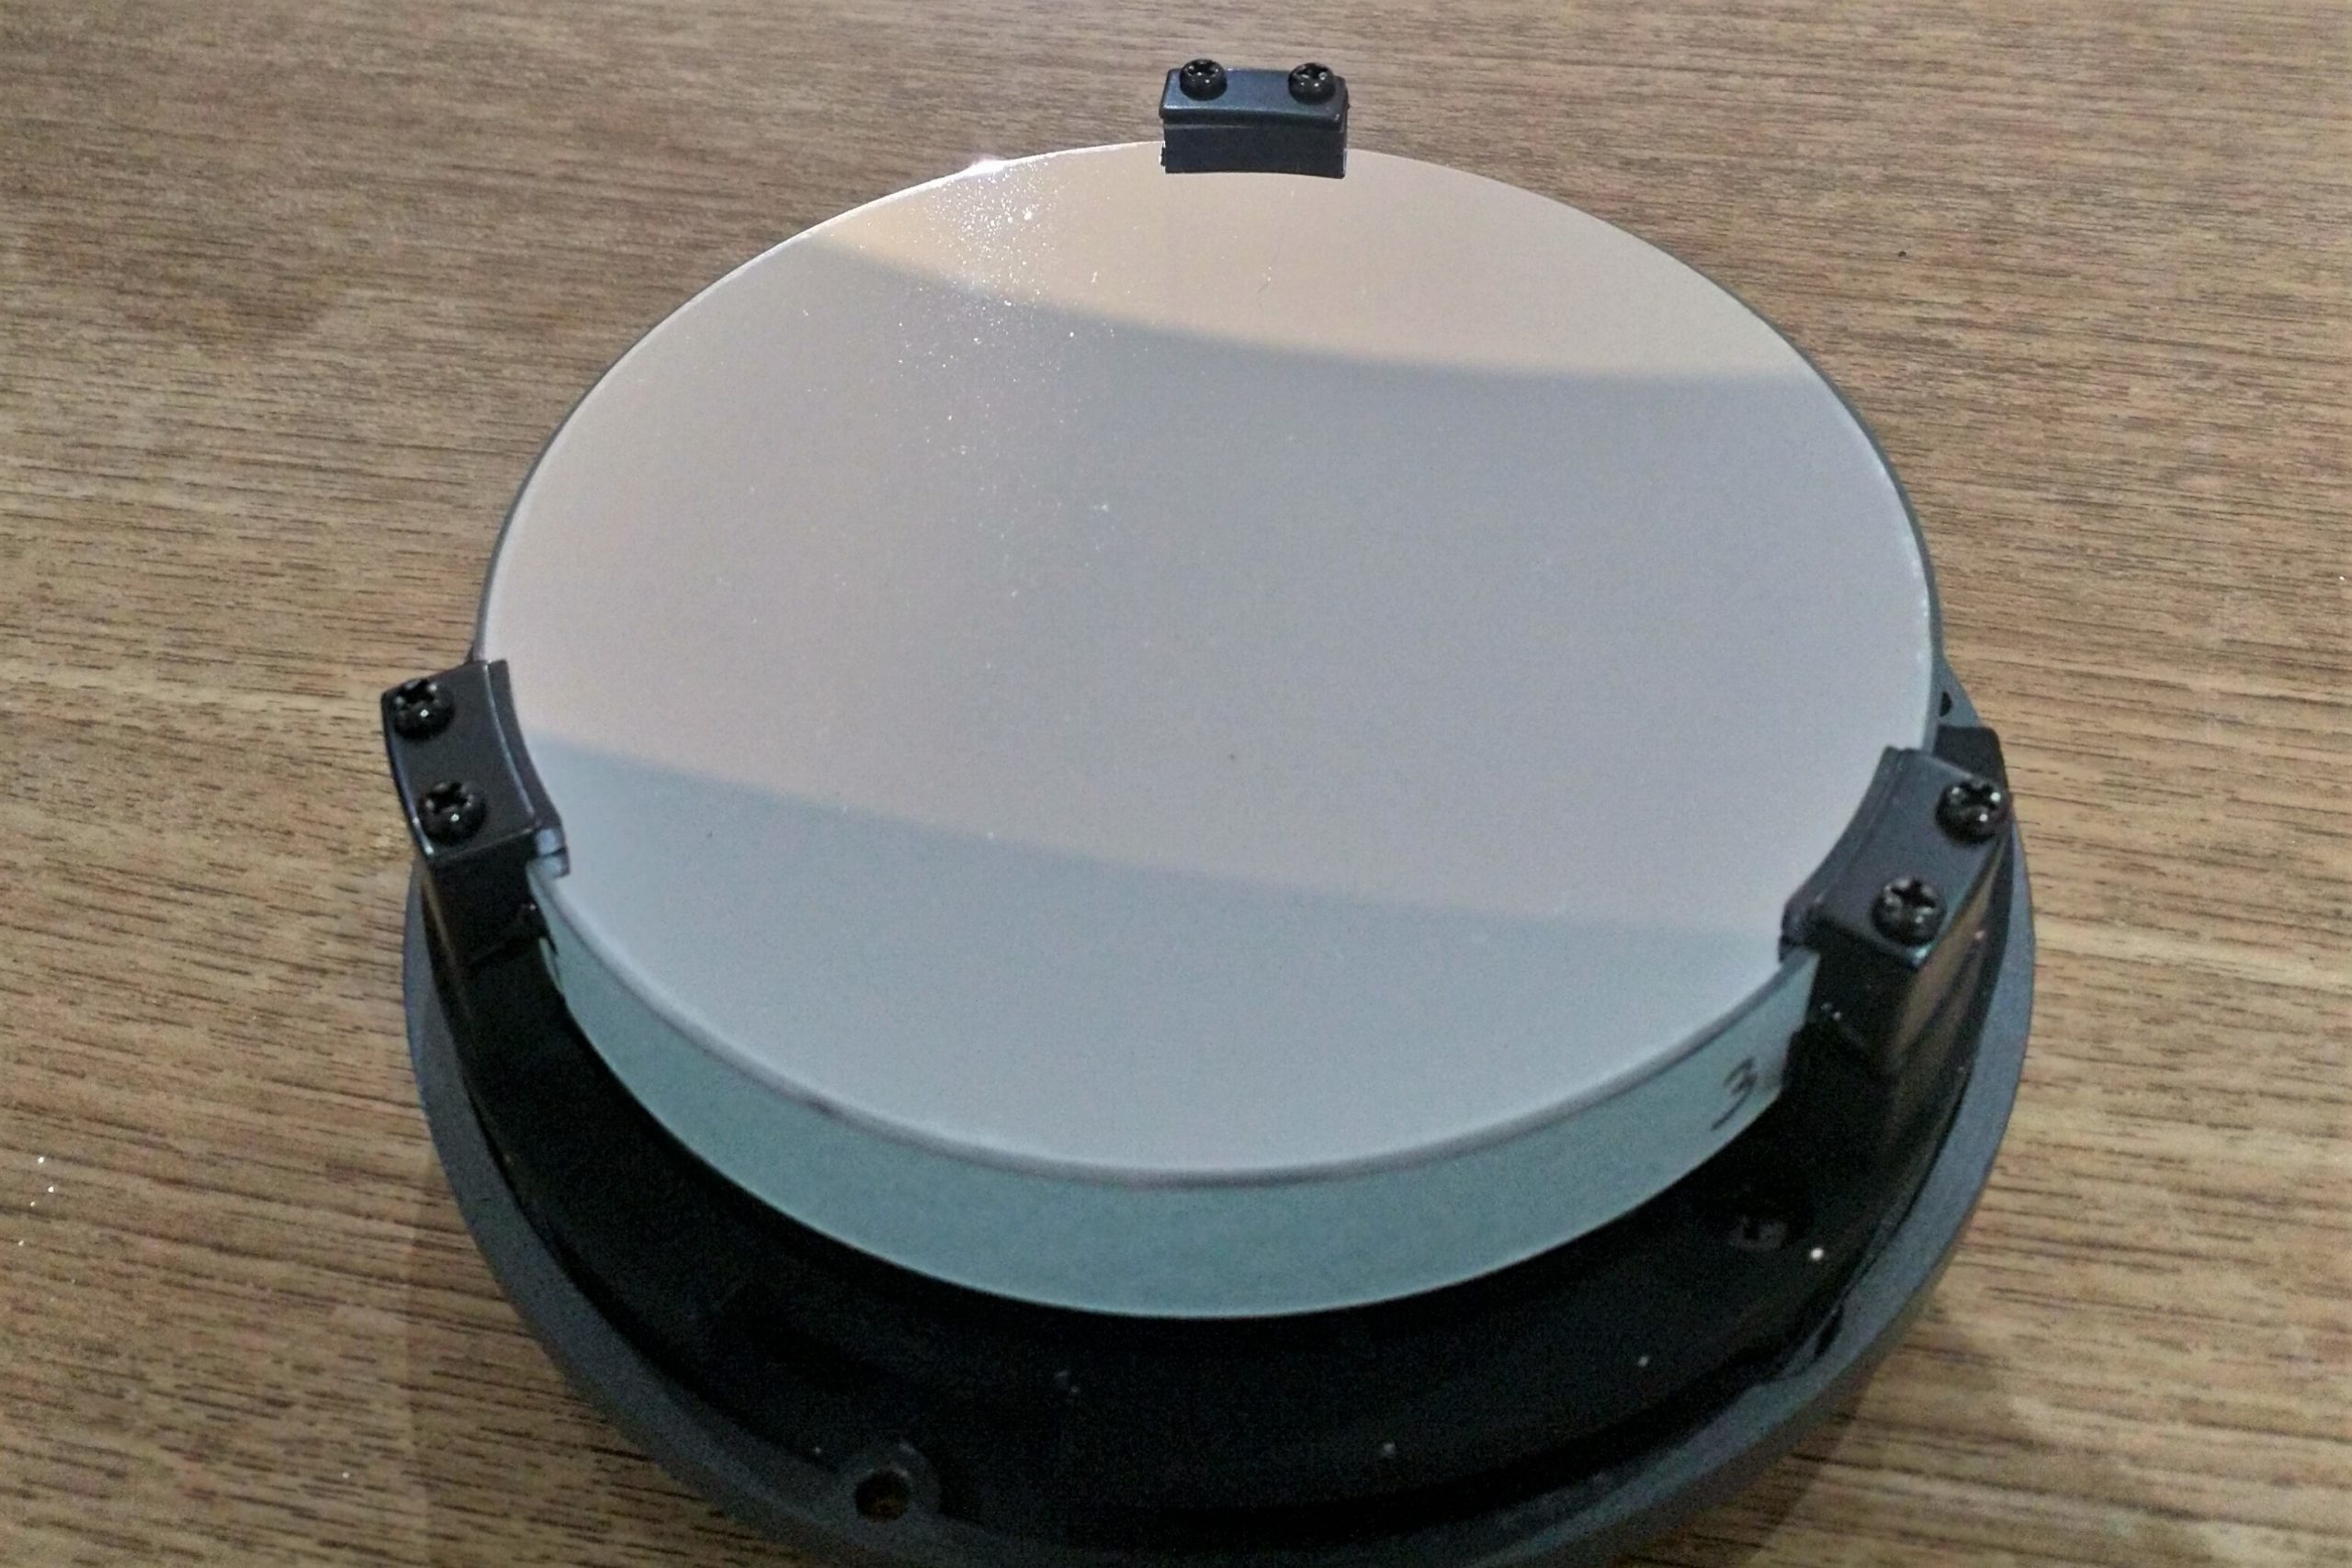
Before disassembly, mark the mirror and cell orientation using masking tape or a Sharpie. This helps with reassembly, though collimation will fix any alignment issues.
Loosen the screws holding the mirror cell to the telescope tube. Remove the L-shaped retaining brackets that hold the mirror in place with rubber cushions. Gently lift the mirror out while keeping it face-up at all times. Place it on a clean, soft towel to prevent scratches during the cleaning process.
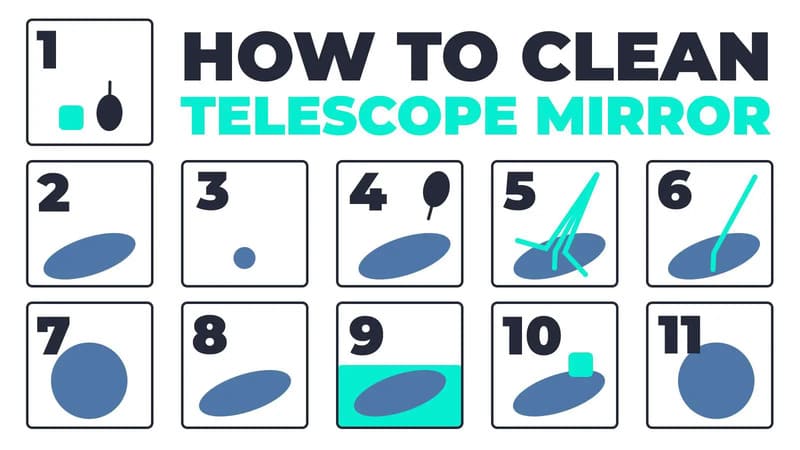
Step-by-Step Primary Mirror Cleaning
The finger-scrub method is recommended as the safest and most effective approach for most users.
Begin with an initial rinse by lining a sink or tray with a soft cloth and pouring warm tap water over the mirror to remove loose dust. Do not touch the surface during this step. Next, soak the mirror in warm water with one drop of dish soap for two to five minutes, which loosens grime without weakening center marker adhesive. Avoid soaking longer than thirty minutes.
Clean using the pads of your fingertips, rubbing in straight lines from center to edge. Apply almost no pressure, letting water and soap do the work. If you feel grit, stop immediately, rinse fingers and mirror, then resume. For oily spots, use a fifty-fifty mix of distilled water and ninety percent isopropyl alcohol with one drop of soap.
For stubborn residue, dip a cotton ball in pure acetone, wipe gently, then rinse immediately with distilled water. Acetone evaporates completely and leaves no residue, but use in a well-ventilated area.
An alternative method uses cotton balls in a grid pattern. Dip a cotton ball in lukewarm water with soap and a splash of IPA, then glide across the surface in vertical lines followed by horizontal lines. Use each cotton ball only once or twice and avoid touching the center marker.
The Critical Final Rinse and Drying Process
Rinse the mirror thoroughly with distilled or deionized water after cleaning. Remove the mirror from the soapy solution and pour distilled water over the entire surface. Repeat two to three times to ensure all soap and debris are gone. Some users prefer a dunk rinse by submerging the mirror in clean distilled water for ten seconds while gently rubbing with fingers.
For drying, hold the mirror on its edge to let water run off naturally. Use the corner of a paper towel or toilet paper to gently dab each droplet. Never wipe or rub, as this can scratch the coating. Let the mirror air dry in a dust-free area, then use a rocket blower to remove any remaining lint or stubborn droplets. A hair dryer on cool or low setting held at least twelve inches away works as an alternative.
Cleaning the Secondary Mirror
The secondary mirror can be cleaned using the same method, just with extra care due to its smaller size and more complex mounting.
Mark the secondary mirror position with tape before removal. Loosen the three alignment screws gradually, then remove the center bolt. Clean using fingertips or cotton balls in soapy water, rinse with distilled water, and blot dry. When reinstalling, do not over-tighten, as this warps the mirror and ruins collimation.
Reinstalling and Securing the Mirror Properly
Place the cleaned mirror back into the cell, aligning with orientation marks. Reattach the L-shaped retaining brackets and tighten just enough to allow a slight wiggle, about the thickness of a business card. Do not overtighten, as this causes pinched optics leading to star distortion, especially in cold weather. Reattach the cell to the telescope tube and secure the screws.
Center Marking and Collimation After Cleaning
Many mirrors have a black center marker for collimation, but black is nearly impossible to see under Cheshire tools. Upgrade to a reflective center spot using a paper reinforcement ring or a CatsEye reflective center spot. Apply with tweezers and tamp down with a pencil eraser. Choose white or yellow for better visibility under collimation tools.
Removing the primary mirror disrupts alignment, making re-collimation mandatory. Even slight misalignment causes blurry stars, coma, and poor focus. Use a Cheshire eyepiece or sight tube plus Cheshire combination like the Light Pipe, or a calibrated laser collimator. Collimate before every observing session, especially for Dobsonians, and check once per night during extended use.
Preventing Future Dirt and Damage
Protect your telescope with simple, effective measures. Use elastic shower caps on both ends of the telescope when not in use. Store indoors or under a plastic sheet. Avoid leaving the scope outside overnight without cover. In humid areas, use desiccant caps or silica gel packs.
Clean only when performance drops, not on a schedule. Average cleaning frequency is once per year, though coastal or dew-prone areas may need cleaning every six months.
Troubleshooting Common Issues
For stuck or rusty screws, apply mineral oil or WD-40 and let sit overnight. Use heat carefully to expand metal, or use a screw extractor for severe cases. Replace with stainless steel screws.
True fungal growth is rare but serious. If suspected, consult a professional rather than aggressive cleaning, which worsens damage. Minor coating defects like pinholes or dull patches do not significantly affect performance and can be tolerated.
When to Consider Recoating
Consider recoating when coating is flaking, corroded, or transparent in large areas, when reflectivity is visibly reduced, or when the mirror has suffered chemical etching. The process involves stripping the old coating using ferric chloride or green river solution, cleaning the glass substrate, and vacuum-depositing a new aluminum layer. DIY stripping is safe with proper gloves, goggles, and ventilation and prevents damage from improper professional stripping.
Key Takeaways for Cleaning Your Telescope Mirror
The most important rules are clean only when necessary, use distilled water for the final rinse, use fingertips or cotton balls never paper towels, blot water never rub, and always re-collimate after reinstallation. Never use glass cleaner or ammonia, never soak longer than thirty minutes, and never touch the center marker during cleaning.
With clean mirrors, you will notice noticeably brighter, higher-contrast views with sharper stars and finer detail. Proper maintenance extends coating life and restores reflectivity. Even beginners can clean a telescope mirror safely if it truly needs it. Remember the golden rule: if in doubt, do not clean it. When you do, follow this guide step by step, and your telescope will deliver crisp, clear views for years to come.
Frequently Asked Questions About Cleaning Telescope Mirrors
Can I use tap water to clean my telescope mirror?
Use tap water for the initial rinse and soak, but never use tap water for the final rinse. Tap water contains minerals that leave water spots on the mirror surface, which can affect optical performance. Always use distilled or deionized water for the final rinse to ensure a streak-free finish.
How often should I clean my telescope mirror?
Clean only when performance degrades, not on a fixed schedule. For most users, once per year is sufficient. In humid, dusty, or coastal environments, cleaning every six months may be appropriate. Over-cleaning increases the risk of scratches and coating damage.
What happens if I touch my telescope mirror with bare fingers?
Skin oils from fingerprints attract dust and can degrade the protective coating over time. If you touch the mirror, clean it promptly using the finger-scrub method. The coating can handle brief contact if cleaned quickly, but prolonged exposure to oils causes long-term damage.
Can I use paper towels to dry my telescope mirror?
Never use paper towels to wipe or rub the mirror surface. Use a paper towel corner only to gently blot water droplets. Paper towels contain fibers that can scratch the coating and leave lint. Let the mirror air dry or use a rocket blower for stubborn droplets.
Do I need to collimate after cleaning the mirror?
Yes, collimation is mandatory after any mirror removal or cleaning. Removing the primary mirror disrupts alignment, and even slight misalignment causes blurry stars, coma, and poor focus. Use a Cheshire eyepiece or laser collimator to restore proper alignment before observing.


