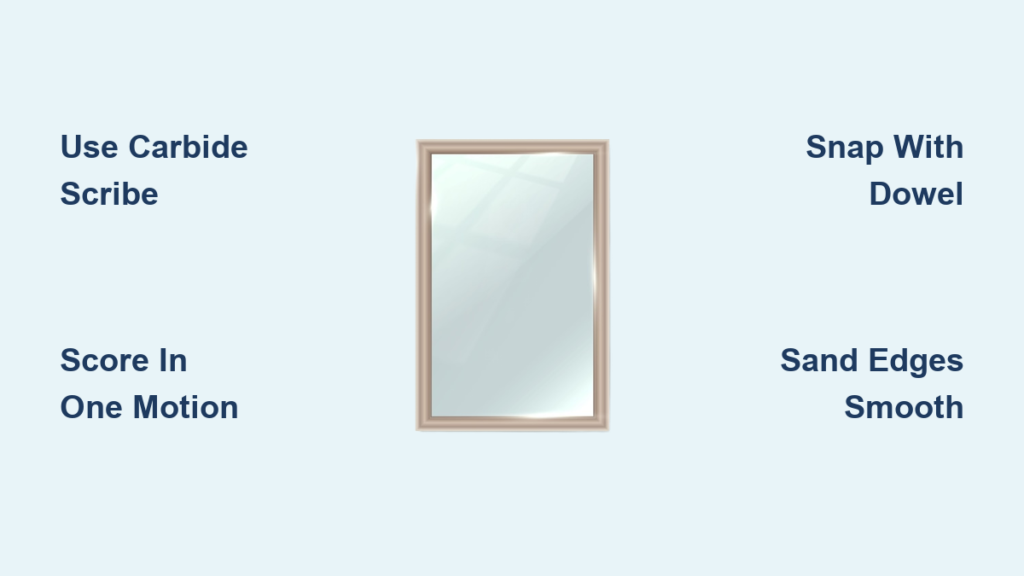
You don’t need a specialty tool to cut a mirror at home. With a carbide scribe, a wooden dowel, and the right technique, you can achieve clean, straight cuts using items you may already own. The science is simple: you score the glass to create a controlled weak point, then apply pressure to snap it cleanly along that line.
This guide covers five tested methods, from beginner-friendly scoring techniques to emergency thermal shock. You’ll learn which tools actually work, which ones to avoid, and how to stay safe while getting professional-looking results.
Choose the Best Tool for Cutting a Mirror Without a Glass Cutter

Carbide Scribe: The Top Glass Cutter Alternative
A carbide scribe is the single best substitute for a traditional glass cutter. Its tungsten carbide tip is harder than glass, allowing it to create a precise score line nearly identical to what a wheel cutter produces.
- Cost: Under $10 at most hardware stores
- Best for: Straight cuts on mirrors up to 1/4 inch thick
- Pro tip: Keep the tip clean of glass dust to maintain sharpness
Diamond-Tipped Scribe for Frequent Projects
If you plan to cut multiple mirrors or work with thicker glass, invest in a diamond-tipped scribe. Diamond is the hardest material available, so the tip stays sharp far longer than carbide.
- Cost: Around $20
- Best for: DIYers who want long-term durability
- Note: Apply firm, even pressure without pressing too hard
Hardened Steel File: A Budget Emergency Option
A triangular or riffler file made of hardened steel can scratch glass in a pinch. It’s less precise than carbide and may require 2–3 passes, but it works when nothing else is available.
- Technique: Drag firmly along the line multiple times
- Limitation: Results may be uneven
- Avoid: Soft steel files, which won’t score effectively
Rotary Tool with Diamond Bit for Curves
For custom shapes or curved cuts, a Dremel or rotary tool fitted with a diamond cutting wheel is the way to go. This method grinds rather than scores, so it removes more material but offers unmatched control for intricate designs.
- How to use: Run slowly with light pressure
- Must-do: Keep the area lubricated with water or oil
- Outcome: Less “snap,” more grind
Tools That Won’t Work for Cutting a Mirror
Razor Blades and Utility Knives
These tools lack the hardness to create a deep, continuous score. You’ll likely end up with jagged edges or no break at all. Only consider them in true emergencies with very thin glass.
Belt Sanders
A belt sander grinds rather than scores, removing too much material. It’s slow, imprecise, and better suited for smoothing edges after a cut.
Set Up Your Workspace for Safe Mirror Cutting
Essential Safety Gear
Cutting glass produces sharp shards and fine dust. Before you start, gather:
- Safety goggles with side shields
- Leather work gloves for handling scored edges
- Dust mask to avoid inhaling particles
- Long sleeves and closed-toe shoes
Create a Stable Cutting Surface
A wobbly table causes flexing, which causes shattering. Here’s how to set up properly:
- Use a flat, rigid surface like plywood on a sturdy base
- Cover it with 4–5 sheets of newspaper or a blanket to cushion the mirror
- Ensure the entire mirror lies flat with no overhang
Clean and Measure with Precision
Accuracy at this stage prevents wasted material:
- Wipe both sides with glass cleaner and a microfiber cloth
- Measure 3–4 times to confirm your dimensions
- Mark the cut line with a grease pencil or permanent marker
- Use a metal ruler as a straightedge and tape it down to prevent slipping
- Cut 2–4mm smaller than your frame for a snug, safe fit
Score the Mirror Correctly

Lubricate the Cut Line
Apply 4–5 drops of glass-cutting oil along the marked line and spread it evenly with your finger or a small brush. This reduces friction, prevents micro-cracks, and helps the tool glide smoothly. Water works in a pinch, but oil is better.
Make a Single, Smooth Score
This is the most critical step in learning how to cut a mirror without a glass cutter:
- Position the tool at one end of the line
- Hold at a 45-degree angle and press down firmly
- Draw in one continuous motion with no stops or retracing
- Listen for a crisp scratching sound, which signals a good score
- Check the line: A proper score looks like a shiny, silvery streak. A white, powdery mark means too much pressure or a dull tool
Stopping mid-cut ruins alignment and weakens the score. Hesitation is the leading cause of failed cuts.
Snap the Mirror Cleanly Along the Score Line
Dowel Method: Best for Straight Cuts
This technique delivers the cleanest break:
- Place a wooden dowel or metal rod under the mirror, aligned perfectly with the score line
- Position your hands on each side, directly over the dowel
- Apply even downward pressure with both palms
- The mirror should snap cleanly within seconds
If it doesn’t break on the first try, tap lightly along the score with a screwdriver handle to start the crack, then press at the top, middle, and bottom in sequence.
Table Edge Method: Simple Alternative
Align the scored line with the edge of your worktable. Hold the table-side section firmly and press down on the overhanging side until it snaps. This method carries a higher risk of chipping, so use it only when a dowel isn’t available.
Pliers for Small or Curved Cuts
Use glass running pliers (or regular pliers wrapped in cloth) to grip the edge near the score and twist gently. This works well for trimming corners or short cuts.
Smooth and Finish the Edges
Raw edges are dangerously sharp. Sand them immediately after cutting:
- Soak 200-grit wet-and-dry sandpaper in water for 10–15 minutes
- Wrap it around a sanding block or your finger
- Rub the edge in circular motions with light pressure
- Rinse often to clear glass dust
- Progress to 400-grit, then 800-grit for a polished finish
A successful cut has a straight, clean edge with minimal chips. If the edge is jagged, re-sand thoroughly or consider starting over with better technique.
Try Thermal Shock for Emergency Cuts
The string and fire method uses rapid temperature change to crack glass along a heated line. It’s best suited for bottles or true emergencies, as results on flat mirrors are unpredictable.
What You’ll Need
- Cotton string or yarn (never synthetic)
- Rubbing alcohol, acetone, or lighter fluid
- A lighter or match
- A bucket of ice-cold water
Steps
- Soak the string in flammable liquid until saturated
- Wrap it tightly around the mirror at the cut line
- Light one end and let it burn completely (about 30 seconds)
- Immediately dunk the mirror into the ice water
- The thermal shock should split the glass along the heated line
Synthetic string melts and sticks to the glass, so always use natural fibers. Have a fire extinguisher nearby.
Know What You Cannot Cut
Never Cut Tempered Glass
Tempered glass shatters explosively if scored. Most shower doors, car mirrors, and safety glass fall into this category. Look for a stamp in the corner reading “Tempered” or “Temper.” If you see it, do not attempt to cut.
Avoid Thick Mirrors
Mirrors over 1/4 inch (6mm) thick resist clean breaks and often fracture unpredictably. Without professional wet saws, you’re better off leaving these to a glass shop.
Troubleshoot Common Cutting Problems
The Cut Won’t Snap
The score is likely too shallow or the pressure was uneven. Re-score with more pressure, tap along the line with a screwdriver handle, and confirm the dowel is perfectly centered.
Jagged or Uneven Edge
You probably stopped mid-score or used inconsistent pressure. Sand thoroughly and commit to one smooth motion on future cuts.
The Mirror Shattered
Too much pressure during scoring, tempered glass, or an uneven work surface are the usual culprits. Always verify the glass type, ensure full support underneath, and ease up on pressure.
Compare Your Cutting Options

| Method | Precision | Best For | Risk Level | Cost |
|---|---|---|---|---|
| Carbide Scribe | High | Straight cuts | Low | $ |
| Diamond Scribe | High | Frequent use | Low | $$ |
| Steel File | Medium | Emergency | Medium | $ |
| Dremel + Bit | High (curves) | Shapes | Low | $$ |
| String & Fire | Low | Bottles/emergency | High | $ |
Frequently Asked Questions About Cutting a Mirror Without a Glass Cutter
Can you cut a mirror with a razor blade?
A razor blade can scratch glass, but it’s generally not hard enough to create a deep enough score for a clean break. You’ll likely end up with jagged edges or no break at all.
What is the easiest way to cut glass at home?
Using a handheld carbide scribe with a straightedge guide is the easiest and most reliable method for beginners. Pair it with the dowel snapping technique for the best results.
Can you cut tempered glass?
No. Tempered glass cannot be cut, drilled, or altered after manufacturing. Any attempt to score it will cause it to shatter completely into small granules.
How do you smooth the edges of a cut mirror?
Use wet-and-dry sandpaper starting with 200-grit and progressing to 800-grit. Soak the paper in water first, then rub the edges in circular motions until smooth.
Is it safe to cut a mirror while it’s still on the wall?
No. Cutting a mirror on the wall is extremely dangerous. Shattered glass can fall and cause serious injury. Always remove the mirror and lay it flat on a stable surface.
How do you cut a hole in a mirror without a glass cutter?
Drilling a hole requires a diamond or carbide-tipped drill bit designed for glass. Keep the area wet with water or oil to prevent overheating and cracking.
Final Thoughts on Cutting a Mirror Without a Glass Cutter
Cutting a mirror without a glass cutter is entirely possible when you use the right tools and technique. A carbide scribe paired with the dowel method delivers the most reliable results for straight cuts on mirrors up to 1/4 inch thick. Methods like thermal shock or rotary tools have their place, but they require more caution and skill.
The three keys to success are preparation, precision, and safety. Clean your mirror thoroughly, measure multiple times, lubricate the cut line, and always wear protective gear. Practice on scrap glass if you’re new to the process.
Your next step is simple: gather your supplies, set up a stable workspace, and make your first score on a practice piece. Once you see how cleanly the snap happens, you’ll have a skill you can use for every framing and crafting project that comes your way.