
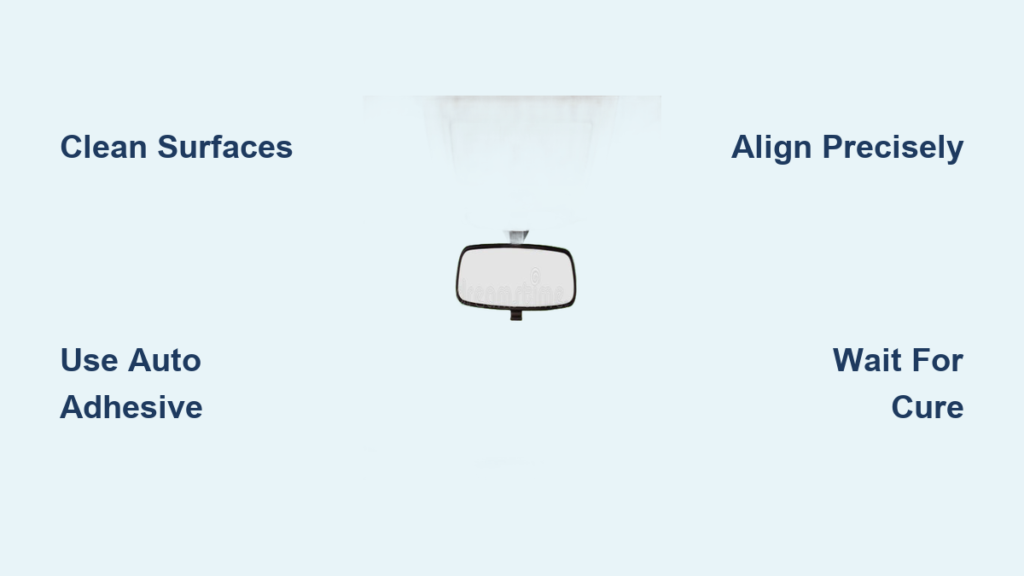
A loose or dangling interior car mirror isn’t just annoying. It compromises your safety every time you drive. Without a stable rear-view mirror, checking traffic behind you becomes risky, especially during lane changes or sudden stops. The good news is that reattaching a detached interior mirror is a fast, affordable DIY fix that takes less than an hour and costs under $15. Whether your mirror popped off due to heat, vibration, or someone bumping it, this guide shows you how to securely reattach it using the right tools and techniques.
Diagnose the Problem Before Buying Supplies
Not all mirror detachments require the same repair approach. Understanding exactly what failed saves time and money.
Check If the Mounting Button Is Still Attached
Inspect your windshield’s top center. If a small metal disc remains glued to the glass, your repair only requires reattaching the mirror itself. This is the most common scenario and the easiest fix.
Visual cue: A clean, circular metal button embedded in the glass means the original mount is intact.
Determine If the Button Came Off Too
If the button detached along with the mirror, you will need to re-bond it to the glass first. This requires precise alignment and proper surface prep, but it is still a DIY-friendly job.
Warning: Never drill or screw into the windshield. Structural damage can lead to cracks or failure in a collision.
Identify Advanced Mirror Features
Look for wires, buttons, or digital displays on the mirror housing. These indicate features like auto-dimming, compass, or ADAS. If your mirror powers safety systems like lane departure or forward collision warning, professional recalibration is required after reattachment.
Pro tip: Check your dashboard after reinstallation. If warning lights appear, visit a certified shop for calibration.
Gather the Right Tools and Materials
Using improper adhesives like super glue or epoxy leads to quick failure. Use only automotive-grade products designed for vertical glass bonding.
Essential Repair Kit Items
You will need specific materials to ensure a lasting bond. Gather these items before starting:
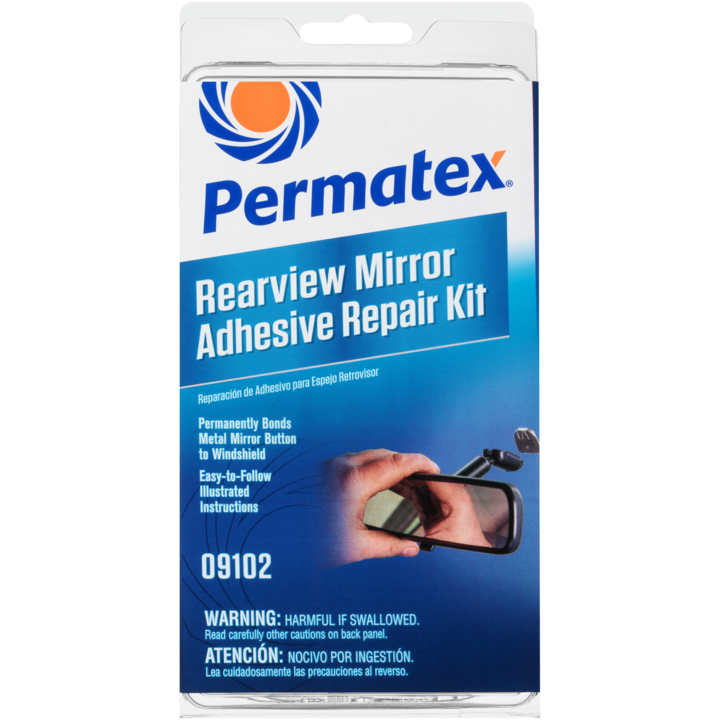
- Automotive mirror adhesive kit (Permatex, Loctite PL 7700, or 3M)
- Adhesion promoter towelette or liquid
- Single-edge razor blade or scraper
- Isopropyl alcohol (91% or higher)
- Lint-free cloths
- Small flat-head screwdriver
- Masking tape or wax crayon
- Pipette or applicator tip
- Gloves and safety glasses
Avoid household glues: Super glue becomes brittle, epoxy cracks under stress, and Gorilla Glue expands and oozes. None are safe or durable on glass.
Optional but Helpful Items
A heat gun or hair dryer helps warm the glass to soften old adhesive. A support block holds the mirror during curing. The defroster maintains ideal temperature during application.
Best value: Permatex Rear View Mirror Adhesive Kit includes all essentials and costs under $10 at AutoZone or O’Reilly.
Remove the Mirror from the Mounting Button
Start by detaching the mirror housing so you can access the bond point.
Locate the Release Mechanism
Flip the mirror down. Between the mirror base and the metal button, look for a small gap where plastic clips or a spring-steel lock holds it in place.
Use a Flat-Head Screwdriver to Release
Insert the tip gently into the gap. Apply light upward pressure to disengage the locking mechanism. You should feel a slight pop or click.
Key detail: The metal button stays on the windshield unless damaged. Only remove it if corroded or loose.
User tip: If the mirror will not release, do not force it. It may be stuck from grime. Clean around the joint first.
Prepare the Windshield Surface Properly
Proper prep ensures long-term adhesion. Cold, dirty, or oily glass causes bond failure.
Warm the Windshield to 50-75°F (10-24°C)
Turn on the defroster or park in sunlight. Adhesive will not cure correctly on cold glass. Avoid direct sun that heats the glass above 100°F (38°C), which can cause bubbling.
Mark the Original Mounting Position
Use masking tape on the outside of the windshield to mark where the button sits. For ADAS mirrors, precision matters. Misalignment by even 2 mm can disrupt safety systems.
Alignment tip: If your windshield has a black ceramic frit band (dark dotted area at the top), center the button within it.
Remove Old Adhesive Residue Thoroughly
Leftover glue prevents a clean bond. Remove it carefully to avoid scratching the glass.
Scrape Off Residue with a Razor Blade
Slide a single-edge blade behind the button. Gently scrape the glass and the back of the metal disc until both surfaces are smooth and flat.
Critical: Do not gouge the glass. Use light pressure and change blades if they snag.
Address a Removed or Damaged Button
If the button came off completely, inspect it. Replace it if corroded, bent, cracked, or deformed, or if it failed repeatedly in the past.
Replacement note: New buttons cost $5-$15 and bond just like the original.
Clean Both Bonding Surfaces
Contamination is the number one cause of adhesive failure. Even fingerprints can weaken the bond significantly.
Wipe with Isopropyl Alcohol (91% or Higher)
Soak a lint-free cloth and clean the windshield area where the button will go and the back of the metal button. Wipe in one direction. Do not rub in circles. Let both surfaces dry completely.
Do not touch either surface after cleaning. Oils from your skin reduce adhesion by up to 60%.
Apply the Adhesion Promoter
This step is often skipped, but it is essential for durability.
Use the Activator Pad from the Kit
Peel back half the film on the promoter towelette. Align it with the marked spot and wipe once in a straight line.
Never blow on or wipe over the promoter. Let it dry naturally for 1-2 minutes.
Why it matters: Promoters increase bond strength by up to 40%. Skipping this reduces lifespan from years to weeks.
Apply Mirror Adhesive Correctly

Precision matters. Too much glue causes mess. Too little leads to failure.
Put One Drop on the Button, Not the Glass
Use the pipette to apply 0.5 mL (one drop) of adhesive to the center of the metal button only.
Never apply adhesive directly to the windshield. This makes alignment harder and risks oozing into view.
Adhesive types that work: Urethane-based (Loctite PL 7700) or two-part acrylic (Permatex).
Shear strength after cure: Over 1,000 psi, strong enough to last 5-10 years.
Reinstall the Mounting Button
Now secure the button back in place.
Press Firmly onto the Marked Spot
Align the button with your tape guide. The rounded side faces up. The flat side bonds to the glass.
Wrong orientation (flat side up) increases stress on the windshield and risks cracking.
Apply even pressure for 30-60 seconds. A slight rocking motion helps spread the adhesive.
Do not reposition after contact. If misaligned, remove and start over.
Allow 30-60 Minutes for Initial Cure
Patience ensures strength.
Wait Before Reattaching the Mirror
The minimum hold time is 30 minutes. Full strength develops after 24 hours. Avoid driving or touching the button during initial cure. Cold or humid conditions may require longer.
Temperature resistance: Properly cured adhesive handles -40°F to 194°F (-40°C to 90°C).
Reattach the Mirror Housing
Now snap the mirror back into place.
Slide and Press Until It Clicks
Start from the top of the button and push the mirror housing downward. You should hear a distinct click. This means the spring-steel lock has engaged.
Like a Chinese finger trap: The harder you push, the tighter it grips.
Test for Stability
Gently wiggle the mirror. There should be zero play. If it feels loose, remove and reseat with firmer pressure.
Common mistake: Incomplete engagement. Push until you feel resistance and hear the click.
Final Inspection and Safety Check
Before driving, verify everything works.
Verify Secure Attachment
Check that there is no wobble when gently shaken, clear rear visibility, mirror adjusts smoothly and holds position, no adhesive oozing into view, and electrical connectors (if any) are plugged in.
For ADAS Mirrors: Recalibrate Professionally
Even perfect reattachment may trigger dashboard warnings. Systems like lane departure or auto-high beams rely on pixel-perfect alignment.
Calibration types: Static (done in-shop with visual targets) or dynamic (performed while driving on specific roads).
Cost: $100-$300 at dealerships or glass shops. Worth it for safety.
When to Replace Instead of Repair
Some situations require new hardware.
Replace the Mounting Button If It Is Corroded
Replace the button if it is bent, cracked, or if adhesive fails repeatedly.
Replace the Entire Mirror If the Glass Is Shattered
Replace the mirror if internal electronics (like auto-dimming) are dead or if it is an ADAS unit with physical damage.
DIY cost: $10-$50 for mirror glass replacement. Professional ADAS replacement costs $200-$600+ (includes calibration).
Troubleshoot Common Issues
Fix problems fast with these solutions.
Mirror Falls Off Shortly After Repair
Poor cleaning or wrong adhesive causes this. Re-clean with alcohol, use proper automotive adhesive and promoter.
Mirror Feels Loose or Wobbly
Incomplete locking mechanism engagement causes this. Remove and reseat with firm downward pressure until you hear a click.
ADAS Warnings Appear on Dashboard
Misalignment or uncalibrated system causes this. Visit dealership or certified repair center for recalibration.
Adhesive Oozes Out Around the Button
Too much glue applied causes this. Use only one drop. Wipe excess immediately with alcohol before it cures.
Button Will Not Stay in Place
Cold glass or insufficient hold time causes this. Warm windshield. Press and hold for 60 seconds with firm pressure.
Professional vs. DIY: Which Is Better
Choose based on your mirror type and comfort level.
DIY Works Best For Non-ADAS Mirrors
DIY saves cost (under $15) and takes 30-60 minutes. This works with basic hand tools available.
Success rate: Near 100% when using proper materials and steps.
Professional Service Recommended For ADAS Mirrors
Professional service is recommended for ADAS-equipped mirrors, uncertainty about alignment, need for calibration tools, or warranty or insurance coverage.
Time and cost: $50-$150, 1-2 hours with appointment.
Prevent Future Detachments
Keep your mirror secure long-term.
Avoid Hanging Items from the Mirror
Air fresheners, toll tags, or decorations add weight and stress the adhesive. Even 2-3 ounces can cause failure over time.
Do Not Adjust the Mirror by Yanking
Use smooth motions. Forcing it during cargo loading or seat adjustment can dislodge the bond.
Park in Shade When Possible
Prolonged UV exposure and extreme heat accelerate adhesive aging. Tinted windshields help reduce thermal cycling.
Clean Around the Mount Regularly
Dust and grime trap moisture, which can degrade the bond. Wipe the area during routine windshield cleaning.
Frequently Asked Questions About Fixing Interior Car Mirrors
How Long Does It Take to Fix a Detached Car Mirror?
The actual repair takes 30-60 minutes, including prep and cure time. However, you should wait 24 hours before driving at highway speeds for full adhesive strength to develop.
Can I Use Regular Glue to Reattach My Car Mirror?
No. Regular household glues like super glue, epoxy, or Gorilla Glue fail on glass. You must use automotive-grade mirror adhesive specifically designed for vertical glass bonding. These products flex with temperature changes and resist vibration.
Why Does My Interior Mirror Keep Falling Off?
Repeated detachment usually results from improper surface preparation, using the wrong adhesive, or excessive weight on the mirror. Clean surfaces thoroughly with alcohol, use adhesion promoter, and avoid hanging air fresheners or decorations.
Do I Need to Recalibrate My Mirror After Reattachment?
If your mirror has ADAS features (lane departure, auto-high beams, forward collision warning), professional recalibration is required. Even slight misalignment can disable safety systems or trigger dashboard warning lights.
What Happens If I Drive Without a Functional Rear-View Mirror?
Driving without a rear-view mirror is unsafe and illegal in many states. It reduces situational awareness, increases collision risk during lane changes, and may result in fines or citations during traffic stops.
Key Takeaways for Fixing Your Interior Car Mirror
Fixing a detached interior car mirror is one of the easiest and most impactful DIY repairs you can make. With the right adhesive, clean surfaces, and patience during cure time, your mirror will stay put for years. For standard models, this fix restores safety and legality in under an hour. For ADAS mirrors, DIY reattachment is possible, but always follow up with professional calibration. Stay safe, drive visible, and keep your mirror exactly where it belongs: right in the center of your rear view.


