
Trying to drill a hole in a mirror can feel like a high-stakes DIY gamble. One wrong move and you are left with a shattered reflection and possibly a trip to the emergency room. But if done correctly, it is possible to make a clean hole in a mirror without cracking it. The key is using the right tools, techniques, and mindset: slow, cool, and steady wins the race.
This guide walks you through everything you need to know about drilling holes in mirrors, but only if it is safe and feasible. You will learn how to identify whether your mirror can even be drilled, what tools actually work, and the exact steps professionals use. More importantly, you will discover when not to attempt it and what safer alternatives exist.
Let us start with a hard truth: if your mirror is tempered, stop now. No drill bit, no technique, no amount of YouTube tutorials will save it from exploding. But if it is standard float glass and unmounted, you might have a shot with the right approach.
Confirm It Is Not Tempered Glass
Tempered glass cannot be cut or drilled after manufacturing. Any attempt will cause it to shatter completely. Before touching a drill, verify your mirror is not tempered.
How to Identify Tempered Mirrors
Check the corner for an etched label saying Tempered or a certification mark. Observe the color, as tempered glass often has a slight green or gray tint, especially at the edges. Consider the location, as tempered mirrors are common in gyms, bathrooms, shower enclosures, or commercial spaces. Perform a reflective pattern test by holding a credit card or pen near the surface. If you see a wavy or distorted double reflection, it may be tempered.
Rule of thumb: If you are unsure, assume it is tempered and do not drill.
Gather the Right Tools
![]()
Using the wrong bit is the number one reason DIYers fail and break mirrors. Standard drill bits destroy glass on contact.
Choose the Correct Drill Bit
| Bit Type | Best For | Why It Works |
|---|---|---|
| Tungsten carbide spear-tip | Small holes (3 to 10 mm) | Grips smooth glass without skating |
| Diamond-coated (solid or hollow) | Large or precision holes | Cuts cleanly with water cooling |
| TIMco Addax | General-purpose glass drilling | Cross-ground tip prevents slipping |
| Builder Brand | Budget-friendly home use | Reliable for 5 to 8 mm holes |
Avoid: Masonry bits, metal bits, or hammer drills. They will crack the mirror instantly.
Required Equipment List
• Variable-speed drill (100 to 400 RPM)
• Rotary-only mode (no hammer function)
• Masking tape
• Spray bottle or syringe (for water cooling)
• Clamps or suction cups (to secure mirror)
• Padded work surface (foam, towel, or wood)
• Safety goggles and gloves
Pro tip: Use an acrylic mirror under your drill to align the bit perpendicularly. When the real and reflected bit line up perfectly, you are at 90 degrees.
Prepare the Mirror and Work Area
Remove Mirror From Wall
Never drill a mounted mirror. It is under stress from adhesives, framing, or wall tension, making cracks almost inevitable. Take it down carefully. Lay it flat-side up on a soft, stable surface. Ensure the back is accessible and protected.
Mark the Drilling Spot
Clean the surface with rubbing alcohol. Apply a strip of masking tape over the target area. Use a fine-tip marker to mark the center through the tape.
Why tape: Prevents chipping, reduces bit skating, and absorbs minor vibrations.
Start Drilling With Control
Set Drill to Low Speed
Use 100 to 400 RPM, no higher. Apply gentle, consistent pressure. Let the bit do the work. Do not force it.
Maintain Perpendicular Alignment
Keep the drill perfectly vertical. Misalignment creates uneven stress and cracks. Use the mirror alignment trick for precision.
Warning: Any wobble or angle shift increases failure risk dramatically.
Cool the Bit Continuously

Use Water to Prevent Overheating
Friction generates heat, which expands the glass locally and causes thermal shock. Drip water continuously onto the drilling site. Options include spray bottle, syringe, or clay dam to pool water. Never let the bit run dry for more than five seconds.
Cooling benefits: Prevents cracking, flushes away glass dust, and extends bit life.
Break Through and Finish Cleanly
Penetrate Slowly
Once the bit starts to break through, reduce pressure. Let it exit naturally. Do not push hard. Withdraw the bit slowly to avoid chipping the backside.
Smooth the Edges
Wipe away slurry with a damp cloth. Lightly sand edges with fine-grit wet/dry sandpaper or emery cloth. Round all sharp corners to prevent future cracking.
Note: Hand sanding will not match professional polish, but it removes dangerous edges.
Make Larger or Non-Round Holes
Drill Big Round Holes (3 to 4 Inches)
For outlets, fixtures, or TV mounts, use a diamond-coated hole saw. Attach a water delivery system. Drill at low RPM with constant cooling. Support the core as it exits to prevent drop-out cracks.
Cut Square or Rectangular Openings
Only attempt this if you are experienced. Use a Dremel with a diamond cutoff wheel. Draw the shape on the mirror with a marker. Cut halfway through from one side, then flip and complete. Never score and snap, as glass will crack unpredictably.
Round All Corners
Sharp internal corners are stress points. Use a small file or grinding bit to radius every corner. Even 1 to 2 mm of rounding prevents long-term cracking.
Reality check: This process takes hours and requires extreme patience.
Know When to Call a Pro
Why Professionals Succeed Where DIY Fails
Glass shops use tools most homeowners do not have. Diamond trepan cutters create fast, clean holes. CNC machines ensure perfect placement. Edge polishing equipment provides safety and aesthetics.
Example: A 4 foot by 6 foot mirror with two 4-inch holes and polished edges costs about $150 to $225 professionally, versus risking a $300 mirror and personal injury.
Explore Safer Alternatives
Mount TV Without Drilling
Ceiling drop mount: Remove ceiling tile, attach bracket to joists above, and hide cables in the ceiling cavity. This is reversible and invisible.
Behind-the-mirror frame: Remove one panel, build a recessed box behind it, and install the TV. Replace with a two-way mirror on a hinge for a mirror when off, clear when on effect.
Floor or pedestal stand: Use a tall TV stand. No wall modification is needed, and it is fully portable.
Projector setup: Project onto a screen behind a transparent panel. It looks like a mirror when off, and zero drilling is required.
Expert verdict: If you have to ask, you do not have the tools or skills.
Avoid These Critical Mistakes
• Drilling tempered glass results in explosive shattering and severe lacerations.
• Using hammer mode creates microfractures instantly, and even brief activation can ruin the mirror.
• Dry drilling with no cooling causes rapid overheating and cracks.
• Overtightening mounts puts pressure on the glass that cracks it over time. Always use plastic spacers or rubber gaskets.
True story: One user is friend tried drilling a mounted mirror. It broke, and a shard cut his forearm to the bone. He nearly bled out.
Final Tips for Success
Best Practices Summary
• Only drill unmounted, non-tempered mirrors
• Use glass-specific bits and low RPM
• Apply tape, water, and gentle pressure
• Practice on scrap glass first
• Round all internal corners
• Use spacers when mounting hardware
When to Walk Away
The mirror is tempered, mounted, or large and expensive. You lack proper tools or experience. The cost of failure outweighs professional service.
Golden rule: It takes special bits, and most importantly a special know-how, that can only be had by breaking a lot more mirrors than the price difference will get you.
Frequently Asked Questions About Drilling Holes in Mirrors
Can you drill a hole in any mirror?
No. You can only drill holes in unmounted, non-tempered mirrors. Tempered glass will shatter completely if drilled, and mounted mirrors are under stress that makes cracking almost certain.
What is the best drill bit for mirror glass?
Tungsten carbide spear-tip bits or diamond-coated bits work best. The TIMco Addax is a popular choice for small holes, while diamond-coated hole saws work for larger openings.
How do you keep a mirror from cracking when drilling?
Use low speed (100 to 400 RPM), apply continuous water cooling, use glass-specific bits, and never use hammer mode. Keep the drill perfectly perpendicular and apply gentle, steady pressure.
Can I drill a hole in a mounted bathroom mirror?
It is strongly discouraged. Installed mirrors have stress from adhesives and wall tension. Without rear support and proper tools, cracking is nearly inevitable.
How much does professional mirror drilling cost?
Professional glaziers charge about $150 to $225 for a standard mirror with two 4-inch holes and polished edges. This is often safer than risking an expensive mirror yourself.
What is the safest alternative to drilling holes in mirrors?
Ceiling mounts, floor-standing TV stands, or hidden mounting systems behind the mirror are the safest options. They require no drilling into the glass and eliminate the risk of cracking.
Key Takeaways for Drilling Holes in Mirrors
Drilling a hole in a mirror is possible but risky. With the right tools and patience, small holes in unmounted mirrors can succeed. But for most people, hiring a glazier or choosing a no-drill alternative is safer, cheaper, and smarter.
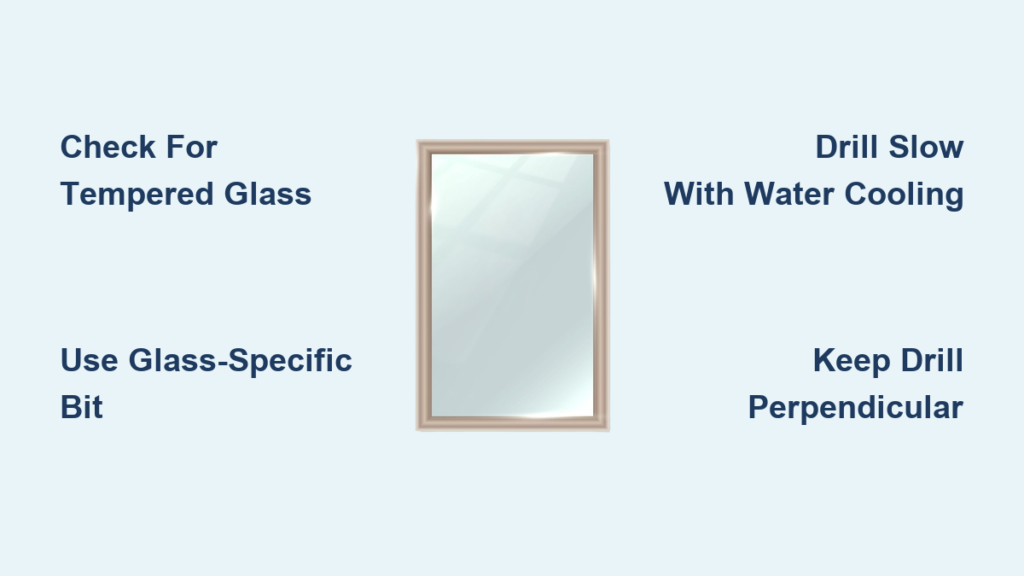
The most critical steps are confirming your mirror is not tempered, using glass-specific drill bits, maintaining low speed with continuous water cooling, and keeping the drill perfectly perpendicular. Never use hammer mode, and always work with the mirror unmounted and flat on a stable surface.
If you lack proper tools, experience, or confidence, walk away. The cost of professional service or alternative mounting methods is far less than replacing a shattered mirror or dealing with injuries. Your reflection and fingers will thank you.


