
You’ve dropped a mirror, spotted a hairline crack spreading across the glass, or inherited a vintage piece with a shattered surface. Instead of tossing it, what if you could turn that flaw into a masterpiece? Painting a broken mirror is not only a safe and creative solution, it’s a powerful act of transformation. With the right materials and techniques, you can convert damaged glass into expressive wall art that tells a story, sparks conversation, or adds unique character to your space.
This guide walks you through every step: stabilizing cracks, preparing the surface, choosing themes, painting with precision, and sealing for longevity. Whether you’re drawn to nature scenes, emotional symbolism, or kintsugi-inspired gold repairs, you’ll learn how to safely repurpose your broken mirror into a one-of-a-kind artwork.
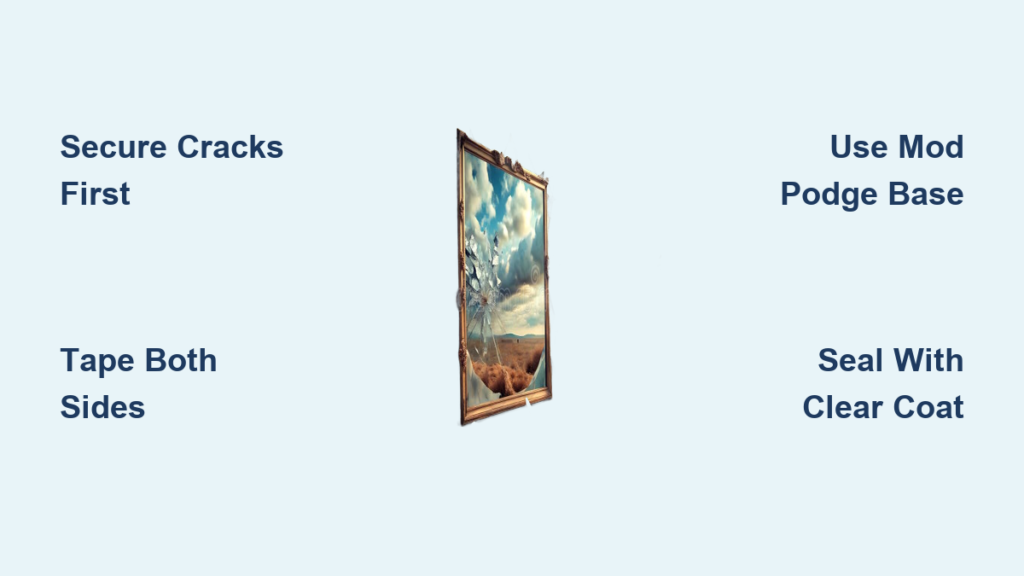
Secure and Stabilize Your Broken Mirror First
Before paint touches glass, ensure the mirror is safe to handle. Cracked mirrors pose sharp risks and may worsen during handling if not secured first.
Identify the Crack Type
Hairline cracks are thin, stable fractures that work well for painting over. Spiderweb cracks feature radiating fractures that can be stabilized or used as artistic elements. Loose shards are glass pieces that move or rattle, and these must be removed carefully before proceeding.
Tape Both Sides of Cracks
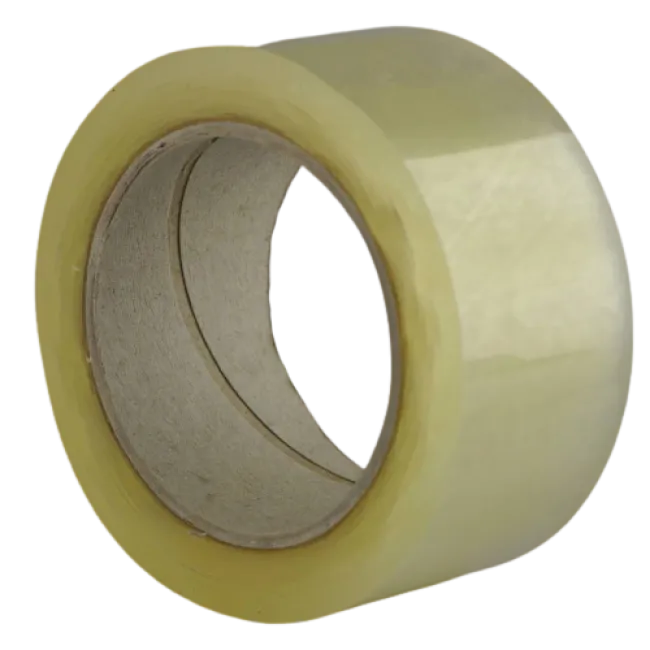
Use clear packing tape to cover the crack on front and back. Apply strips perpendicular to the crack for maximum reinforcement, and overlap tape slightly to prevent spreading during handling.
Clean the Surface Thoroughly
Wipe with glass cleaner or mild soapy water, then dry completely. Any residue affects paint adhesion. Avoid ammonia-based cleaners if using tissue paper or Mod Podge later.
Warning: Never attempt to paint over a mirror with loose or protruding glass without first securing or removing it.
Create a Paint-Ready Surface on Glass
Glass is slick and non-porous, making paint prone to peeling. You must create a surface that holds pigment securely before you start painting a broken mirror.
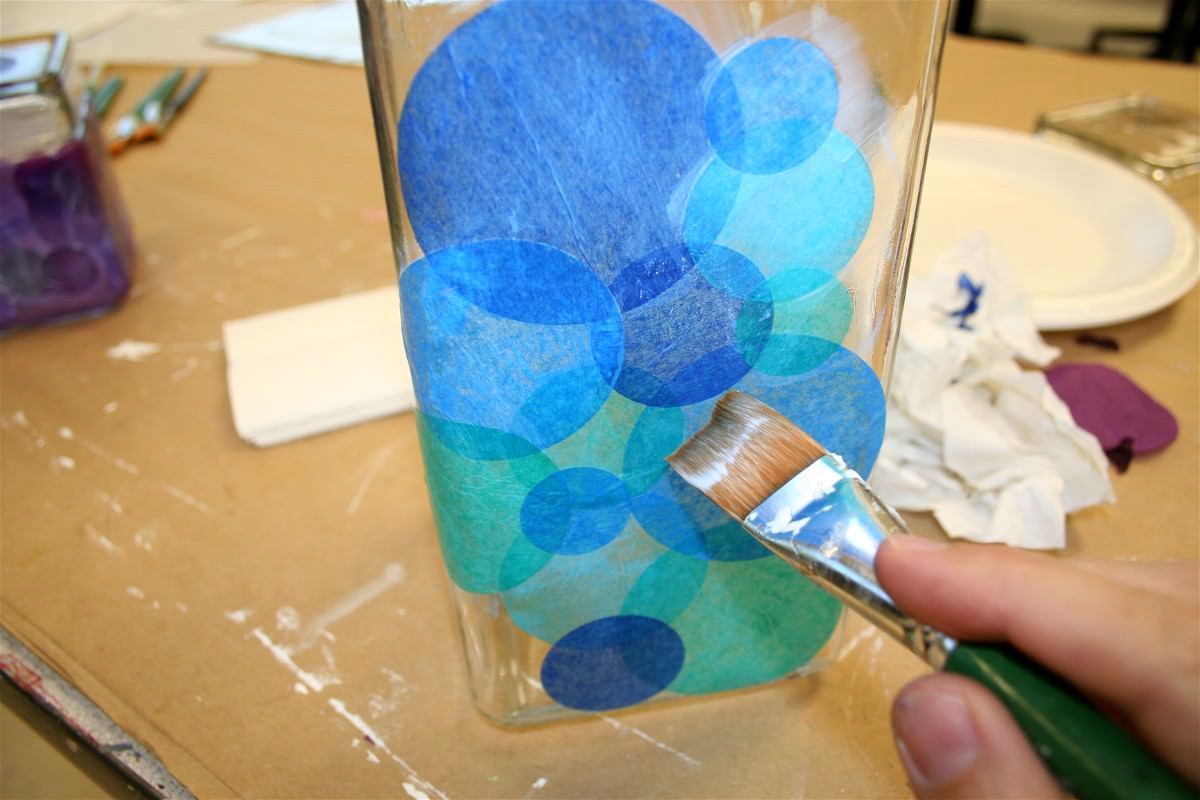
Option 1: Tissue Paper Plus Mod Podge
Tear white tissue paper into pieces and crumple lightly for texture. Adhere with Mod Podge using a brush, then smooth out air bubbles and let dry completely. Add two to three layers for full opacity.
Pro Tip: The tissue creates a pearly, paint-ready base that grips acrylics and enhances depth.
Option 2: Gesso or Primer
Apply glass-safe primer or gesso in thin, even coats. Sand lightly between layers for better adhesion. This option works well if you want a smooth, canvas-like finish.
Let It Cure Properly
Wait twenty-four hours before painting to ensure full drying. Work in a dust-free area to avoid particles sticking to the wet medium.
Restore and Paint the Mirror Frame
A beautiful frame deserves attention. Revive it with color and finish to complement your new artwork.
Choose a Finish That Matches Your Style
Walnut brown or leather brown creates vintage, rustic warmth. Black or charcoal provides modern, dramatic contrast. Metallic gold or silver adds elegant, reflective accent.
Spray Paint for Even Coverage
Use Rust-Oleum or Krylon in a well-ventilated area. Hold eight to ten inches from surface and apply light, even coats. Wait fifteen to twenty minutes between coats, with two to three layers usually sufficing.
Dry Brush for Aged Effect
Dip a dry brush in light brown or cream paint, then wipe off excess on paper towel. Gently drag over carved details to highlight texture. This instantly adds vintage charm and dimension.
Choose a Creative Theme for Your Artwork
The broken surface is not a flaw, it’s a canvas with built-in structure. Use cracks as natural lines for composition.
Nature-Inspired Scenes
Branch with nest and eggs lets cracks become tree limbs with a bird’s nest at the intersection. Moss and ivy lets greenery creep along fractures naturally. Butterflies or small animals can be placed “peeking” through a crack for whimsy.
Emotional and Symbolic Art
Paint a shattered self-portrait with a face fragmented by cracks to explore identity or healing. Add a white circular focal point to symbolize wholeness within brokenness. Layer overlapping blues and purples to represent mood, introspection, or emotional depth.
Kintsugi-Inspired Golden Repair
Mix gold mica powder or metallic paint with clear resin. Fill cracks with the blend using a fine brush or syringe. This celebrates damage as part of the object’s history rather than concealing it.
Philosophy: Kintsugi (Japanese golden joinery) views repair as beauty, not concealment.
Whimsical and Playful Motifs
Create a disco ball effect by gluing small mirrored shards or glitter in a radial pattern. Attach air-dry clay flowers around the edge or over cracks. Paint a “magic mirror” fantasy scene with portals, stars, or hidden worlds.
Apply Paint with Precision and Layering

Now that your theme is set, bring it to life with controlled, layered painting techniques.
Use Acrylic Craft Paint
Water-based acrylics are quick-drying and widely available. Choose opaque colors for coverage and mix with medium for transparency when needed.
Start with Base Layers
Apply light colors first (sky, background foliage). Let dry completely before adding shadows or details. Build depth gradually rather than rushing dark accents.
Blend with Sponges or Rags
Dab sponge lightly in two colors for soft transitions like sunset or clouds. Use a dry cloth to smudge edges naturally for seamless gradients.
Add Fine Details with Paint Pens
Deco Color paint pens offer precision for twigs, feather textures, crackle effects along glass lines, and lettering. Test pen on scrap paper first since some metallics take longer to dry.
Add 3D Embellishments for Dimension
Turn flat art into tactile sculpture with added dimension and texture.
Attach Air-Dry Clay Elements
Shape flowers, butterflies, or small animals from clay. Let dry fully (twenty-four to forty-eight hours), then attach with strong craft glue or epoxy.
Use Mirror Shards Creatively
Glue broken pieces in mosaic patterns. Angle shards to catch light like a disco ball. Outline with black paint for stained-glass effect.
Add Glitter or Metallic Accents
Apply glue in patterns like stars, veins, or cracks. Sprinkle fine glitter or mica flakes, then seal thoroughly to prevent shedding.
Seal Your Painted Mirror for Protection
Paint on glass is vulnerable without protection. A clear sealer locks in your work and defends against moisture, UV rays, and wear.
Choose the Right Finish
Matte sealer provides a soft, non-reflective look ideal for artistic pieces. Gloss sealer enhances color depth and mimics glass shine. Decide between spray application for even coverage or brush-on for detailed control.
Apply in Thin Coats
Lightly spray or brush on first layer. Let dry one to two hours. Apply second coat overlapping evenly. Avoid pooling, which can cloud the surface.
Reapply Periodically
Reapply sealer every one to two years, especially if displayed in sunlight or humid areas like bathrooms. Gently clean with damp cloth before resealing.
Creative Ways to Display Your Art
Your painted mirror is now a statement piece. Choose a setting that honors its story.
Living Room Focal Point
Hang among other art on a gallery wall. Use lighting to highlight texture and dimension.
Bathroom or Bedroom Decor
This works as a safe alternative to functional mirrors. It adds character without serving as a reflection surface.
Therapeutic or Gift Art
Create as a personal healing project. Customize for gifts, such as a nest with eggs matching the number of children in a family.
User Insight: “If I get tired of this I can always repaint it as something else.”
Classroom or Portfolio Project
Perfect for GCSE Art “Reflection and Distortion” themes, AP Studio sustained investigations on identity, or art therapy exploring trauma or self-image.
Alternative Techniques Beyond Painting
If painting is not your only goal, consider these creative extensions.
Mosaic Art from Broken Pieces
Remove all shards carefully. Reattach in new patterns with tile adhesive. Grout with sanded grout and seal after drying.
Kintsugi Repair Kit
Purchase a kintsugi kit online that includes clear resin, gold, silver, or copper powder, and a precision applicator. Follow instructions to fill cracks with luminous metal lines.
Combine Painting and Mosaic
Paint a background like a night sky. Use mirror fragments as stars or moon. Seal entire surface for unified finish.
Complete Materials Checklist for Your Project
Ensure you have everything before starting your broken mirror painting project.
Safety: Gloves, goggles, puncture-proof disposal box.
Preparation: Packing tape, glass cleaner, paper towels.
Surface Base: Tissue paper, Mod Podge, gesso.
Painting Supplies: Acrylics, paintbrushes, sponges, Deco Color pens.
Frame Finish: Spray paint, dry brush, sandpaper.
Embellishments: Air-dry clay, glitter, mosaic tiles.
Sealing: Clear spray sealer (matte or gloss).
Optional: Kintsugi kit, epoxy, grout.
Frequently Asked Questions About Painting a Broken Mirror
Can you paint directly over a cracked mirror?
You can paint directly over a cracked mirror if the crack is stable (hairline fracture). Apply clear packing tape to both sides first to prevent spreading. For best results, create a paintable surface using tissue paper and Mod Podge or apply gesso primer.
What type of paint works best on mirror glass?
Acrylic craft paint works best on mirror glass because it is water-based, quick-drying, and adheres well to prepared surfaces. Use a primer or tissue paper base to improve adhesion on raw glass.
How do you seal paint on a mirror?
Apply a clear sealer (matte or gloss) in thin coats over the entire painted surface. Let each coat dry for one to two hours before applying the next. Reapply every one to two years for outdoor or high-humidity displays.
Is painting a broken mirror safe?
Yes, painting a broken mirror is safe when you stabilize loose glass first. Tape cracks securely, wear gloves, and remove any protruding shards before beginning. Work in a well-ventilated area when using spray paints or sealers.
What can I do with a mirror that has a spiderweb crack?
Spiderweb cracks can be used as artistic elements in your design. Tape both sides to prevent further spreading, then incorporate the cracks into your composition. They work well as tree branches, lightning, or abstract divisions in your artwork.
How long does it take to paint a broken mirror?
The complete process takes three to five days. This includes twenty-four hours for surface preparation, twenty-four to forty-eight hours for paint drying between layers, and twenty-four hours for sealer to cure before handling.
Key Takeaways for Transforming Broken Mirrors Into Art
A broken mirror does not have to mean the end. With a little creativity and care, you can transform it into something more meaningful than its original form. Whether you choose to paint a serene forest emerging from the cracks, honor the damage with golden kintsugi lines, or craft a symbolic piece about identity and healing, your artwork becomes a testament to resilience.
The key steps are: secure the glass with tape, create a paintable surface using Mod Podge with tissue paper or gesso, choose a theme that incorporates the cracks as design elements, layer your paint from light to dark, add 3D embellishments for texture, and seal everything for protection. This project is sustainable, expressive, and deeply personal.
It proves that imperfection can be the starting point for beauty, not something to hide but something to celebrate. So grab your brush, secure those shards, and start painting a new story on broken glass.


