A cracked mirror can be more than just a cosmetic issue. It can pose safety risks, distort your reflection, and even trigger worries about seven years of bad luck. But before you assume replacement is your only option, know this: minor cracks can often be stabilized or transformed using accessible DIY methods. While no repair fully restores a mirror to its original strength, techniques like epoxy sealing, super glue bonding, and artistic resin enhancements can extend its life, reduce hazards, and even turn damage into design.
This guide provides actionable, safety-first strategies for repairing cracked mirrors. You’ll learn when to fix versus replace, how to execute each method safely, and which solutions offer real durability. Whether you’re dealing with a hairline fracture in a bathroom mirror or a shattered antique, we’ll help you make an informed choice without wasting time on myths like toothpaste fixes or duct tape miracles.
Assess the Crack Type First
Before reaching for glue or tools, identify the damage level to determine if repair is viable.
Hairline vs. Spiderweb Cracks
Hairline cracks are thin, static fractures that don’t spread. They may not distort the image and are ideal candidates for adhesive repair. Spiderweb cracks radiate from an impact point with multiple branches. These indicate structural failure and are unsafe to repair. You should replace immediately.
Edge cracks start at the perimeter and often result from knocks or mounting stress. If small, they can be sealed to prevent spreading. Central cracks compromise the mirror’s integrity more severely and are harder to hide visually.
If the reflection appears warped or doubled, replacement is necessary. No adhesive will correct optical distortion.
Check for Structural Integrity
Press gently near the crack while wearing gloves. If you feel movement or hear cracking sounds, the glass is unstable. Stop and plan for replacement. Stable, non-spreading cracks are the only ones worth repairing.
Choose the Right Repair Method
Match your solution to the crack type, mirror value, and desired outcome.
Super Glue for Small, Stable Cracks
Best for quick fixes on minor fractures where visibility isn’t critical.
What you’ll need:
• Glass-specific cyanoacrylate adhesive
• Lint-free cloth
• Cotton swabs
• Acetone
• Razor blade (optional)
Step-by-step fix:
1. Clean thoroughly by wiping the surface with a lint-free cloth. Remove oils and dust because adhesion fails on dirty glass.
2. Apply glue sparingly by squeezing a tiny bead along the crack. Capillary action will pull it in.
3. Hold in place by pressing edges together for 60 to 90 seconds.
4. Let cure overnight by waiting 12 hours before handling.
5. Clean excess by using acetone on a swab to remove overflow. Avoid soaking.
For antique mirrors broken into pieces, apply masking tape across the front first. Flip the mirror over, glue the back, then remove the tape after curing.
Limitations include that the crack remains visible, the bond yellows over time, and the repair is not impact-resistant. Use this method only for low-traffic areas or sentimental pieces where preserving original glass matters.
Epoxy Resin for Long-Lasting Repairs
Ideal for medium cracks needing strength and clarity.
Tools and materials:
• Two-part clear epoxy resin
• Mixing cup and stir stick
• Clear tape or aluminum foil (for backing)
• Gloves and goggles
Procedure:
1. Seal the back by applying clear tape behind the crack to prevent resin leakage.
2. Mix resin by following manufacturer ratios, usually 1:1.
3. Apply slowly using a fine tip to inject resin into the crack.
4. Let flow and settle. Gravity helps resin penetrate.
5. Cure fully by waiting 12 to 24 hours in a dust-free area.
6. Scrape flush by removing cured excess with a razor.
Epoxy matches glass’s refractive index better than super glue, reducing visibility. It resists temperature changes, holds up in bathrooms, and can last years. Avoid cheap hardware store epoxies because they yellow and weaken faster.
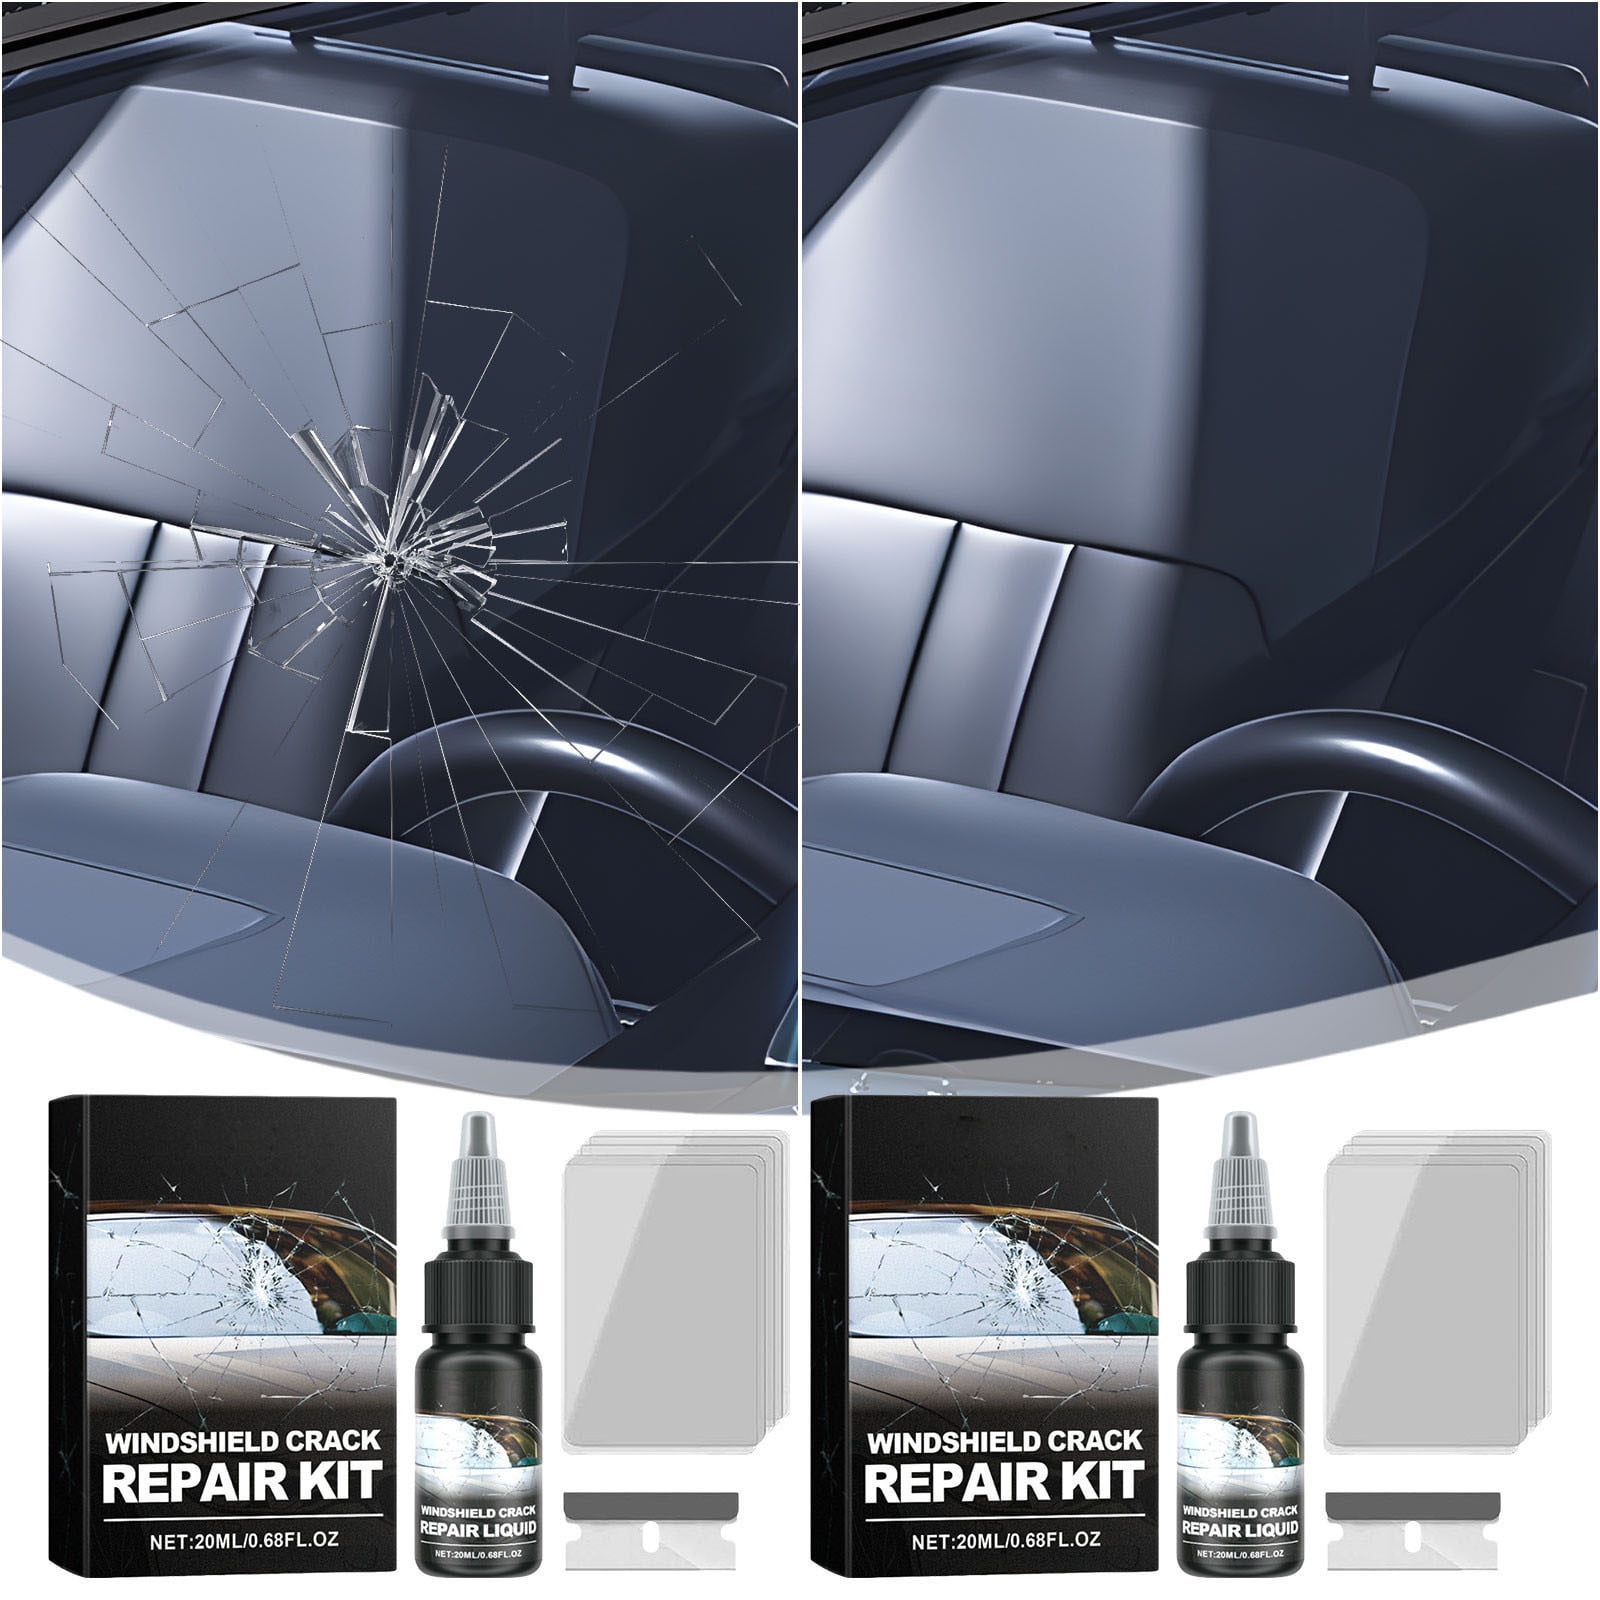
Windshield Repair Kit for Clear Results
Adapt automotive kits for high-clarity fixes on linear cracks. These kits use UV-curable resin injected under pressure and hardened with light.
Steps:
1. Clean crack with alcohol wipe.
2. Attach injector bridge over the fracture.
3. Inject resin until full.
4. Cover with curing film.
5. Shine UV light for 5 to 10 minutes.
6. Scrape smooth.
This method may not adhere well to mirrored backing. Test on a small area first. It’s best for mirrors up to 3 feet long with clean, narrow breaks. Not suitable for deep or branched cracks.
Nail Polish as a Temporary Cover
Use only for hairline cracks when speed and simplicity matter.
Quick fix process:
1. Clean area with alcohol.
2. Apply thin coat of clear nail polish over crack.
3. Let dry 4 to 6 hours.
4. Repeat if needed.
This is purely cosmetic. It peels easily and offers zero structural support. Save this method for emergency fixes or rental units where you can’t make permanent changes.
Transform Damage into Design
When repair won’t restore function, reinvent the mirror as art.
Resin Art Repair with Color
Turn cracks into glowing veins using tinted resin.
Supplies:
• Clear epoxy resin
• Metallic pigment powders (gold, copper, black)
• Hot glue gun
• Backing board
• Black silicone sealant
Creative process:
1. Remove mirror from frame.
2. Gently break fragments along crack lines for artistic effect.
3. Mount pieces on a board with gaps between them using hot glue.
4. Mix resin with pigment such as copper powder.
5. Pour to flood gaps. Resin flows under glass for a floating look.
6. Seal edges with black silicone.
The result is a modern, abstract mirror perfect for statement walls.
Foil or Reflective Paint Patches
For backing damage or small surface flaws.
Foil method:
1. Remove mirror and place shiny-side-down on foil.
2. Tape securely from behind.
3. Reinstall.
This adds reflectivity but looks patchy up close.
Reflective paint method:
1. Apply mirror paint along crack with fine brush.
2. Back with dark paper to reduce transparency.
3. Let dry 1 hour.
This gives a better finish than foil but isn’t suitable for large areas.
Know When to Replace, Not Repair
Some situations demand replacement with no exceptions.
Signs It’s Time to Replace
Crack spans over 30% of the surface. The reflection is distorted. Glass is fragmented or loose. Tempered glass is cracked because it cannot be repaired. The mirror is old and cloudy beyond the crack.
You don’t fix cracked glass. You replace it. This is the consensus among professionals and experienced DIYers.
Cost Comparison
| Option | Avg. Cost | Durability | Best For |
|---|---|---|---|
| Super Glue | $3–$8 | Low-Moderate | Tiny cracks, antiques |
| Epoxy Resin | $10–$25 | High | Medium cracks, long-term |
| Windshield Kit | $15–$30 | Moderate | Linear cracks, clarity |
| Nail Polish | <$5 | Low | Temporary, cosmetic |
| Replacement | $20–$300+ | High | Safety, large damage |
For most homeowners, replacing a standard mirror costs less than $100 and takes under an hour. Consider it a permanent, safe solution.
Replace Safely and Correctly

When repair isn’t enough, follow these steps.
Step 1: Remove the Old Mirror
Wear cut-resistant gloves and goggles. Use a pry bar to remove trim, starting at the top or side. Carefully lift out glass and place fragments in a cardboard box labeled broken glass. For wall-mounted mirrors, check if glued or framed. Glued units require professional removal.
Step 2: Measure Precisely
Record width and height at three points. Note bevels, curves, or thickness. Bring old glass or measurements to a supplier like Home Depot, Lowe’s, or a local glass shop.
Step 3: Order and Install
Choose tempered glass for bathrooms or high-traffic zones. Insert new mirror into frame. Reattach trim securely. Clean with ammonia-free glass cleaner.
Order a pre-framed replacement if disassembly was difficult.
Safety First: Always Protect Yourself
Never skip protection when handling cracked glass.
Essential Gear
Wear leather or Kevlar gloves to prevent deep cuts. Use safety goggles because glass shards can fly. Put on long sleeves and closed shoes. Wear an N95 mask when sanding or using resins.
Work on a soft surface such as a towel or foam pad to cushion falls. Keep kids and pets away.
Dispose of broken glass in sealed, labeled containers. Never put it loose in the trash.
Special Cases: Antiques, Cars, and Renters
Antique Mirrors
Preserve original glass if possible. Use super glue for reassembly but avoid moisture-heavy adhesives that harm aged silver backing. Consult a conservation specialist for valuable pieces.
Car Mirrors
Side and rearview mirrors are usually tempered. Replace them rather than attempting repair. Resin kits rarely work due to curvature and safety standards. Replacement is affordable and safer.
Renters
Notify your landlord before any action. Repair attempts may violate lease terms. The landlord may prefer replacement over temporary fixes.
Don’t risk deposits or penalties. Get permission first.
Debunked Myths You Can Ignore
Save your time and skip these ineffective hacks.
Toothpaste fixes cracks is false. It only polishes micro-scratches. Clear tape holds forever is false. It degrades in sunlight and heat. Duct tape is a solution is false. It’s ugly, temporary, and unsafe. All mirrors can be repaired is false. Structural cracks require replacement.
Regarding the broken mirror myth, throwing shards into a stream won’t stop bad luck. But proper disposal keeps people safe.
Maintain Repaired Mirrors
Even successful repairs need care.
Inspect monthly for crack spreading. Avoid pressure near repaired zones. Clean gently with non-abrasive cloths. Ventilate bathrooms to prolong adhesive life.
Epoxy and resin repairs last longest in dry, stable environments.
Final Decision Guide: Repair or Replace?
| Condition | Action |
|---|---|
| Hairline crack, no spread | Try epoxy or super glue |
| Distorted image | Replace immediately |
| Sentimental value | Consider artistic resin transformation |
| Renter | Notify landlord first |
| Tempered glass cracked | Replace, no exceptions |
| Sharp or loose edges | Replace for safety |
Frequently Asked Questions About Repairing a Cracked Mirror
Can a cracked mirror be repaired at home?
Yes, minor cracks can be repaired at home using methods like super glue, epoxy resin, or nail polish. However, these repairs are cosmetic or temporary. They don’t fully restore structural integrity. Large, spreading, or distorted cracks require replacement.
What is the best adhesive for repairing a cracked mirror?
Epoxy resin offers the best balance of durability and clarity for mirror repairs. Glass-specific cyanoacrylate adhesive (super glue) works for small, stable cracks. Both have limitations, including visible crack lines and potential yellowing over time.
Does toothpaste really fix a cracked mirror?
No, this is a myth. Toothpaste only polishes micro-scratches on glass surfaces. It cannot repair an actual crack. Don’t waste time trying this method.
How much does it cost to replace a cracked mirror?
Replacement costs range from $20 for small standard mirrors to $300 or more for large or custom options. Most homeowners find replacement cheaper and safer than attempting complex repairs.
Can you repair a cracked antique mirror?
Antique mirrors can be repaired using super glue if broken into few large pieces. Preservation of original glass is often prioritized. Avoid moisture-based adhesives that could damage aged silver backing. Consult a conservation specialist for valuable pieces.
When should I replace instead of repair a cracked mirror?
Replace when the crack spans over 30% of the surface, causes reflection distortion, involves tempered glass, or creates safety hazards from loose fragments. In these cases, repair is impractical and unsafe.
Key Takeaways for Repairing a Cracked Mirror
Repairing a cracked mirror is possible in limited cases, primarily for small, stable cracks where aesthetics or sentimental value justify the effort. Epoxy resin and super glue offer the best balance of accessibility and durability for minor damage. However, replacement remains the most reliable, safe, and long-term solution, especially for large cracks or safety-critical locations like bathrooms.
DIY methods provide temporary stabilization or cosmetic improvement but never restore full structural integrity. For those willing to embrace imperfection, resin-based artistic repairs can transform damage into a distinctive design feature that adds character to your space.
When in doubt, replace. A new mirror gives you peace of mind, clear reflection, and no fear of sudden shattering. Always prioritize safety over sentimentality, and don’t risk deposits or penalties in rental situations by attempting unauthorized repairs.