Replacing a mirror—whether in your bathroom, on your car, or inside your vehicle—doesn’t have to mean calling a professional. With the right tools, safety precautions, and clear steps, you can handle most mirror replacements at home. From cracked bathroom glass to a damaged side view mirror after a parking mishap, this guide covers everything you need to replace a mirror safely and effectively.
You’ll learn how to swap out bathroom wall mirrors, vehicle side view mirrors, and interior rearview mirrors with confidence. Each section includes specific steps, tool lists, electrical considerations, and pro tips to avoid common mistakes. Whether you’re fixing damage or upgrading functionality, this guide ensures your replacement lasts and performs like new.
Identify Your Mirror Type Before Starting
Before grabbing tools, identify which mirror you’re replacing. The process, tools, and safety steps vary significantly between applications. Here’s a quick breakdown of the three main types:
• Bathroom mirrors: Typically mounted with brackets or adhesive; focus is on alignment and wall support.
• Side view mirrors: Bolted to the door with electrical wiring for power, heat, or turn signals.
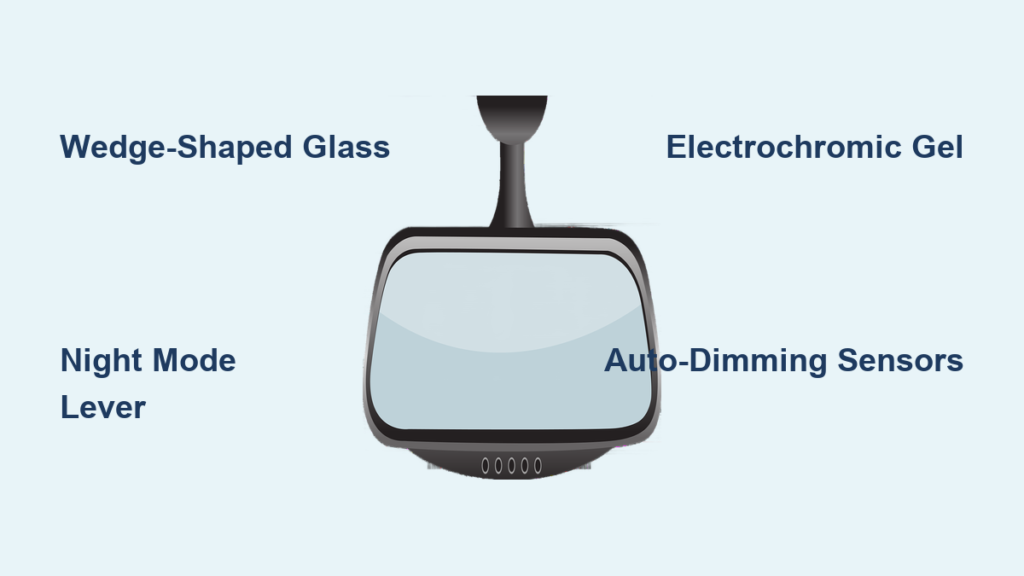
• Rearview mirrors: Adhered to the windshield; may include wiring for auto-dimming, cameras, or compasses.
Once you know your type, follow the specific guide below for your application.
Replace a Vehicle Side View Mirror
If your car’s side mirror was damaged in a scrape or storm, don’t rush to the dealership. Most side view mirrors attach with bolts and can be replaced in under 90 minutes.
Remove the Door Panel to Access Mounting Hardware
Start by accessing the mirror mounting hardware from inside the door.
• Disconnect the battery (negative terminal) to prevent shorts, especially for electric or heated mirrors.
• Use a plastic pry tool to remove the switch plate—it’s held by four clips. Gently lift upward.
• Remove the Phillips screw behind the switch opening and another under the rubber stopper at the rear of the door.
• Pry off the door handle trim by pressing inward on the tabs with a flathead screwdriver.
• Disconnect any electrical connectors (e.g., window switches).
• Insert the pry tool at the bottom front edge and work around the panel, releasing plastic clips.
• Lift the panel upward to clear the window channel. Support it if wires are still connected.
Pro Tip: Take photos before disconnecting anything—this helps during reassembly.
Access and Remove the Mounting Nuts
• Pull back the foam insulation inside the door to expose the mirror base.
• Locate the three 10 mm nuts securing the mirror to studs.
• Use a 10 mm deep socket with extension and ratchet to remove them.
• Keep the original OEM nuts if possible—they often provide better clamping force than replacements.
Warning: Use a magnetic retrieval tool to catch falling nuts. Dropping them inside the door is common.
Remove the Old Mirror Assembly
• Disconnect the electrical connector by pressing the retaining clip with a small screwdriver.
• Label multi-wire harnesses if replacing a turn signal or heated mirror.
• Carefully pull the mirror outward and guide the wiring through the door opening.
• Set the old unit aside.
Install the New Side View Mirror
• Feed the new mirror’s wiring through the door opening.
• Align the mounting holes with the studs.
• Press the mirror fully into place.
• Reinstall the 10 mm nuts, tightening in a star pattern to avoid warping.
• Reconnect the electrical harness until it clicks—ensure the lock tab is engaged.
• Reinstall the foam liner, then the door panel.
• Snap in the handle trim, reconnect switches, and replace all screws.
Test All Mirror Functions Before Finishing
• Reconnect the battery.
• Test power adjustment via dashboard control.
• Test heating function (should warm within 1–2 minutes).
• Test turn signal if equipped.
• Test blind spot monitoring and check for dashboard warnings.
Final Check: Shake the mirror gently—no looseness or rattling should occur.
Replace Just the Side Mirror Glass
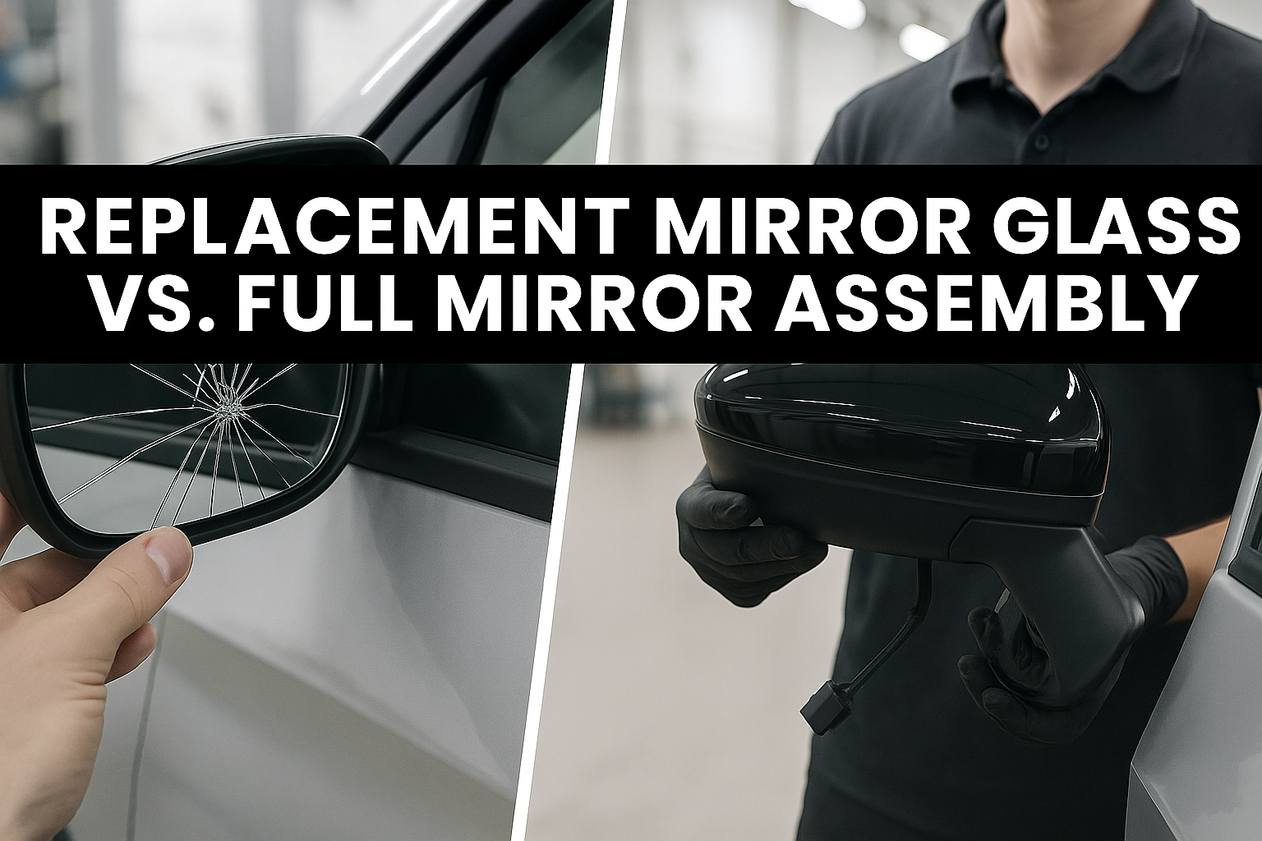
Sometimes only the glass is broken. If the housing is intact, you can replace just the mirror glass—saving time and money.
Identify Your Glass Type
• Snap-on: The glass clips into a backing plate. Entire unit swaps out.
• Stick-on: Adhesive-backed glass adheres directly to the backing.
Caution: Buy the correct type—mismatched replacements won’t fit.
Remove Broken Glass Safely
• Wear safety glasses and leather gloves.
• For stick-on: Chip away broken glass carefully. Clean the backing plate with isopropyl alcohol.
• For snap-on: Remove the backing plate if needed. Disconnect wires if the glass is heated. Clean the mounting surface.
Attach the New Mirror Glass
• Stick-on method: Apply double-sided tape or epoxy as directed. Press the new glass firmly into place. Use painter’s tape to hold it for 1–2 hours while curing.
• Snap-on method: Reconnect wires to the new glass unit. Snap it into the housing.
Wait 24 hours before heavy use to ensure full bond strength.
Replace an Interior Rearview Mirror

When your rearview mirror falls off, it’s more than an annoyance—it’s a safety hazard. Reattaching or replacing it is simple with the right adhesive.
Remove the Old Mount or Glass
• If the mount is still on the windshield, apply a hairdryer or heat gun (on low) for 1–2 minutes to soften the adhesive.
• Gently wiggle the base—don’t force it. Have someone support the mirror.
• If only the glass is damaged, pry it from the housing with a plastic tool and replace the adhesive pad.
Warning: Keep the heat source moving—excessive heat can crack the windshield.
Clean the Windshield Surface Thoroughly
• Scrape off all old adhesive with a plastic scraper.
• Wipe the area with isopropyl alcohol or adhesive remover.
• Finish with a lint-free cloth.
• Ensure the surface is dry, dust-free, and oil-free.
Install the New Rearview Mirror
• Apply OEM-approved adhesive like 3M Quick Grip or use a pre-applied adhesive pad.
• Press the mirror firmly onto the glass for 30–60 seconds.
• Align it with your eye level and the centerline of the vehicle.
• Allow 24 hours of cure time—do not adjust or touch it during this period.
Pro Tip: Install in temperatures between 60–80°F for best bond strength.
Reconnect Electronics If Equipped
• For mirrors with auto-dimming, compass, or backup cameras: Connect the wiring harness to the headliner. Route wires neatly along the roof lining. Some models require OBD2 calibration—consult your manual.
Replace a Bathroom Mirror Using Brackets
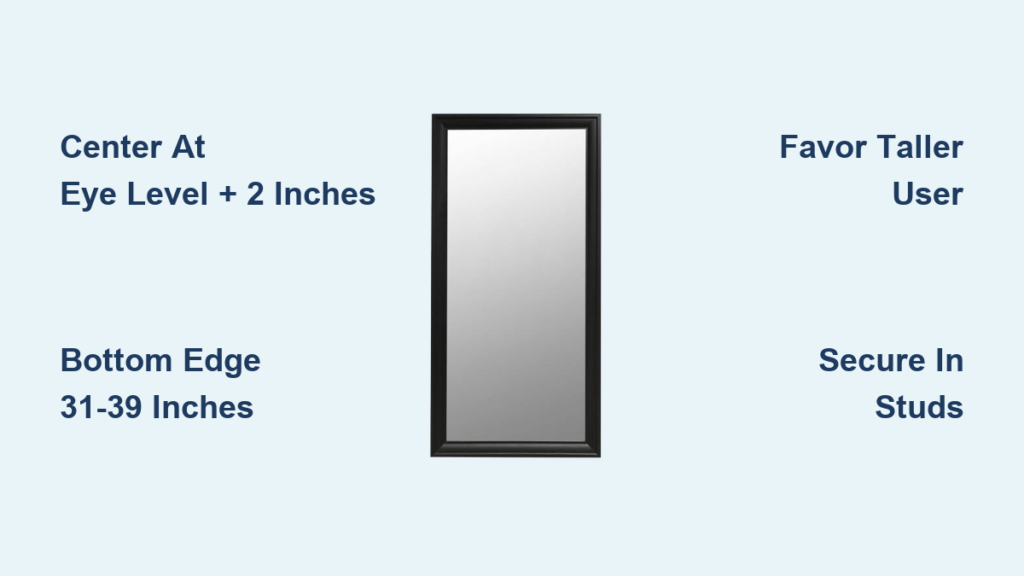
Outdated or cracked bathroom mirrors are easy to upgrade. Most use a bracket system supported by wall studs.
Locate Wall Studs First
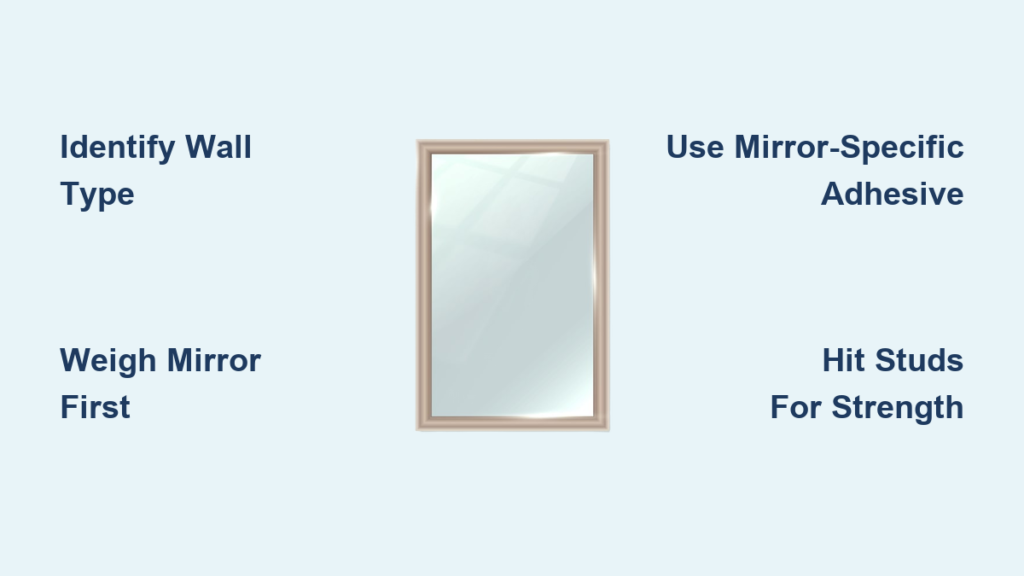
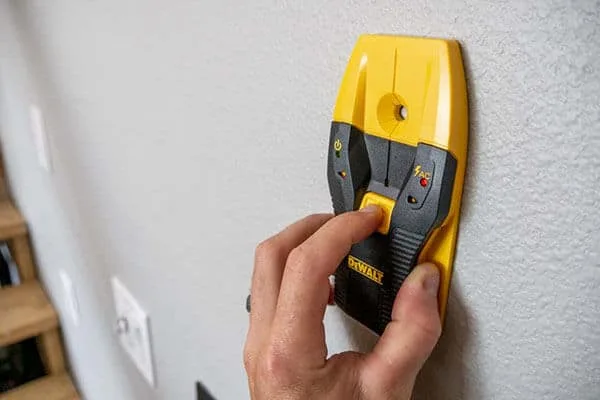
• Use a stud finder to detect studs behind drywall.
• Mark the center of each stud with a pencil.
• Avoid relying on anchors alone for heavy mirrors—use studs when possible.
Measure and Mark Bracket Height
• Measure from the center of the bracket hole to the bottom edge of the mirror (example: 37 1/4 inches).
• Transfer this distance up from the countertop.
• Mark the wall inside the stud lines.
Expert Tip: Hold the mirror in place as a guide—mark where the brackets should go.
Install the Mounting Brackets
• Drill pilot holes into the studs.
• Insert wall anchors if mounting between studs.
• Attach brackets with screws, ensuring they’re level before tightening.
Mount the Bathroom Mirror
• Place the mirror on the countertop.
• Lift it until the bottom edge rests on the backsplash.
• Lower it slowly—the brackets will catch the mirror from behind.
Result: A secure, wobble-free fit supported by brackets + backsplash.
Perform Final Alignment Check
• Ensure the mirror is level and centered over the sink.
• Press on the corners—no movement should occur.
• Confirm brackets are anchored into studs or heavy-duty toggle bolts.
Critical Electrical Safety for Vehicle Mirrors
Working with electric mirrors? Follow these rules to avoid damage or failure.
Always Disconnect the Battery First
• Prevents short circuits, blown fuses, and accidental motor activation.
• Reconnect only after full installation and testing.
Protect These Key Wiring Components
| Component | Purpose | Risk if Neglected |
|---|---|---|
| Rubber grommet | Seals wire entry point | Water damage, corrosion |
| Lock tab | Secures connector | Intermittent signals |
| Push pins | Hold harness in place | Vibration wear |
| Ball joint | Allows mirror movement | Wire strain, breakage |
Pro Tip: Test connections before reassembling the door panel.
Cost and Time Estimates for Mirror Replacement
How Much Will It Cost
| Mirror Type | DIY Cost | Professional Cost | Time Required |
|---|---|---|---|
| Side mirror glass only | $10–$50 | $100+ | 20–40 min |
| Full side mirror assembly | $50–$150 | $250–$500 | 60–90 min |
| Rearview mirror | $50–$200 | $100–$200 | 30 min |
| Bathroom mirror | $30–$100 | $150+ | 15–30 min |
Savings Tip: Aftermarket parts are often 50% cheaper than OEM—with similar performance.
Prevent Future Mirror Problems
Essential Maintenance Tips
• Avoid hanging items from rearview mirrors—adhesive fails faster.
• Clean mirrors with non-abrasive cleaners to preserve coatings.
• Inspect side mirror housings annually for cracks or looseness.
• Replace worn door panel clips during reassembly to prevent rattles.
Adhesive Best Practices
• Use 3M, Permatex, or OEM adhesives—not generic tapes.
• Install in moderate temps (60–80°F).
• Wait 24 hours before adjusting rearview mirrors.
Consider Upgrading During Replacement
While replacing, consider upgrading:
• Side mirrors with heated glass or integrated turn signals.
• Rearview mirrors with auto-dimming or built-in backup cameras.
• Bathroom mirrors with LED lighting or anti-fog features.
Right to Repair: Using aftermarket parts and standard tools supports your ability to fix your own property—no dealership required.
Final Checklist Before Use
For Vehicle Mirrors
• All electrical functions tested
• No dashboard warnings
• Mirror adjusts smoothly
• Door panel secure, no rattles
• Rubber grommet properly seated
For Bathroom Mirrors
• Mirror level and centered
• No wobbling when pressed
• Brackets anchored into studs or heavy-duty anchors
• Flush against wall and backsplash
Key Takeaways for Replacing Your Mirror with Confidence
Replacing a mirror is a straightforward DIY project if you follow the right steps. Whether it’s a bathroom mirror, side view mirror, or rearview mirror, this guide gives you the tools, techniques, and safety know-how to get it done right.
Key points to remember:
• Use plastic pry tools to avoid damaging trim.
• Disconnect the battery before working on electric mirrors.
• Retain OEM hardware—it often outperforms replacements.
• Allow 24 hours for adhesive cure on rearview mirrors.
• Test all functions before final reassembly.
With this guide, you’re not just fixing a mirror—you’re saving money, building skills, and taking control of your repairs. Now go get that mirror replaced.
Frequently Asked Questions About Replacing Mirrors
Can I replace a side mirror myself without going to a dealership?
Yes, most side view mirrors can be replaced at home with basic tools. You’ll need a plastic pry tool, 10 mm socket, and about 60–90 minutes. Aftermarket mirrors cost 50% less than dealership prices while offering similar performance.
How long does it take to replace a rearview mirror?
A basic rearview mirror replacement takes approximately 30 minutes. However, you must wait 24 hours after installation before adjusting or using the mirror to allow the adhesive to fully cure.
Do I need to disconnect the battery for electric mirror replacement?
Absolutely. Always disconnect the negative battery terminal before working on electric mirrors. This prevents short circuits, blown fuses, and accidental motor activation during the replacement process.
What tools do I need to replace a bathroom mirror?
You’ll need a stud finder, drill, level, measuring tape, and pencil. For bracket-mounted mirrors, use wall anchors if studs aren’t available. A helper is useful for holding the mirror during installation.
Why did my rearview mirror fall off the windshield?
Adhesive failure typically causes rearview mirror detachment. UV exposure, temperature cycling, age, and hanging heavy objects (like air fresheners) all degrade the bond. Replacement requires thorough adhesive removal and fresh OEM-approved adhesive.
Can I replace just the mirror glass instead of the whole assembly?
Yes, if the housing and motor are intact. You can purchase snap-on or stick-on replacement glass for $10–$50. This is significantly cheaper than replacing the entire mirror assembly.