
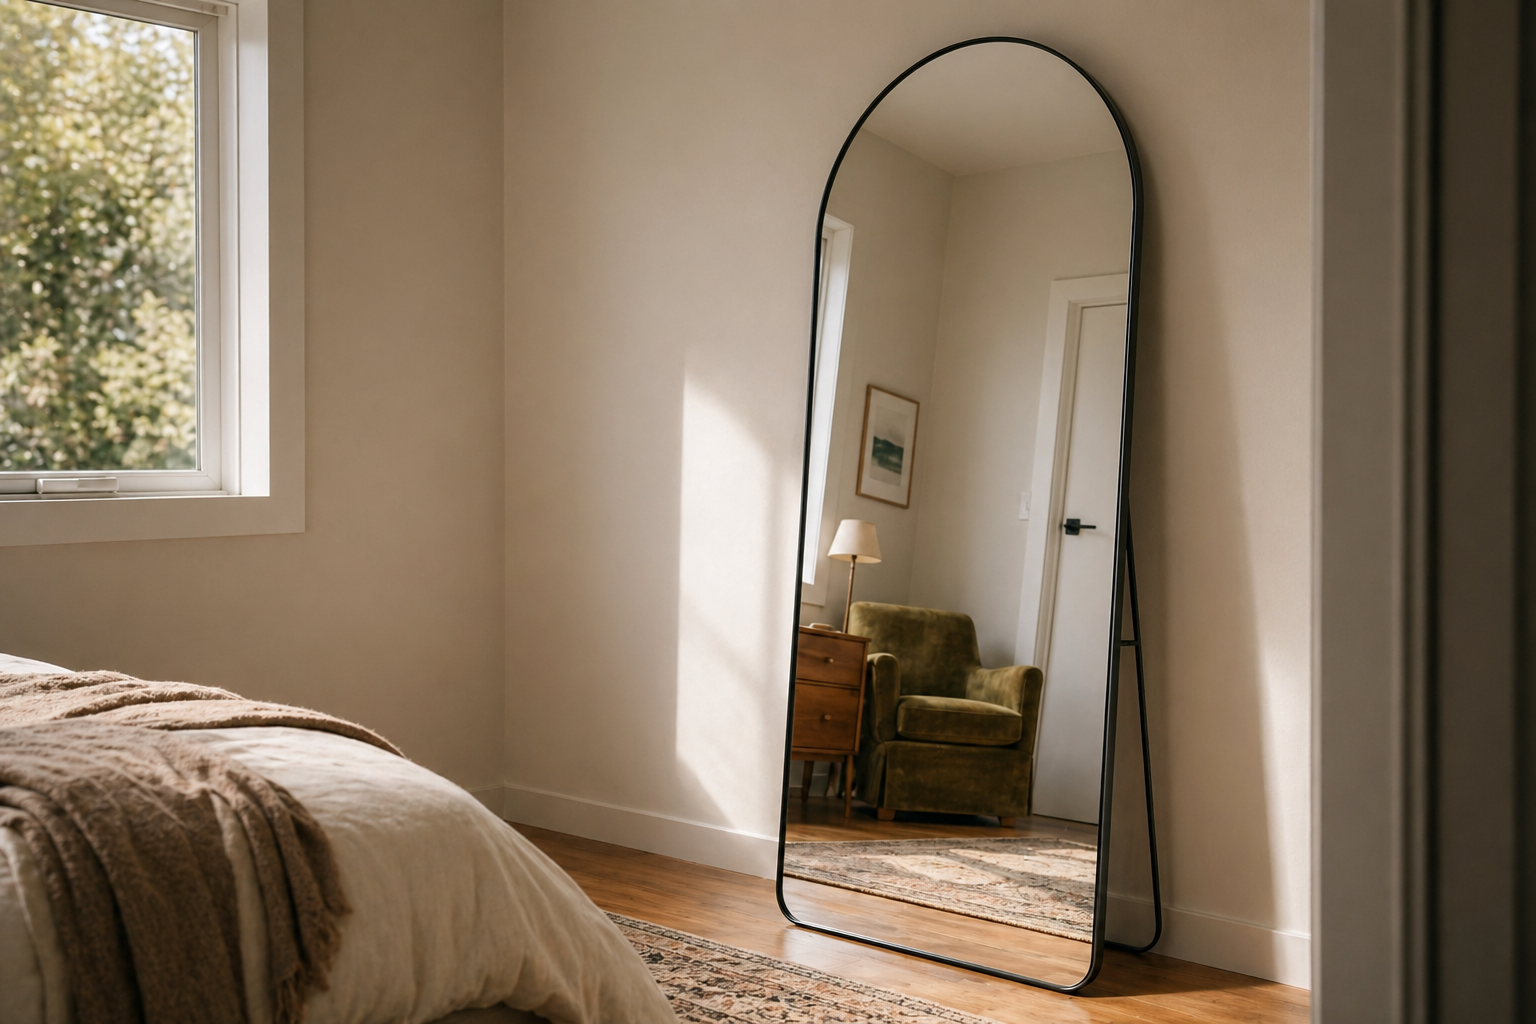
You hang a mirror on the wall and step back, only to see your reflection stretching or warping in an unsettling way. A bowed mirror doesn’t just distort your image; it often signals mounting problems, frame damage, or glass that has permanently lost its flatness. The good news? Many bowing issues stem from how the mirror is supported, not the glass itself. This guide walks you through proven fixes based on the exact cause of your distortion, whether you’re dealing with a modern bathroom mirror or a century-old antique.
You’ll learn how to diagnose the specific problem, repair warped frames, correct uneven mounting, and know when replacement or creative repurposing is your best option.
Diagnose the Source of Mirror Bowing
Before grabbing tools, identify whether the distortion comes from the glass, frame, wall, or installation method. This determines whether you can fix it yourself or need professional help.
Perform a Straight Edge Test
Lay a rigid level or metal ruler flat against the mirror surface. View its reflection carefully. If the reflected edge appears curved or wavy, the glass itself is bowed. Run the same tool along the back of the mirror to feel for gaps indicating curvature.
A bent reflection of a straight edge is definitive proof of surface distortion.
Tap for Hollow Spots
Gently tap the mirror at multiple points with your fingertip. A solid, consistent sound means the glass is well-supported. A hollow, drum-like tone suggests unsupported areas, which is common in loosely mounted or sagging mirrors.
This test works especially well for framed mirrors where backing adhesion has failed.
Check Frame Flatness
Remove the mirror from the wall and take it out of the frame. Place the frame face-down on a known flat surface like a countertop. If it rocks or wobble, the frame is warped. Use a feeler gauge or business card to measure gaps at corners.
Even a 1/16″ gap can transfer distortion to the glass.
Evaluate Wall Surface Contour
Use a 4-foot level or laser level across the wall where the mirror mounts. Look for dips, bulges, or bowed drywall. Mark low spots with tape.
Mirrors mounted directly to uneven walls often conform to the surface over time, especially large, thin mirrors.
Fix Bowing from Uneven Wall Surfaces
When the wall isn’t flat, the mirror bends to match. The solution involves shimming to restore even support behind the glass.
Apply Corrective Shims Behind Mirror
Remove the mirror and lay it face down on a soft surface like a towel or foam. Identify where the back has gaps against the wall or frame. Apply thin, non-damaging shims.
• Blue painter’s tape is safe, removable, and layered for precision.
• Acid-free photo tape works as a permanent, archival-grade option for valuable mirrors.
• Cardboard cut to fit behind hollow areas is inexpensive and effective.
• Plastic or wooden shims handle larger gaps.
Apply adhesive to the wall or frame, not the mirror’s back, to avoid damaging the silvered coating.
Build Up Support Gradually
Start with one layer of tape or shim. Rehang the mirror and test the reflection. If distortion remains, add another layer and retest. Use multiple small shims instead of one thick piece for better control.
For heavy mirrors, pair shimming with a rigid backing board mounted to wall studs.
Repair a Warped Wooden Frame
Wood expands and contracts with humidity. Over time, this causes warping, especially in antique frames.
Remove and Inspect the Mirror Glass
Use a glazing tool or flat pry bar to carefully extract the glass. Wrap it in bubble wrap and store it safely. Check the frame for rot, insect damage, or loose joints.
Start with cleaning everything down to bare wood to see if it’s even worth saving.
Steam and Clamp the Frame
For a bowed wooden frame, dampen the concave side with a steaming cloth or clothes steamer. Let moisture soften the wood fibers for 10 to 15 minutes. Clamp the frame to a flat surface using bar clamps. Allow 24 to 72 hours to dry under pressure.
If the frame springs back after unclamping, repeat the process.
Reinforce with Backing and Bracing
Once straightened, attach a 1/4″ plywood or MDF backing board with screws. Add L-brackets or corner blocks at joints for stability. For heavy ornamentation like carved eagles, insert steel splines or wire supports.
This prevents future warping and ensures long-term rigidity.
Correct a Sagging or Loose Frame

Even if the frame isn’t warped, loose joints can cause the mirror to shift and bow over time.
Reglue Miter Joints
Disassemble the frame if possible. Clean old glue from joints with a chisel or sandpaper. Apply wood glue like Titebond II or III and reassemble. Clamp tightly for 8 to 12 hours until fully cured.
Strengthen with Splines or Biscuits
For added strength, cut slots into miter joints and insert wooden splines. Or use a biscuit joiner to embed oval-shaped biscuits.
This prevents future separation and keeps the frame square.
Reinstall Mirror Securely
Place the glass back into the rabbet. Use glazing points every 6 to 8 inches to hold it firmly. Add a molding strip if the frame has one.
Never let the glass float loosely, as this invites flexing and breakage.
Mount on a Flat, Sturdy Surface
Even a perfectly flat mirror will bow if mounted improperly.
Install a Rigid Backing Board
Cut 1/2″ plywood or MDF to match the mirror size. Attach it directly to wall studs using screws. Mount the mirror to the board, not to drywall alone.
This eliminates flex and ensures even support.
Use Proper Hanging Hardware
For large or heavy mirrors, Z-clips provide secure, invisible mounting with even weight distribution. French cleats are interlocking strips that support heavy loads. Toggle bolts work best for mirrors mounted directly to drywall, though they aren’t recommended for long-term use.
Avoid over-tightening screws, as they can pull the glass into a curve.
Can You Fix a Warped Mirror Glass?
No, Warped Glass Is Permanent
If the glass itself is curved, it cannot be flattened. Heating, polishing, or reshaping will not restore optical flatness. Once glass bows under stress, the distortion is irreversible.
If the distortion is in the glass, there is nothing you can do. Return it and get a new one.
Accept or Replace
For modern mirrors, replace the glass with a new 1/4″ or 3/16″ tempered panel. Specify low-iron, distortion-free glass for critical applications.
For antiques, preserve the character. Many users keep bowed mirrors for their aged charm. Use them in low-visibility areas like hallways where distortion is less noticeable.
Repurpose a Bowed Mirror Creatively
When repair isn’t possible, transform the mirror into art.
Stencil and Etch the Back
Apply a stencil to the back of the mirror. Use a Dremel with a grinding bit to remove silvering along the design. Spray paint the exposed glass in black or gold. Rehang the mirror. The pattern appears as a ghostly outline in the reflection.
Now it looks like a piece of artwork.
Paint or Etch Decorative Scenes
Remove silvering in sections and paint floral motifs, landscapes, or quotes. Use etching cream to carve text or patterns into the glass surface. Combine techniques for layered, artistic effects.
Cut and Reframe Into Smaller Mirrors
Use a glass cutter to divide the mirror into smaller panels. Frame each piece individually for a gallery wall. Use shards in mosaics, shadow boxes, or tabletop inlays.
Restore Antique Mirrors Safely
Old mirrors may carry hidden dangers, especially those made before 1860.
Identify Mercury-Backed Mirrors
Signs of mercury mirrors include a gray, grainy reflective layer instead of shiny silver. Look for flaking edges or tiny mercury beads that move when tilted. These are common in pre-1860 European antiques.
Mercury is toxic. Handle with gloves and ventilation.
Handle Mercury Safely
Isolate loose beads in a sealed glass jar. Remove any paper or backing beneath the mercury layer. Dispose of waste as hazardous material. Do not sand or heat the mirror, as this releases toxic vapors.
Restore Gilding and Compo Details
For period frames with eagle motifs, fans, or lamb’s tongue carvings, recreate missing parts using compo compound. Sand carefully to reveal original gilling layers, which may be Georgian orange or Regency purple. Re-gild using water gilding for authentic, durable results.
Prevent Future Mirror Bowing
Avoid repeat issues with proper care and installation.
Control Humidity and Temperature
Maintain 35 to 50% humidity in the room. Avoid placing mirrors near bathrooms without vents, radiators, or exterior doors. Use a dehumidifier in damp climates.
Use Moisture-Resistant Backing
Seal wooden backing with oil-based primer or marine varnish. Use greenboard or sealed plywood in high-moisture areas.
Inspect Frames Annually
Check for loose joints, warping, or tarnished backing. Refinish wood every few years to block moisture. Clean mirrors with ammonia-free, non-abrasive sprays to protect coatings.
When to Replace vs. Repair
| Condition | Action | Why |
|---|---|---|
| Slight bow from wall gap | Shim with tape | Easy, non-destructive fix |
| Warped wooden frame | Steam, clamp, reinforce | Wood can be corrected |
| Sagging joints | Reglue and brace | Structural repair possible |
| Permanent glass warp | Replace glass | Cannot be undone |
| Mercury backing | Professional removal | Safety hazard |
| Severe frame damage | Restore or replace | Cost vs. sentimental value |
Frequently Asked Questions About Fixing a Bowed Mirror
Why does my mirror show a warped reflection?
The distortion typically comes from one of four sources: uneven wall surface causing the mirror to conform, a warped or sagging frame transferring shape to the glass, improper mounting with uneven pressure, or permanent glass curvature from age or stress.
Can I fix a bowed mirror without removing it?
For minor bowing caused by wall gaps, you may be able to slip thin shims behind the mirror without removing it. However, for accurate diagnosis and proper repair, removing the mirror is usually necessary.
How do I know if the glass is permanently warped?
Perform a straight edge test. Place a level or ruler against the mirror surface and view its reflection. If the reflected edge appears curved or wavy, the glass itself is permanently bowed and cannot be repaired.
Can I repair a warped wooden frame myself?
Yes. Steam the concave side to soften wood fibers, then clamp the frame flat for 24 to 72 hours. Reinforce with a backing board and corner braces. Repeat if it springs back after unclamping.
Is a bowed mirror dangerous?
Generally no, unless the glass is cracked or under extreme stress. However, bowed mirrors with mercury backing (pre-1860 antiques) are toxic and require professional handling.
Should I replace a bowed mirror or try to fix it?
If the bowing comes from the frame or mounting, repair is usually straightforward and cost-effective. If the glass itself is permanently warped, replacement is the only option for a distortion-free reflection.
Key Takeaways for Fixing a Bowed Mirror
Diagnose the root cause first. Use the straight edge test and tap test to determine whether the problem is the glass, frame, wall, or installation. This saves time and prevents wasted effort on impossible fixes.
Shimming works for wall-related bowing. Blue painter’s tape or acid-free photo tape applied in thin layers behind low spots corrects distortion caused by uneven surfaces. Build up gradually and test after each addition.
Warped wooden frames can be repaired. Steam and clamping restores shape, while backing boards and braces prevent future warping. This applies to both modern and antique frames.
Permanently warped glass cannot be fixed. Once glass bows, the distortion is irreversible. In these cases, replacement or creative repurposing becomes your best option.
A bowed mirror doesn’t mean the end of its life. With the right diagnosis and fix, you can restore function, preserve history, or give it a bold new purpose. Whether you’re shimming, clamping, or reimagining, you now have the knowledge to make the smartest choice without wasting time on fixes that won’t work.


