A damaged or malfunctioning side mirror doesn’t always mean a expensive mechanic visit. Whether you’re replacing cracked glass, upgrading to a new housing, or troubleshooting an electrical issue, knowing how to remove a side mirror properly can save you time and hundreds of dollars in labor costs. This guide walks you through every step, from essential safety precautions to pro techniques that prevent broken clips and scratched paint.
Essential Safety Precautions Before Removing Your Side Mirror
Disconnect the Battery First
Always start by disconnecting the negative battery terminal before working near door electronics. This prevents short circuits, protects airbag systems, and avoids triggering dashboard warning lights. Use a wrench to loosen the nut and tuck the cable aside, making sure it cannot touch metal. Reconnect only after full reassembly and testing are complete.
Prepare Your Workspace
Work in a clean, well-lit area wearing gloves to protect your hands from sharp edges inside the door panel. Use plastic trim tools, not metal screwdrivers, to avoid scratching trim or breaking plastic clips. Keep a magnetic tray nearby to store screws and bolts so nothing gets lost during the process.
Know What Youre Removing
Confirm whether you need to remove just the mirror glass, the entire mirror housing, or an adhesive blind spot mirror. Each requires different tools and steps. Misjudging the scope leads to unnecessary disassembly or broken parts.
Tools Required for Side Mirror Removal
Basic Toolkit
You will need these essential tools for most mirror removal jobs. Having everything ready before starting prevents interruptions and ensures the job goes smoothly.
• Socket wrench set (8–12 mm) for mirror mounting bolts
• Screwdrivers (Phillips, flathead, Torx) for interior screws
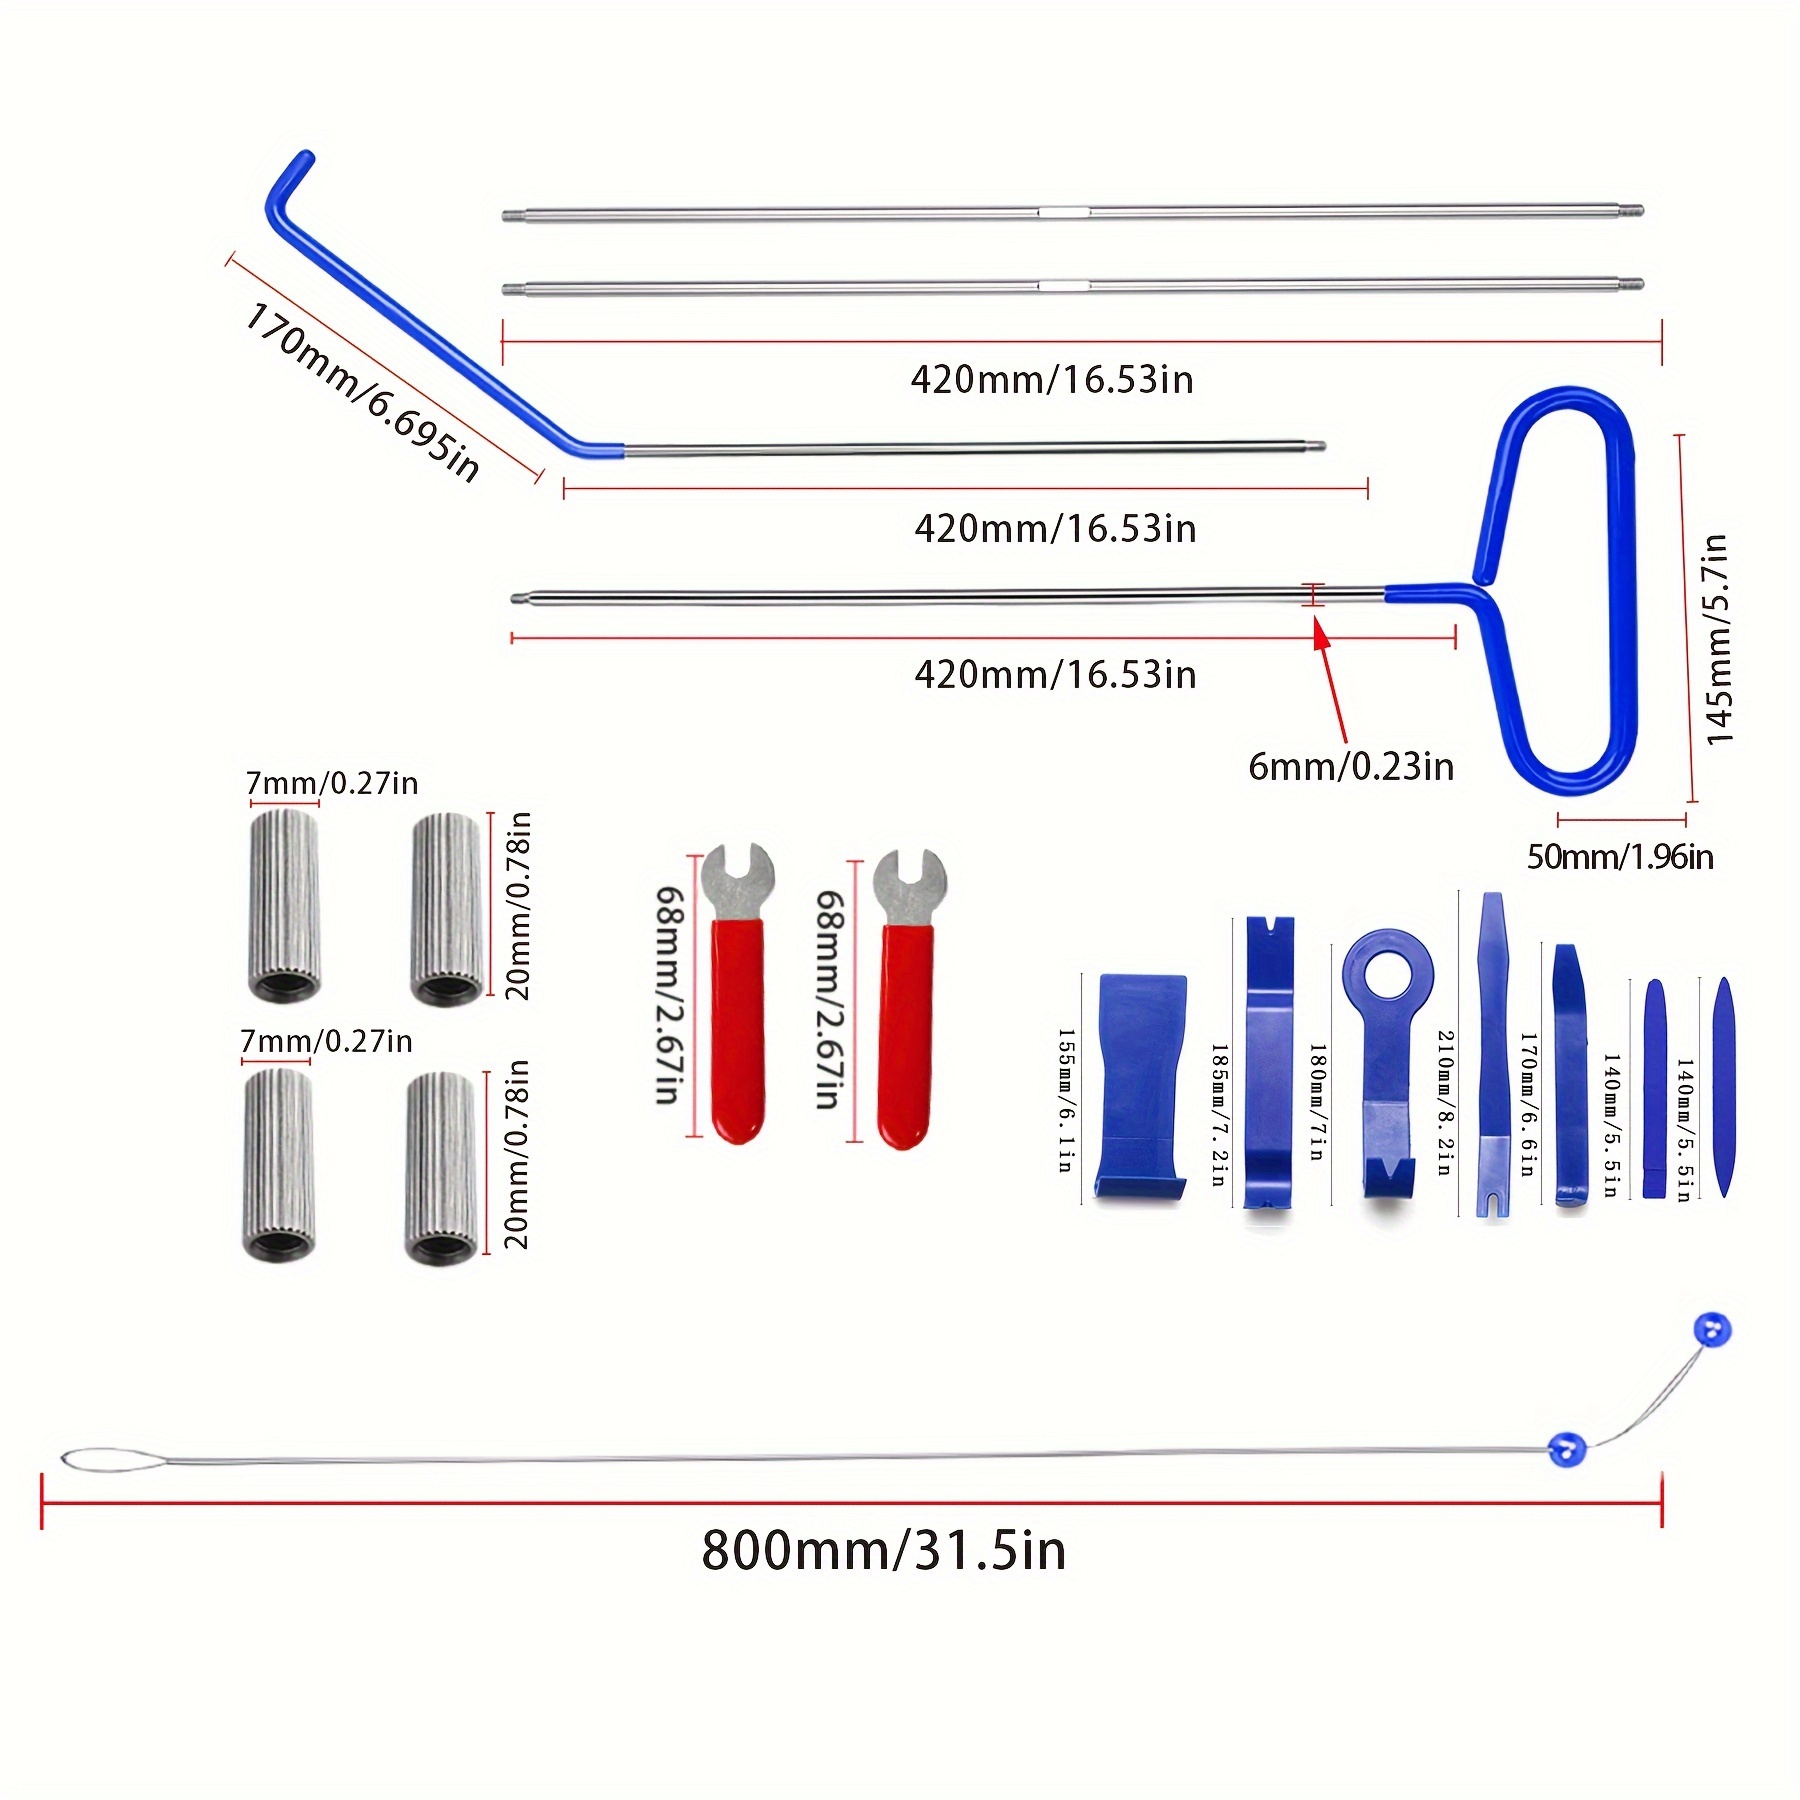
• Plastic trim removal tools to pry off door panels safely
• Needle-nose pliers for grabbing connectors
• Magnetic tray to organize fasteners
Specialized Supplies
These items handle specific situations like adhesive removal and stubborn connectors.
• Hair dryer or heat gun on low setting to soften adhesive
• Waxed dental floss or fishing line to cut through glue
• Goo Gone or isopropyl alcohol for sticky residue cleanup
• Electrical contact cleaner for fused connectors
Accessing the Mirror Mounting Hardware
Remove the Interior Door Panel
Start by removing the interior door panel to reach the mirror bolts and wiring. This step is necessary for most vehicle makes and models.
Find Hidden Screws
Manufacturers hide screws in predictable spots. Check behind the door handle cover, under the armrest rubber pad, and beneath the window switch panel. Use a plastic trim tool to pop covers off gently.
Release Plastic Retaining Clips
Use plastic trim tools to release the perimeter clips. Begin at a bottom corner, insert the tool, and twist gently to pop each clip. Never yank the panel. Work around all edges until the top edge releases from the window frame.
Unplug Electrical Connections
Before removing the panel completely, unplug the window and lock switches. Disconnect the door handle cable if present. Support the panel properly and never let it hang by wires.
Disconnecting Wiring and Unbolting the Mirror
Access the Wiring Harness
Behind the door panel, locate the black vapor barrier. Carefully peel back a corner near the mirror base to access the wiring. Do not tear this barrier, as it keeps water and noise out of the door.
Unplug the Electrical Connector
Find the small plug connecting the mirror to the car system. Most have a locking tab that must be pressed while pulling the halves apart. Use fingers first, then a small flathead if needed. Never pry on wires.
Remove the Mounting Bolts
Locate 2–3 bolts in a triangle pattern securing the mirror. They are often hidden behind a triangular trim cover at the front corner of the window. Remove the cover to access fasteners.
Place one hand on the outside of the mirror before removing the final bolt. The mirror will fall otherwise, risking paint damage or shattered glass. Loosen the top two bolts completely, then finish unscrewing the last one by hand while guiding the mirror away from the door.
Removing Only the Mirror Glass
Replace just the glass if the housing is intact, power adjustment works, and only the reflective surface is damaged. This approach saves time since many models allow glass removal without removing the door panel.
Locate the retention clips or ball-and-socket mechanism holding the glass. Use a plastic trim tool to gently pry outward on clips. Pull the glass straight forward without twisting. Inspect the backing plate or motor if diagnosing noise issues.
Removing Adhesive Blind Spot Mirrors
Safe Removal Technique
Aftermarket convex mirrors often degrade or fall off. Removing them cleanly avoids scratching the main glass.
Apply heat using a hair dryer on low, holding it 2–4 inches away for 30–60 seconds. Slide waxed dental floss behind the mirror and use a sawing motion to cut through the adhesive. Pull gently once separated, then clean residue with Goo Gone or isopropyl alcohol.
Handling Special Mirror Features
Heated Mirrors
These contain a heating element inside the housing. Locate and disconnect the separate wiring connector before removal. Route wires carefully to avoid pinching during reinstallation.
Power-Adjustable Mirrors
These contain small motors. Ensure all connectors are unplugged before extraction. Label or photograph multiple plugs for correct reconnection later.
Integrated Turn Signals
Check for extra connectors, additional fasteners securing the lens, and clip-mounted signal housing. Handle lenses gently, as plastic cracks easily under pressure.
Camera-Equipped Mirrors
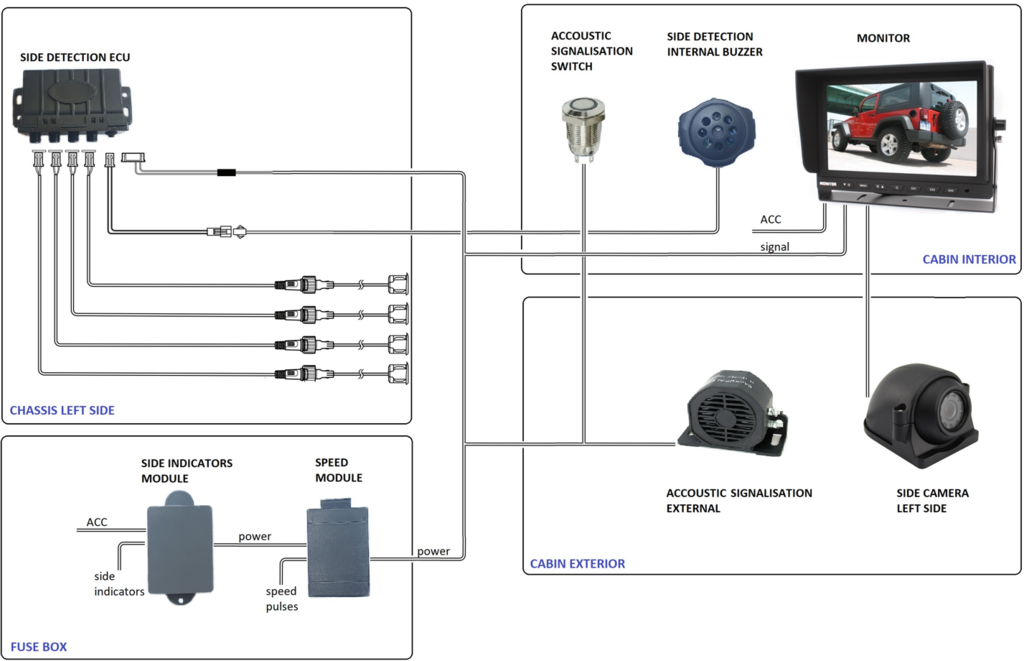
Found on blind-spot monitoring systems. These require precise handling to avoid sensor damage. Post-installation calibration may be needed. Check your owners manual.
Troubleshooting Common Problems
Stripped Screw Head
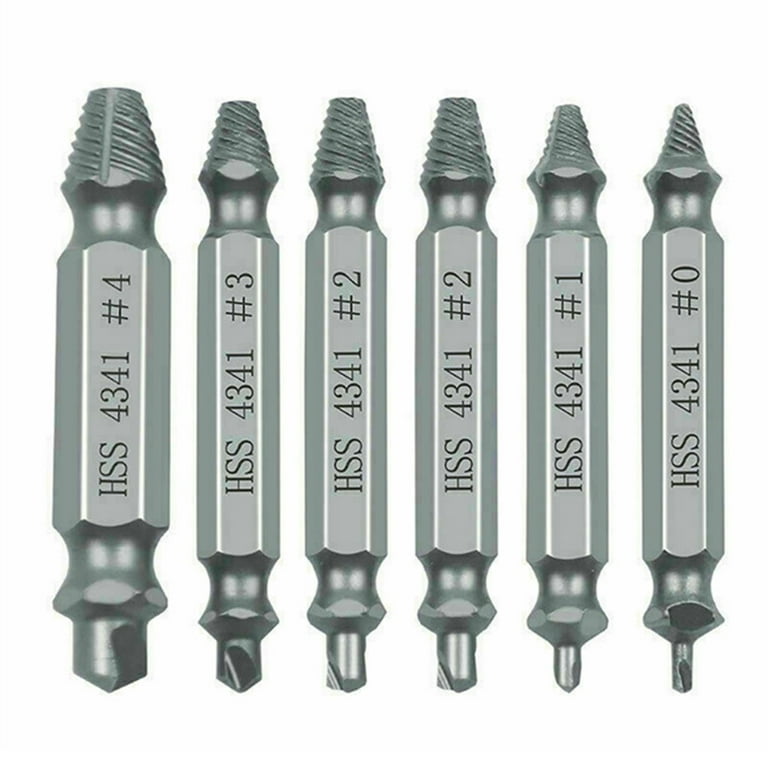
If a Phillips head rounds out, place a wide rubber band over the screw before inserting the driver. This adds grip. For completely stripped screws, use a screw extractor bit.
Stubborn Door Panel Clip
Use two plastic trim tools for balanced pressure if a clip resists. Apply slow, steady force without jerking. Replace broken clips after removal, as spares cost under $2 each.
Fused Electrical Connector
When the plug wont come apart, spray electrical contact cleaner around it. Press the locking tab with a small flathead while wiggling gently. Never twist or force the connector.
When to Replace Glass vs. Full Housing
Replace just the glass if only the reflective surface is damaged, the housing is intact, and motors or heating elements work. Use an adhesive kit to attach new glass directly to the backing plate.
Replace the full assembly if the housing is cracked, motors fail, water has entered the casing, or turn signals and cameras are faulty. Full replacement ensures reliability and weather resistance.
Choosing the Right Replacement Part
OEM vs. Aftermarket
OEM parts offer perfect fit, factory finish, and plug compatibility but cost more. Aftermarket parts are cheaper and widely available but carry some risk of misaligned bolts or wrong connectors. Buy from reputable suppliers and look for direct-fit models specific to your year, make, and model.
Reassembly and Final Checks
Reinstall the Door Panel
Align the top edge of the panel with the window sill hooks. Press clips into place starting from the bottom. Reconnect window and lock switches, then reattach the door handle cable if disconnected. Screw in all fasteners without overtightening.
Reconnect and Test
Reattach the negative battery terminal. Test all mirror functions including power adjustment, heating, turn signals, and camera if equipped. Ensure no warning lights appear on the dashboard.
Re-Seal the Vapor Barrier
Use butyl tape or adhesive to reattach the vapor barrier properly. This prevents water leaks and reduces road noise.
Cost, Time, and DIY Benefits
How Long Does It Take
Most mirror removals take 1–2 hours with proper tools and preparation. First-timers should allow extra time to avoid mistakes.
Cost Savings
DIY removal and replacement can save $200–$600 in labor compared to dealership service. The tools you buy once can be used for future repairs.
Common Mistakes to Avoid
Skipping battery disconnection creates risk of short circuits. Using metal tools on trim causes scratched panels and broken clips. Not supporting the mirror during final bolt removal leads to dropped and shattered housing. Using a magnetic tray prevents lost screws. Always test all functions before finishing.
Final Checklist: Side Mirror Removal in 5 Steps
- Disconnect battery as the mandatory first step
- Remove door panel by finding hidden screws, releasing clips, and unplugging wires
- Disconnect wiring by peeling back vapor barrier and unplugging connectors
- Unbolt mirror by removing trim cover, unscrewing bolts, and supporting mirror externally
- Extract carefully by guiding mirror and wires out without strain
A successful side mirror replacement is not about speed. It is about being methodical. Taking an extra five minutes to find a hidden screw or gently work a trim piece loose is always better than rushing and causing more damage.
Frequently Asked Questions About Removing Side Mirrors
Do I need to remove the door panel to replace a side mirror
Yes, in most cases you need to remove the interior door panel to access the mirror mounting bolts and wiring. Some newer models may have external access points, but full panel removal is the standard approach.
Can I replace just the mirror glass without replacing the whole housing
Yes, you can replace only the glass if the housing is undamaged and the motors, heating elements, and integrated features still work. This is much faster and cheaper than full housing replacement.
How do I remove a stuck electrical connector
Spray electrical contact cleaner around the connector. Press the locking tab with a small flathead while gently wiggling the connector. Never force or twist it, as this damages the pins.
What happens if I forget to disconnect the battery
Forgetting to disconnect the battery risks short circuits, damaged electronics, and triggered airbag warning lights. Always disconnect the negative terminal before working near any vehicle wiring.
Should I use OEM or aftermarket replacement parts
OEM parts guarantee perfect fit and connector compatibility, making them ideal for complex mirrors with cameras and heated elements. Aftermarket parts work well for basic mirrors but verify direct-fit compatibility with your specific vehicle.
Key Takeaways for Removing Your Side Mirror
Removing a side mirror is a straightforward DIY task when you follow proper safety procedures and use the right tools. Always disconnect the battery first, work methodically through each step, and take your time with clips and connectors to avoid breaking them. Whether you are replacing just the glass or the entire housing, the savings over dealership labor can exceed $500. With this guide, you have the confidence to handle mirror removal for most vehicles and keep your car functioning like new.